Five Must-Do New Zealand Hikes

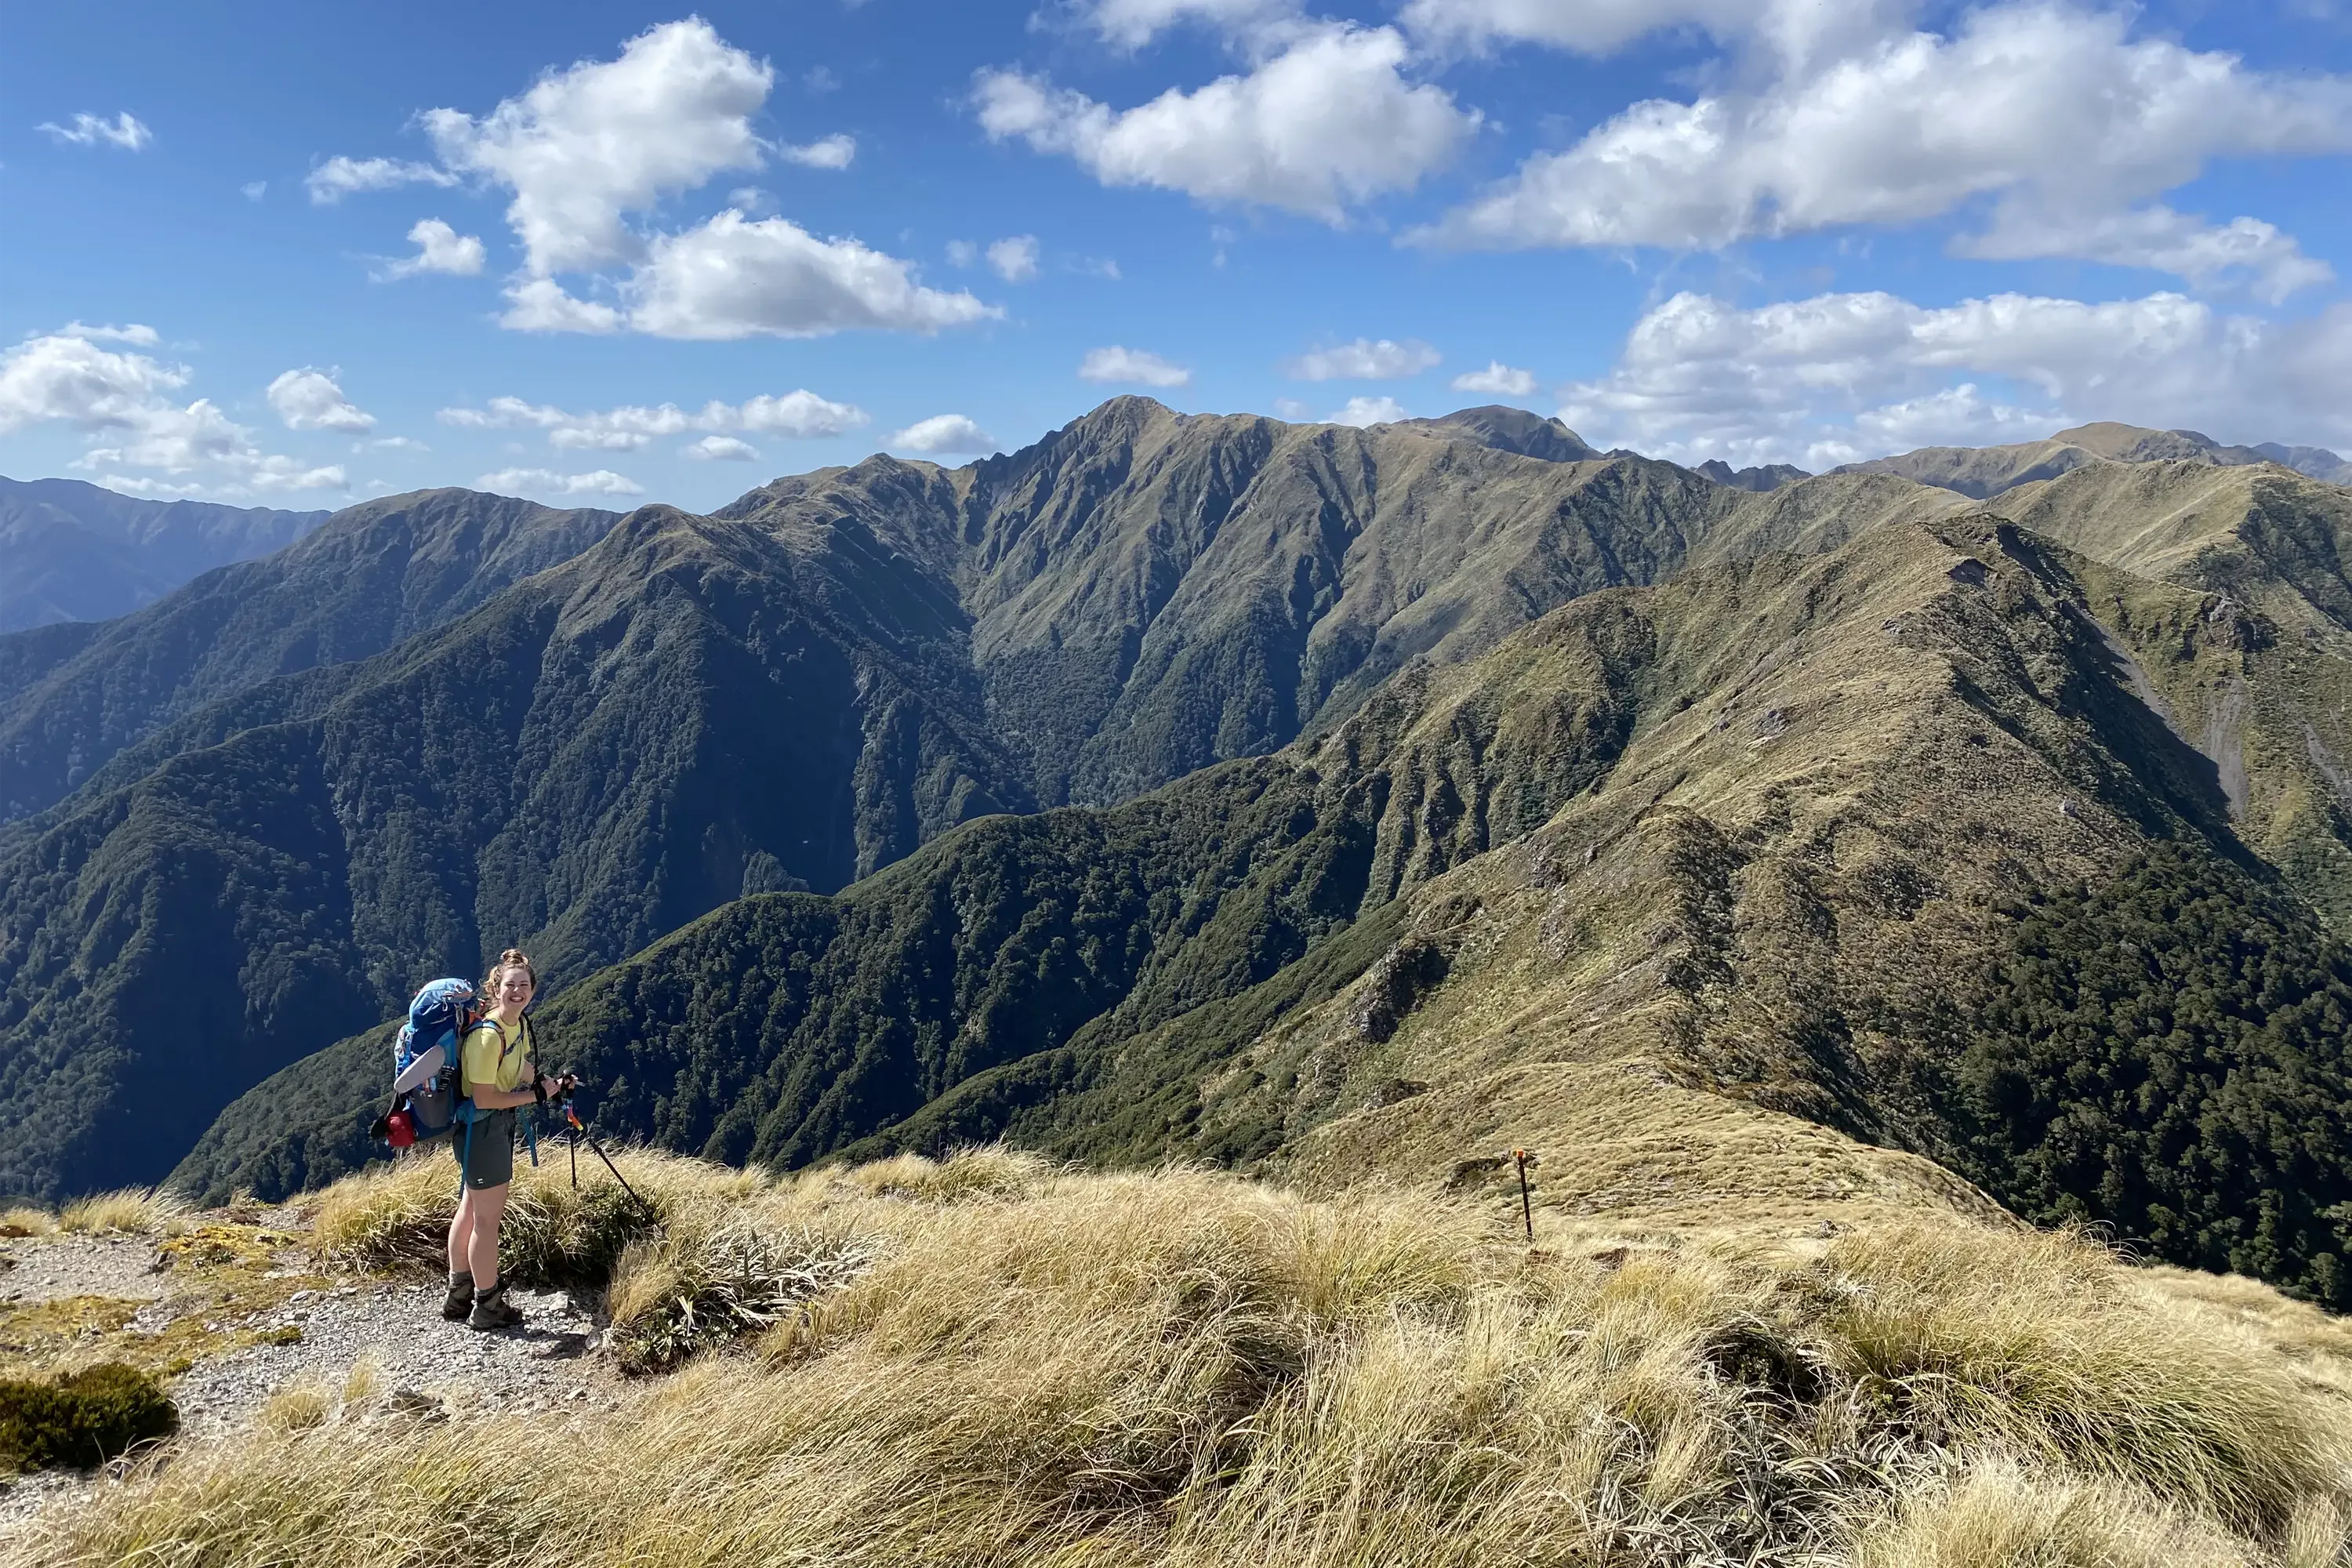
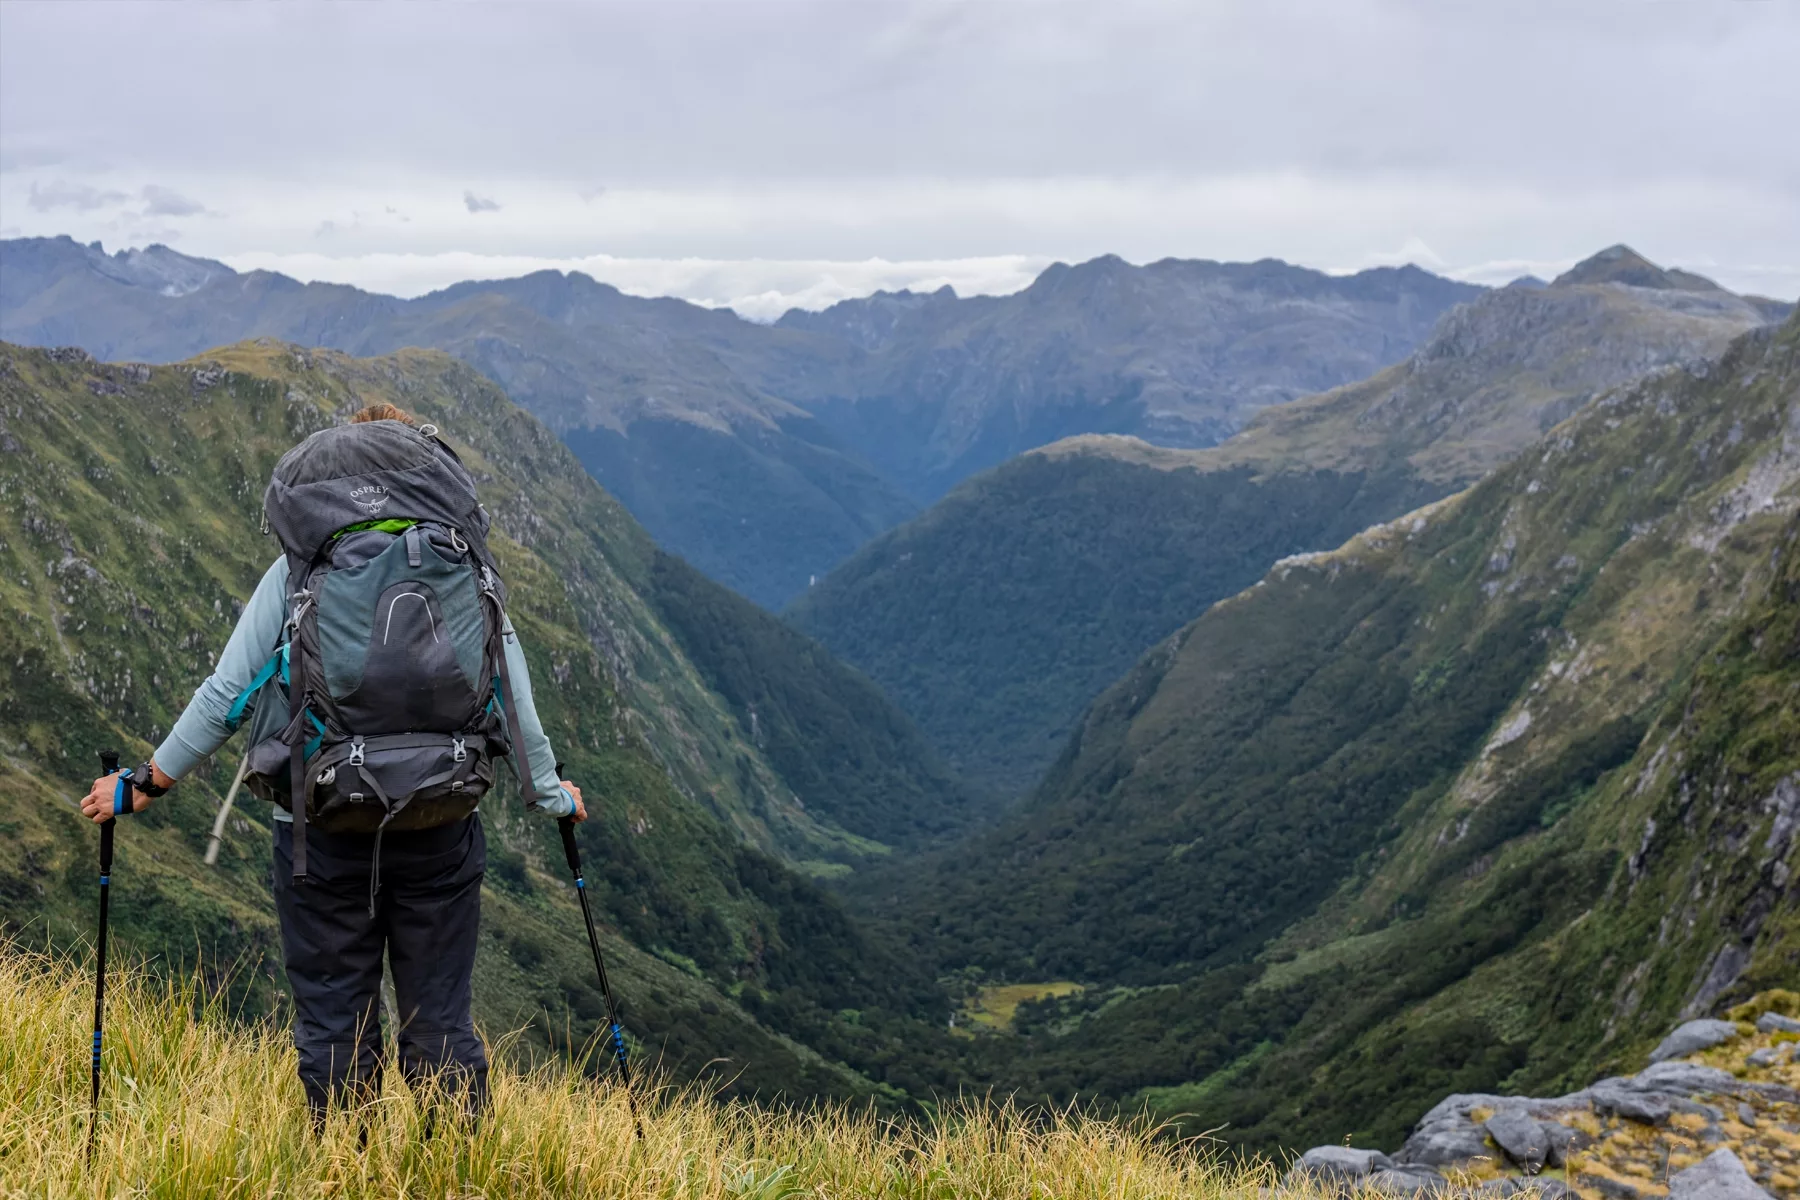
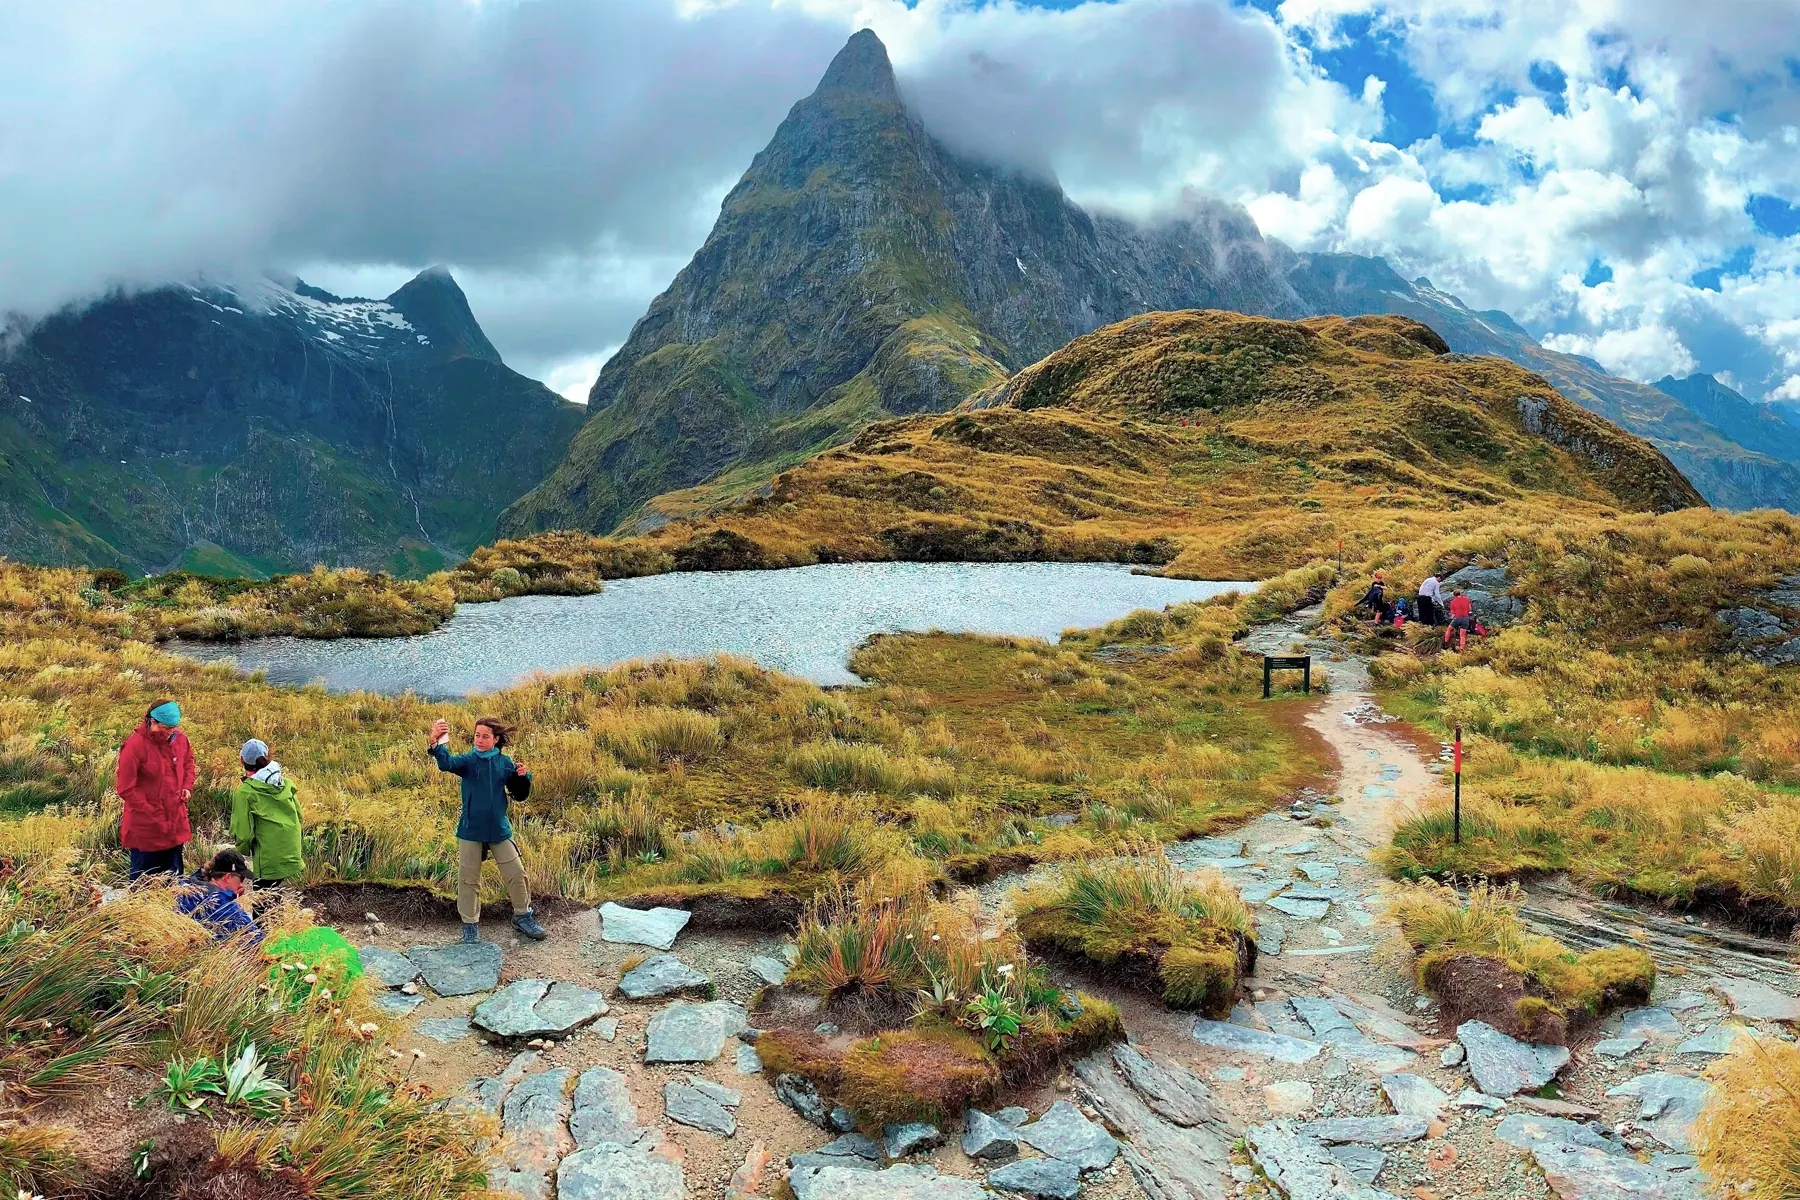
New Zealand is known as one of the most beautiful locations in the world for walking trails and epic scenery, and after travelling around this country I call home it’s only natural that I’ve been on a couple of gorgeous walks here and there!
MY FIVE FAVOURITE NEW ZEALAND HIKES
To kick start this article I’ll start out with my favourite of my best New Zealand hikes that’s a kiwi classic and shouldn’t be missed when travelling in the New Zealand backcountry.
1 - HOOKER VALLEY TRACK
TIME: 3-hour return
DISTANCE: 10km return
LEVEL: Easy walk, mostly flat gradient
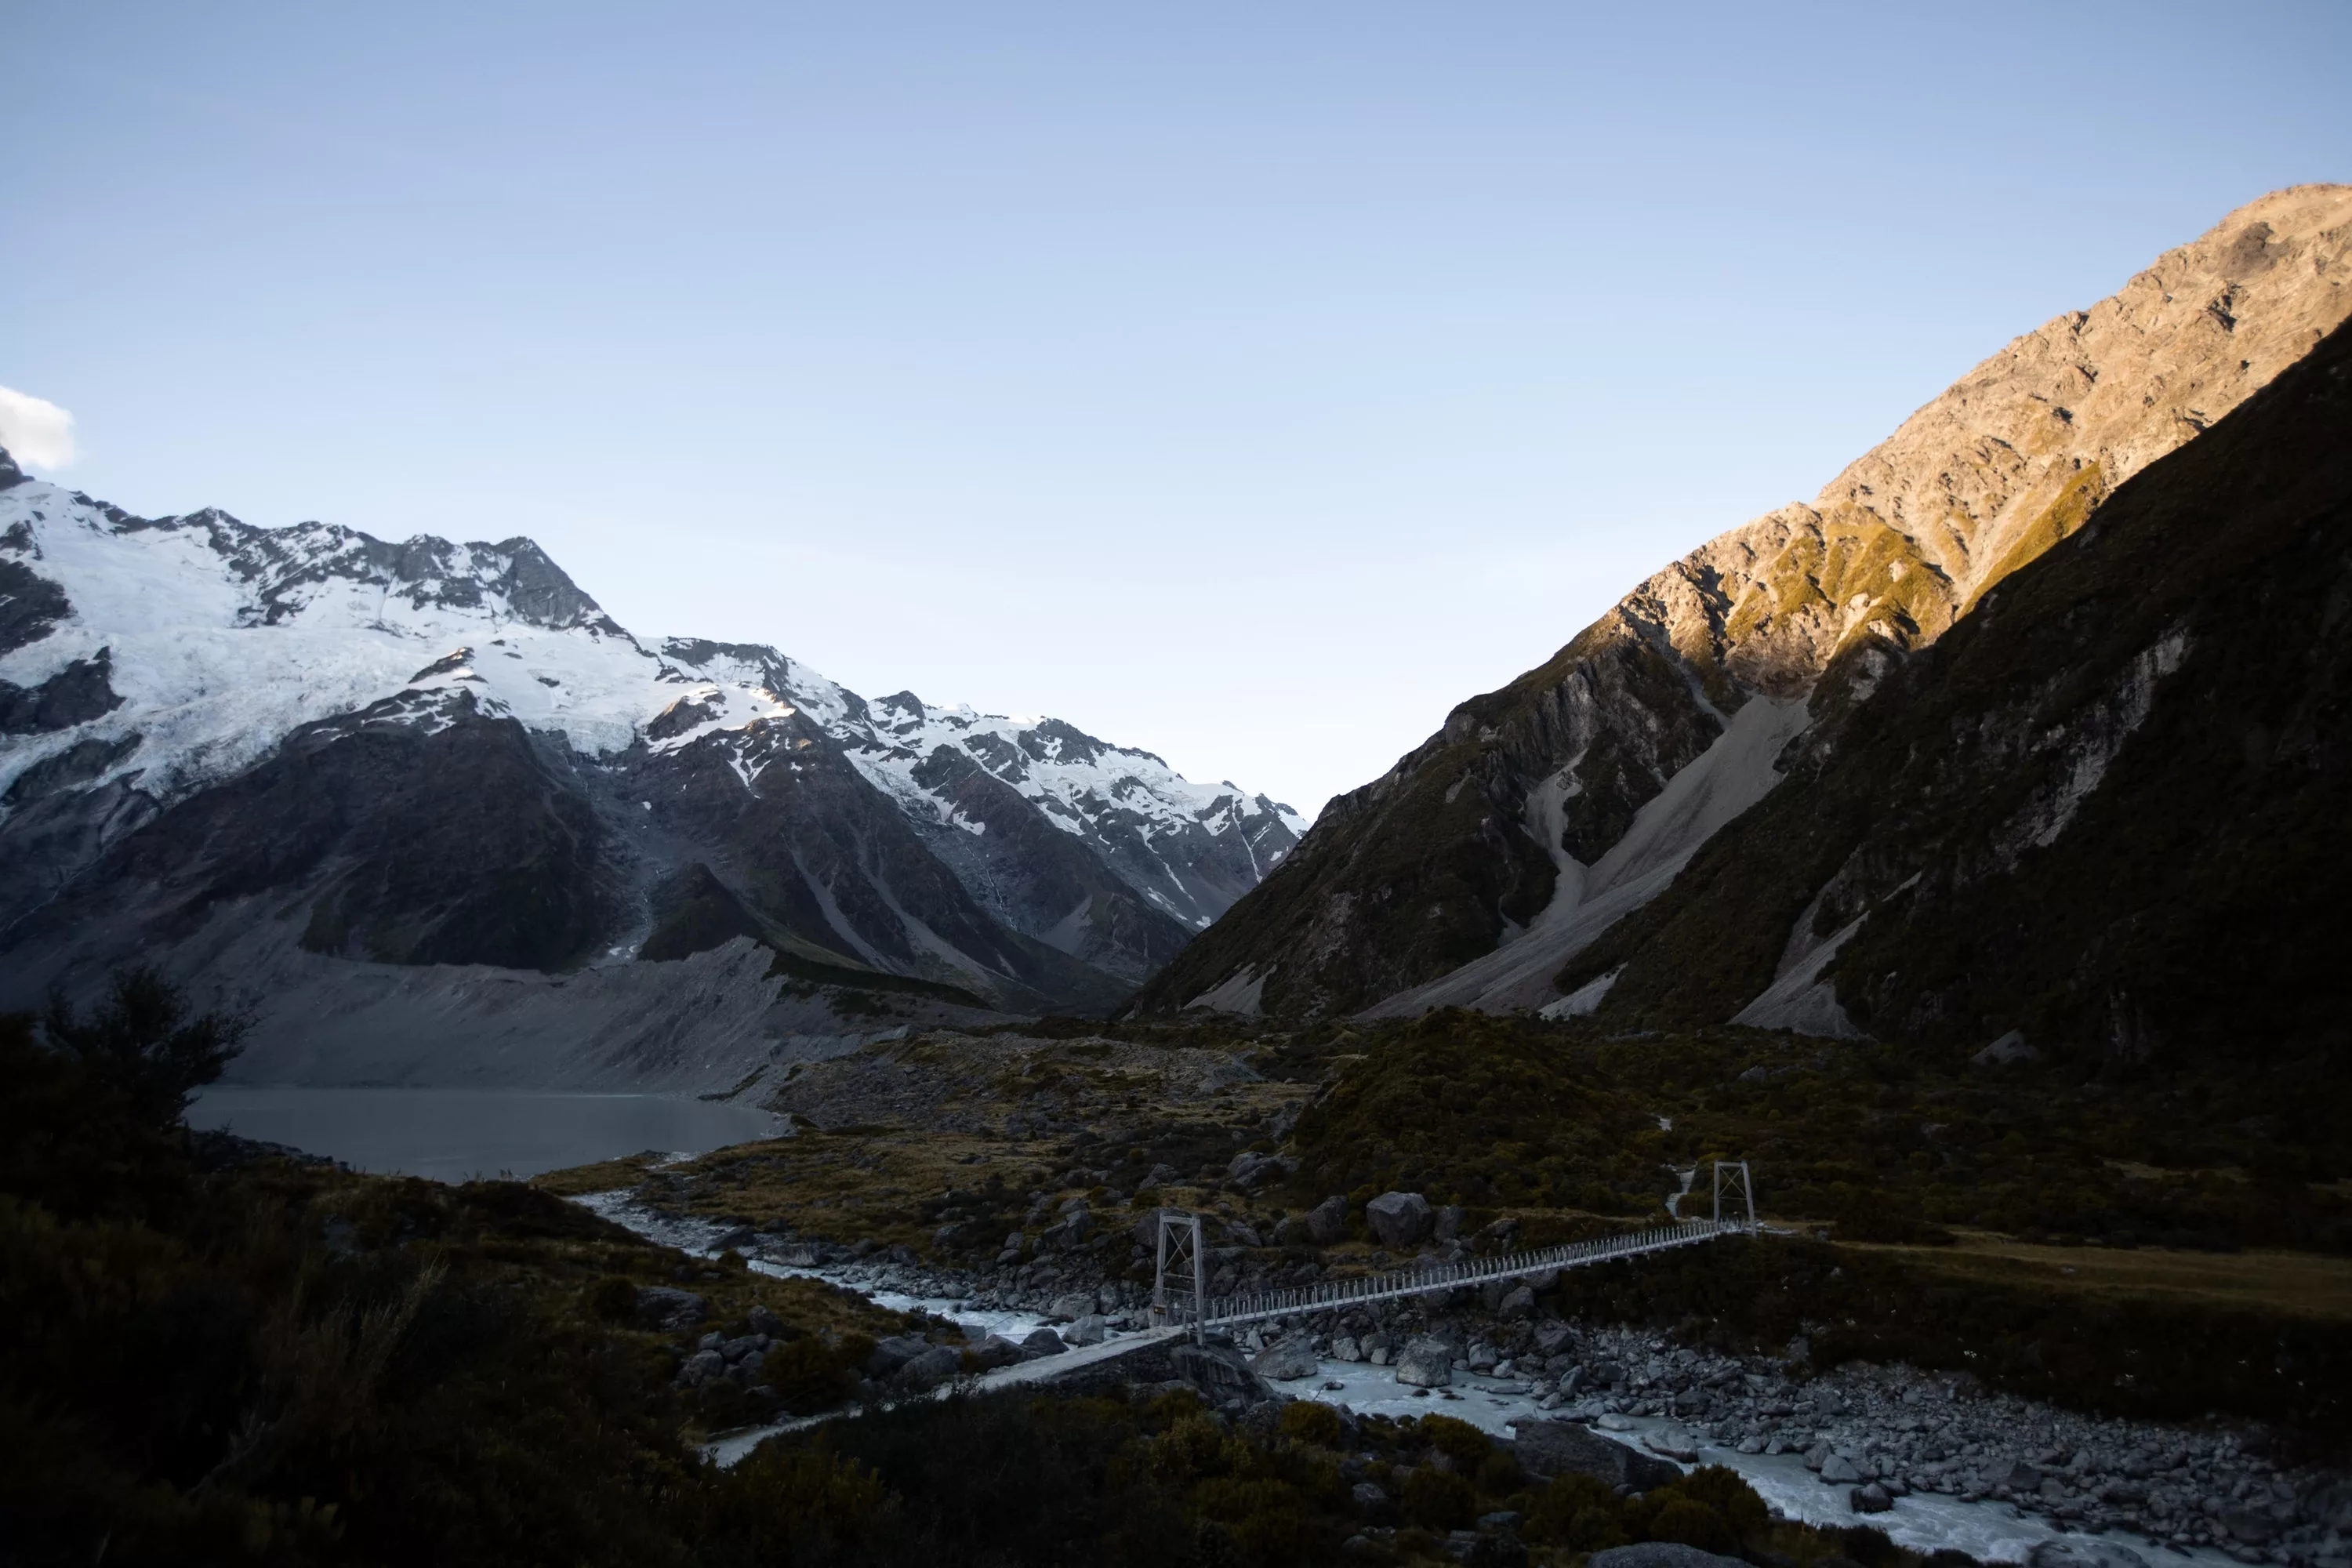
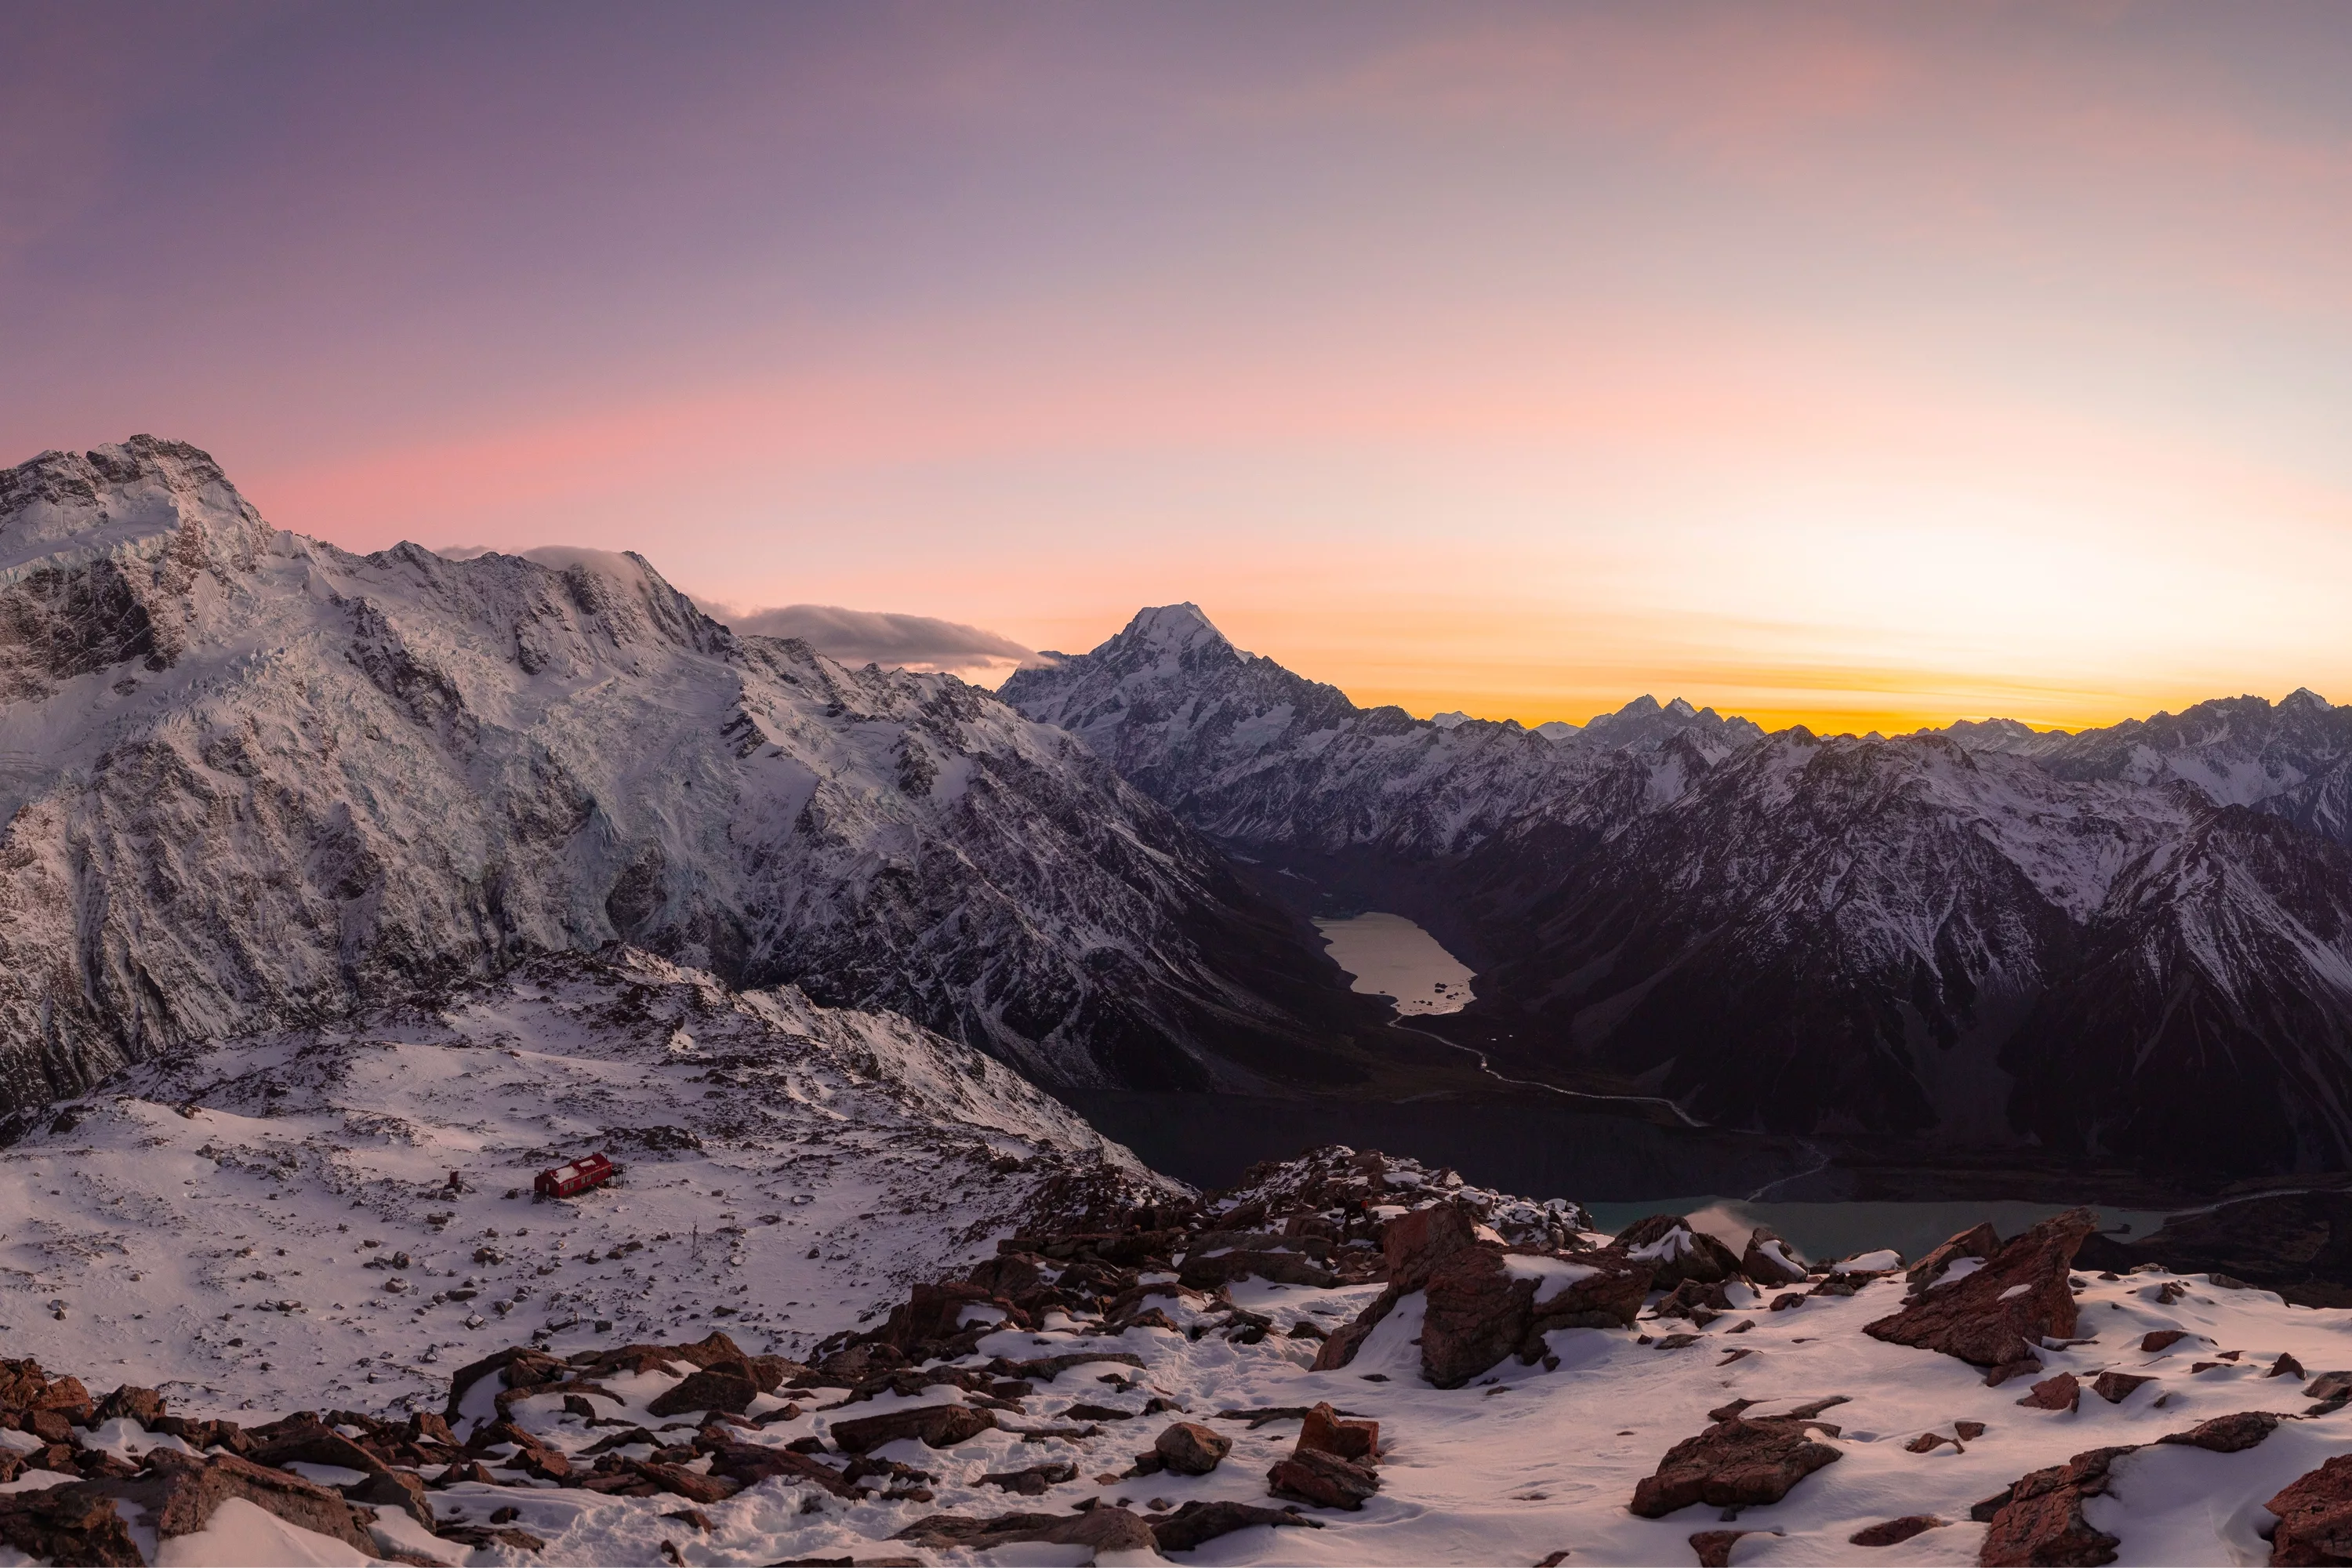
The Hooker Valley Track is an easy and popular day walk in Aoraki Mount Cook National Park. I love this walk as it gives a large insight into Hooker Valley and our tallest mountains with Aoraki Mount Cook being the largest at 3,724m. The best part is it’s an easy and accessible track for just about everyone and like many walks in Aoraki, this walk makes us humans feel small but extremely connected to how epic our natural world is.
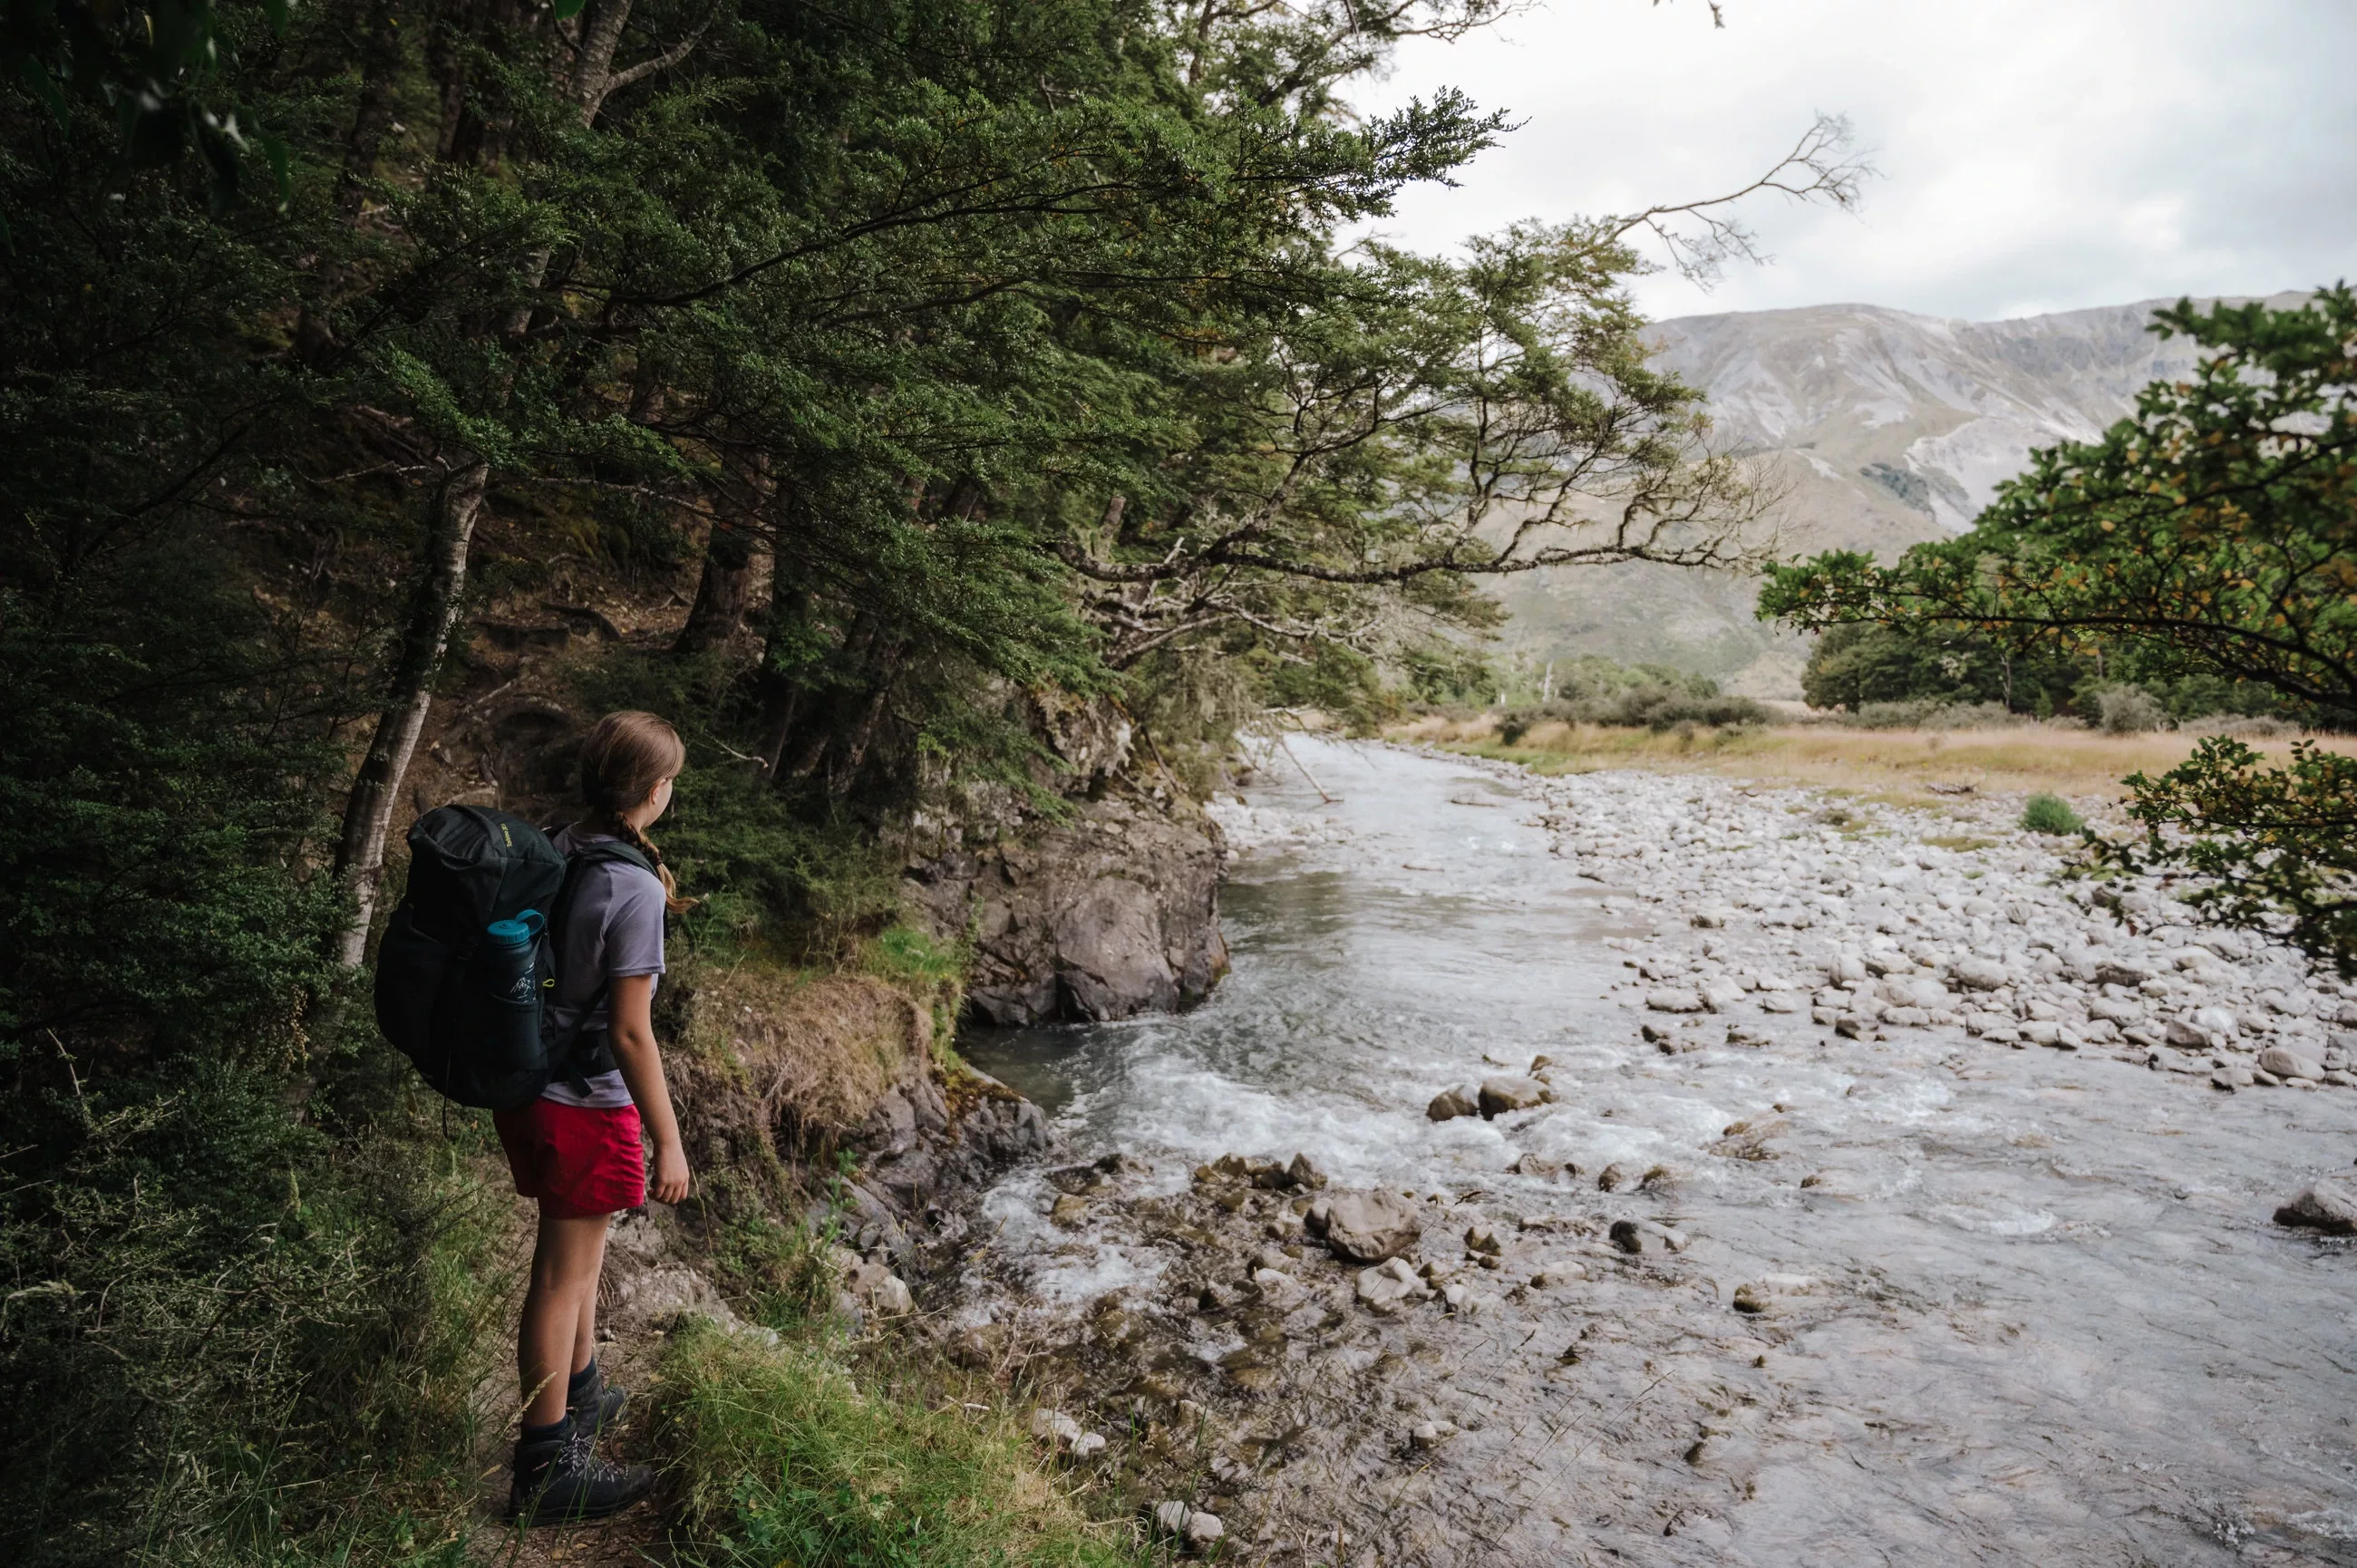
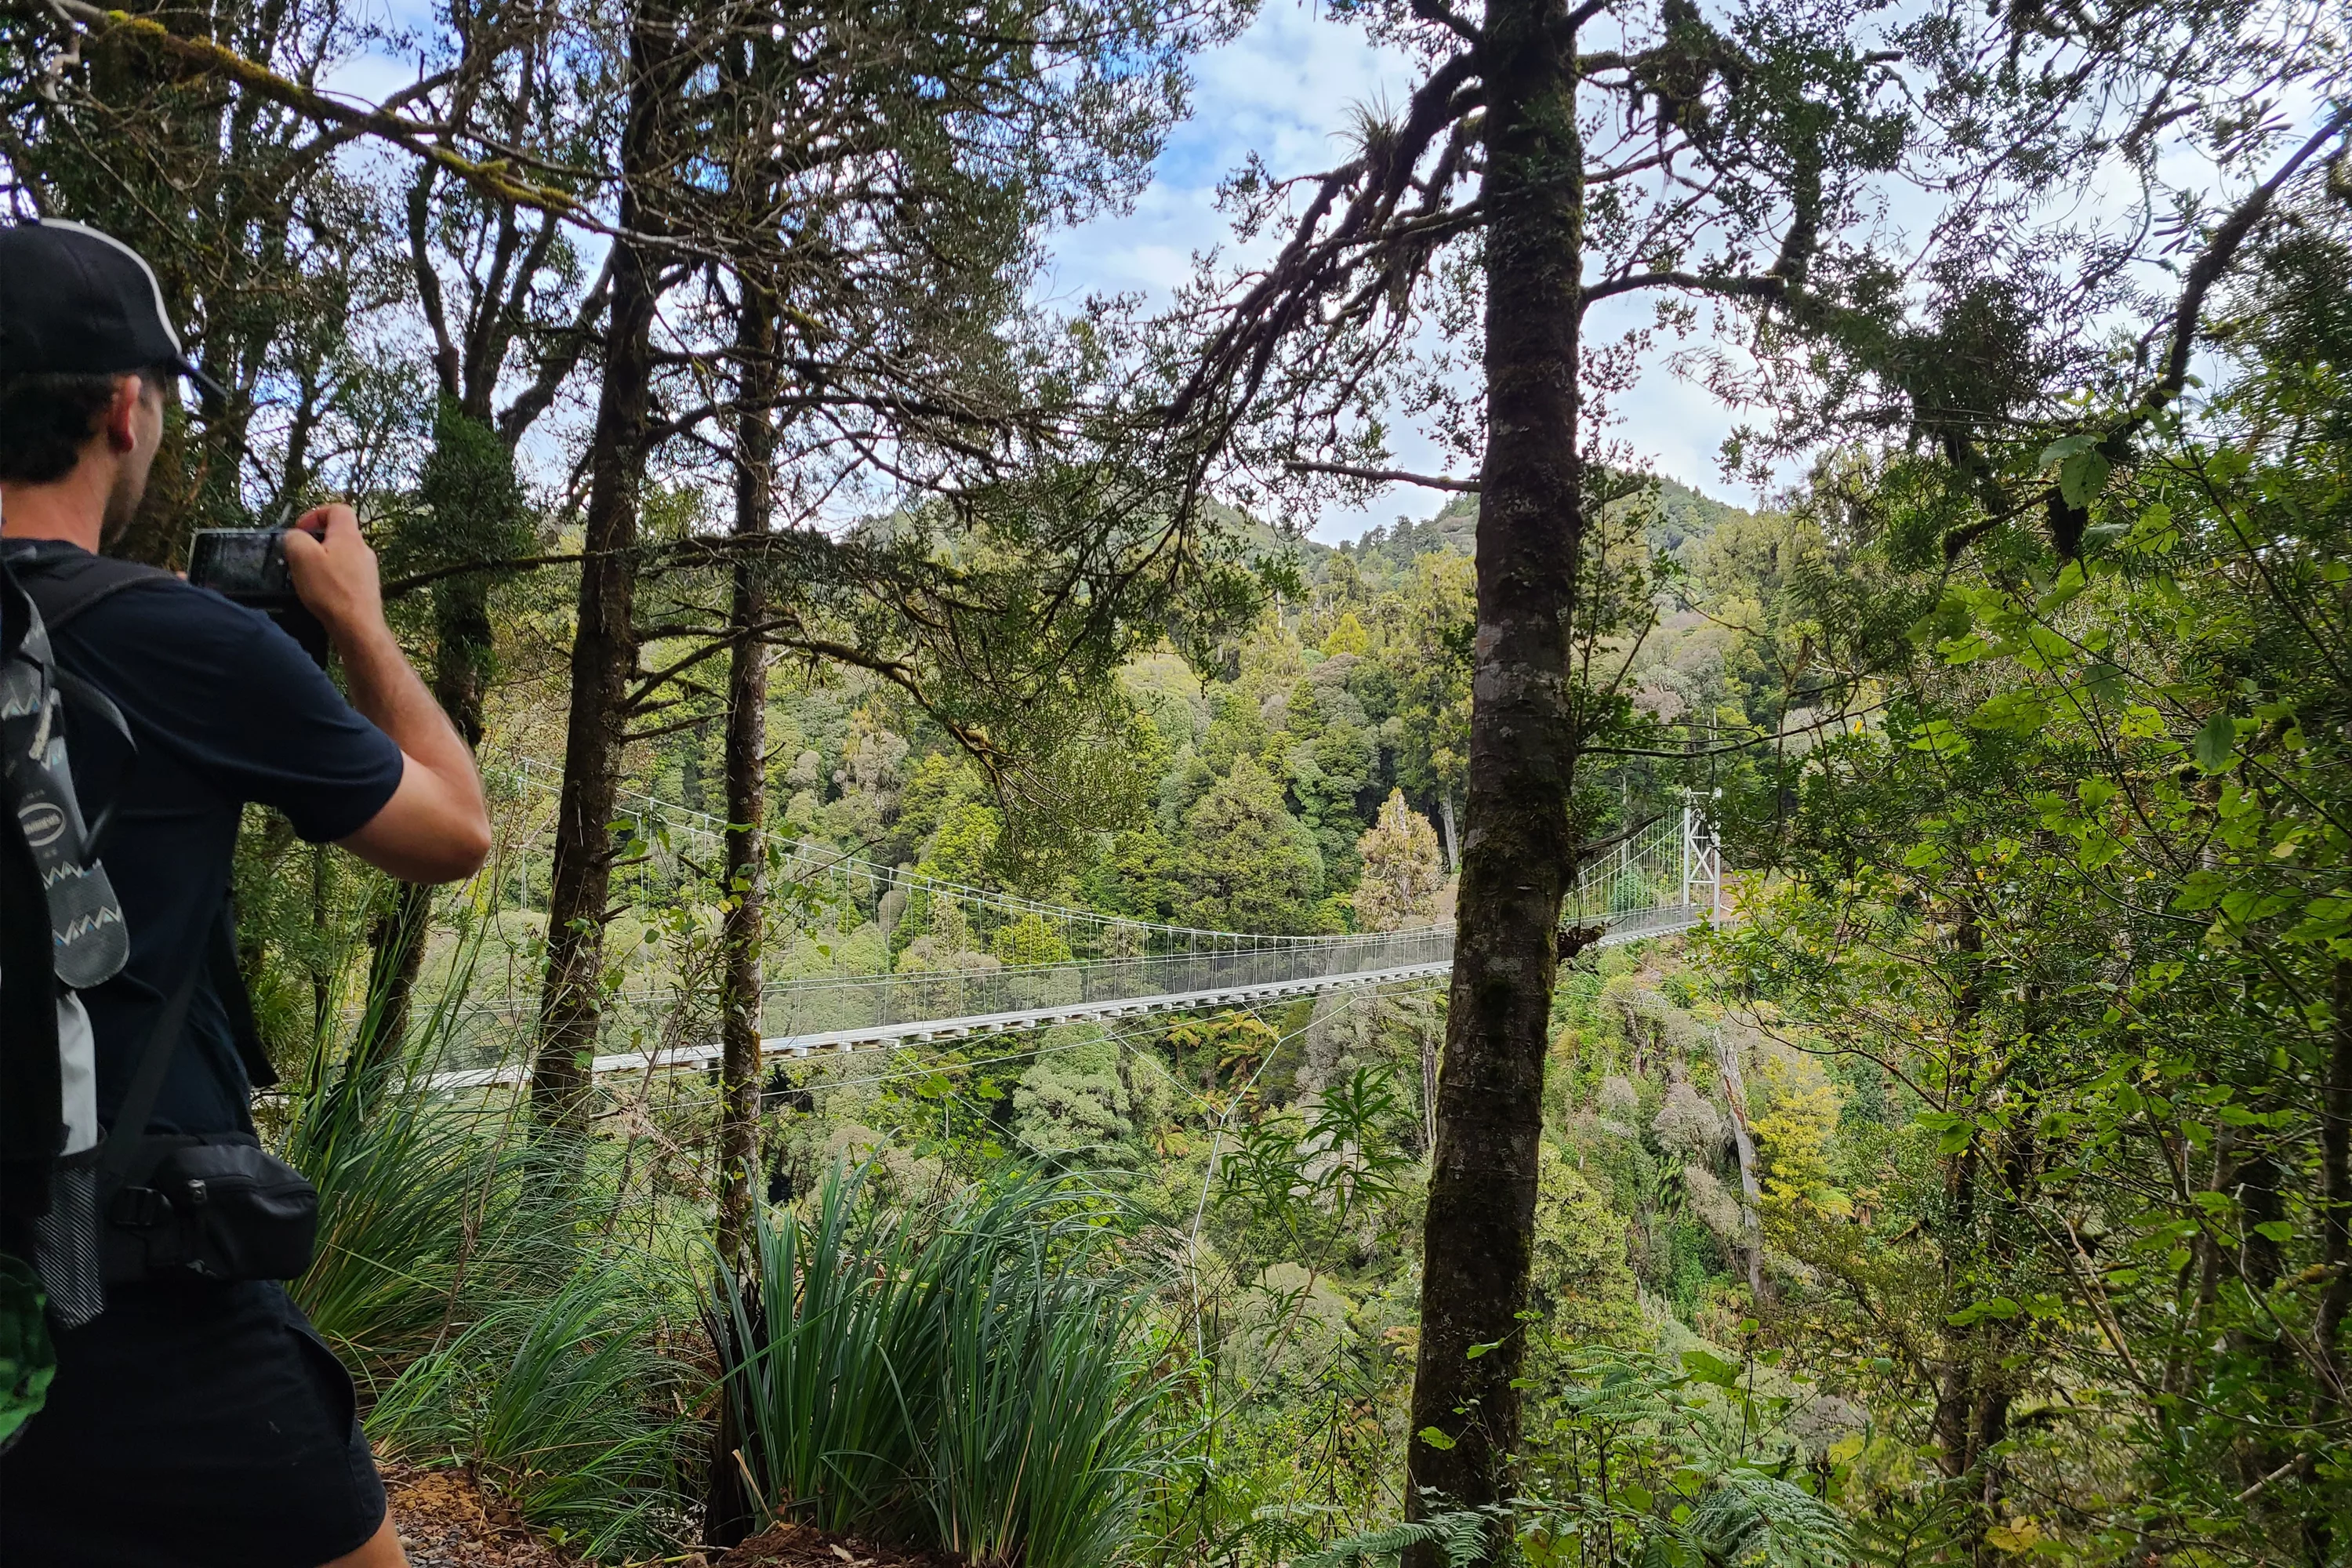
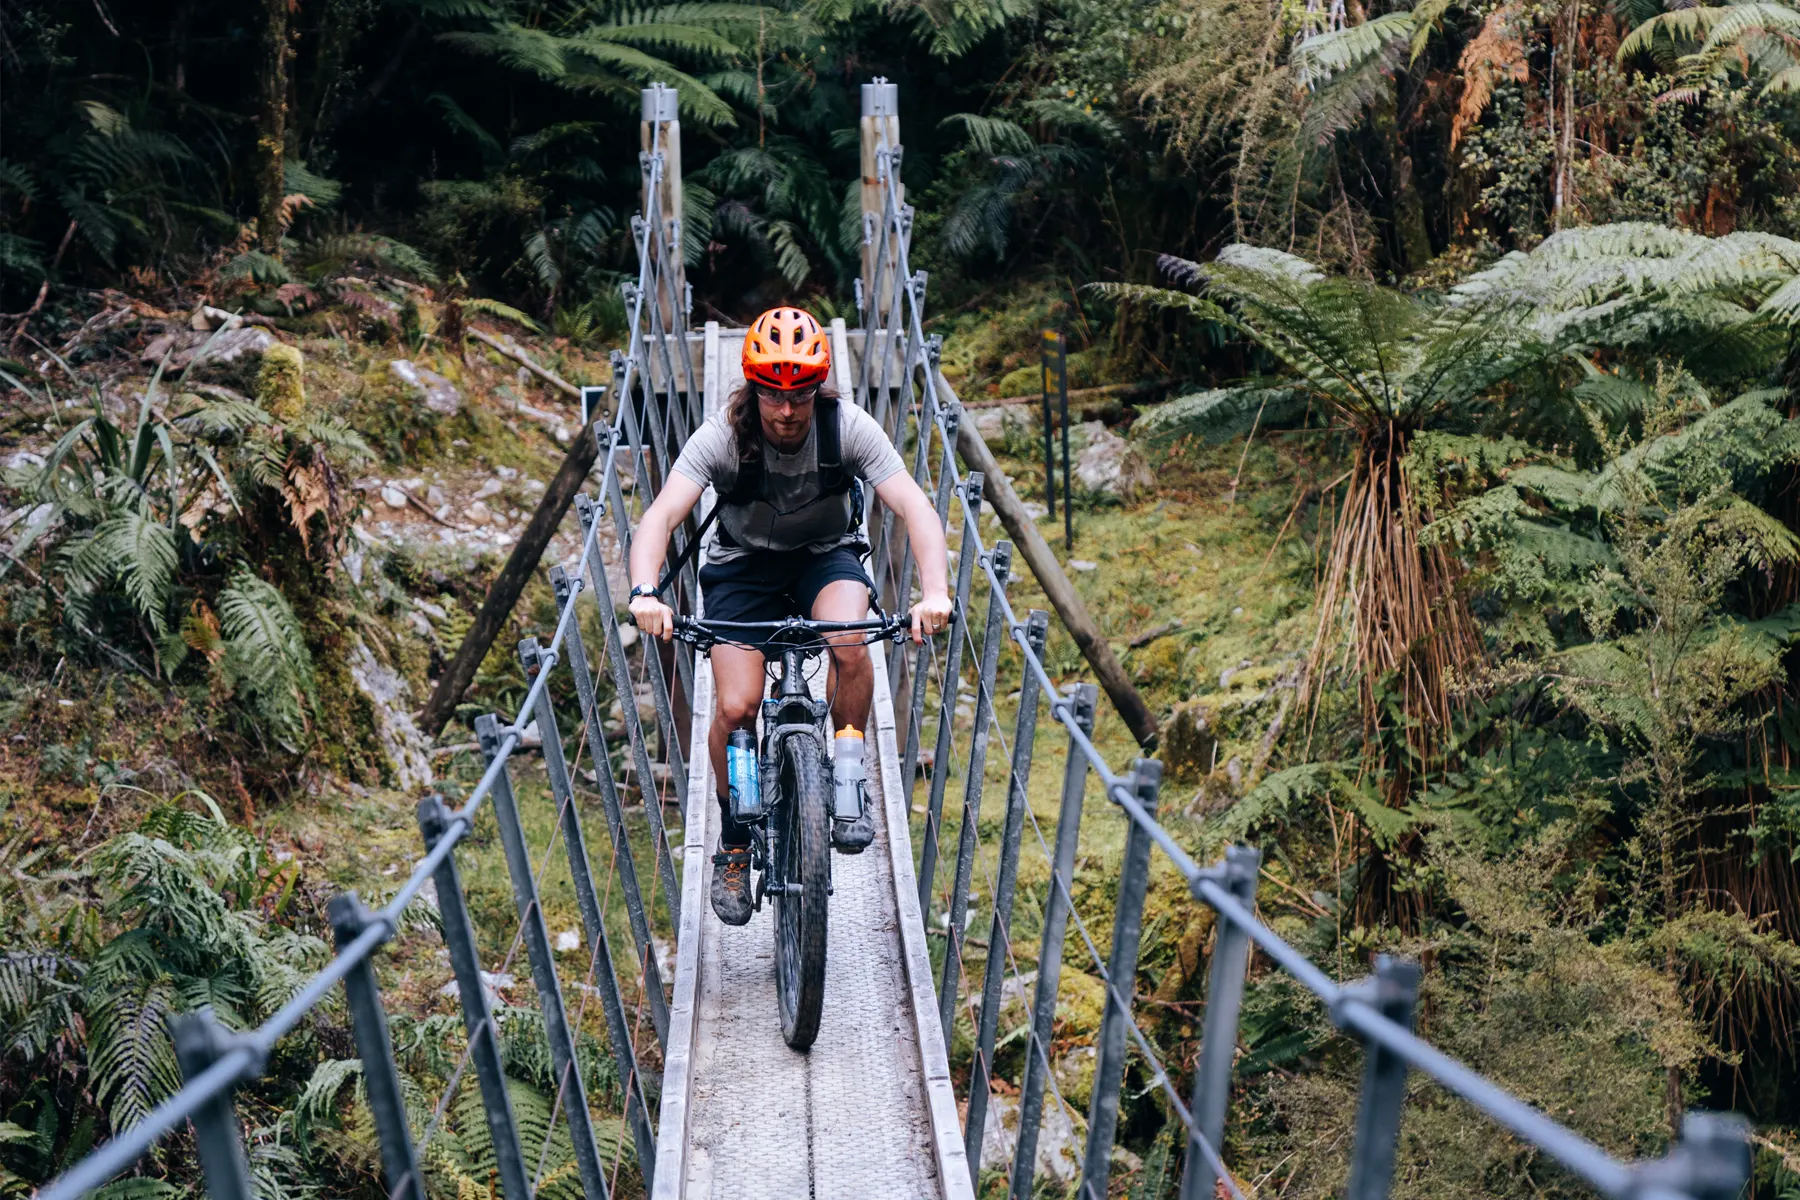
To access this walk you'll need to be at either Mount Cook Village or White Horse Hill Campground. If you’re walking from the village it will take an extra 15 minutes each way. The walk will take you on a well-carved trail from the campsite and through the valley. You’ll cross three impressive suspension bridges that take you over the Hooker River which flows from the Mueller Glacier and Hooker Lake.
As you wind through Hooker Valley you’ll be rewarded with views of Mount Sefton and at the halfway point Aoraki will begin to beam at you from the base of Hooker Valley. Once you reach the end you’ll be greeted by Hooker Lake & Glacier and Aoraki all encapsulated in the mountains. Depending on the time of your visit there are likely to be icebergs present in the lake. And if you’re brave enough - also a great spot for a swim.
2 - PARACHUTE ROCKS & SAINT ARNAUD RANGE
TIME: 5-hour return
DISTANCE: 10km return
LEVEL: Advanced track, mostly uphill
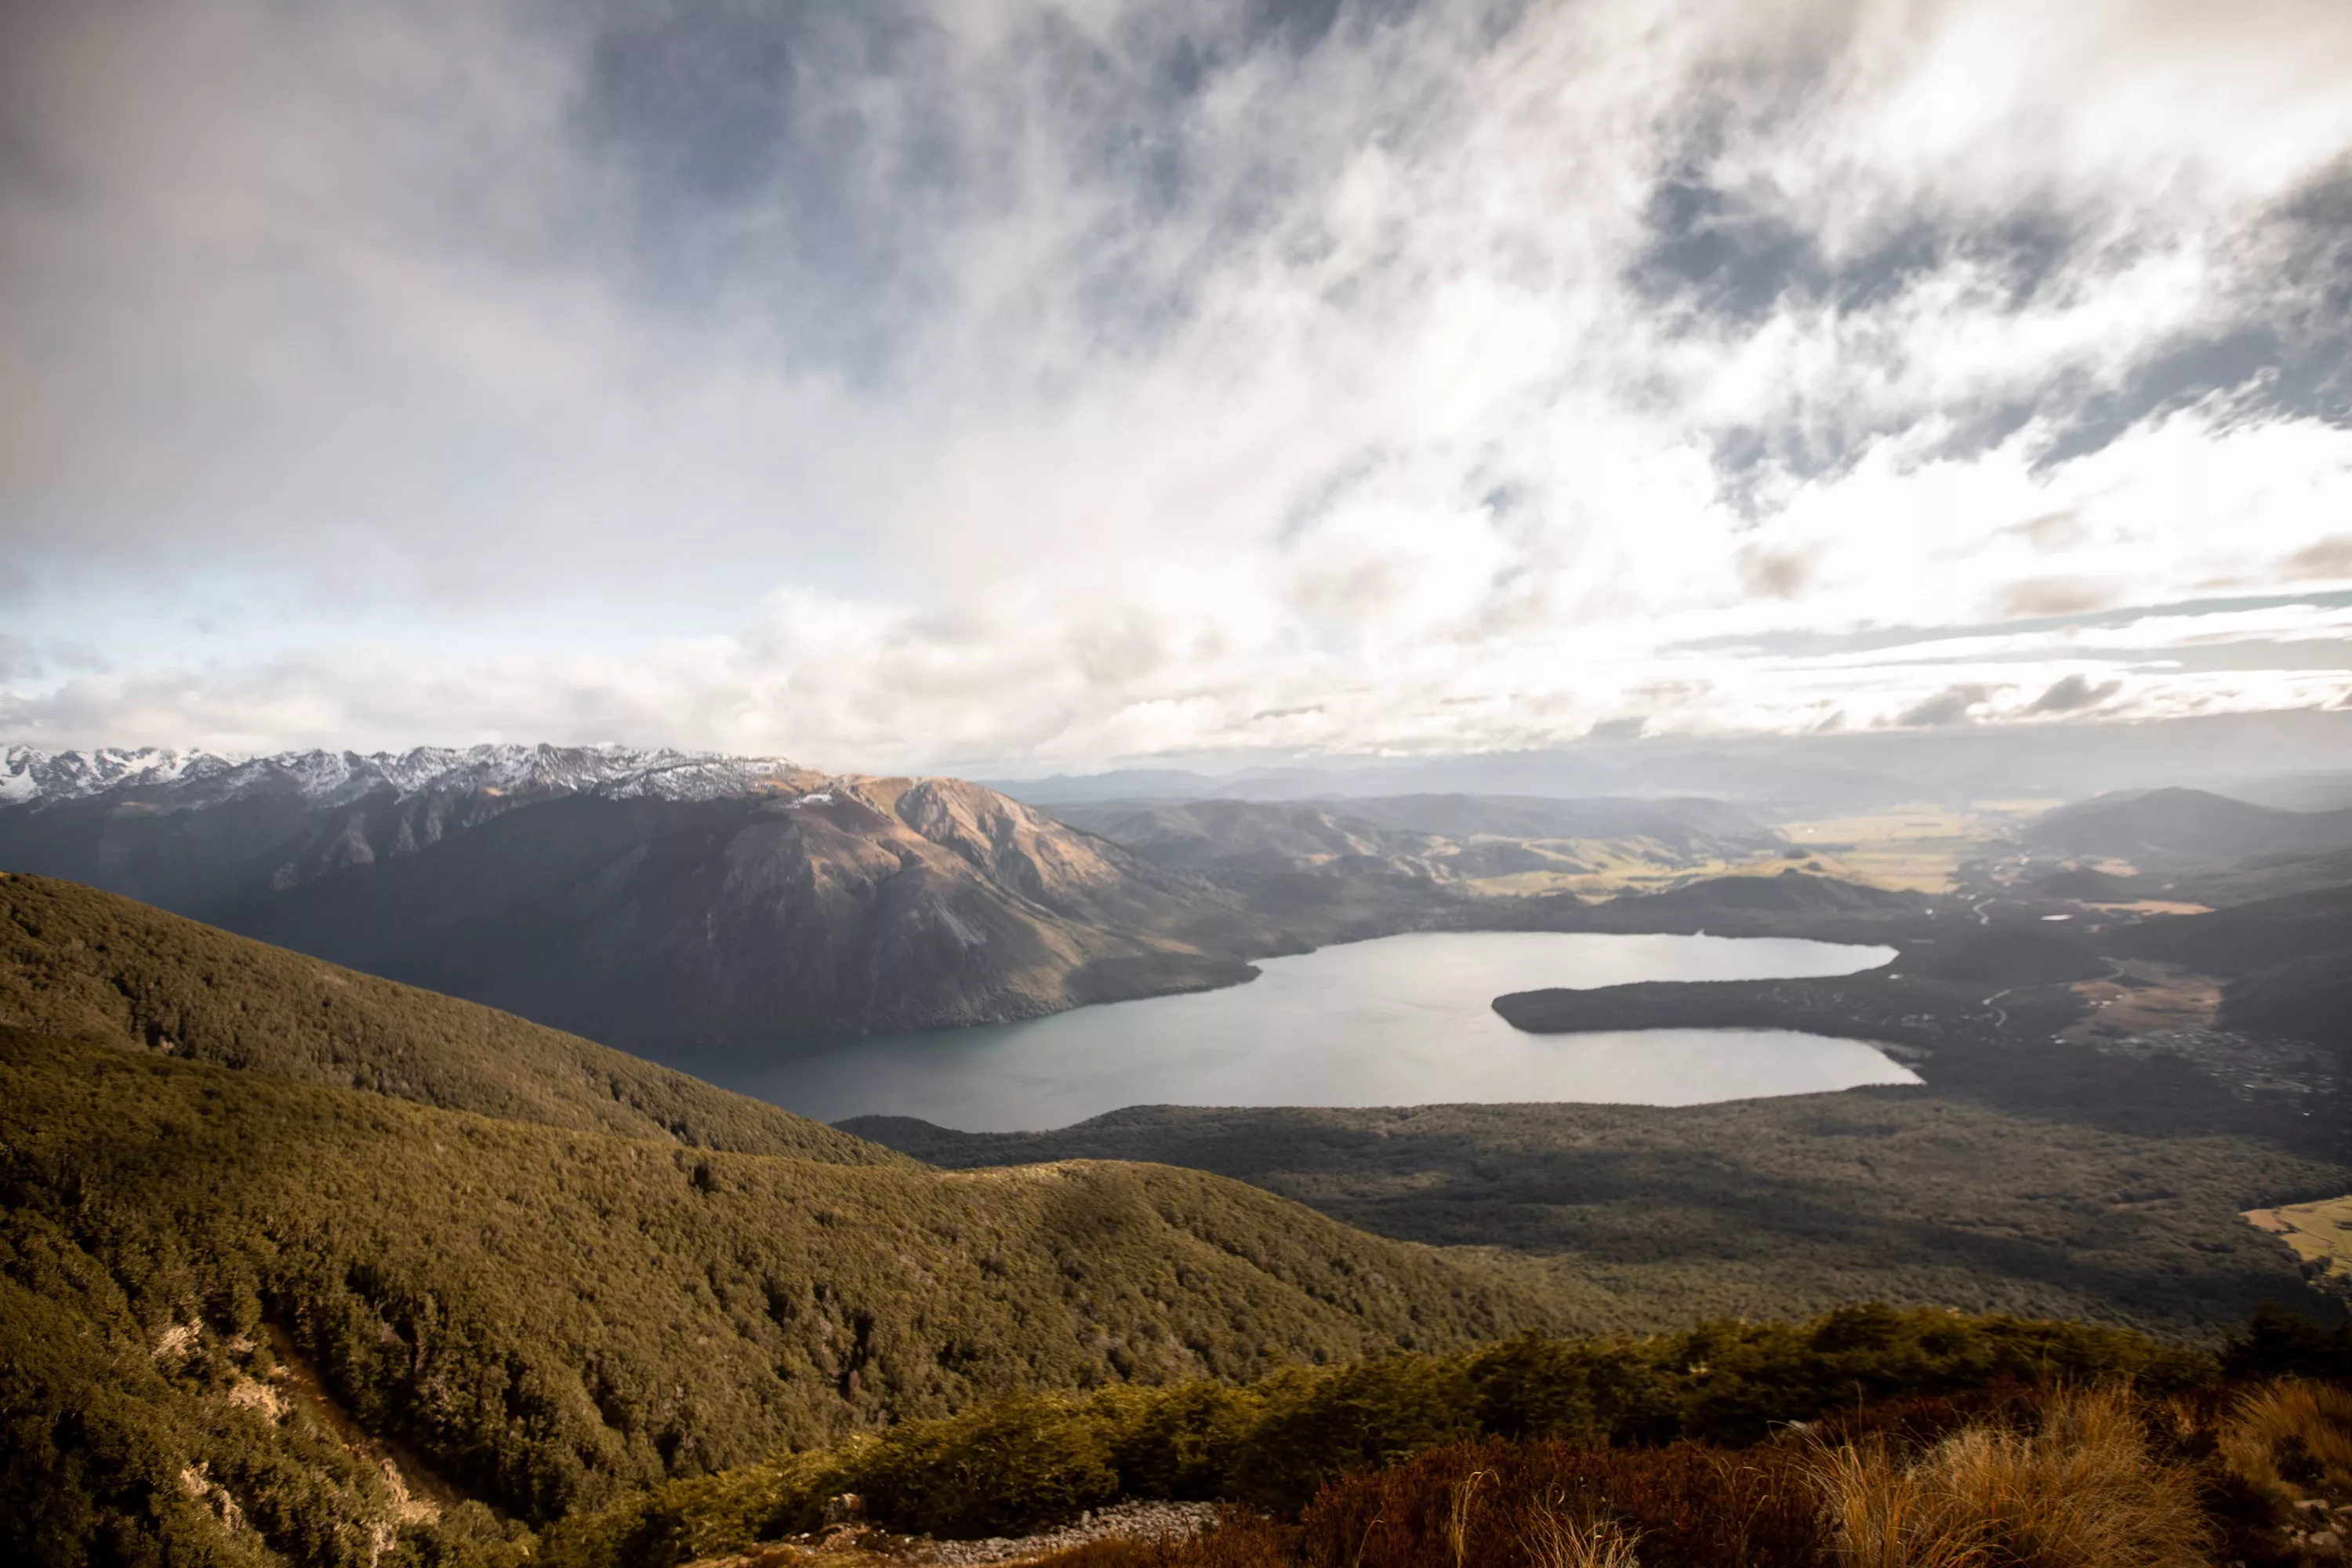
I love St Arnaud Range Track walk as it’s a great option if you want to get some height but also enjoy and marvel at a good chunk of Nelson Lakes National Park and the Tasman area. The walk begins from Kerr Bay, the most northern bay at Lake Rotoiti, where you will wind around part of the lake for half an hour on mostly flat terrain. The track starts to climb once you divert and cross the river and this is where the tougher part begins.
From here you’ll wind up through the native bush to alpine scrub and eventually pop out to the Parachute Rocks which sit just above the bush line. It’s worth taking a break here and take in the breathtaking view of Lake Rotoiti before continuing to the top of Saint Arnaud Range.
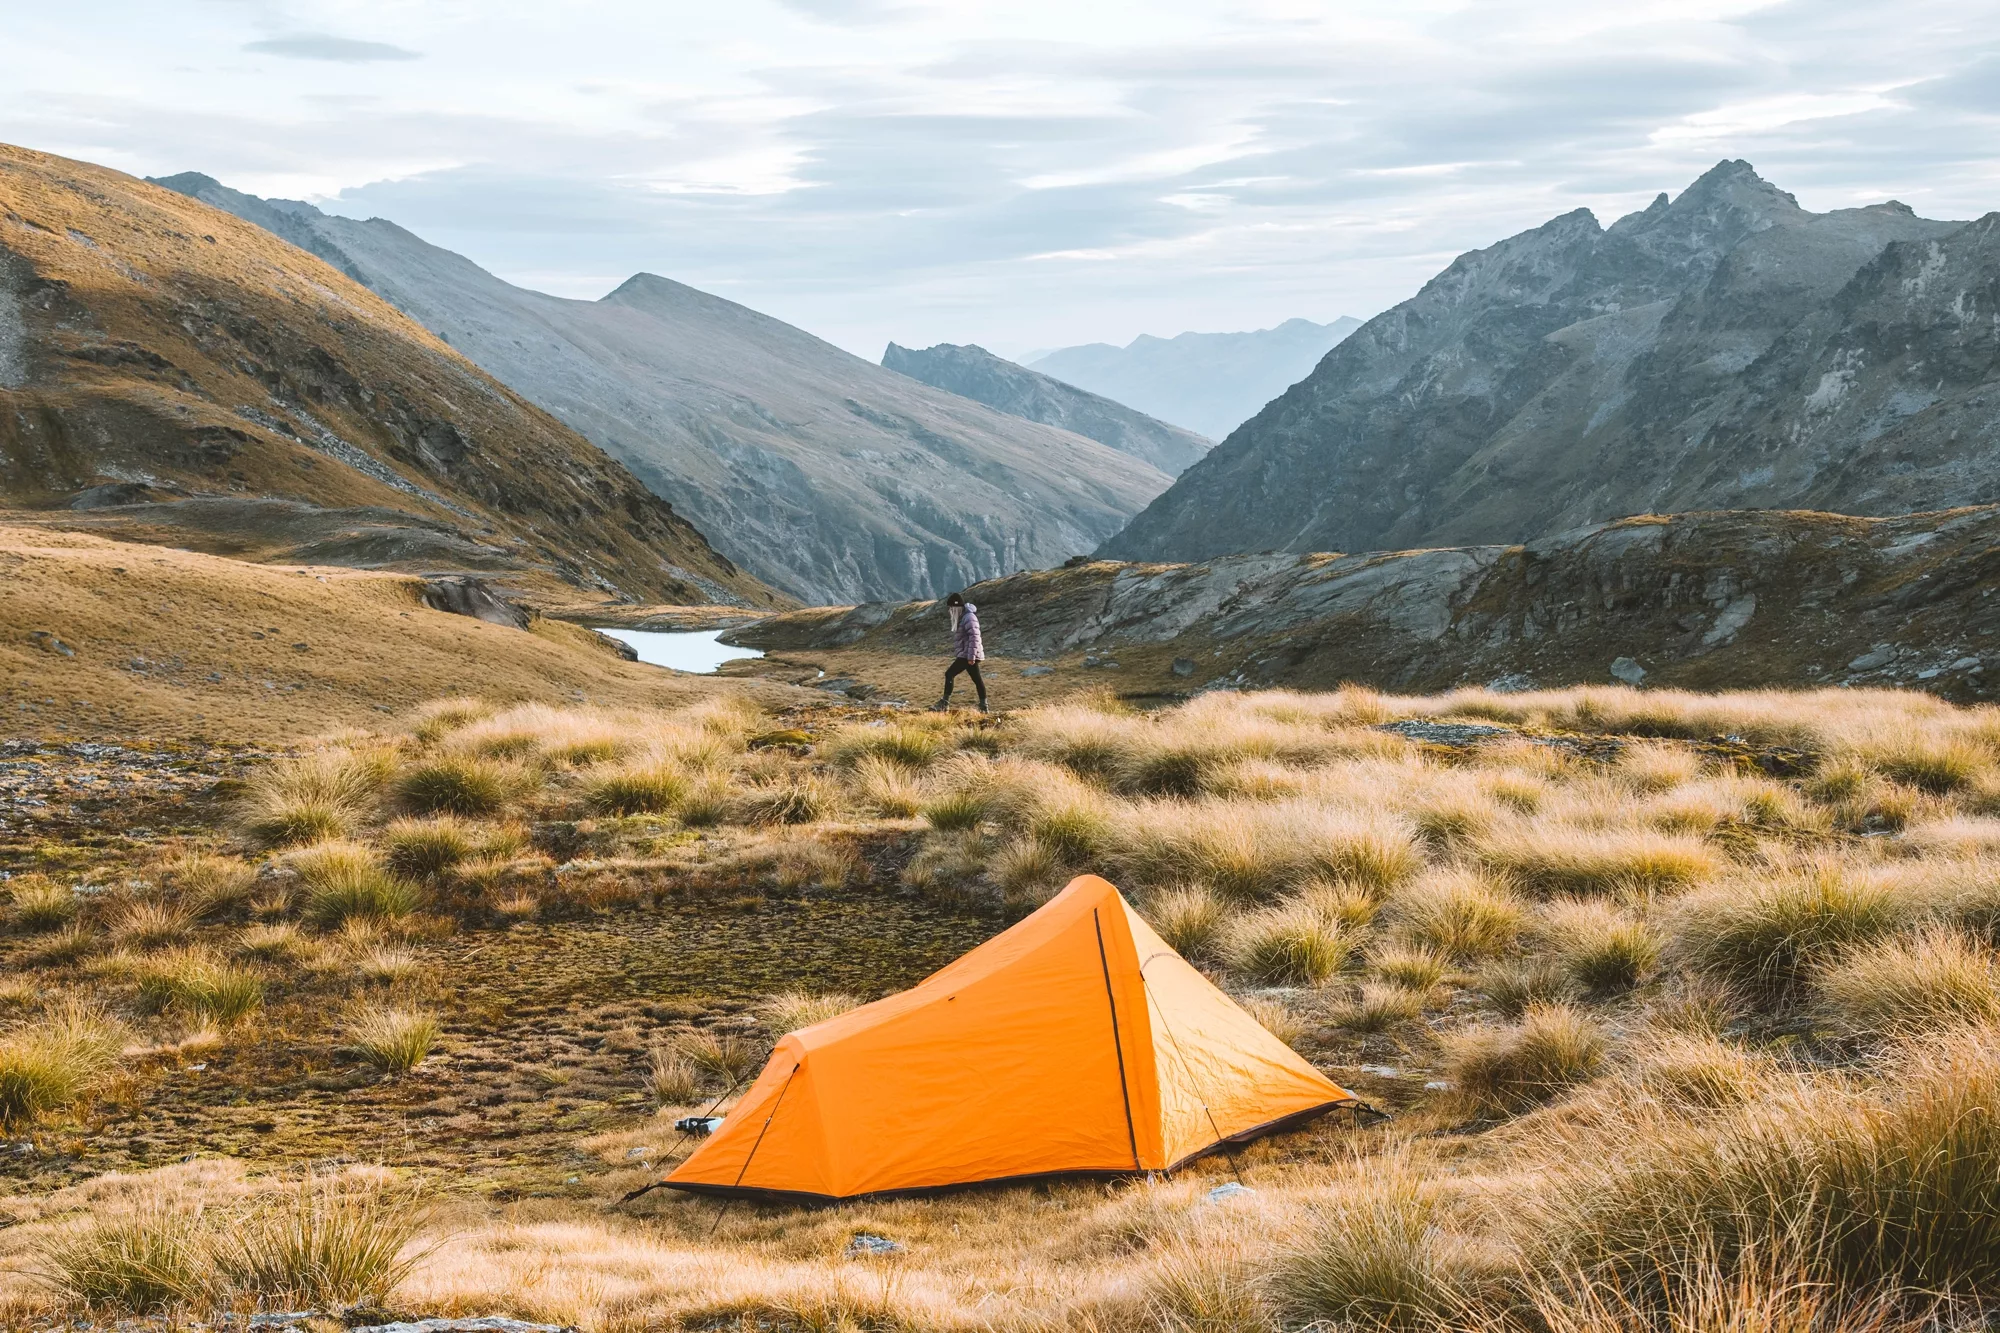
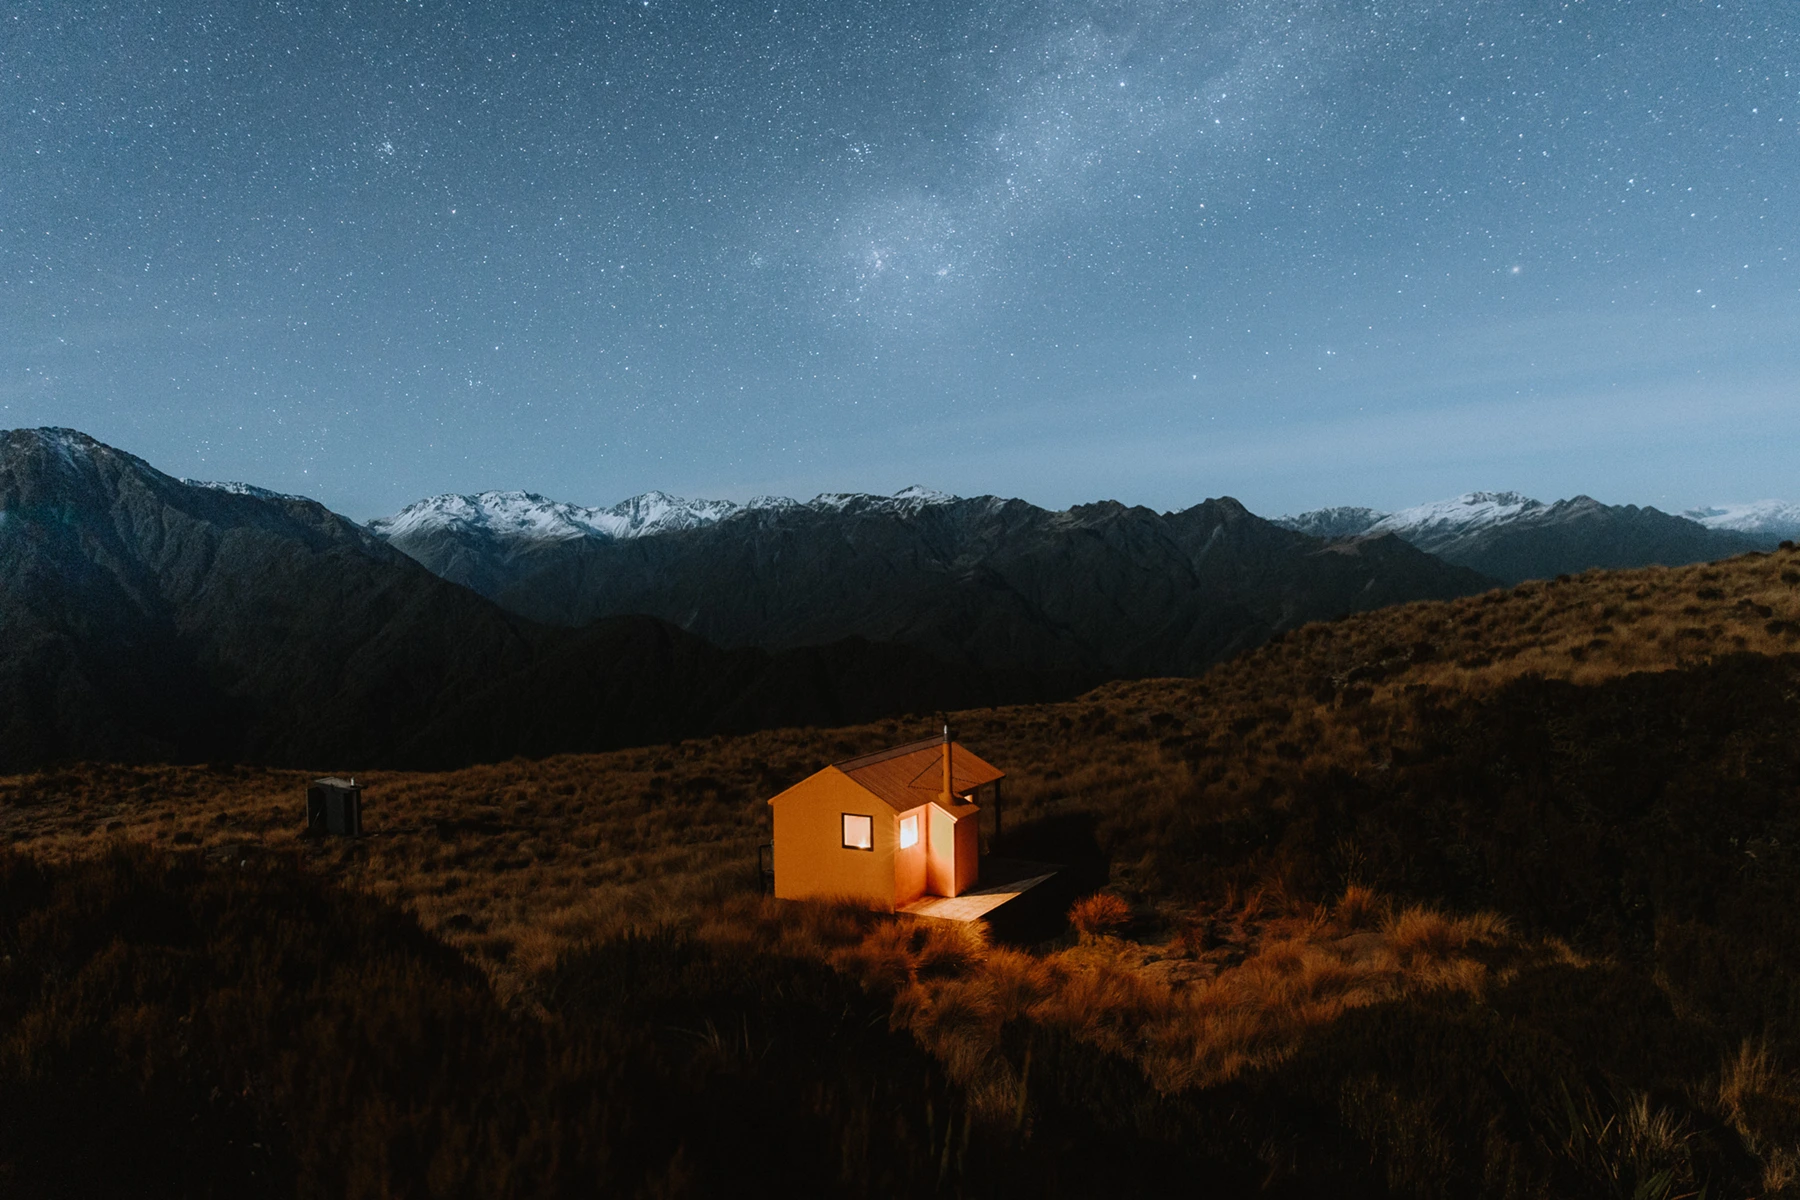
It’s a 30-minute steep zig-zag to the top of the range. Once you reach the top you’ll have a 360-degree view stretching down Wairau Valley, across Nelson to Kahurangi National Park, back around to Lake Rotoiti and across the range where you’ll see a handful of alpine tarns - great camping spots for an overnight trip.
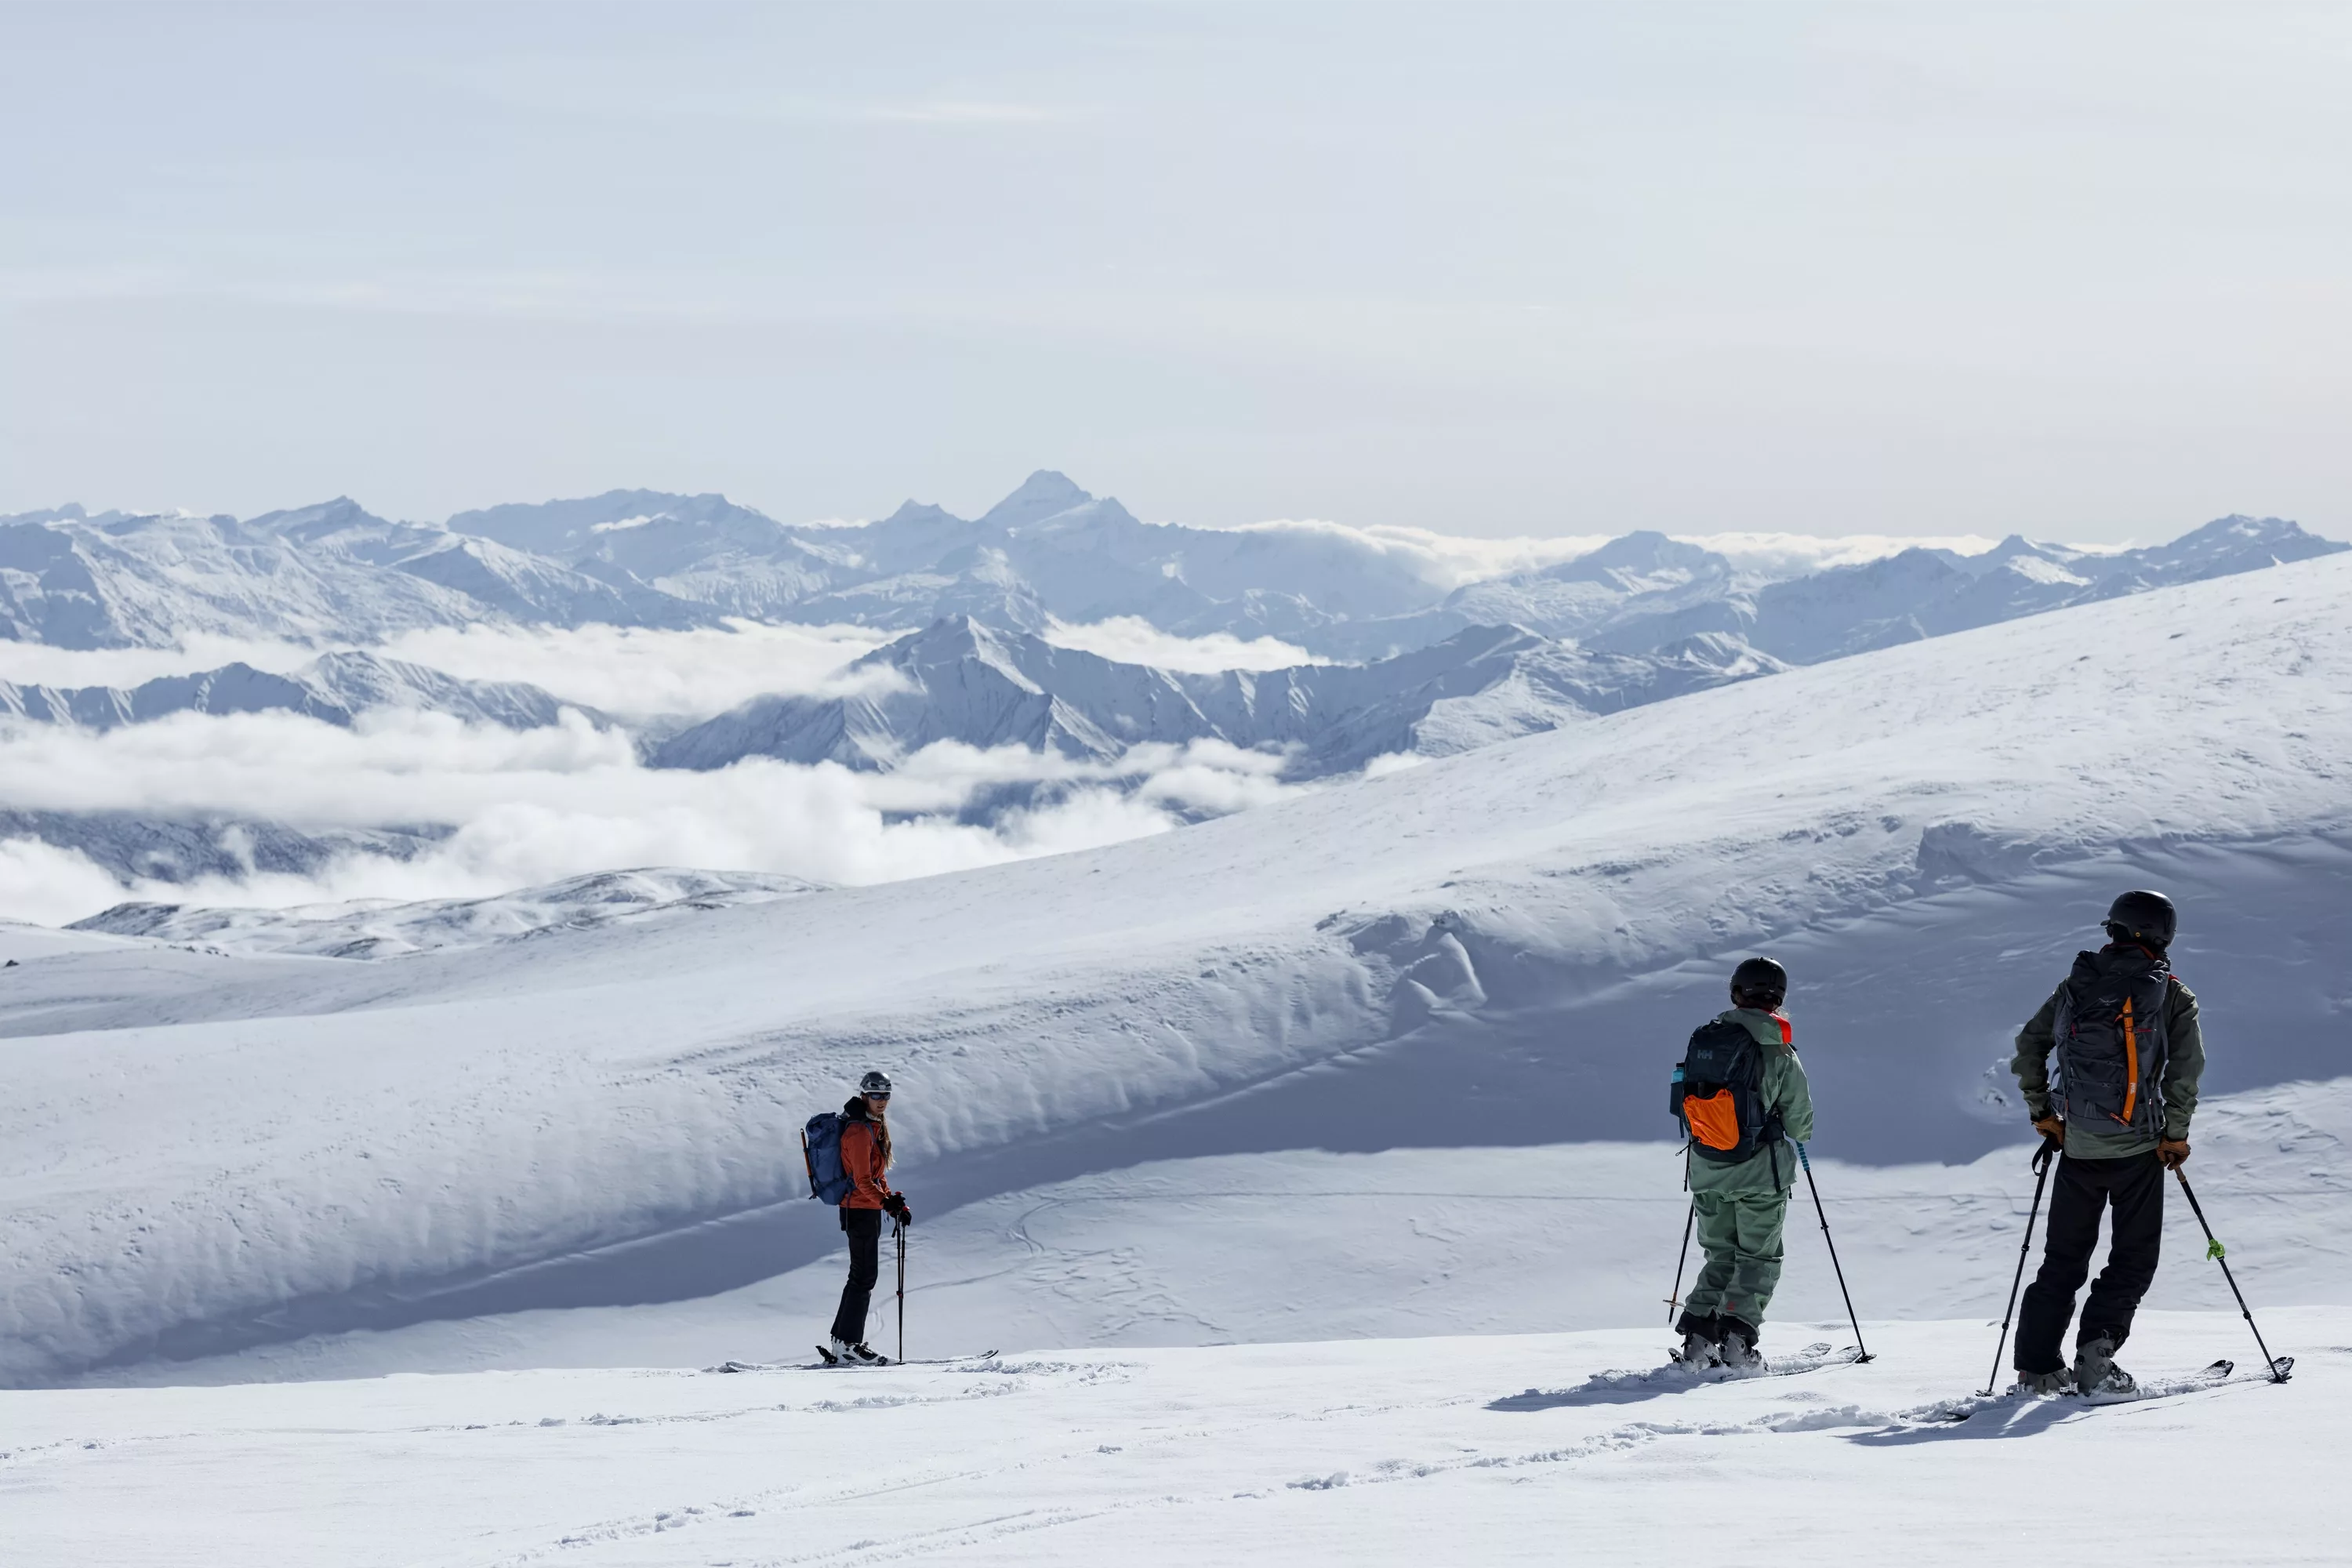
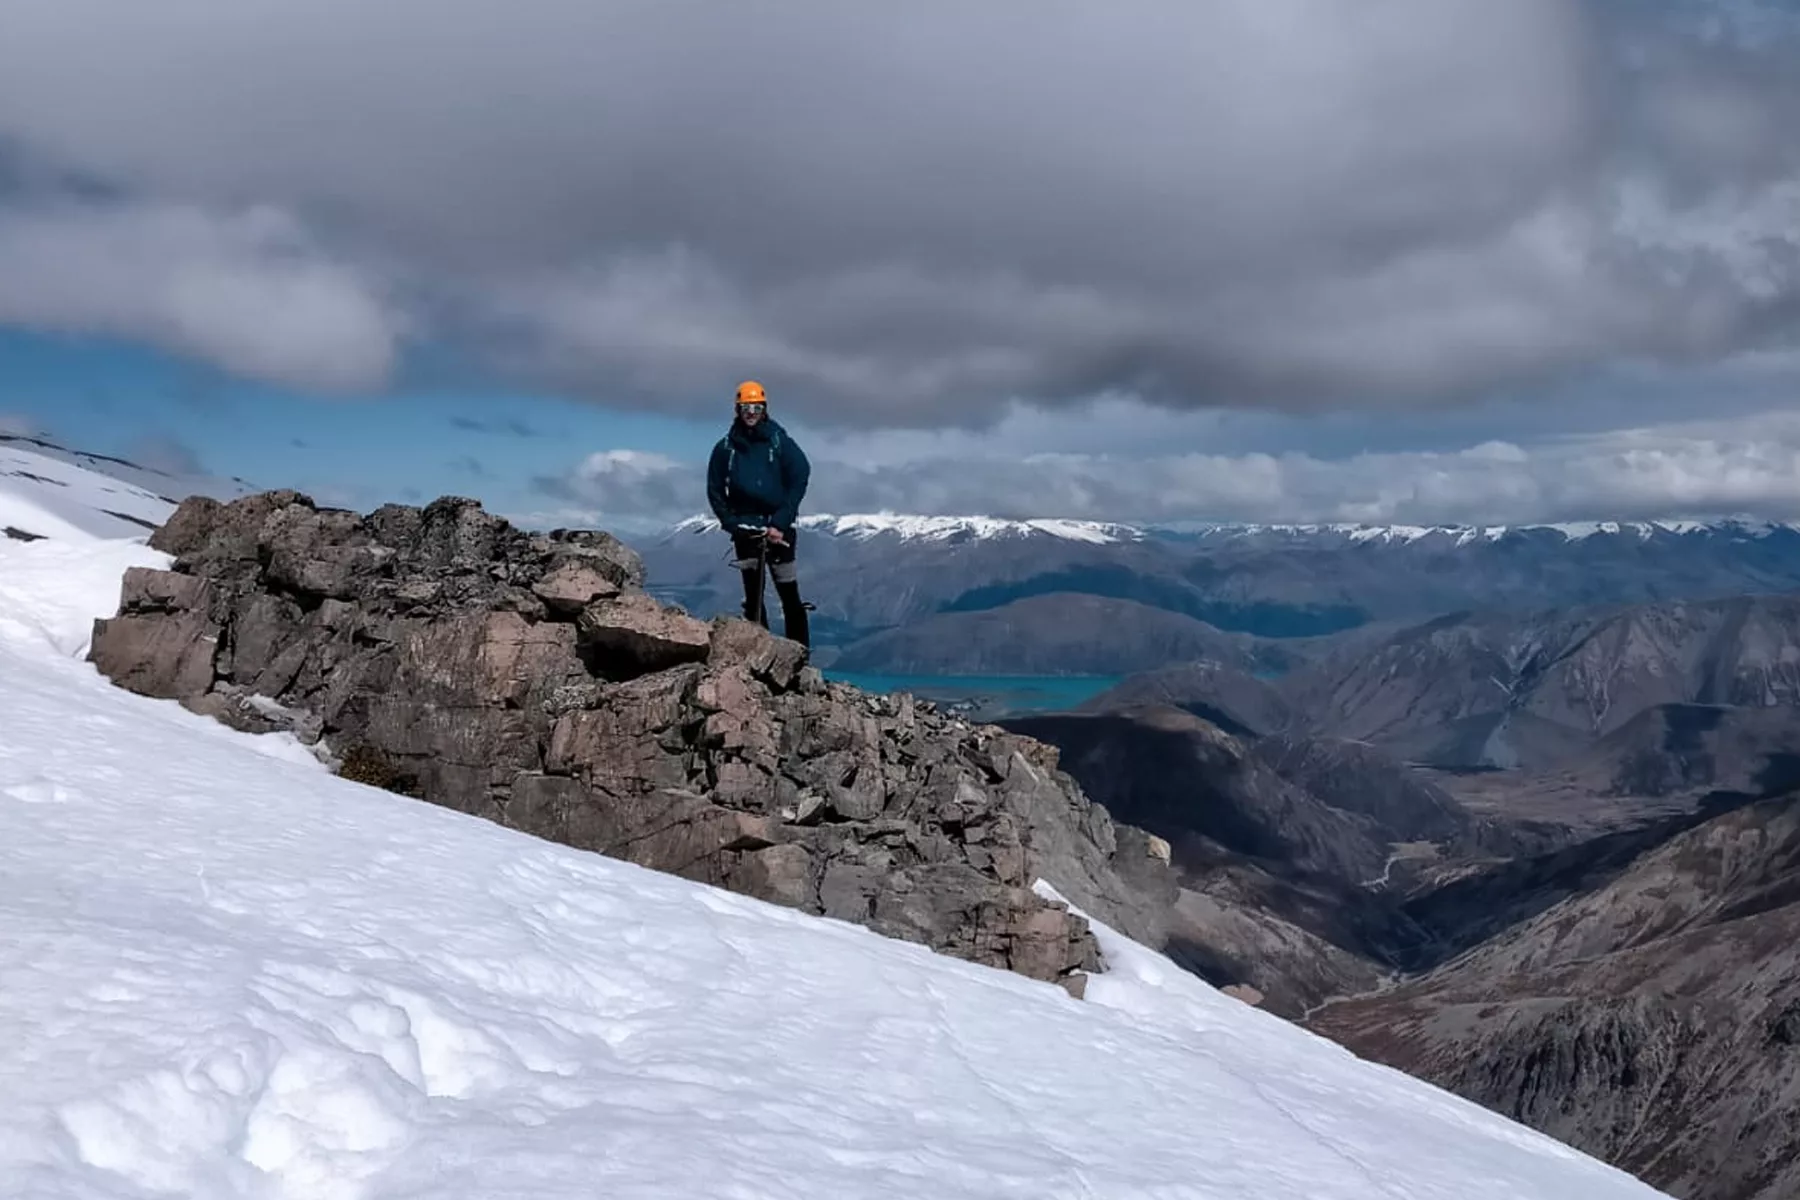
Conditions at the top can change fast. Snow and ice will be present in the winter months and alpine experience may be required. High winds and weather can change quickly and become unsafe fast up here, so keep an eye out and head back down if necessary.
3 - ISTHMUS PEAK
TIME: 5-7 hours return
DISTANCE: 16km return
LEVEL: Advanced, mostly uphill on a 4WD track to the summit
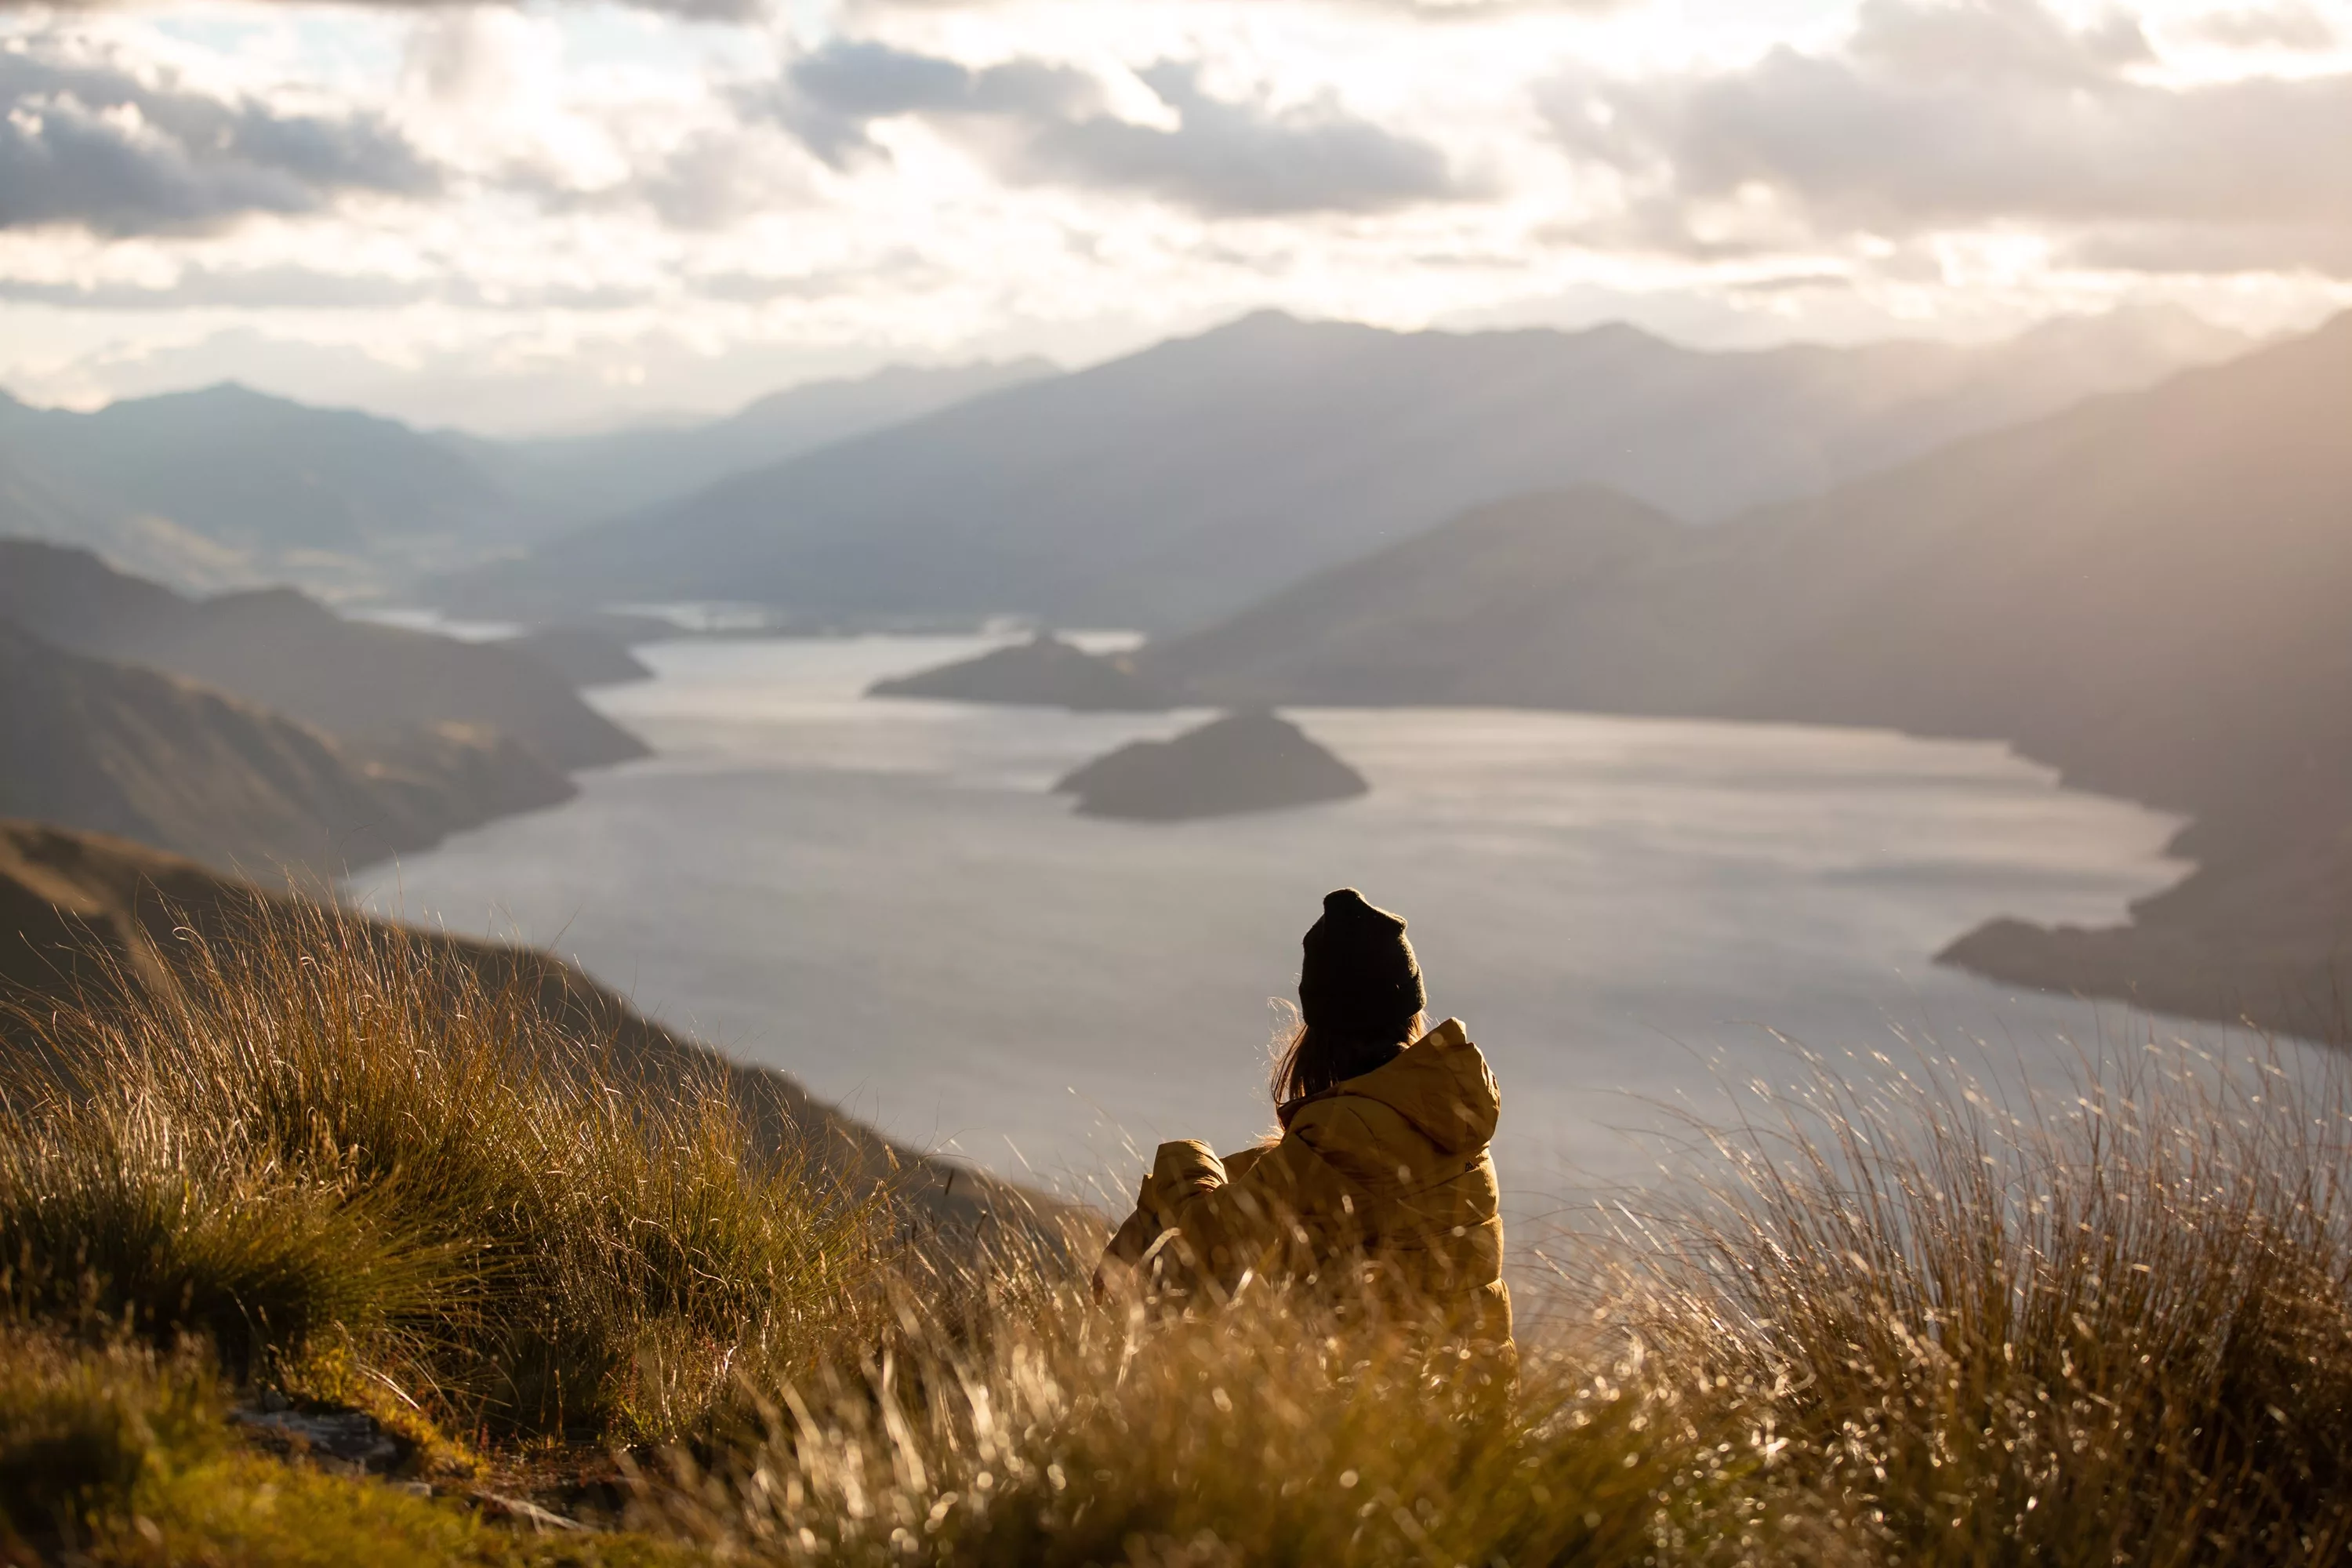
Why is this walk on my list of best New Zealand hikes? Isthmus Peak is wedged between Lake Wanaka and Lake Hawea and it provides panoramic views of both lakes and is good - arguably better alternative than Roy’s Peak (the most popular walk in the area, you’ve probably heard of it already!), and is much quieter and just as good for those Instagram photos you might be looking to capture at its summit!
To start this hike, you’ll need to drive down Lake Hawea to the start point, about a 15km drive from Lake Hawea town centre. This track zig-zags up through farmland on a 4WD track for about 2-3 hours depending on your fitness level.
The track will give you epic views over Lake Hawea and Breast Hill before winding around its rugged ridgelines and up onto the saddle. From here it’s signposted to the summit which is another 20 minutes away. Like all alpine/mountain trails it can be very windy up on the summit so be prepared for fast-changing conditions. Once you reach the summit Lake Wanaka will also come into view. Another beautiful and slightly tough hike that gives off 360-degree views including Lake Wanaka back over Lake Hawea and Mount Aspiring National Park.
4 - LAKE MARIAN
TIME: 3 hours return
DISTANCE: 6.2km return
LEVEL: Advanced
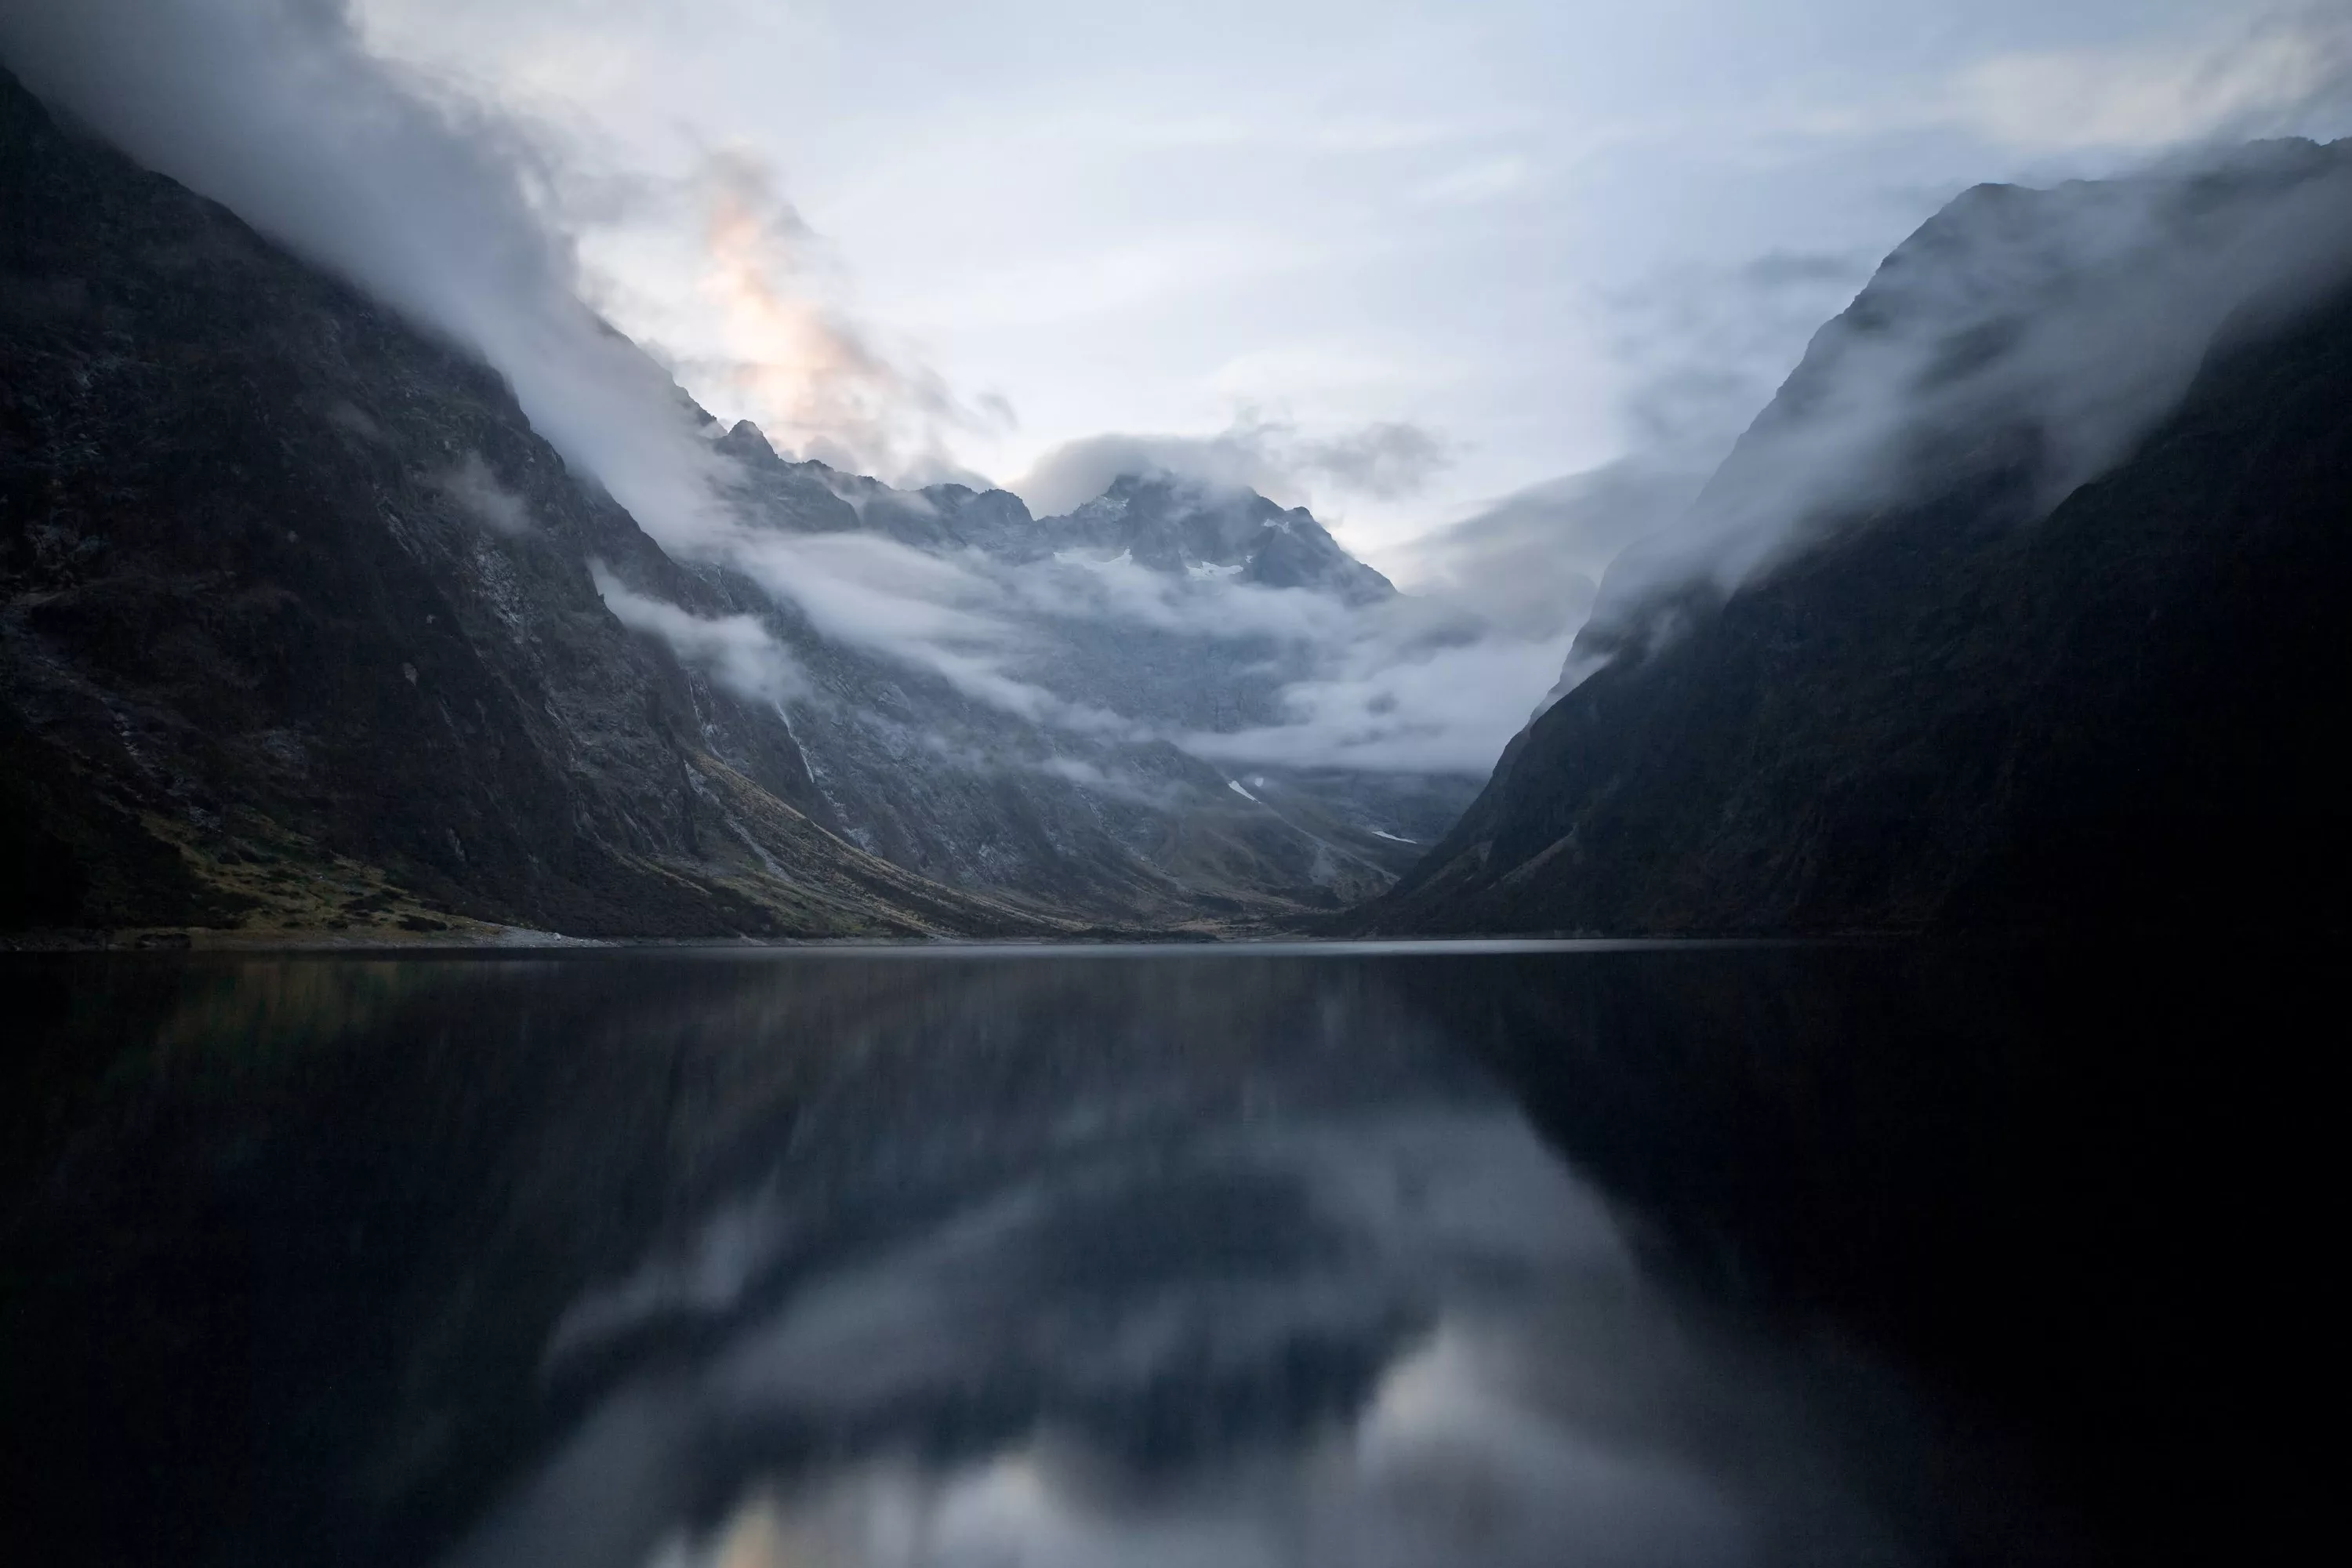
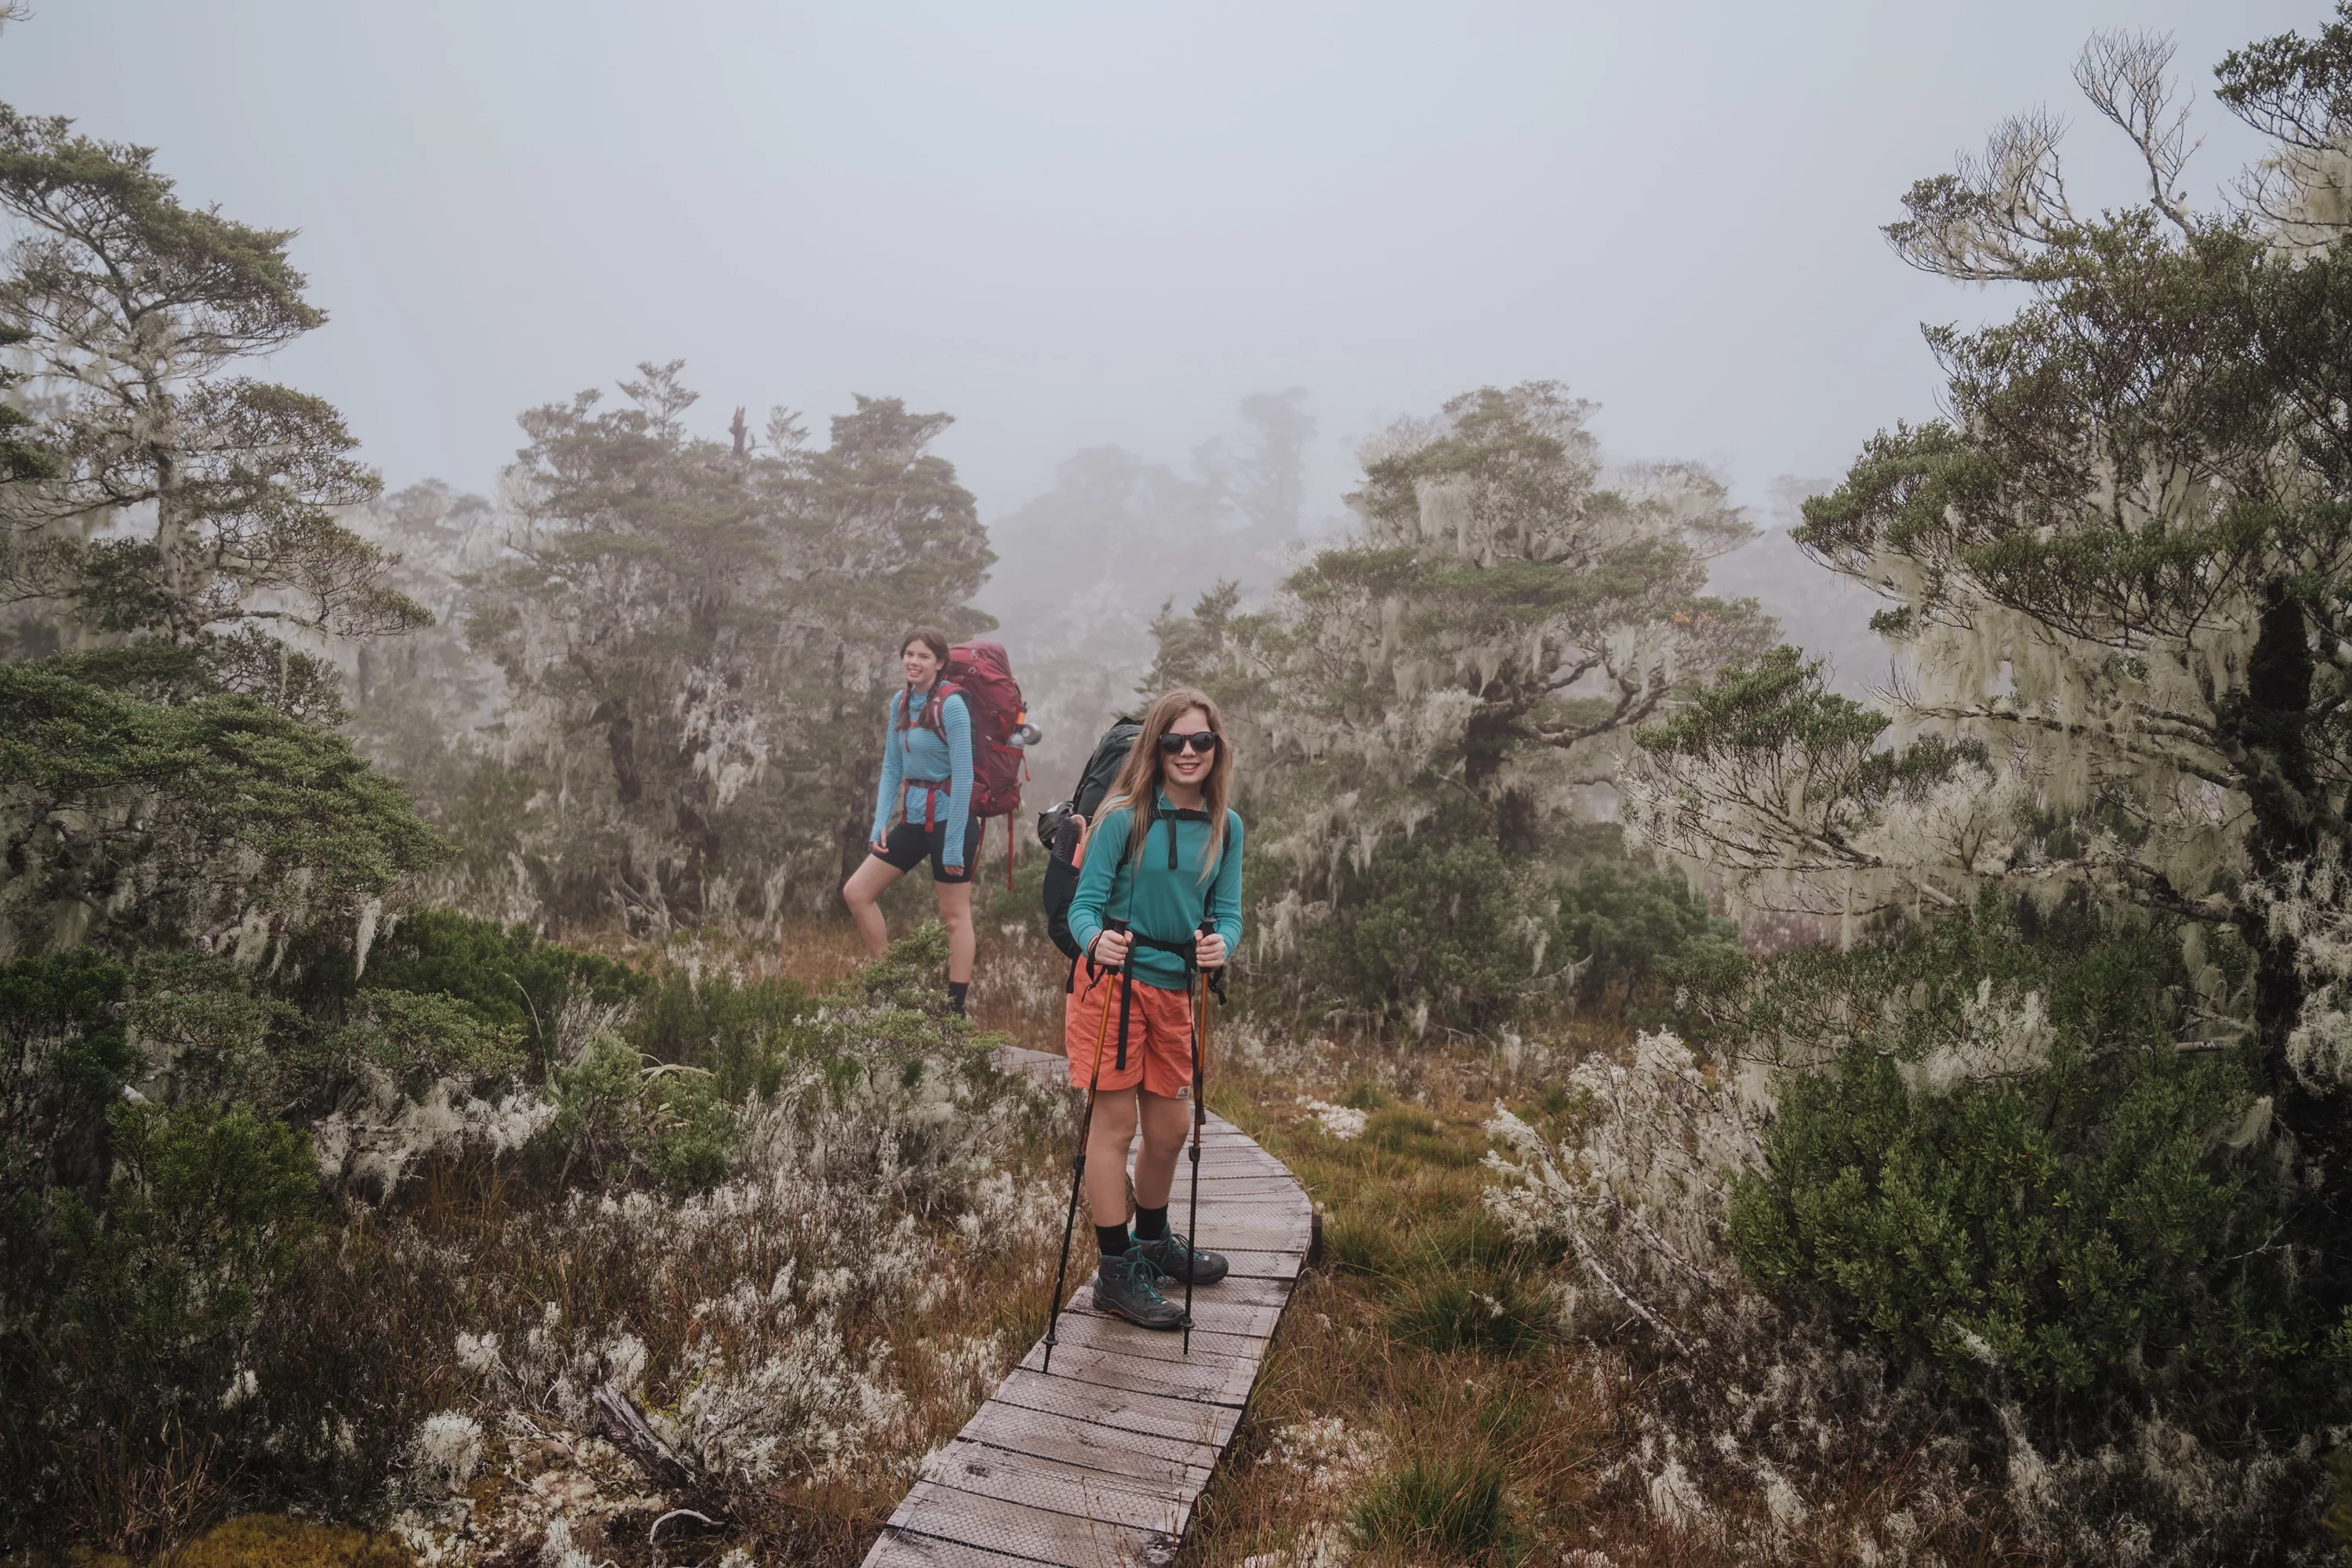
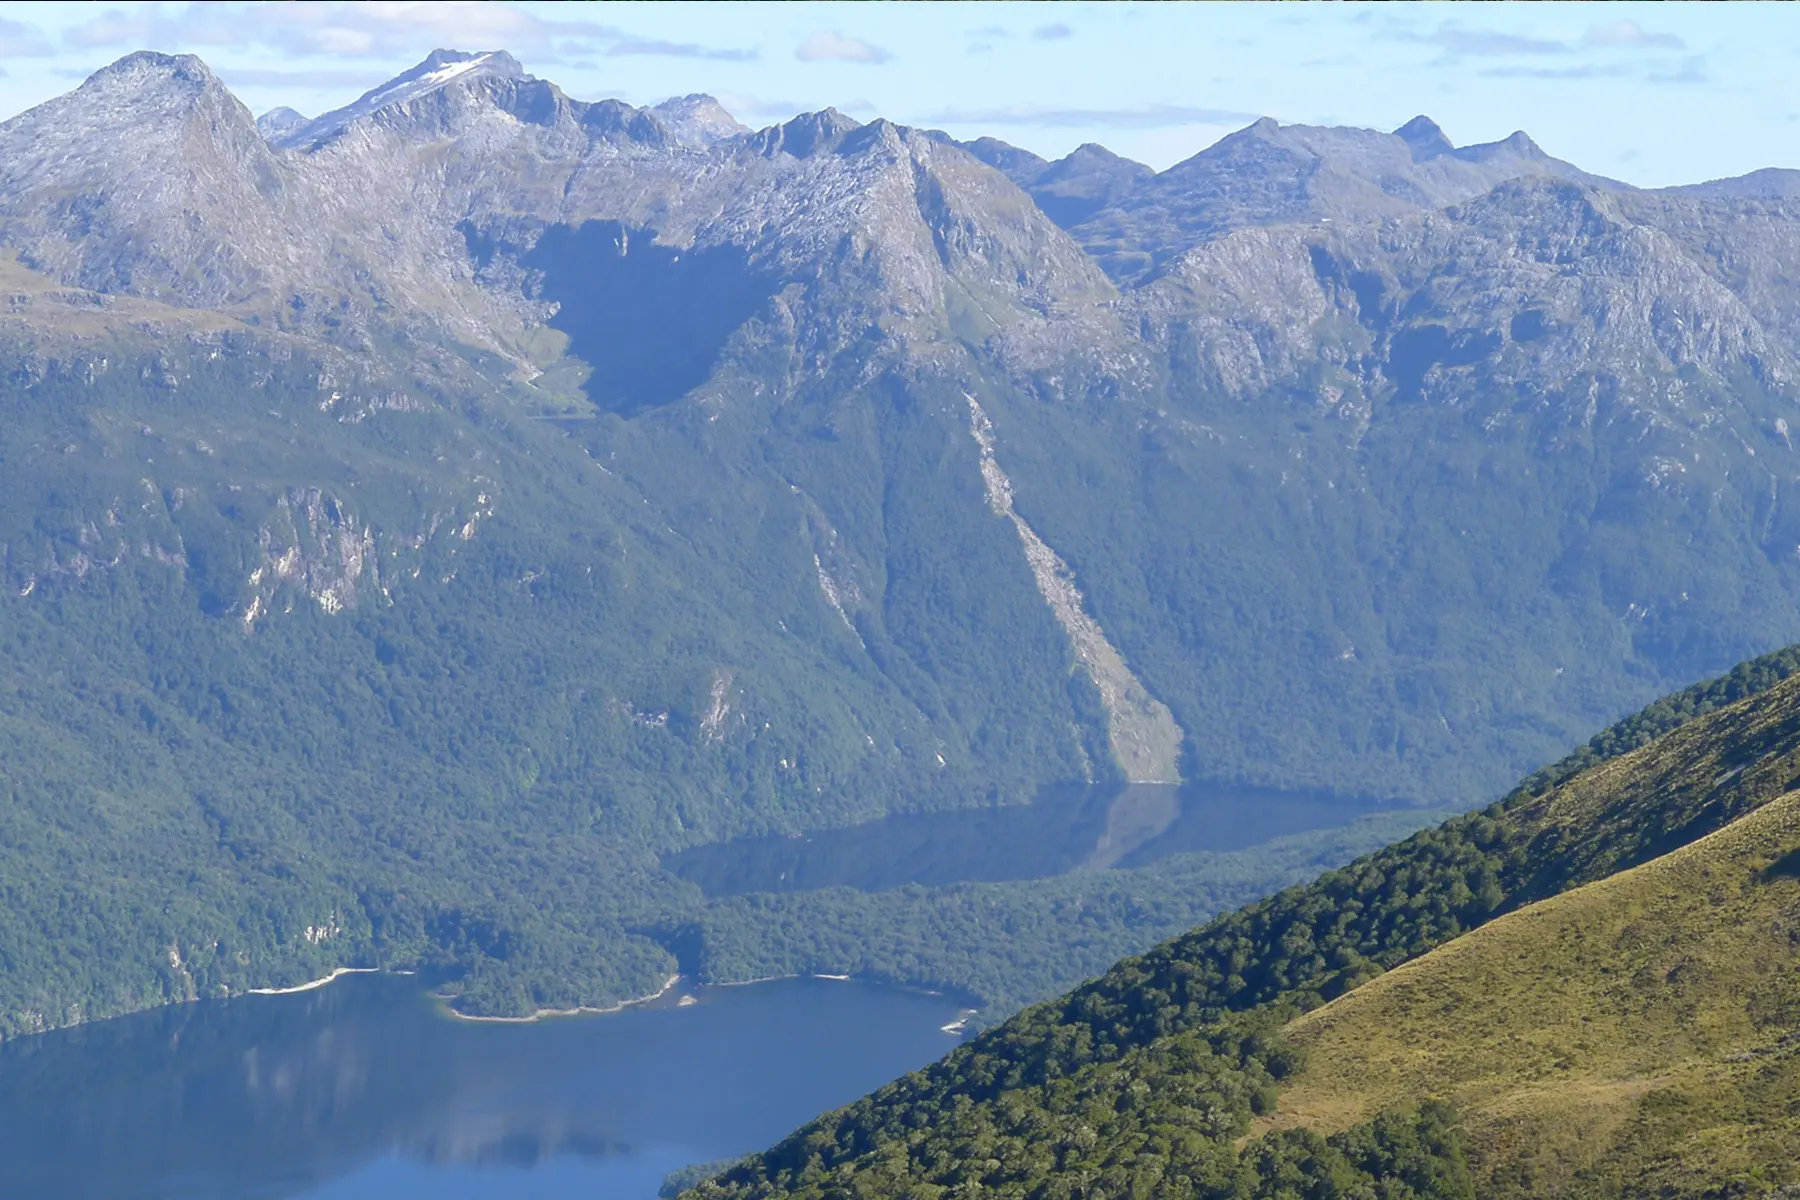
Lake Marian is one of my favourite must-do walks in Fiordland. It’s one of those spots you definitely shouldn’t miss on a fine weather day in Milford Sound, even in the rain - which is likely 90% of the time. Not only is it a straightforward and short New Zeland hike, but it’s well worth climbing through the trees to get to be perched in the cascading mountains and lake view.
The track starts at the car park which is just after the turn-off onto Hollyford Road on the left. From the car park, you’ll wind around Marian River on the boardwalk which flows down from the lake. You’ll eventually head through the forest for an hour before reaching a clearing where the beautiful lake will reveal itself along with its iconic mountain backdrop.
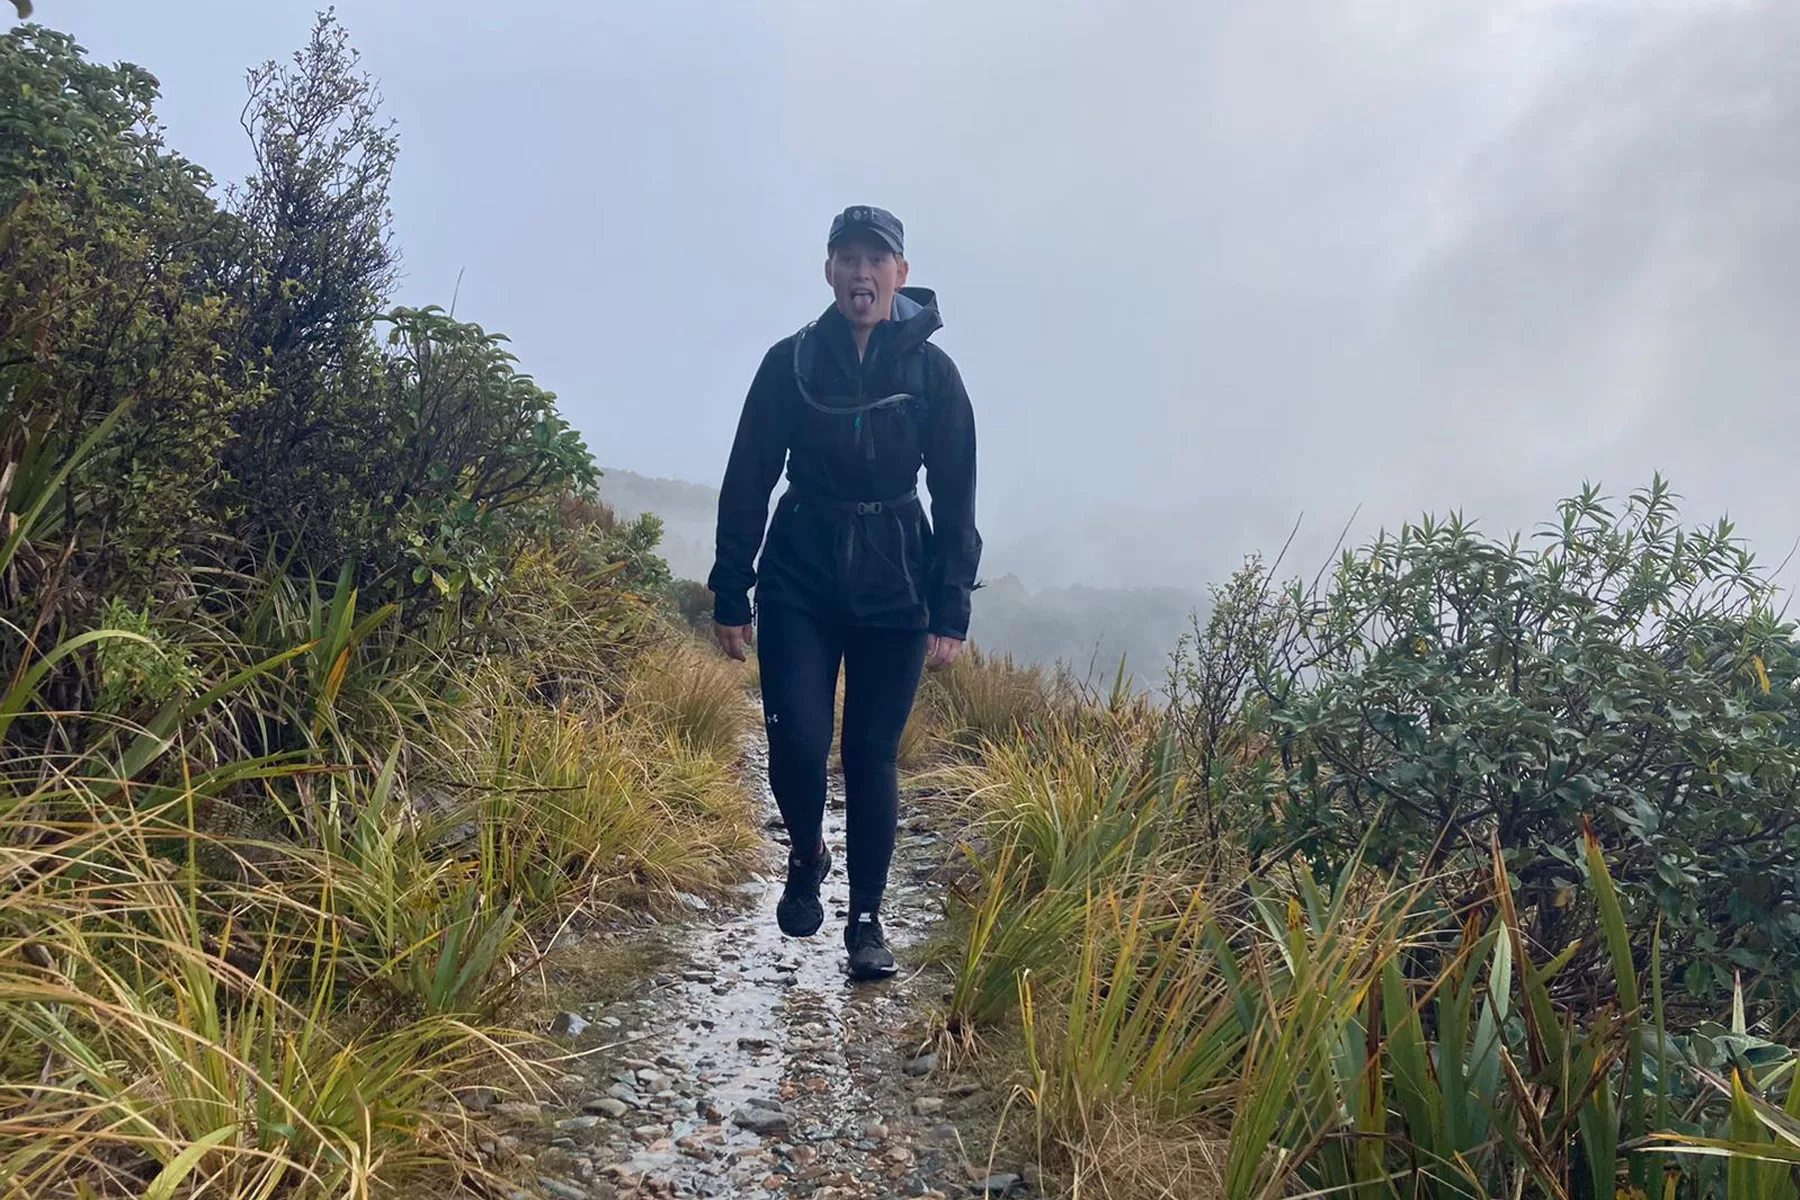
This track can be super slippery in wet conditions and in classic Fiordland fashion it’s often raining, so if walking in the rain isn’t your thing or you aren’t comfortable, wait for a fine weather day - the views will also be a lot more rewarding and the track a lot easier to walk.
5 - ALEX KNOB
TIME: 8-hour return
DISTANCE: 17.2km return
LEVEL: Advanced
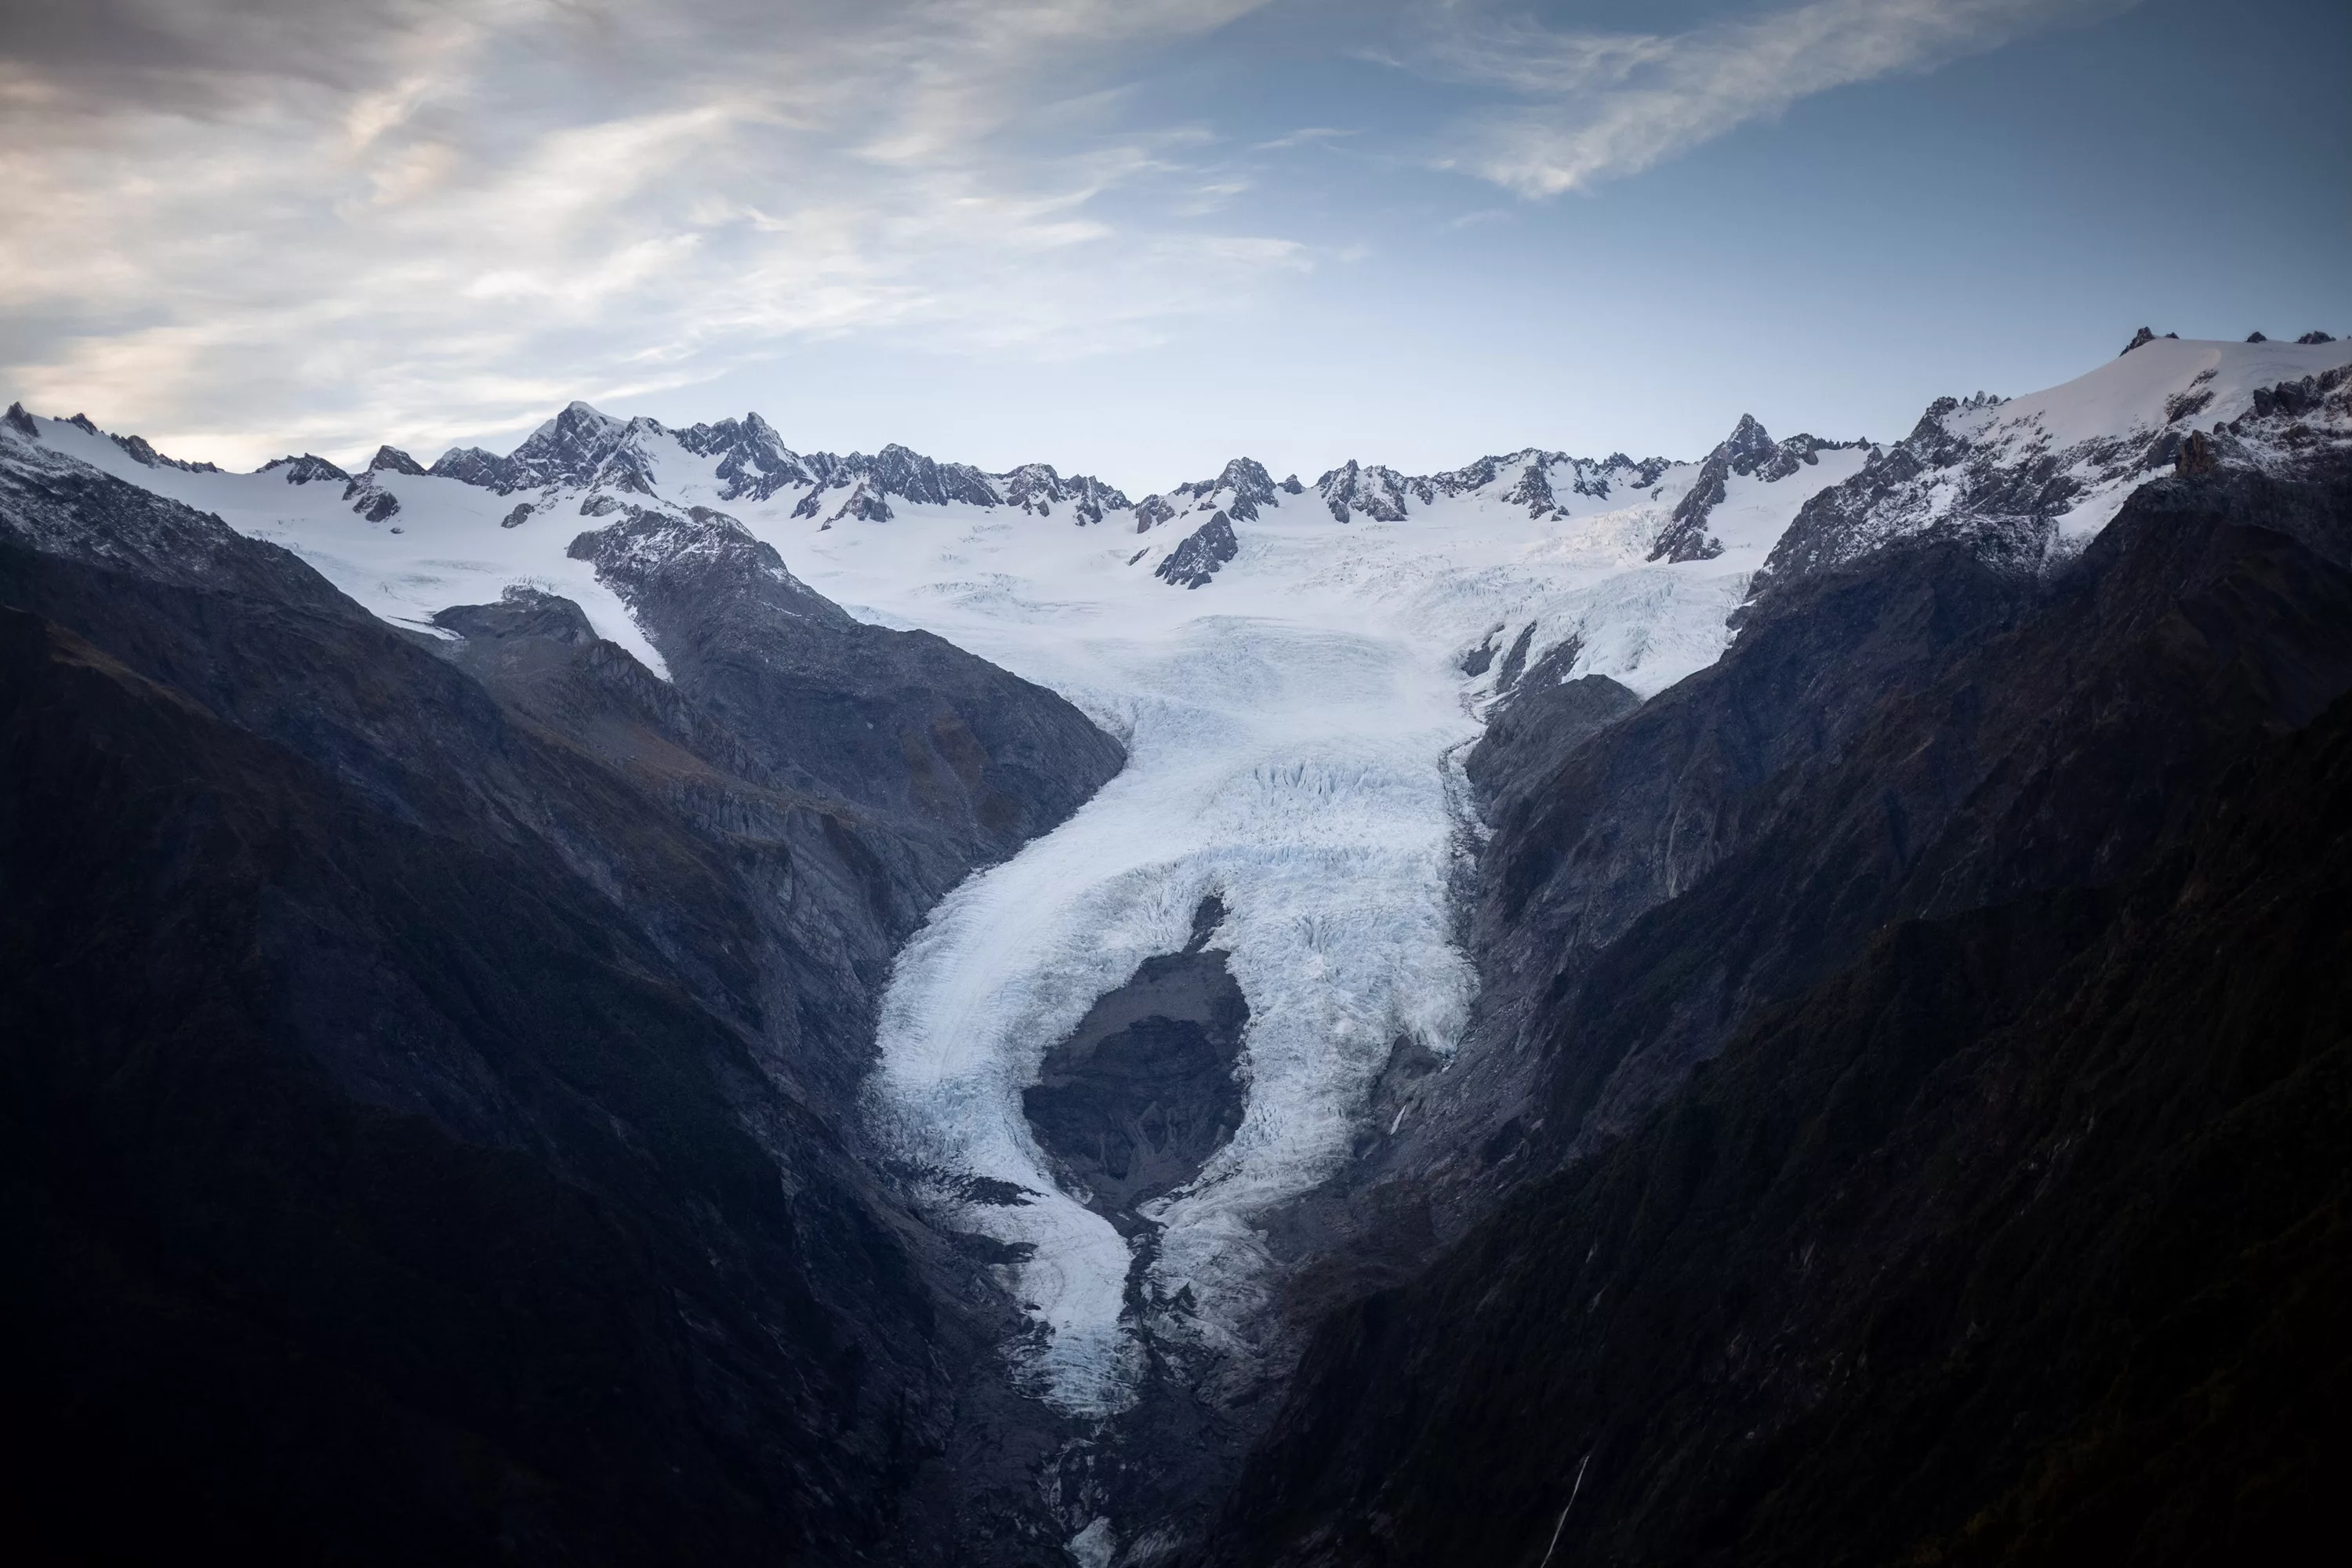
The West Coast is one of my favourite places that make me feel at home and excited about nature's best features. Alex Knob is on the tougher scale of these best NZ hikes but one that showcases the best of the West Coast’s flora and fauna, and arguably the best views of Franz Josef Glacier. This is one New Zealand hike I believe is well worth taking the time and going the extra mile for!
This walk begins on the right-hand side, 2km down Glacier Access Road which takes you to the base of Franz Josef Glacier, whereas an alternative walk takes you to the face of the glacier. The walk begins flat and through a beautiful goblin-like forest. The track divides and you can also detour on the Lake Wombat Track. Once you’ve passed the track division you’ll head up into the trees and start a gradual climb to the top.
After about 2 hours you will have started on the ridge line which zig-zags back and forth revealing views of the Waiho River and back towards the ocean before reaching Christmas Lookout. On a good day, you’ll get your first glimpse of Franz Josef Glacier which is also a good spot for a break.
From here it’s about another hour or so to the top of Alex Knob. You’re almost there! The track will slowly bring you out of the bush line and up onto the final ridge that takes you to the top where Alex Knob is signposted. The views of the Franz Josef glacier will have improved even more with vistas of the glacier, alps following around to the ocean and back. An impressive view in every direction.
This track, like many mentioned in this blog, can become slippery in wet weather and icy and under snow come winter. It’s mostly covered in the forest until closer to the top so gaiters are recommended after rain or snow has come through the area if you don’t enjoy having soaked boots. This is more suitable for experienced trampers so if you’re new to tramping go ahead with caution.
THE GEAR FOR MY FIVE BEST NEW ZEALAND HIKES
Now for the important part! Most of these best NZ hikes call for the same gear, but when it’s colder, wetter, and sometimes wintery and snowy, this can mean extra gear is required and the experience to go with it. Below is a rough gear list that I like to take on most day hikes including these ones across New Zealand during the off-peak season i.e. summer, spring and early autumn.
DAY PACK
Anything around 25 litres is more than enough space to carry the essentials on a day walk.
WATERPROOF & WINDPROOF JACKET
Like anywhere, and especially on a walk that’s in an alpine or subalpine region, the weather can change even if not forecasted. Having an extra layer in case of rain and if the wind picks up and gets cold is important.
WATER
You’ll want enough water for the duration of your walk plus a bit extra. On most of these walks, I carry 1.5 to 2 litres, either in a water bladder that slides into the back of my daypack or in reusable water bottles.
LUNCH & SNACKS
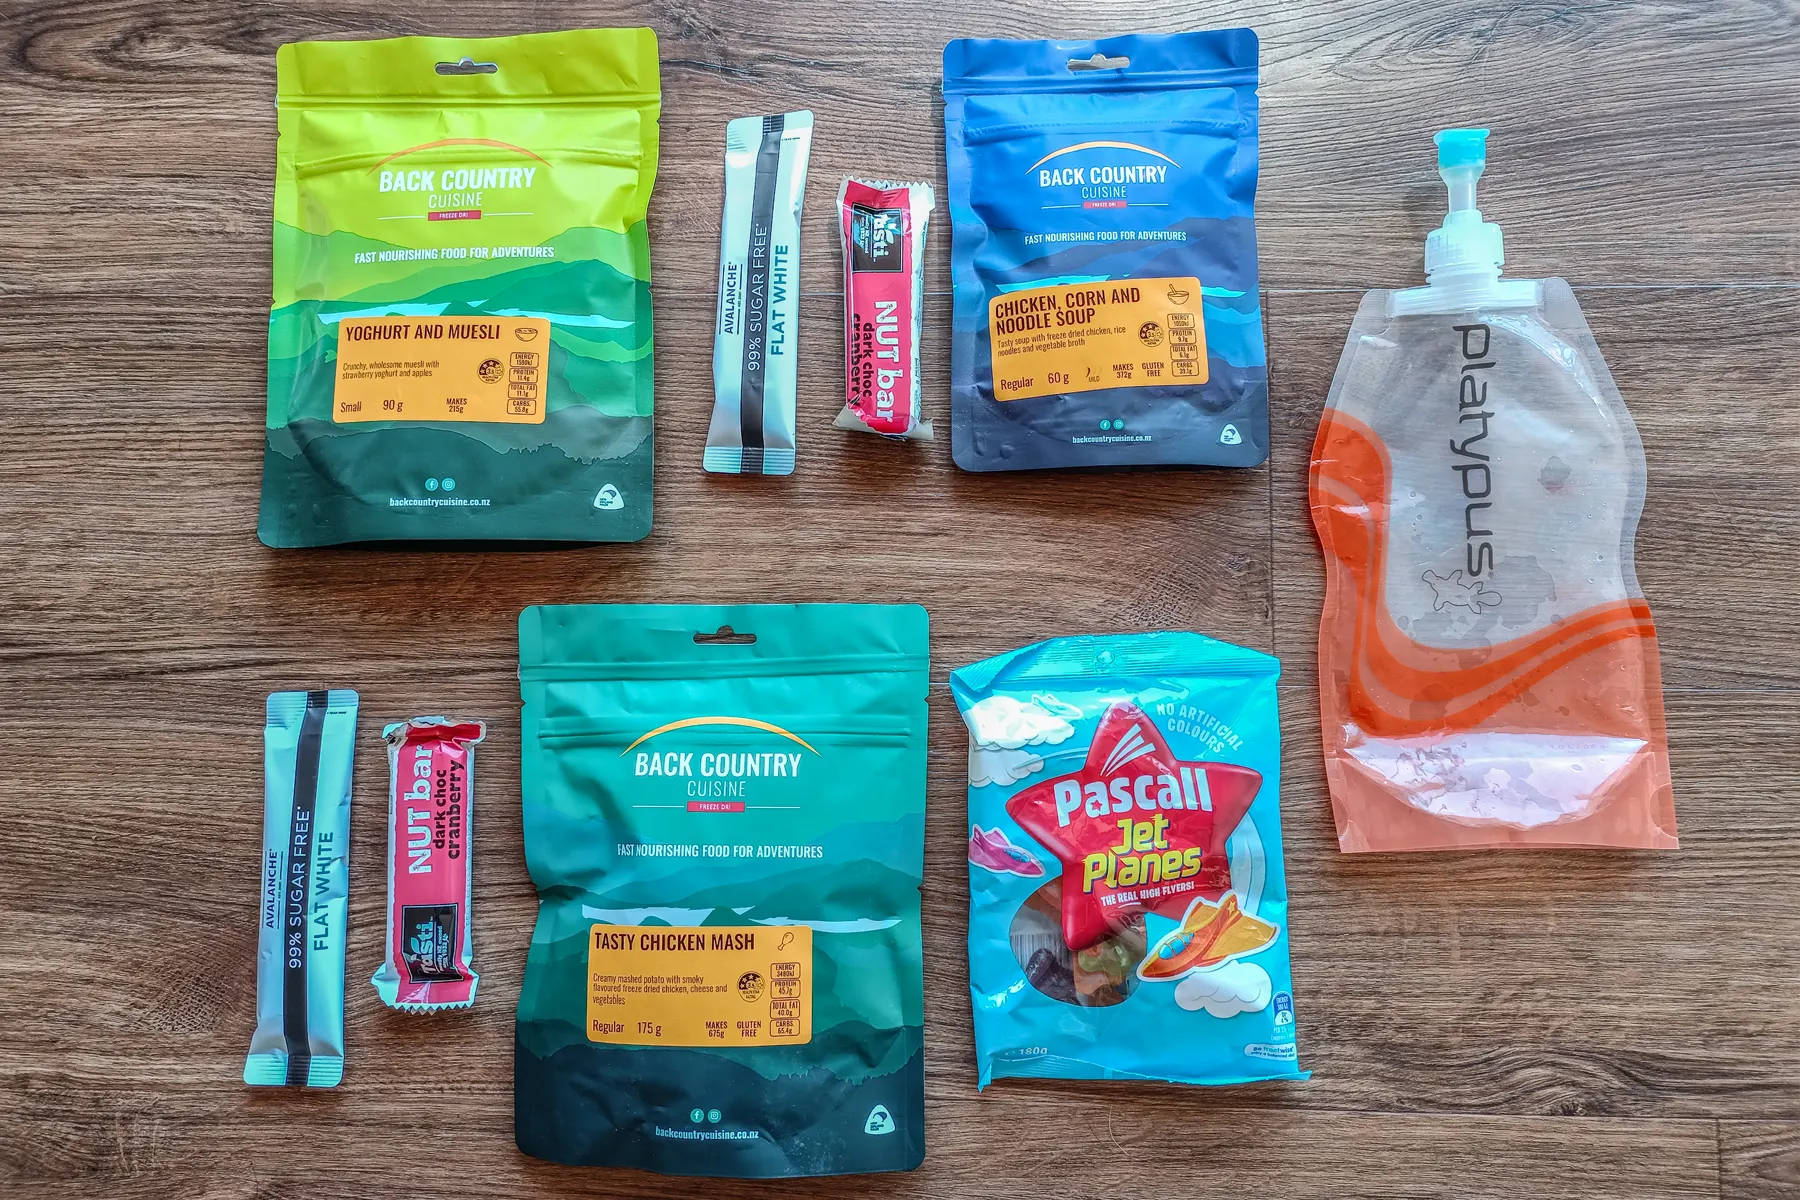
Food is just as important as water! If you’re going to be gone longer than 2 hours you’re gonna want some fuel. Protein and snack bars are great on shorter day walks, chocolate and some kinds of sweets are also good for a sugar boost.
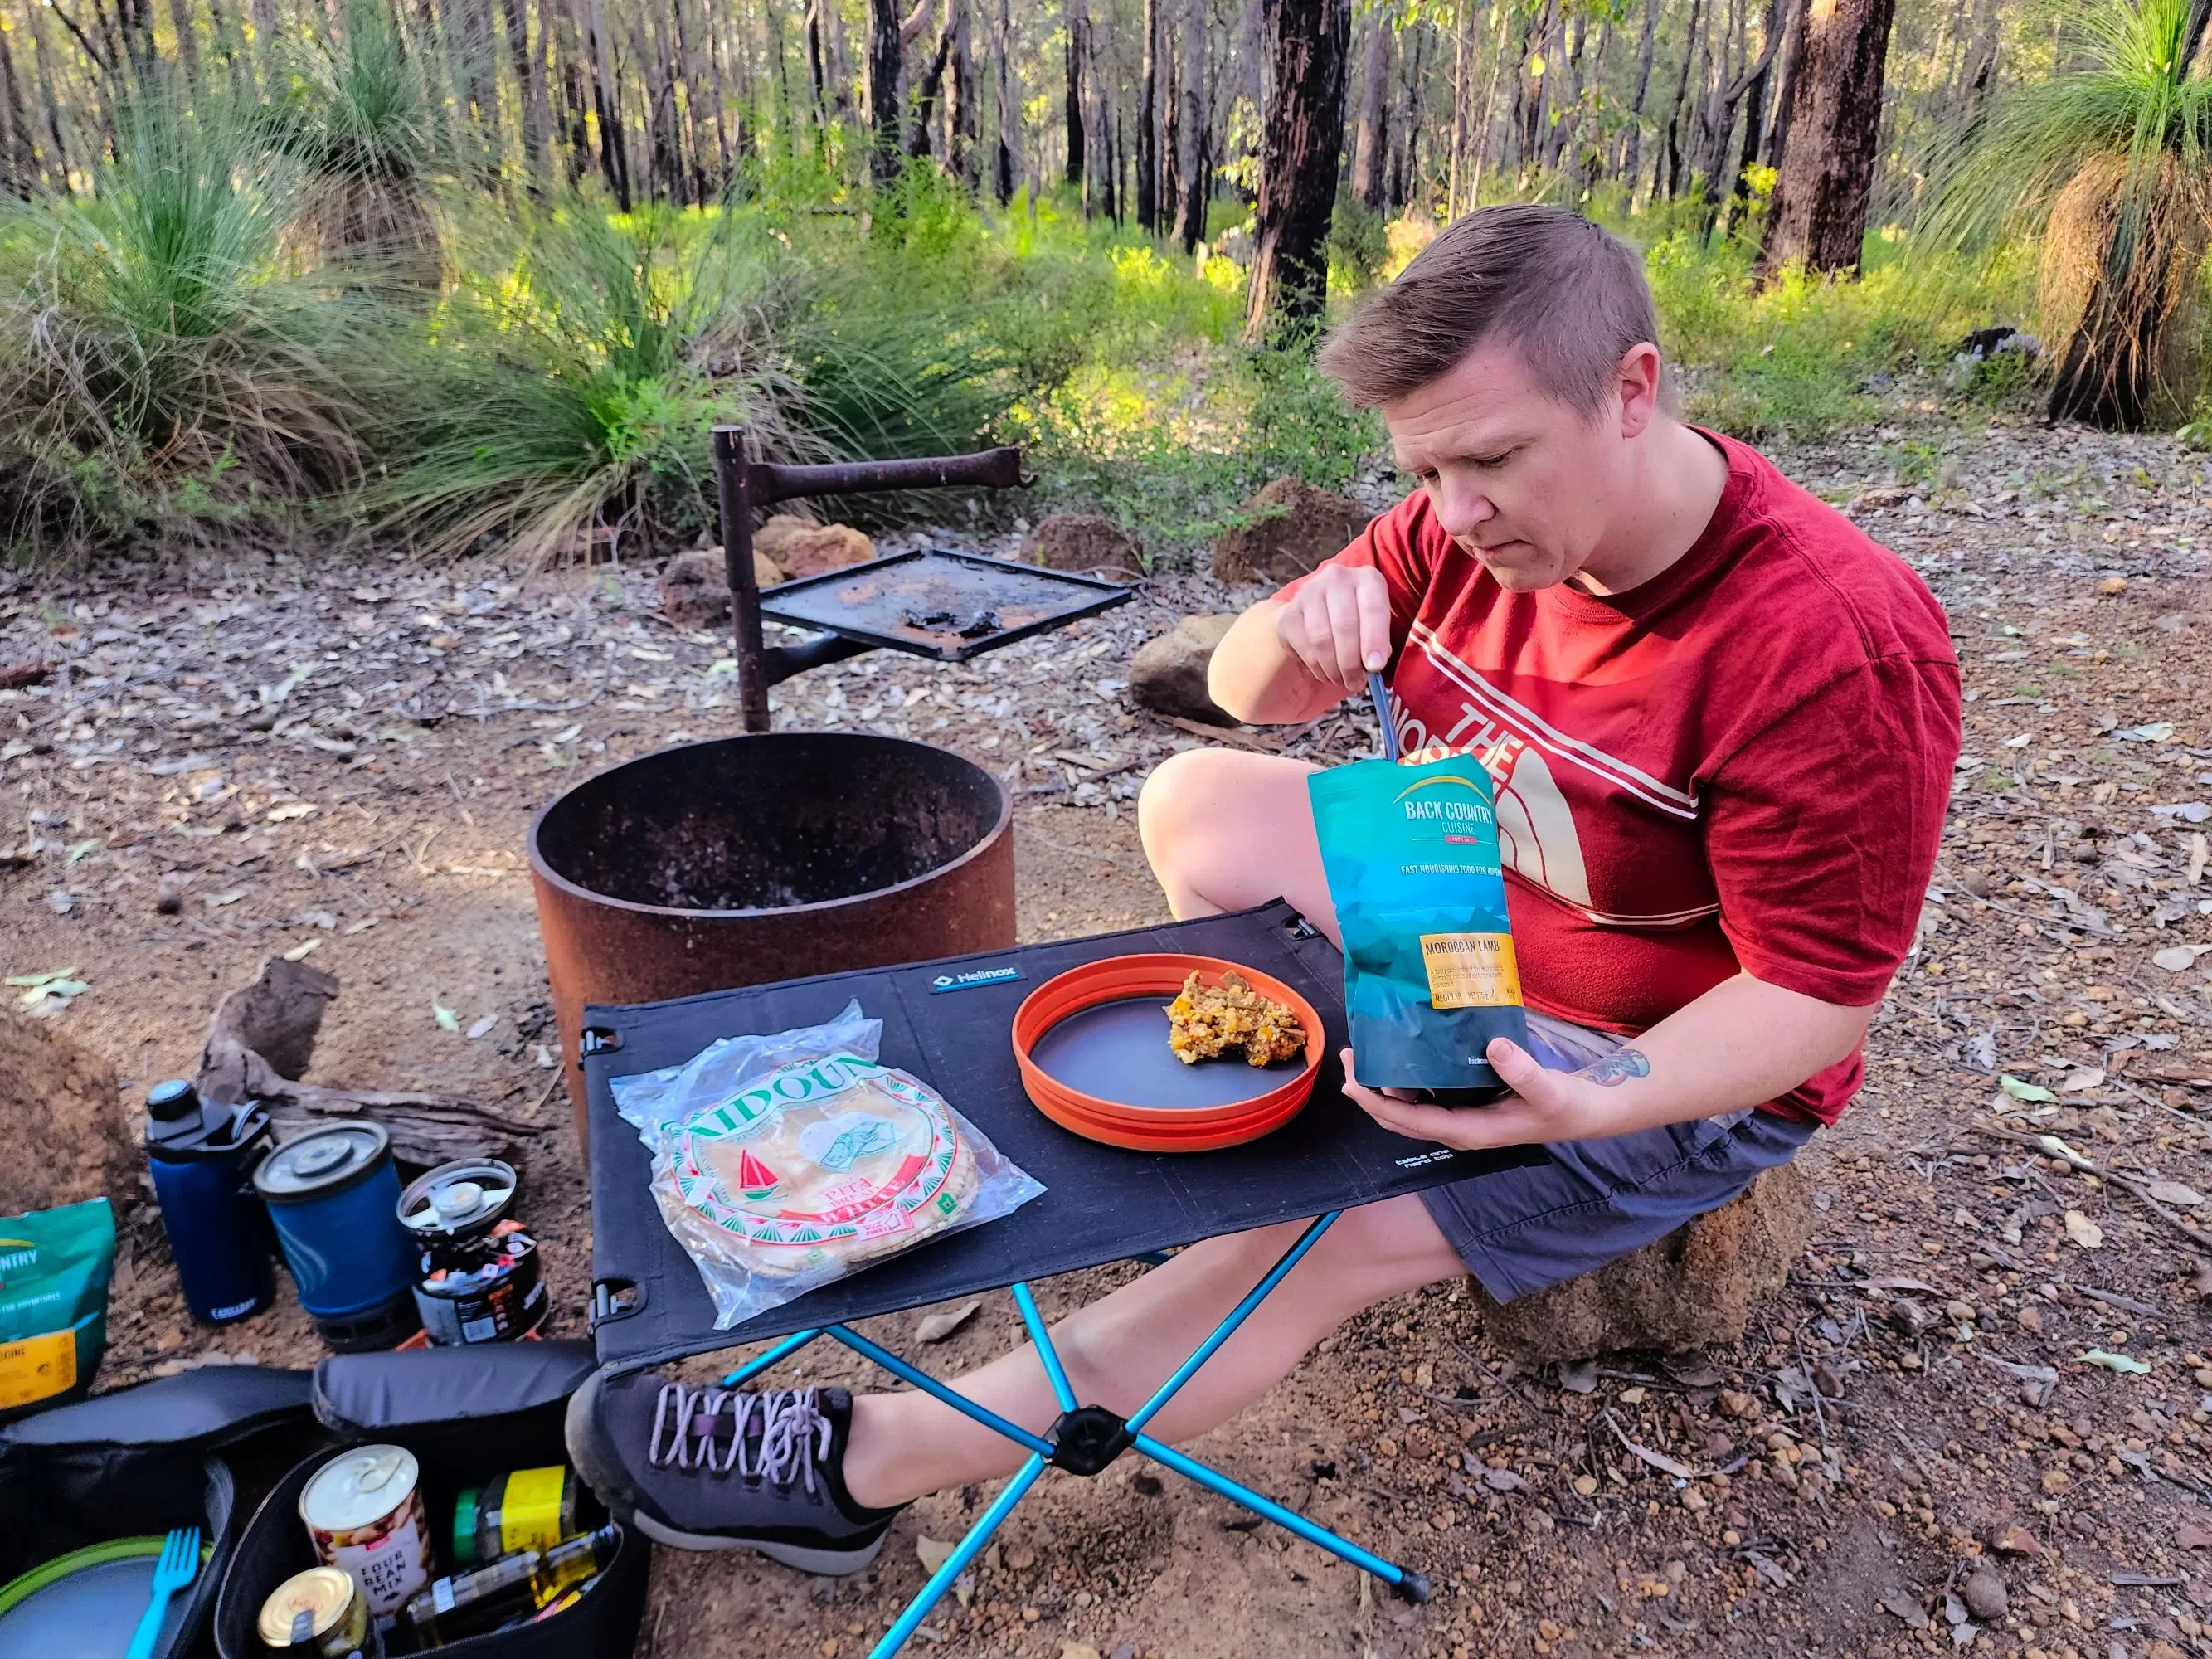
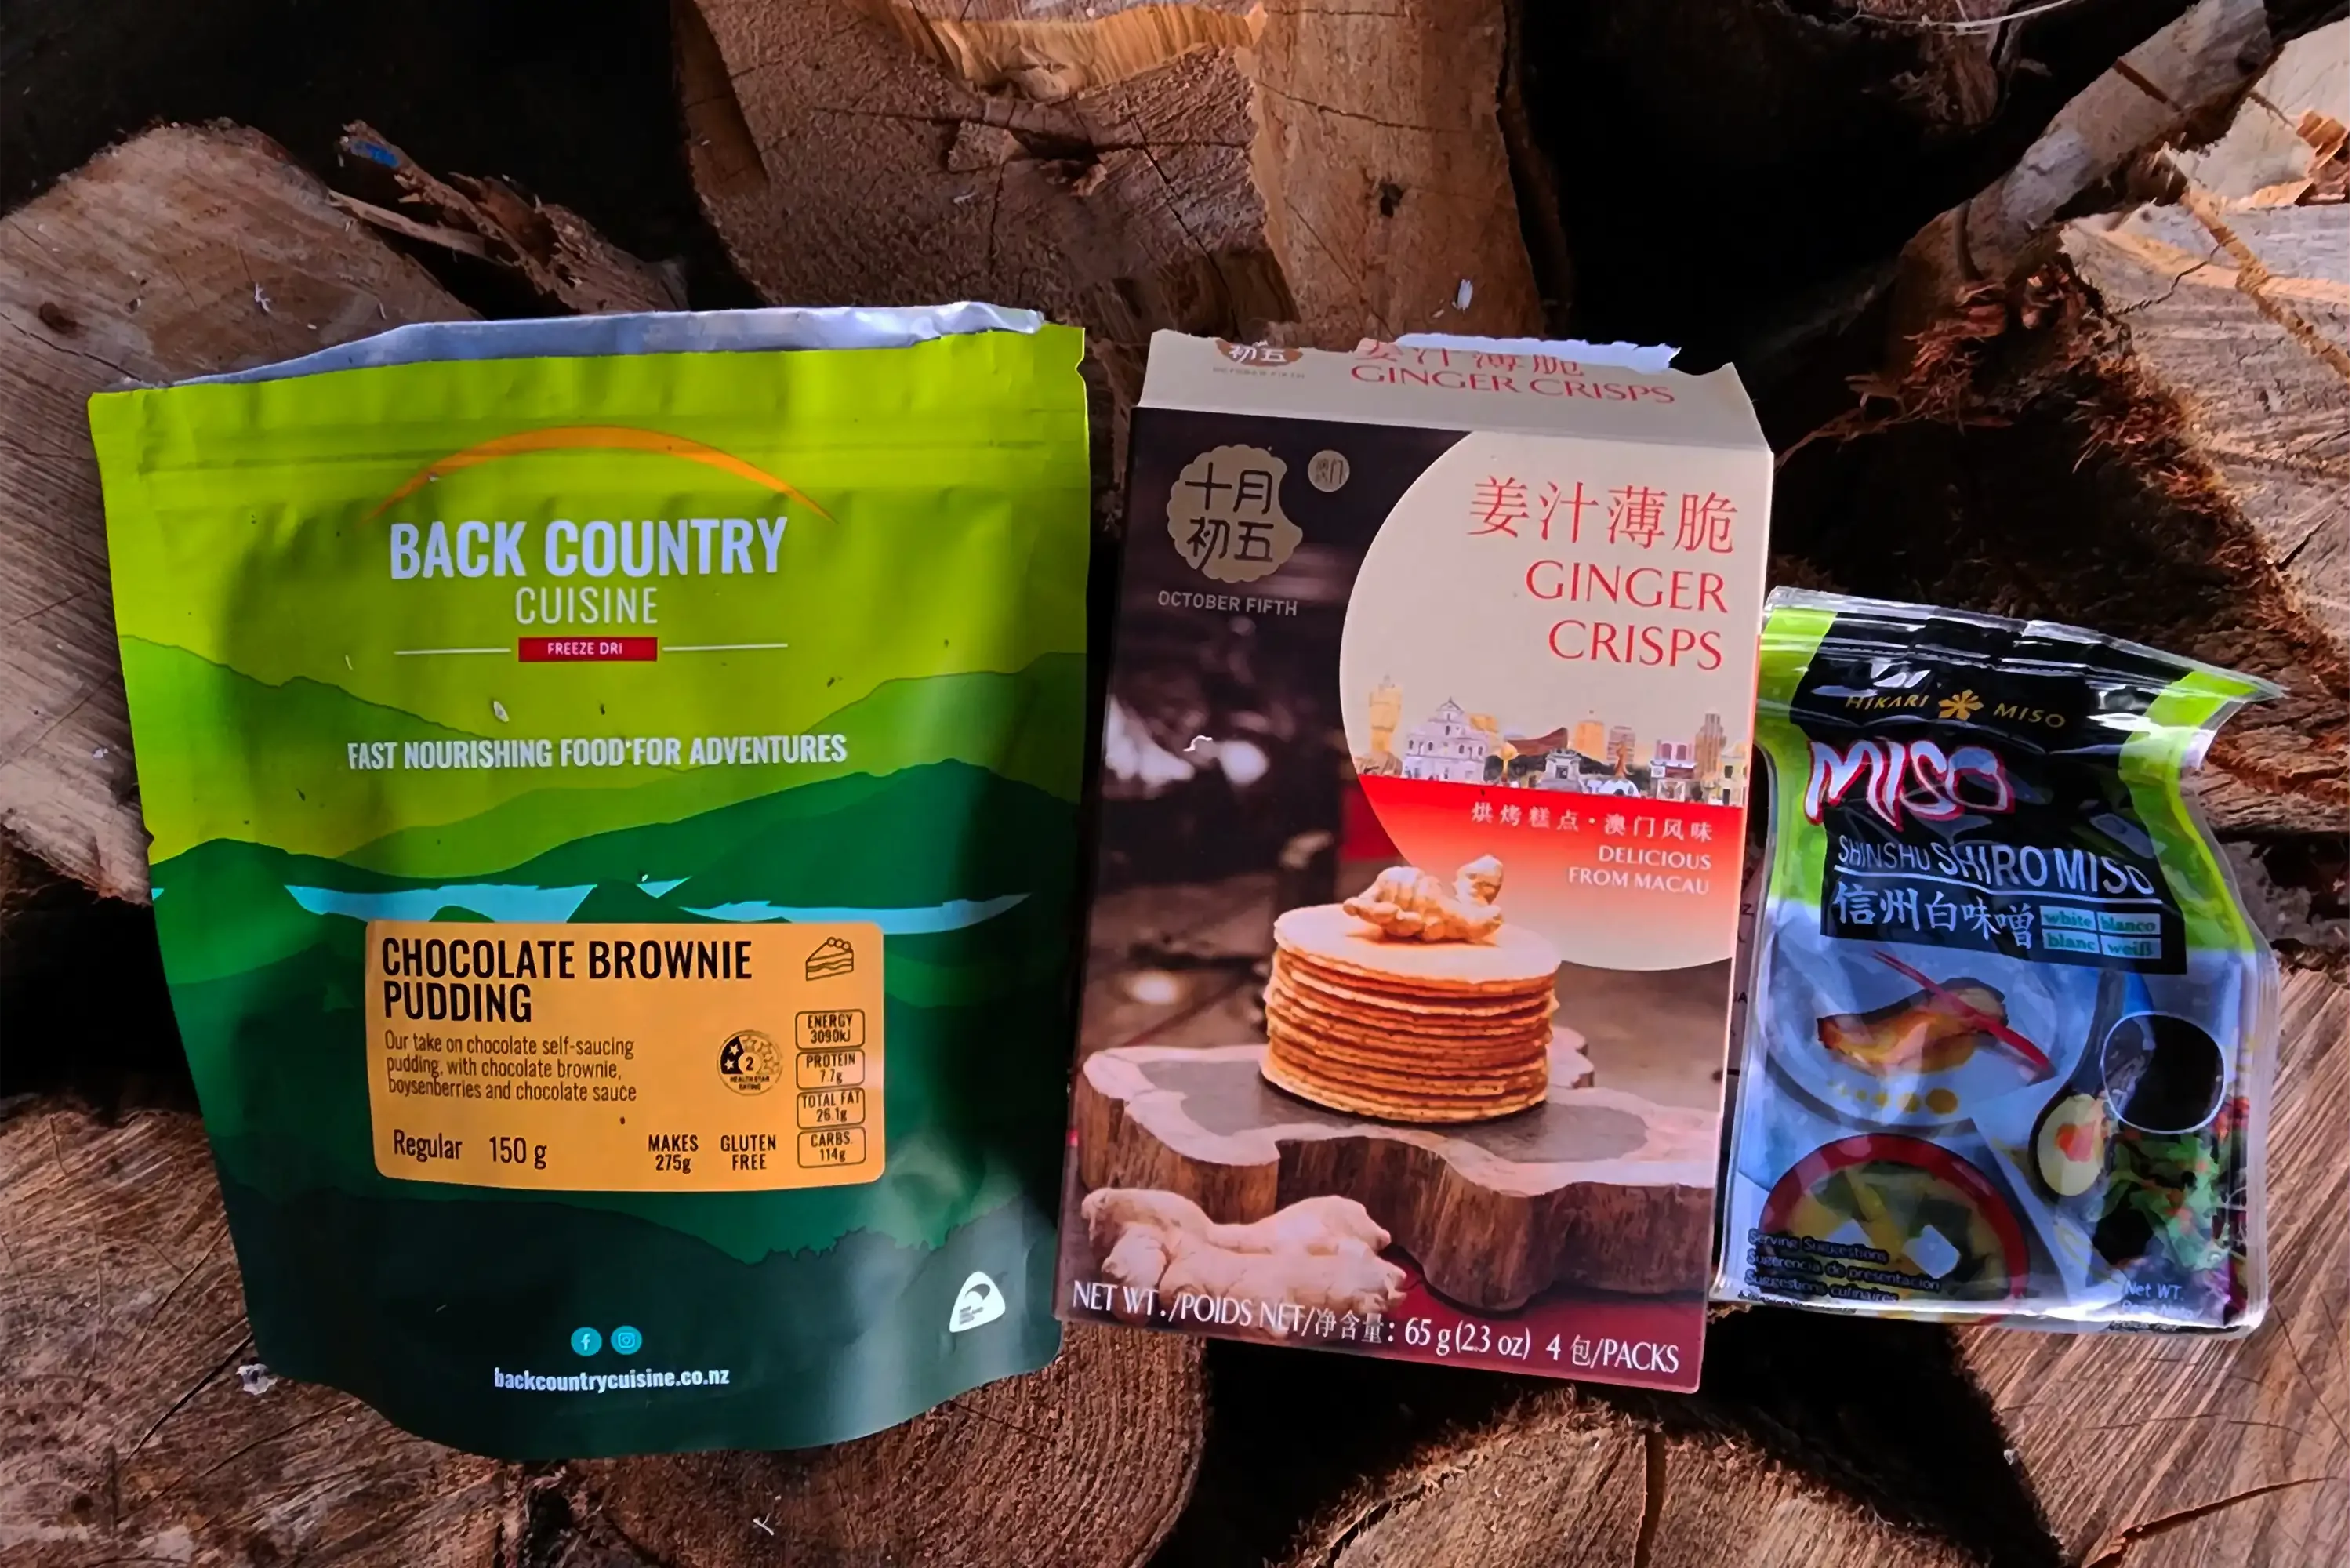
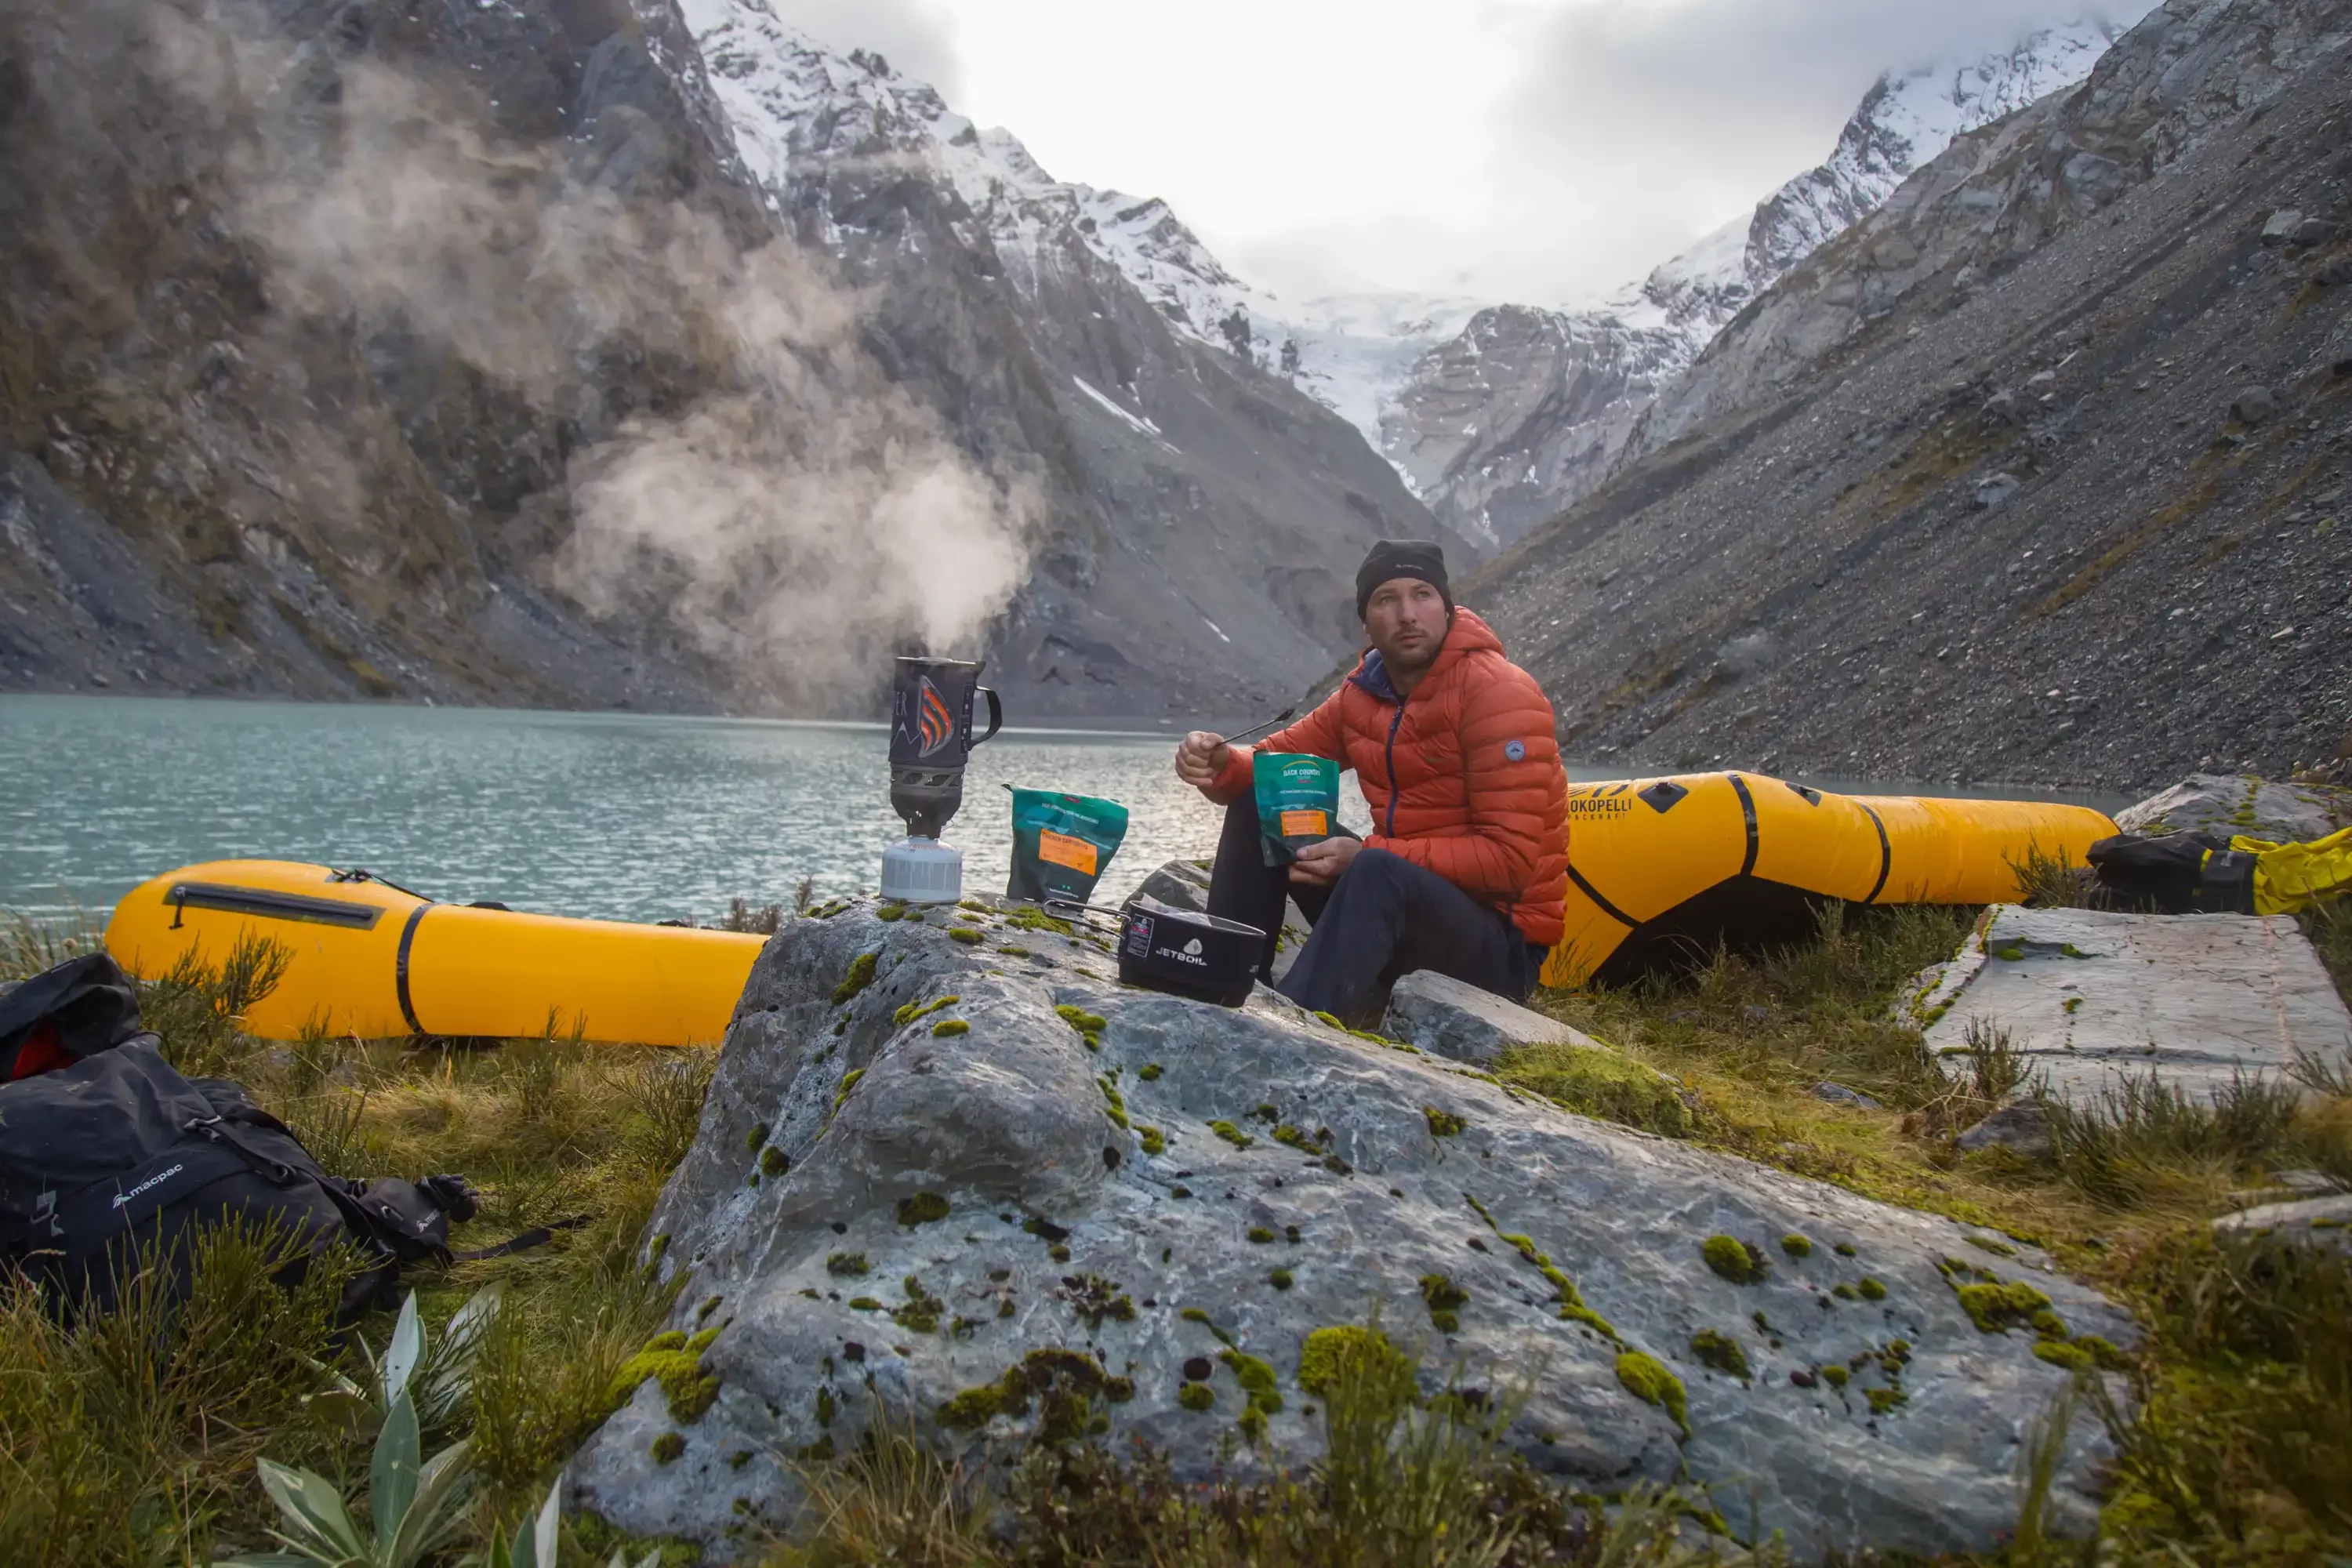
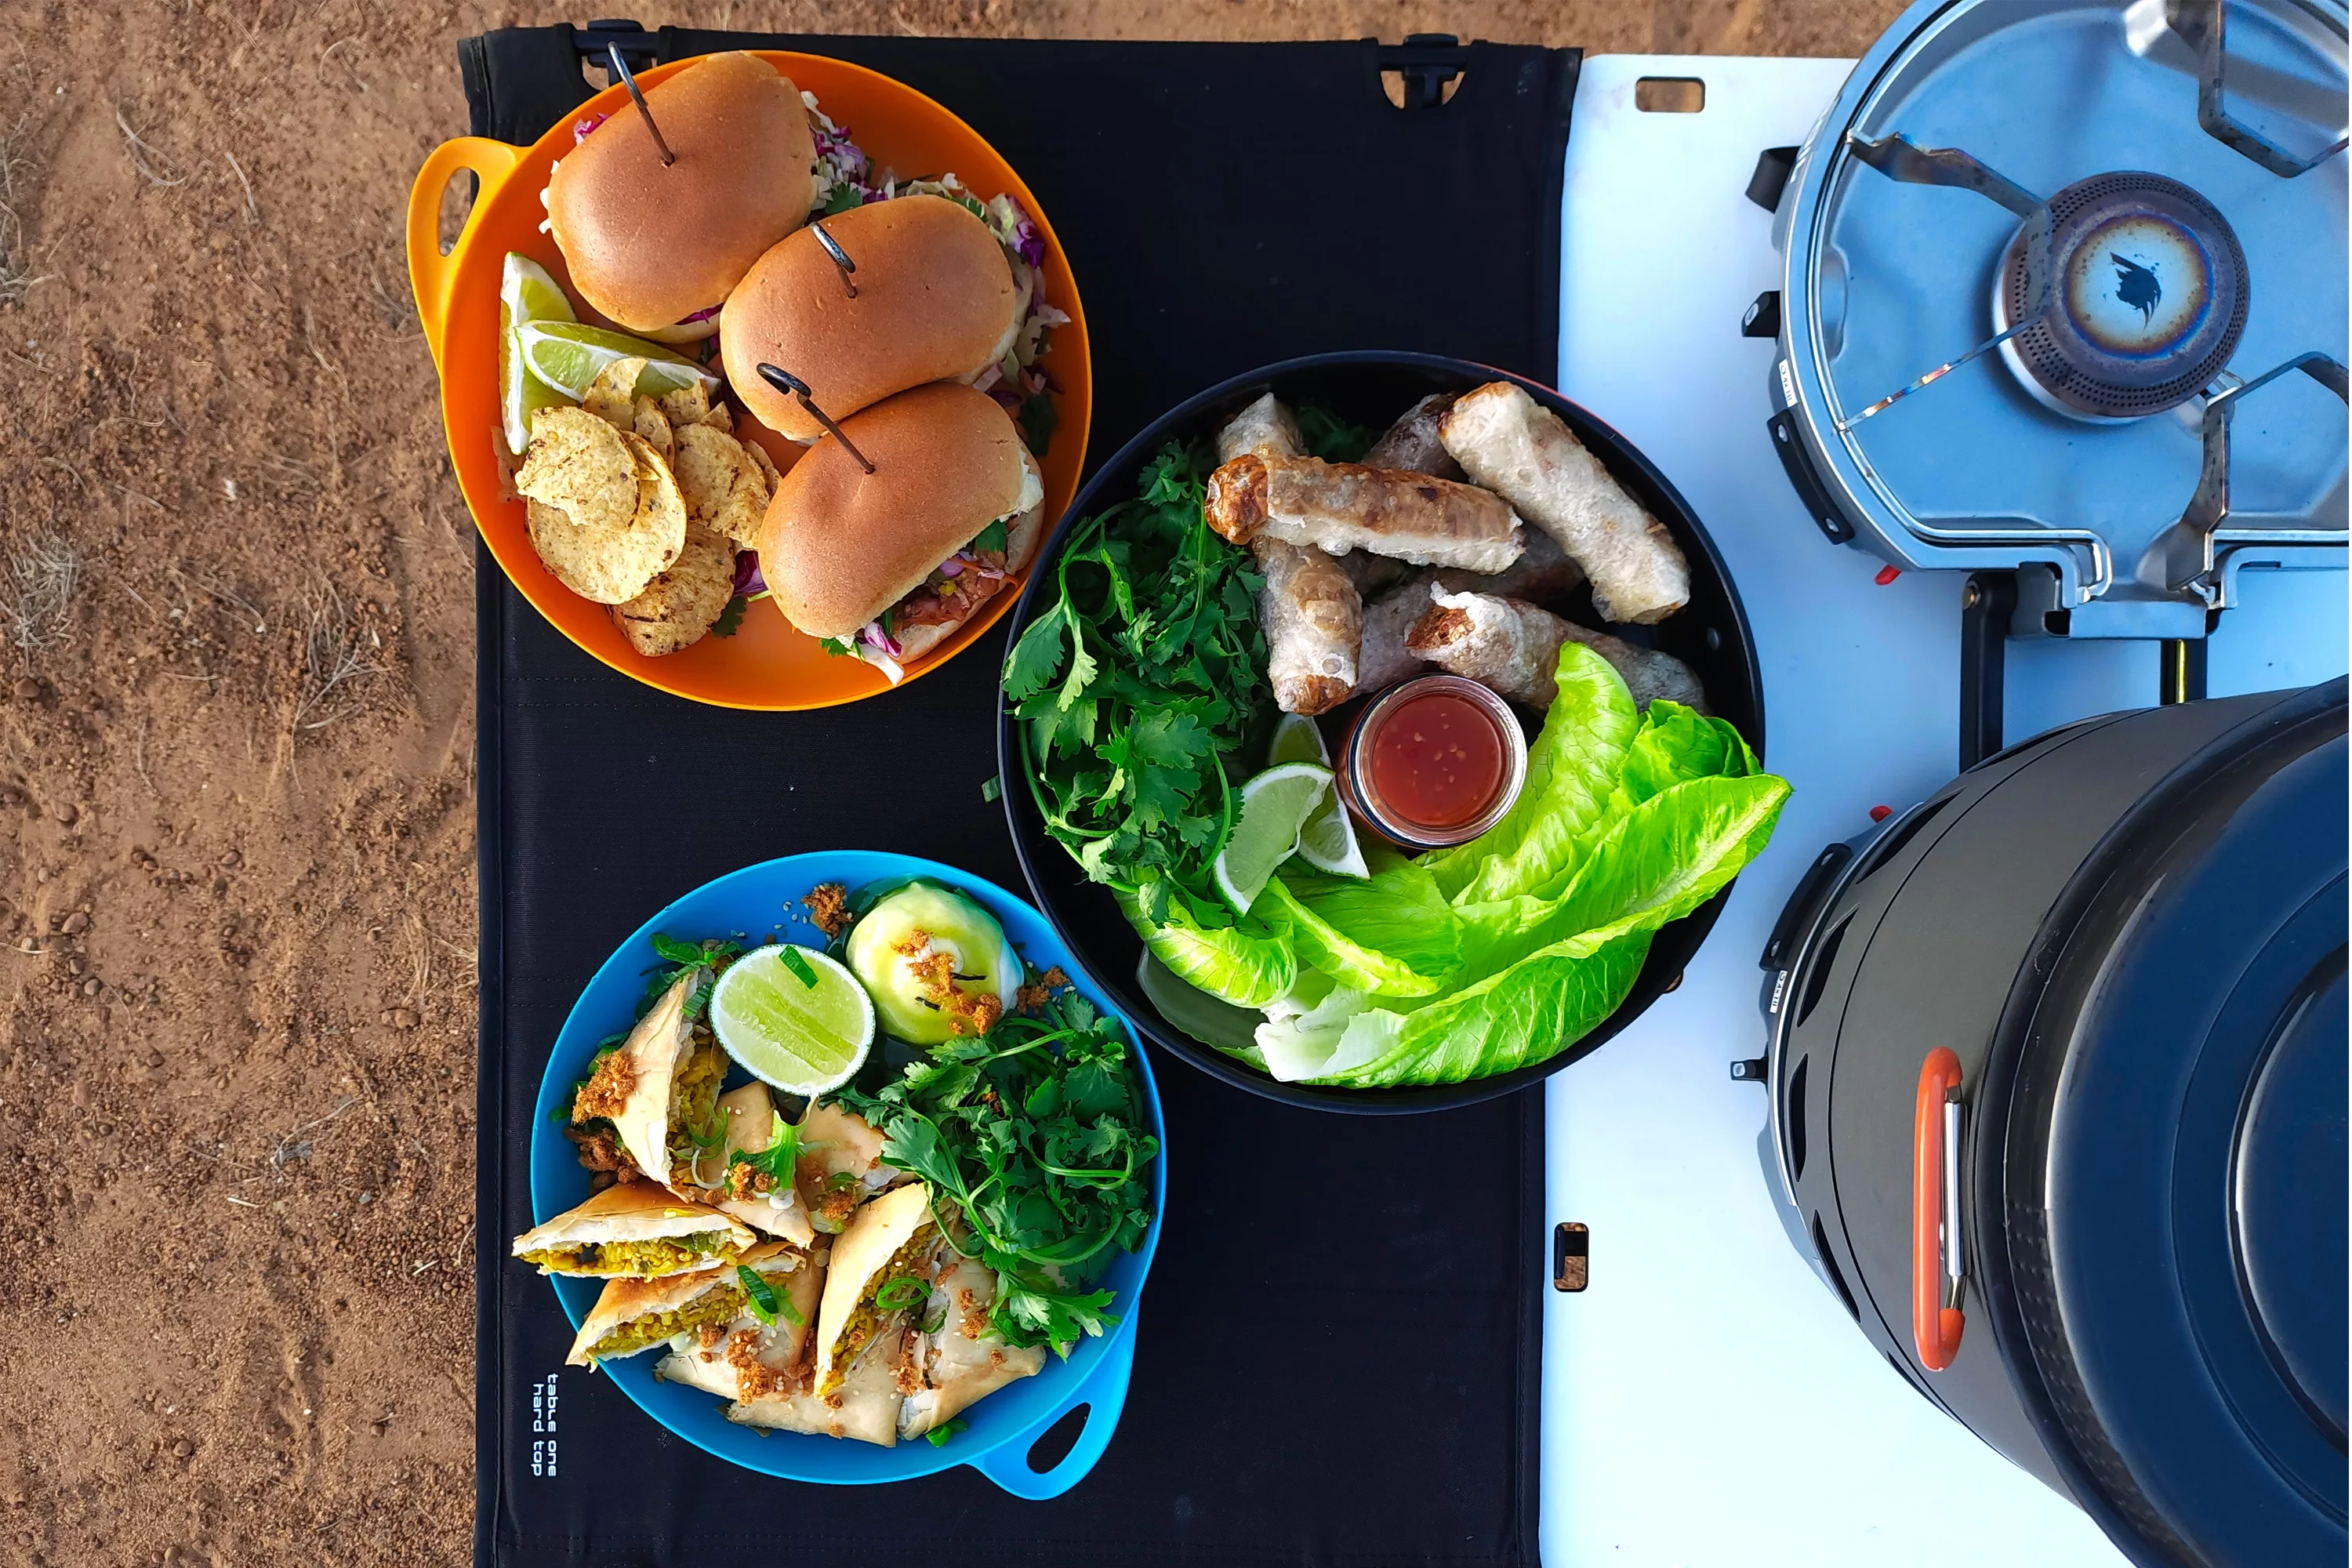
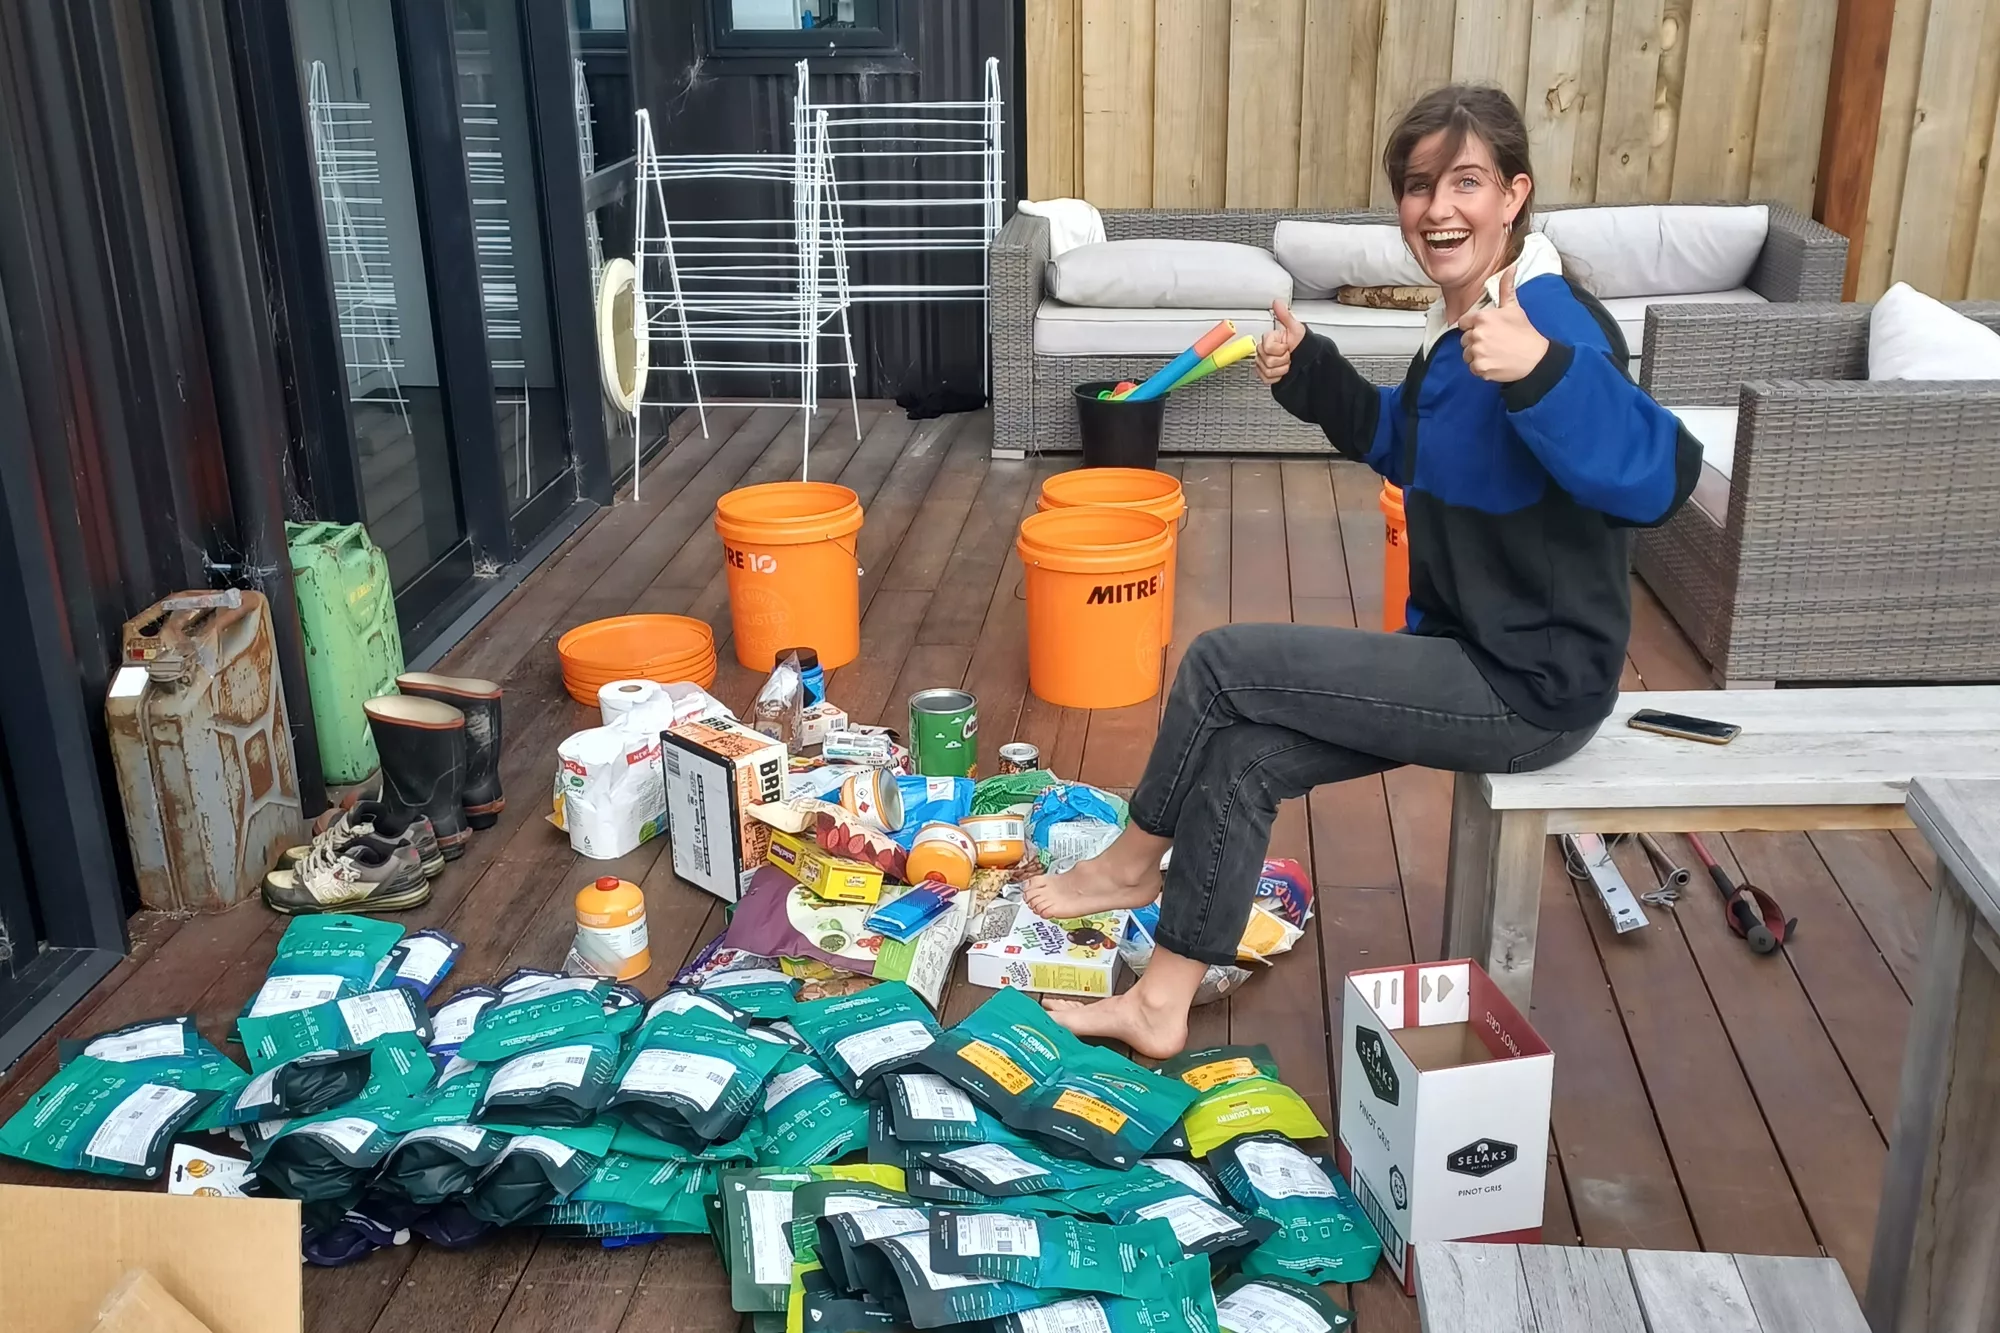
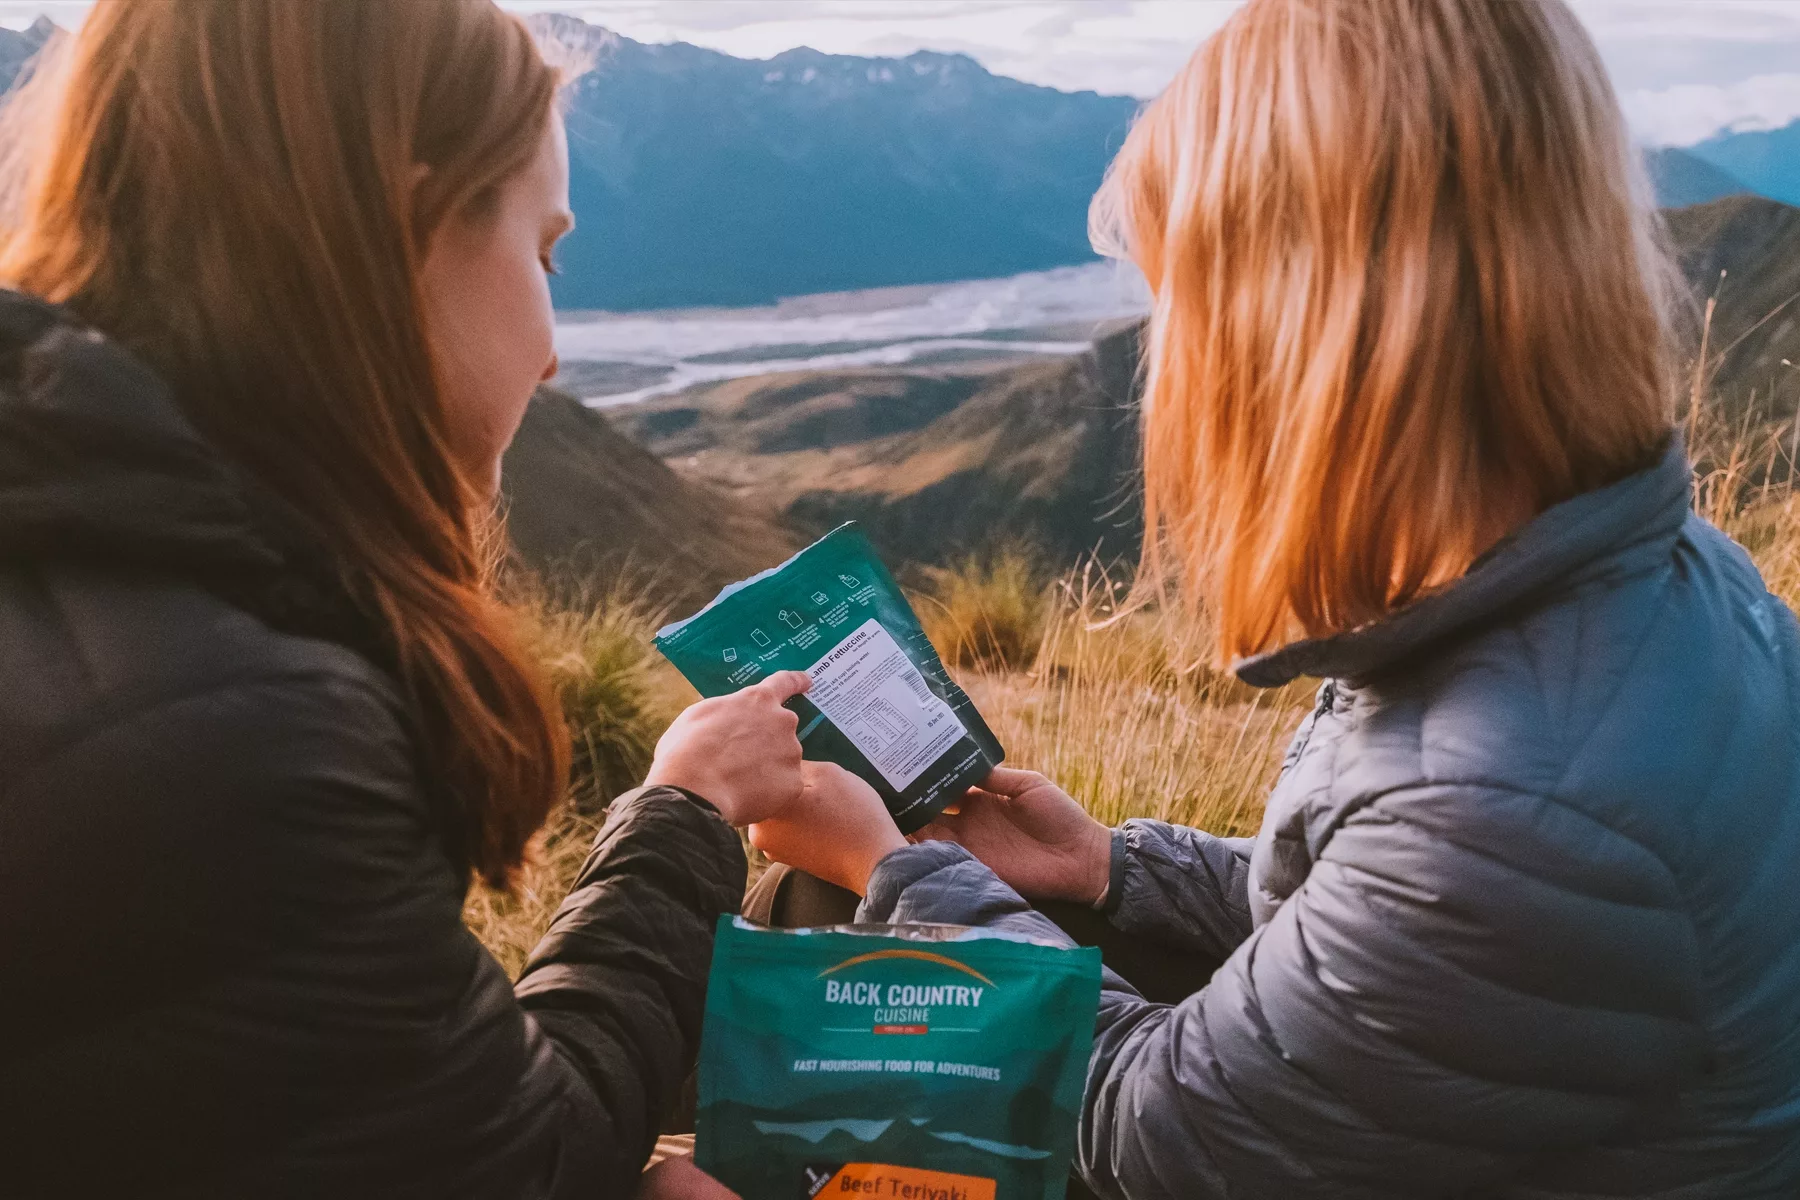
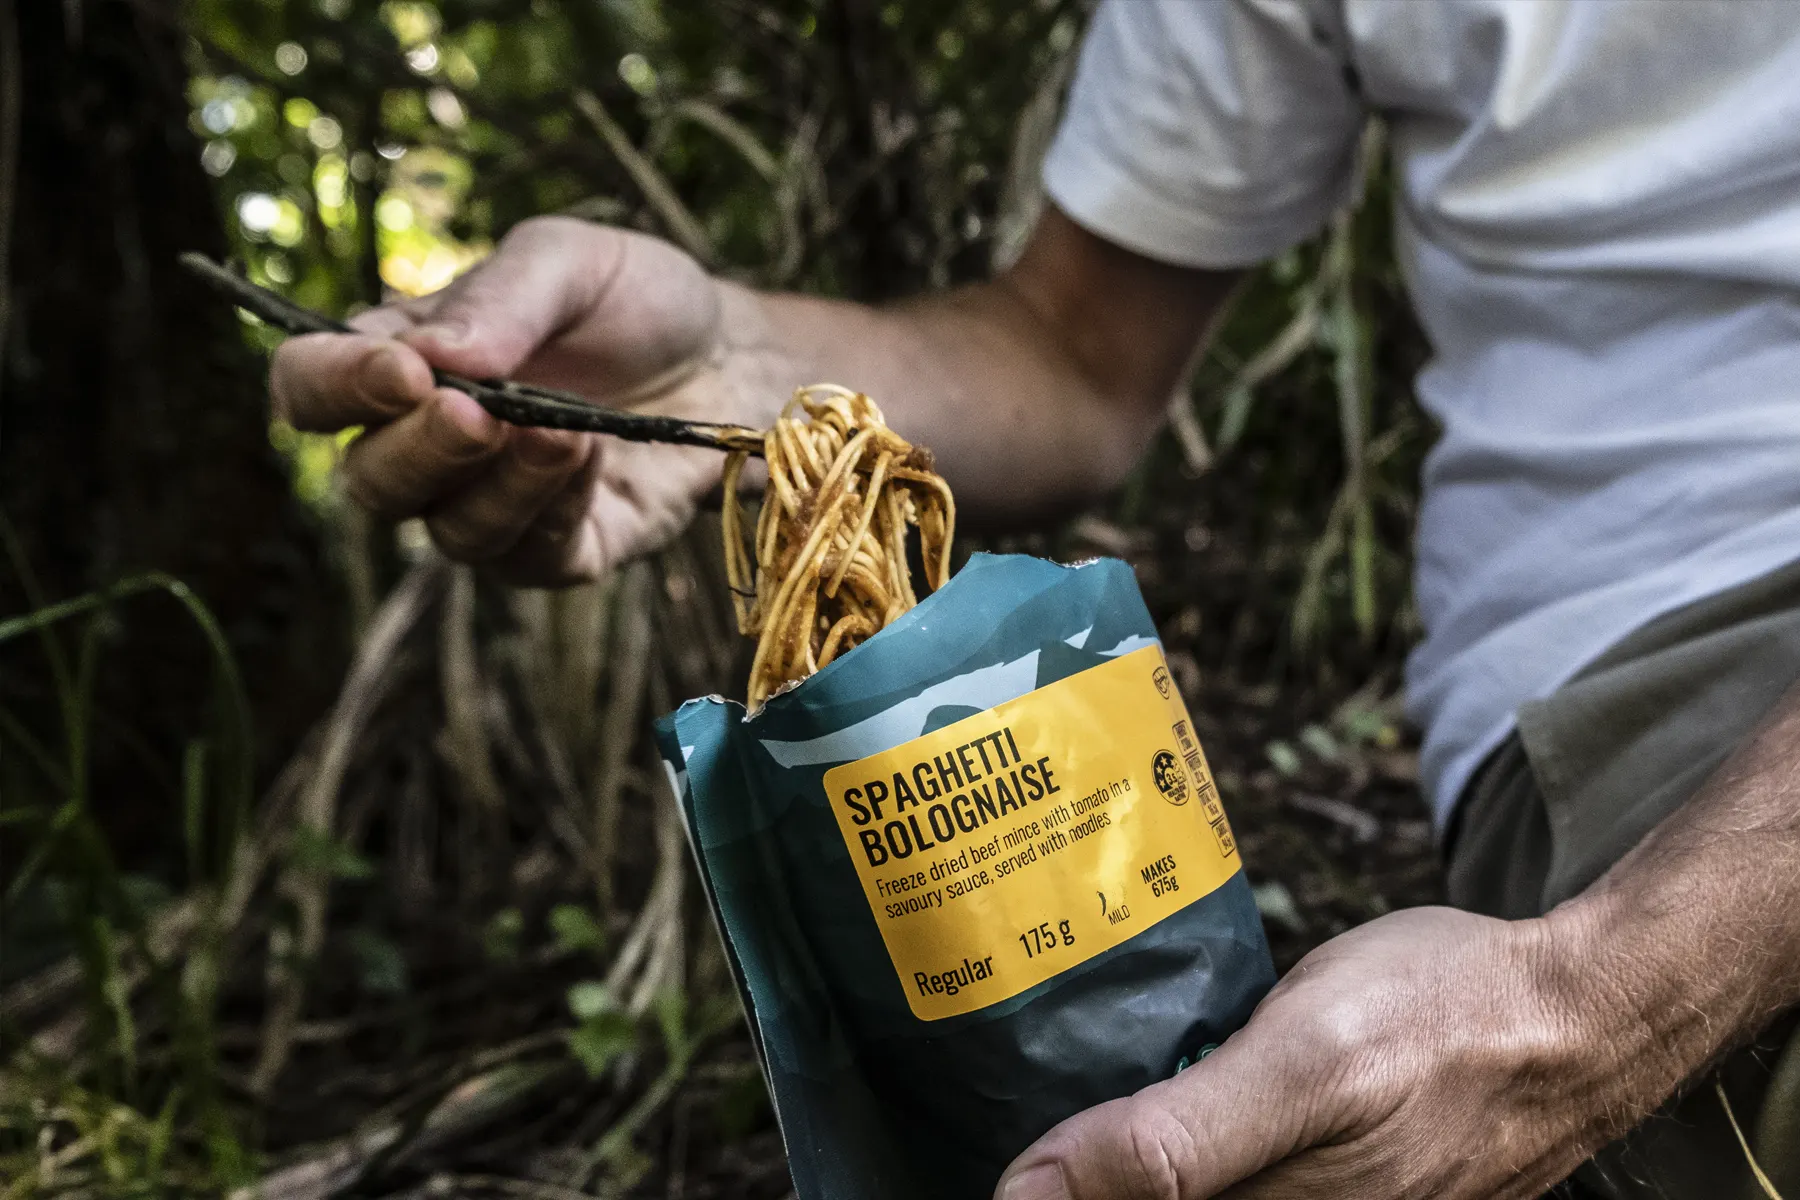
Lunch can be anything from pre-made sandwiches to freeze-dried foods like Back Country Cuisine meals. If you’re taking dehydrated food to cook at your lunch spot you’ll also need a light gas cooker set up and something to boil your water in, or the latter option is a flask of hot water - perfect for a hot cup of coffee or tea also. Don't forget that spork! This list is endless however as long as you have your preferred foods for your hike and enough of it, that’s the most important thing.
PERSONAL LOCATOR BEACON
I always recommend one of these no matter where you’re going or how long you intend to be gone for. A locator beacon can be triggered at any time of an emergency such as a serious injury or a life-threatening situation you may not be able to get out of on your own. One of these ensures your safety the entire time in case any of the above were to occur. There are plenty on the market to purchase or can be hired from most adventure retail stores or information centres before your trip.
CAMERA
In any form whether that’s your mobile phone camera, DSLR, film camera etc. you’ll want something to capture your adventure on.
FIRST AID KIT
A simple first aid kit is handy in case of any small injuries like cuts or pulled muscles along the way. This could look like a mixture of plasters, anti-inflammatory cream, alcohol wipes, pocket knives etc.
NON ESSENTIAL BUT STILL ESSENTIALS
GAS COOKER
A backpacker stove, small gas canister and a pot or Jetboil for boiling water. This will be needed if you need hot water for any food, tea, or coffee you take with you.
GAITERS
As mentioned above you might want these if the track you’re taking has recently had rain or snow. The conditions will be slightly trickier and wet and these will help keep you as dry as possible.
HIKING POLES
I personally don’t use these however a lot of trampers do! If you’re prone to bad knees or ankles these will help your stability a lot going up and down the hills.
CRAMPONS
It’s unlikely you’ll need these unless you’re heading on one of these hikes in the middle of winter with lots of snowfall. Compacted snow can become hard to navigate without these and also without previous alpine experience to go in hand. It’s also important to make sure you check the recent weather forecasts to see if this is something you might need.
NZ TOPO MAPS APP
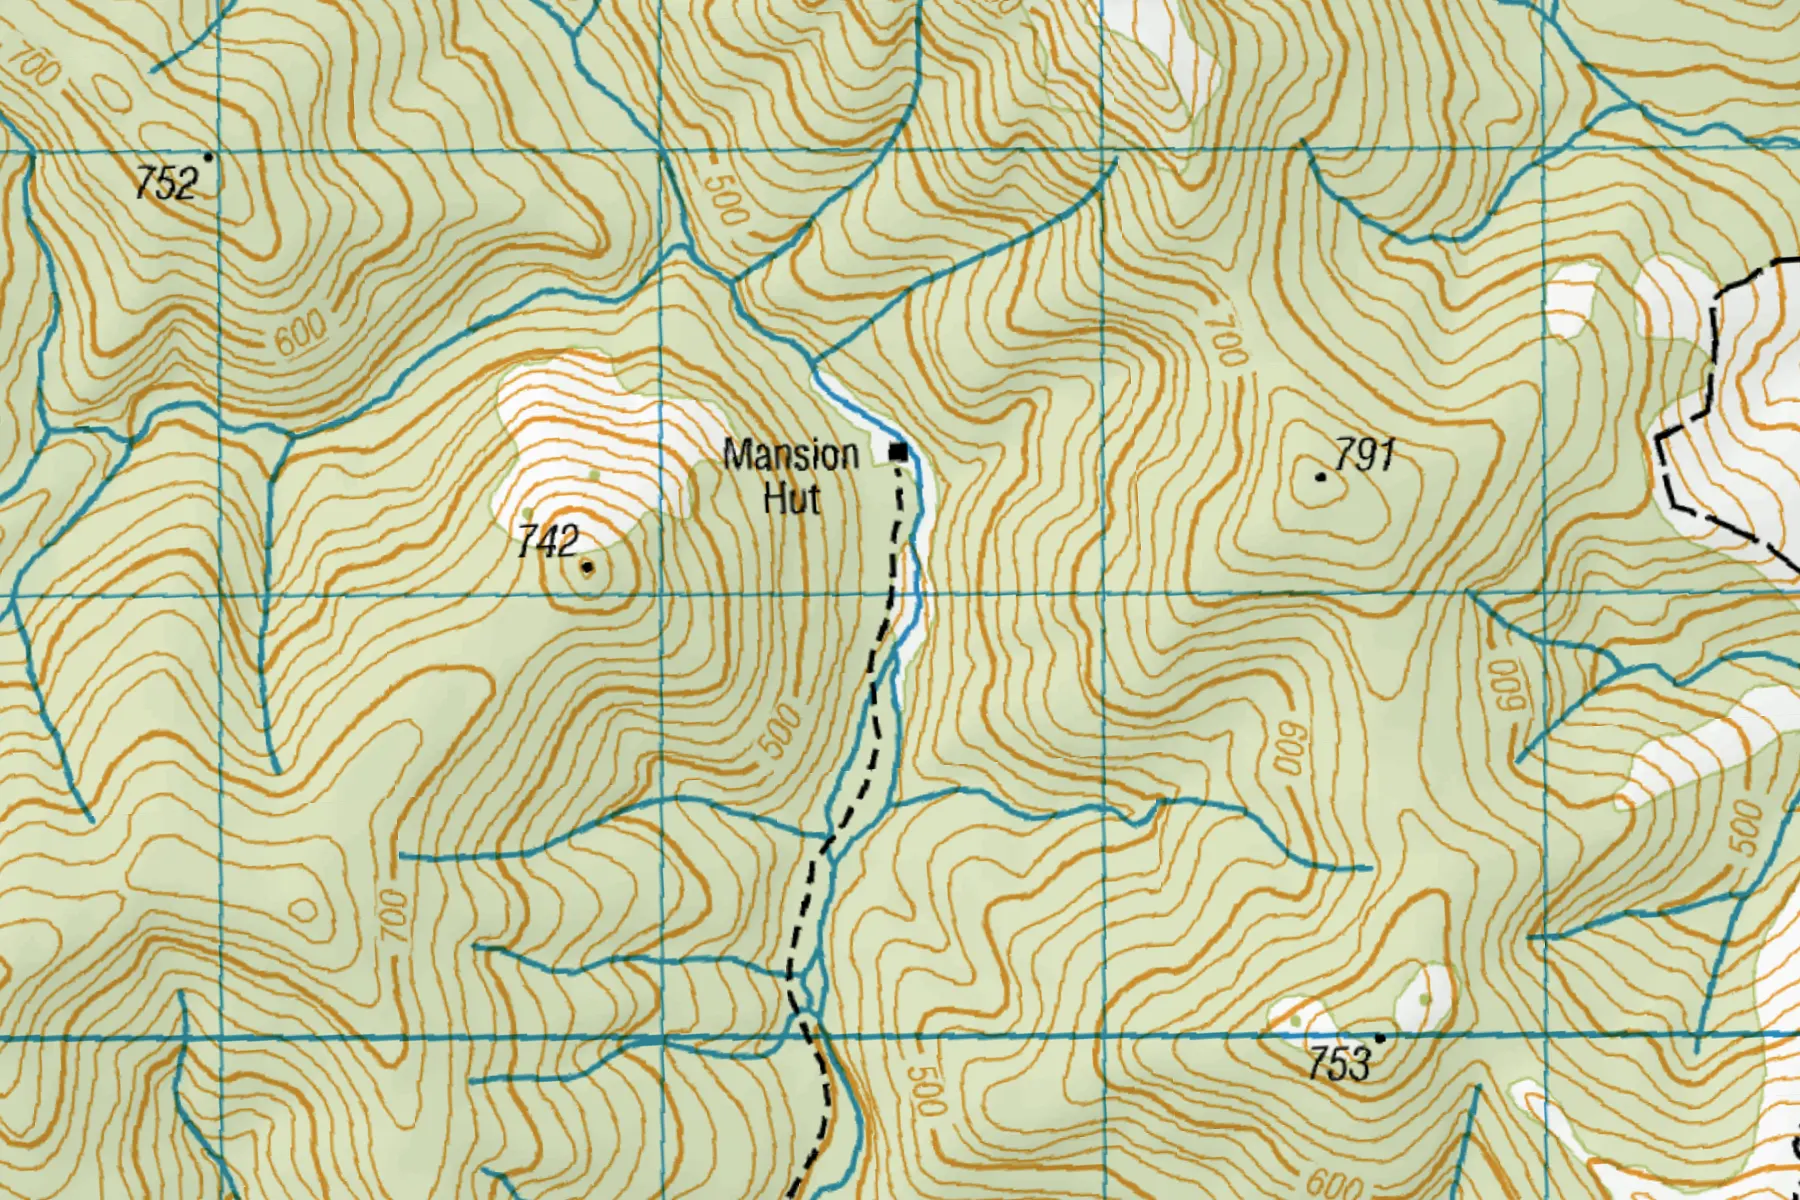
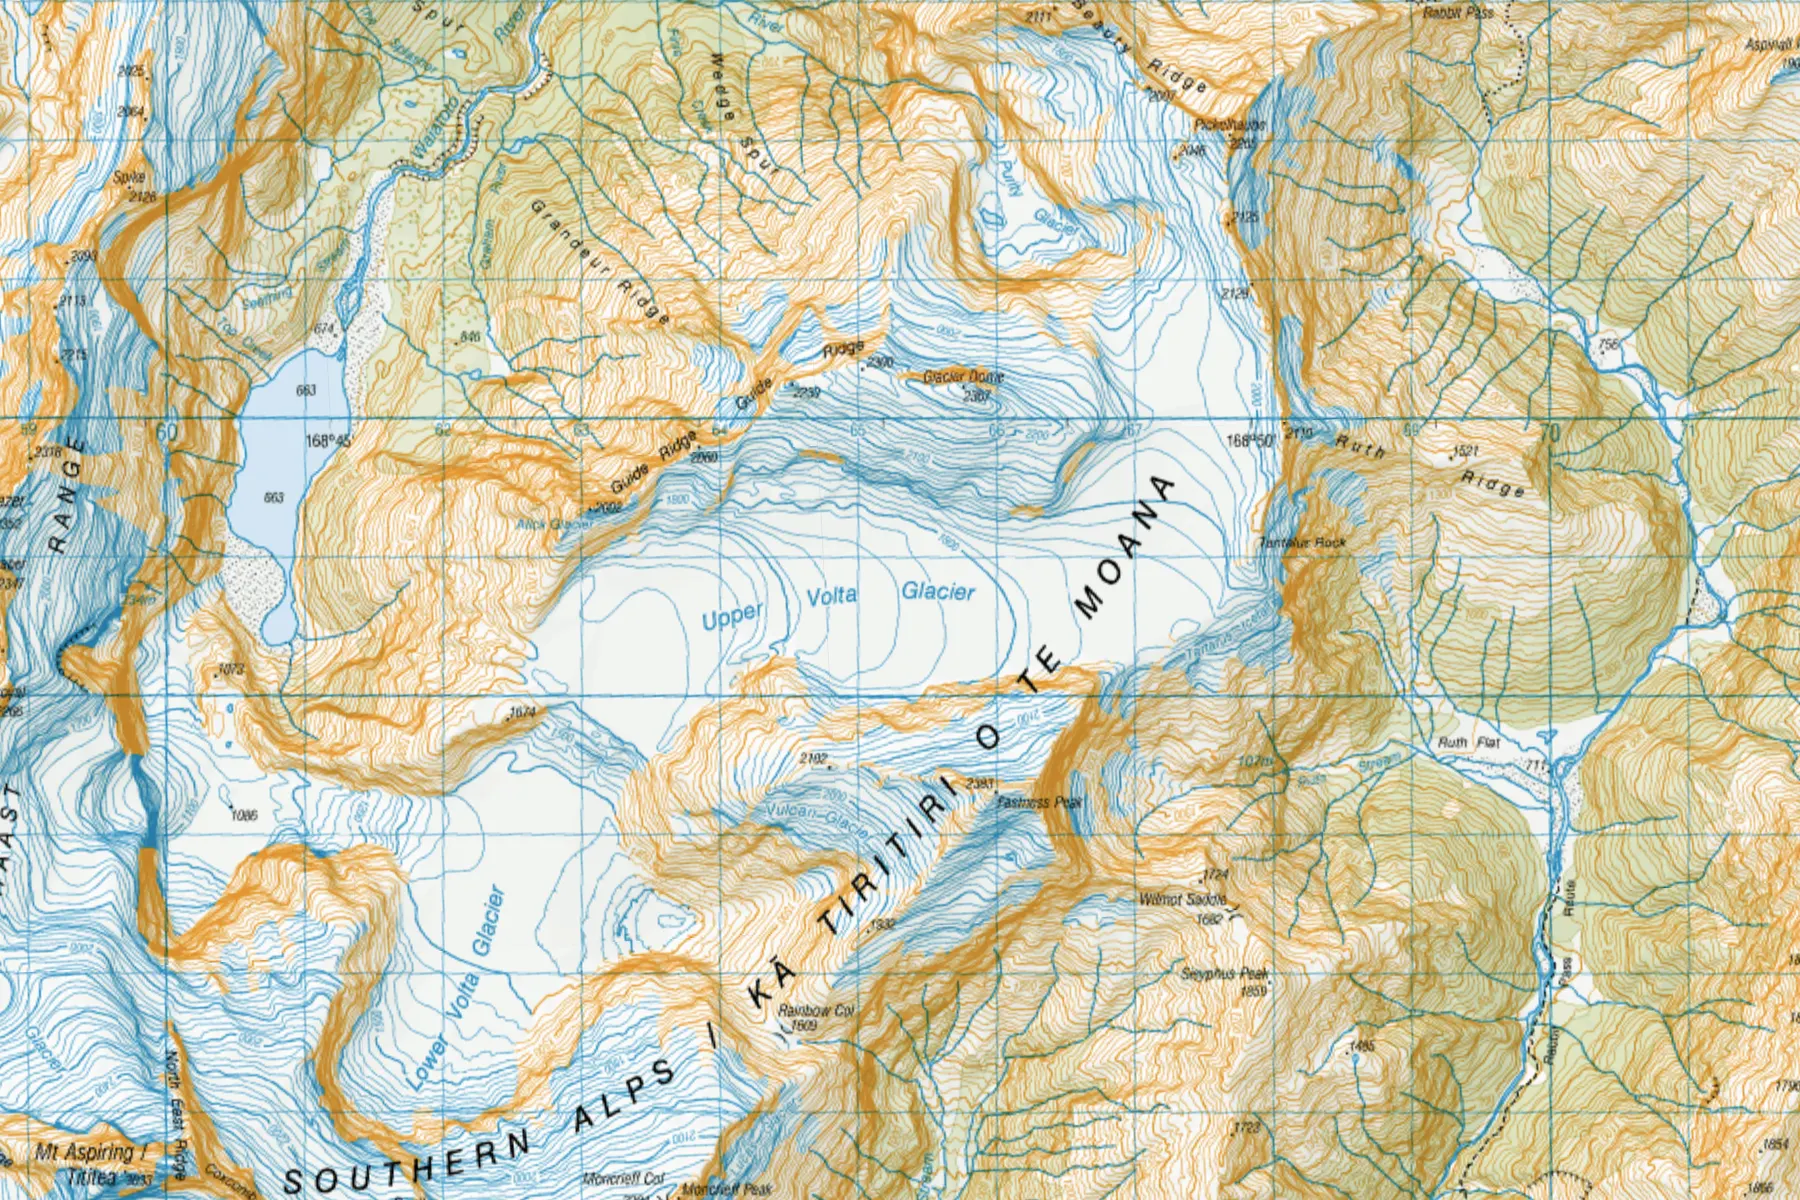
This is an app that you can download for free (premium is paid for) and is extremely handy for tracking your hike, looking at the trail you’re on and making sure you’re on track! The premium version will let you use it offline and help you download hikes before hitting the trail.
POWERBANK
If you’re going somewhere cold and it’s a longer walk, keeping devices charged especially if you need them to contact people after your hike is important!
FINAL TIPS BEFORE HITTING THE TRACK
- Always inform someone of your plans before you leave or set your intentions at a local DOC information centre. Let them know when you’re leaving and back safely.
- Always check the weather beforehand, and if you’re concerned check-in with DOC for the latest track conditions and an accurate weather forecast. You can do this online or also with staff at the information centres.
- Have fun! No adventure on any of my five best New Zealand hikes is complete without a little banter along the way.
To keep up to date with our latest blog sign up to our newsletter.

