Snow | The Basics of Ski Touring
So, you want to get out in the winter months, but you’re sick of plodding through snow, falling waist-deep with every step that you take? Ski touring might be a great option to look into.
However, it may seem intimidating with all the jargon and essential tools to acquire to keep yourself and your friends safe when you’re out and about, so I’m hoping to make things a bit easier with a quick and easy guide into what you need, and where to go!
Jargon
- Ski touring - skiing across open country, walking uphill on skis as well as skiing downhill
- Steeps - steep terrain
- Off piste or out of bounds - away from prepared ski runs
- Inbounds - on prepared ski runs
- Skinning - traveling uphill on skis or a splitboard using skins
- Slackcountry - backcountry terrain easily accessed from a ski field lift, make sure you check in with ski patrol before heading out!
Skills
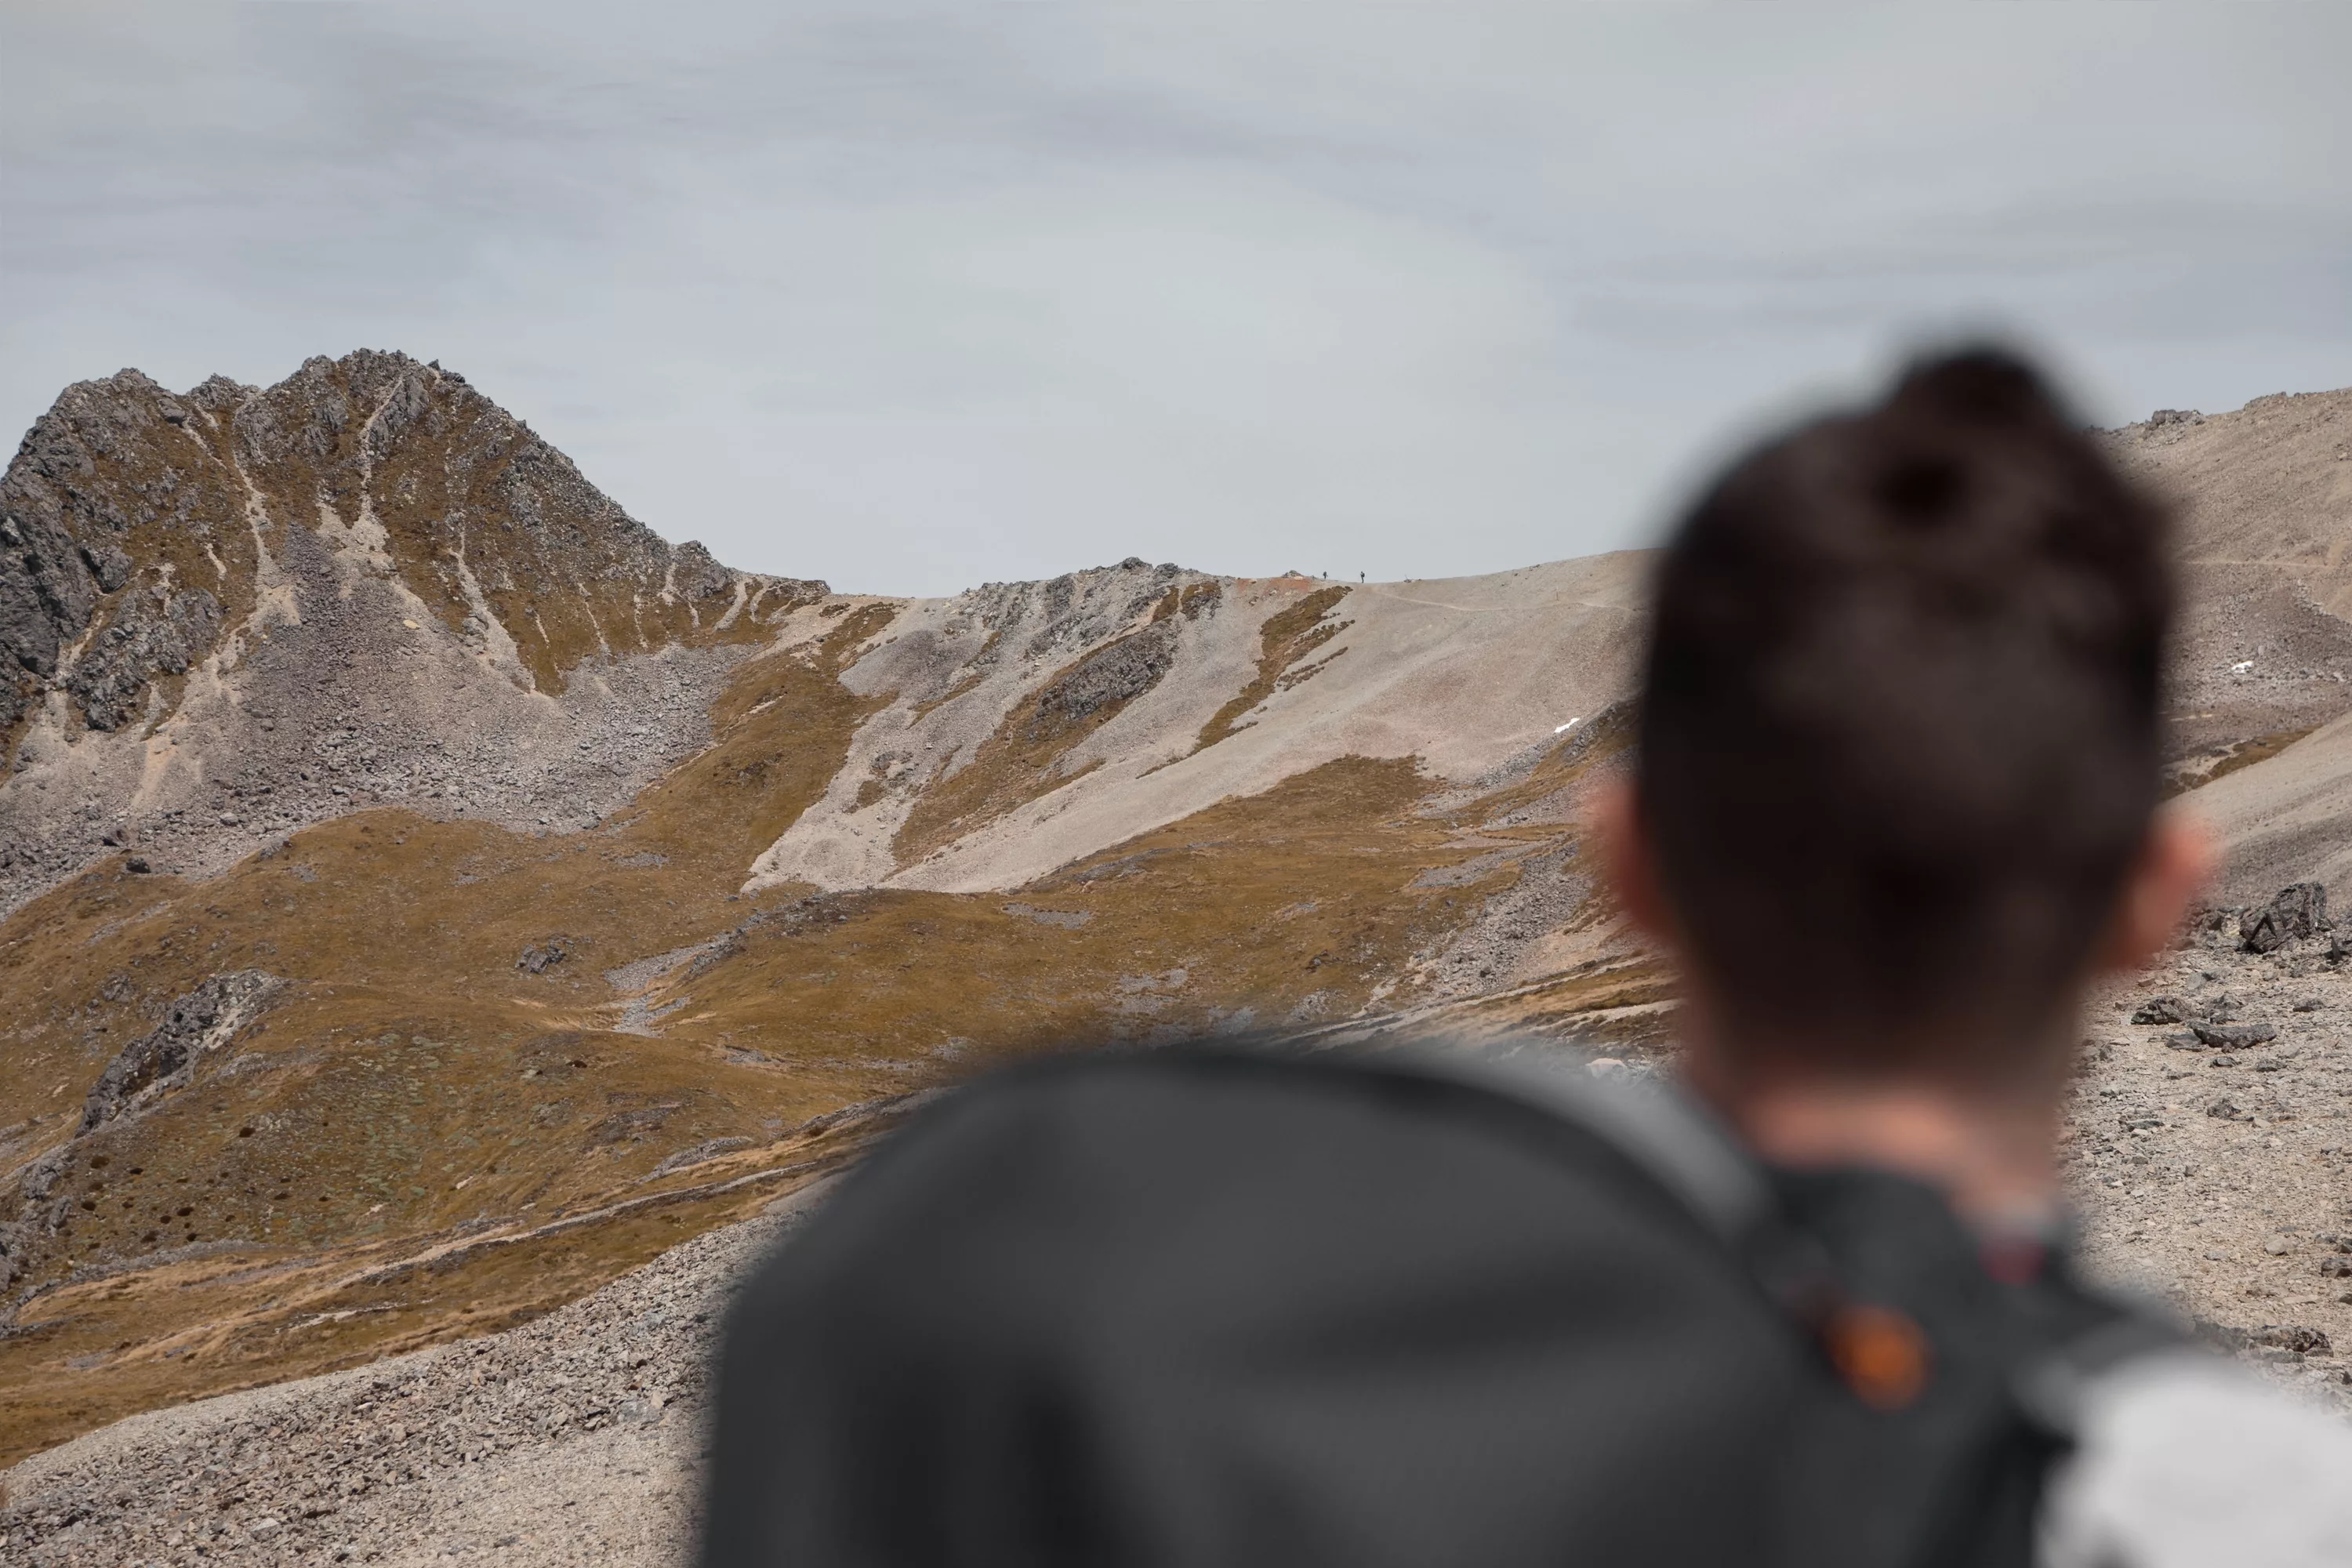
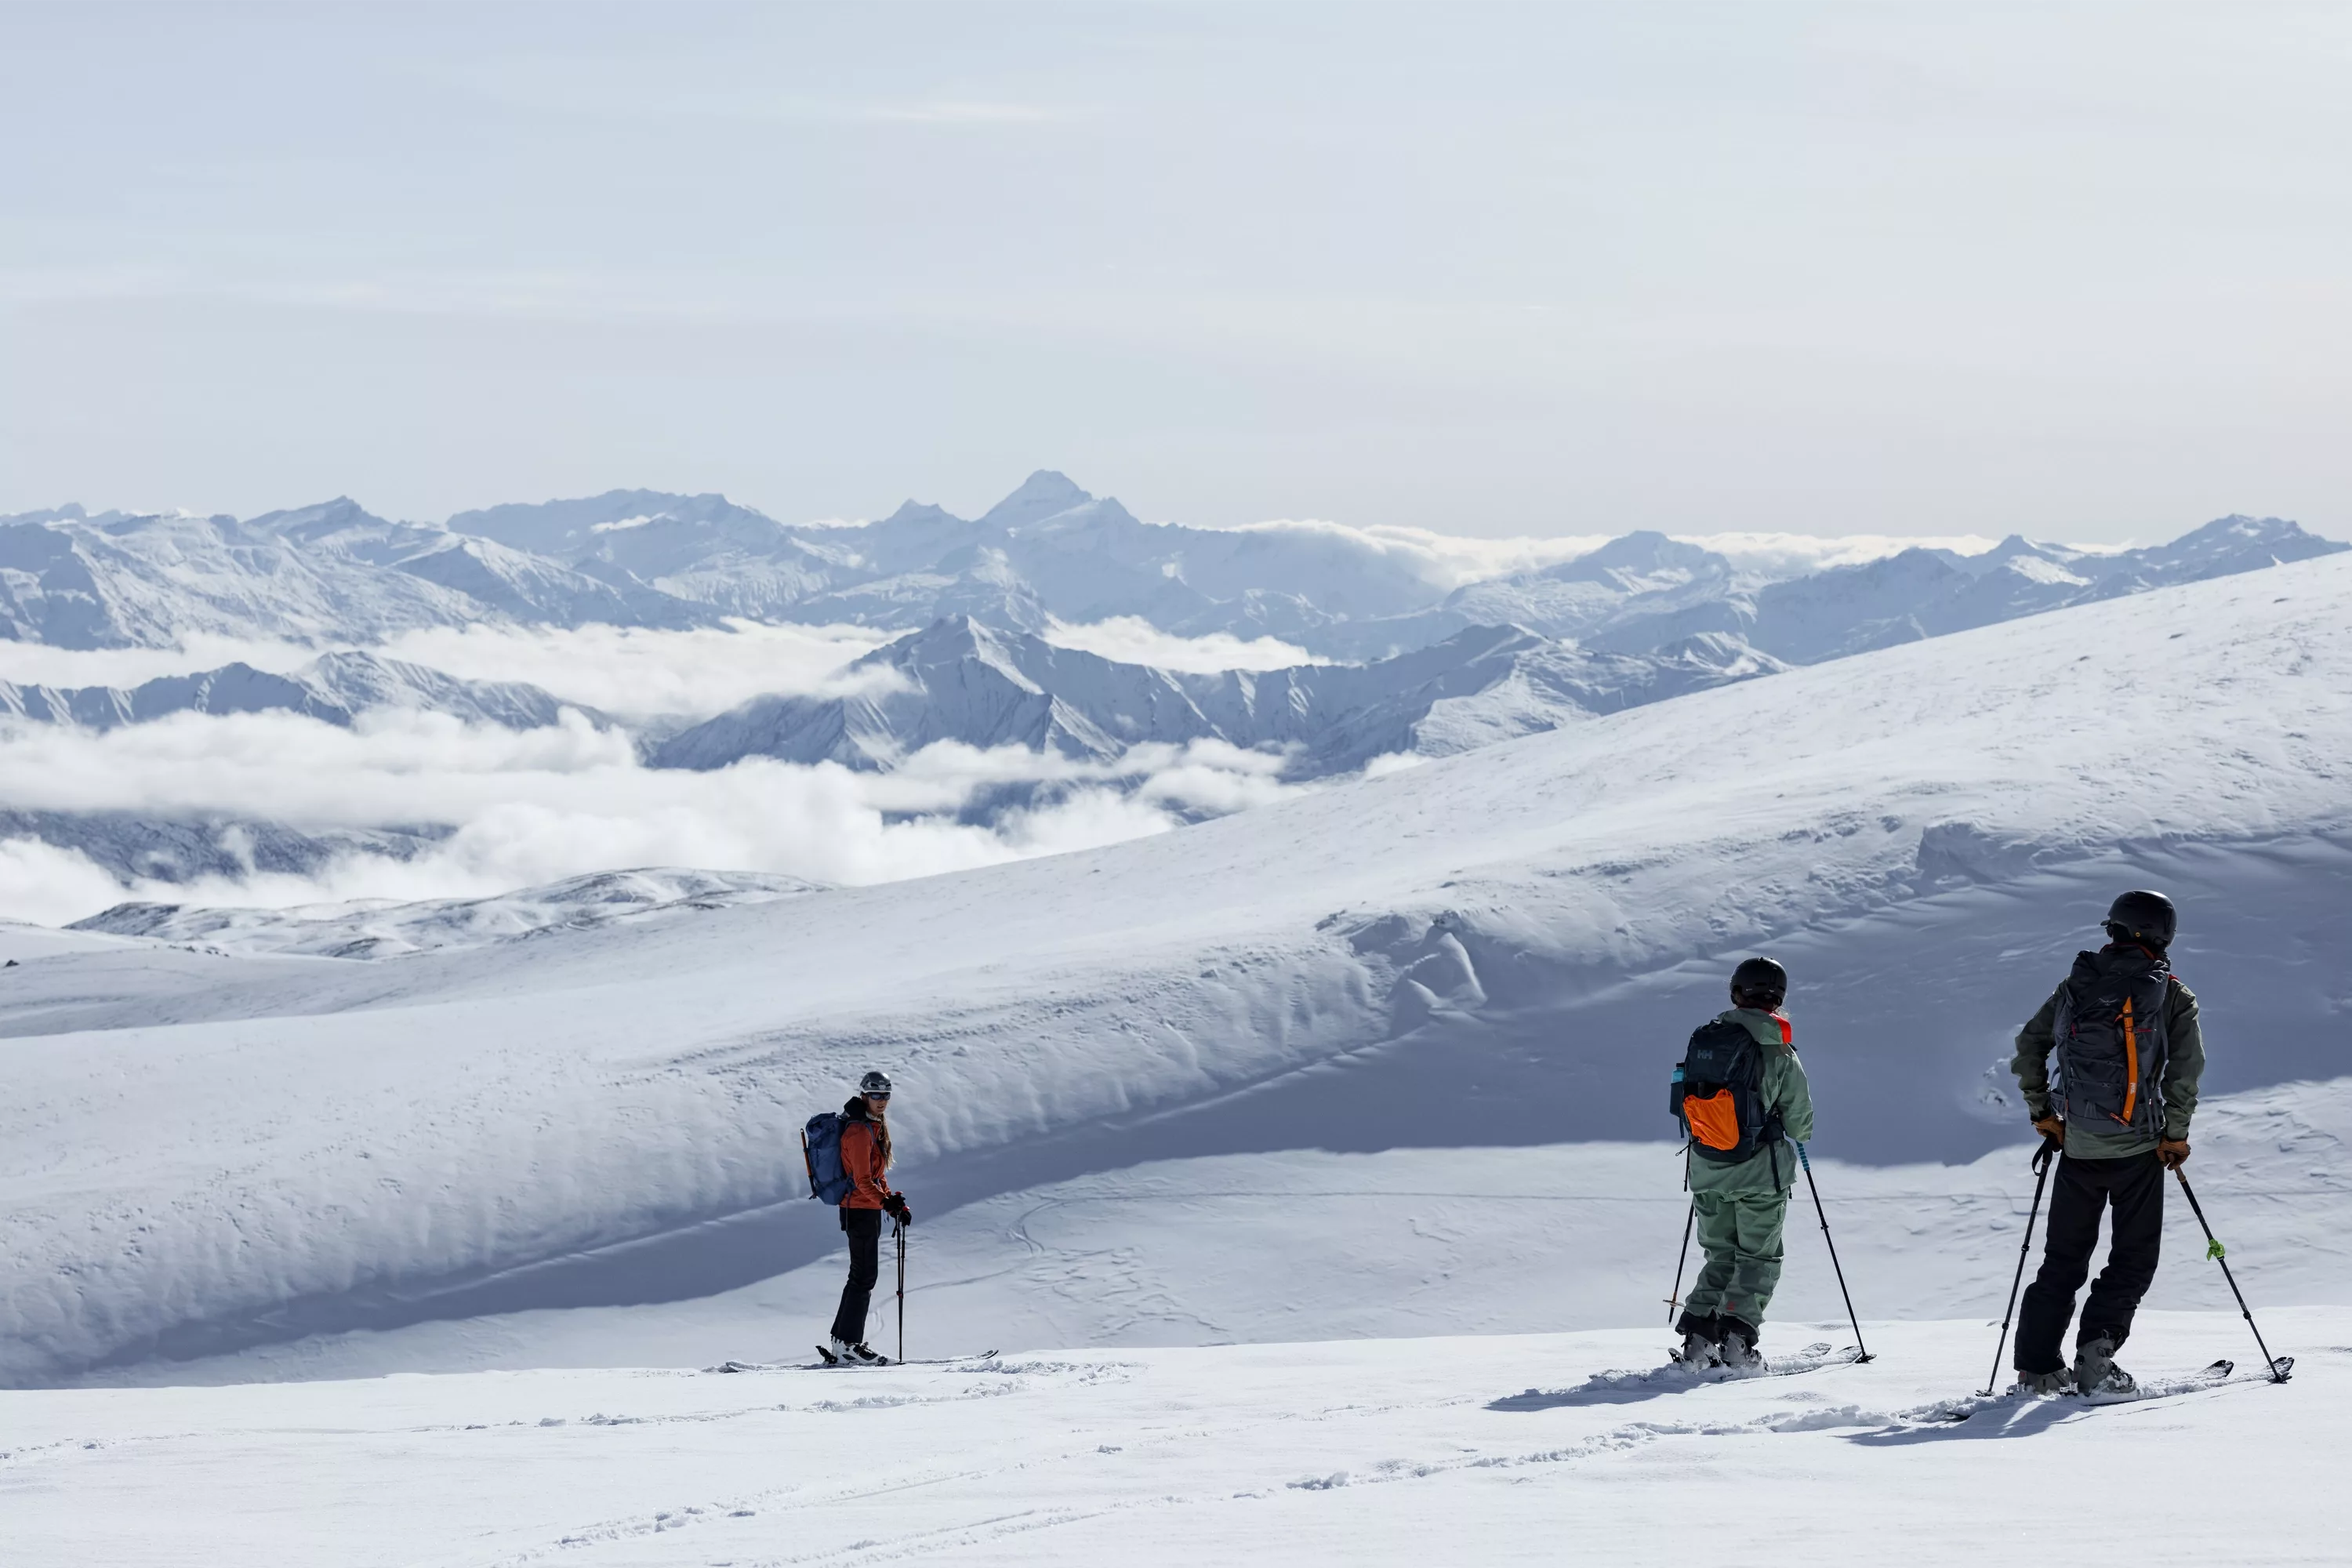
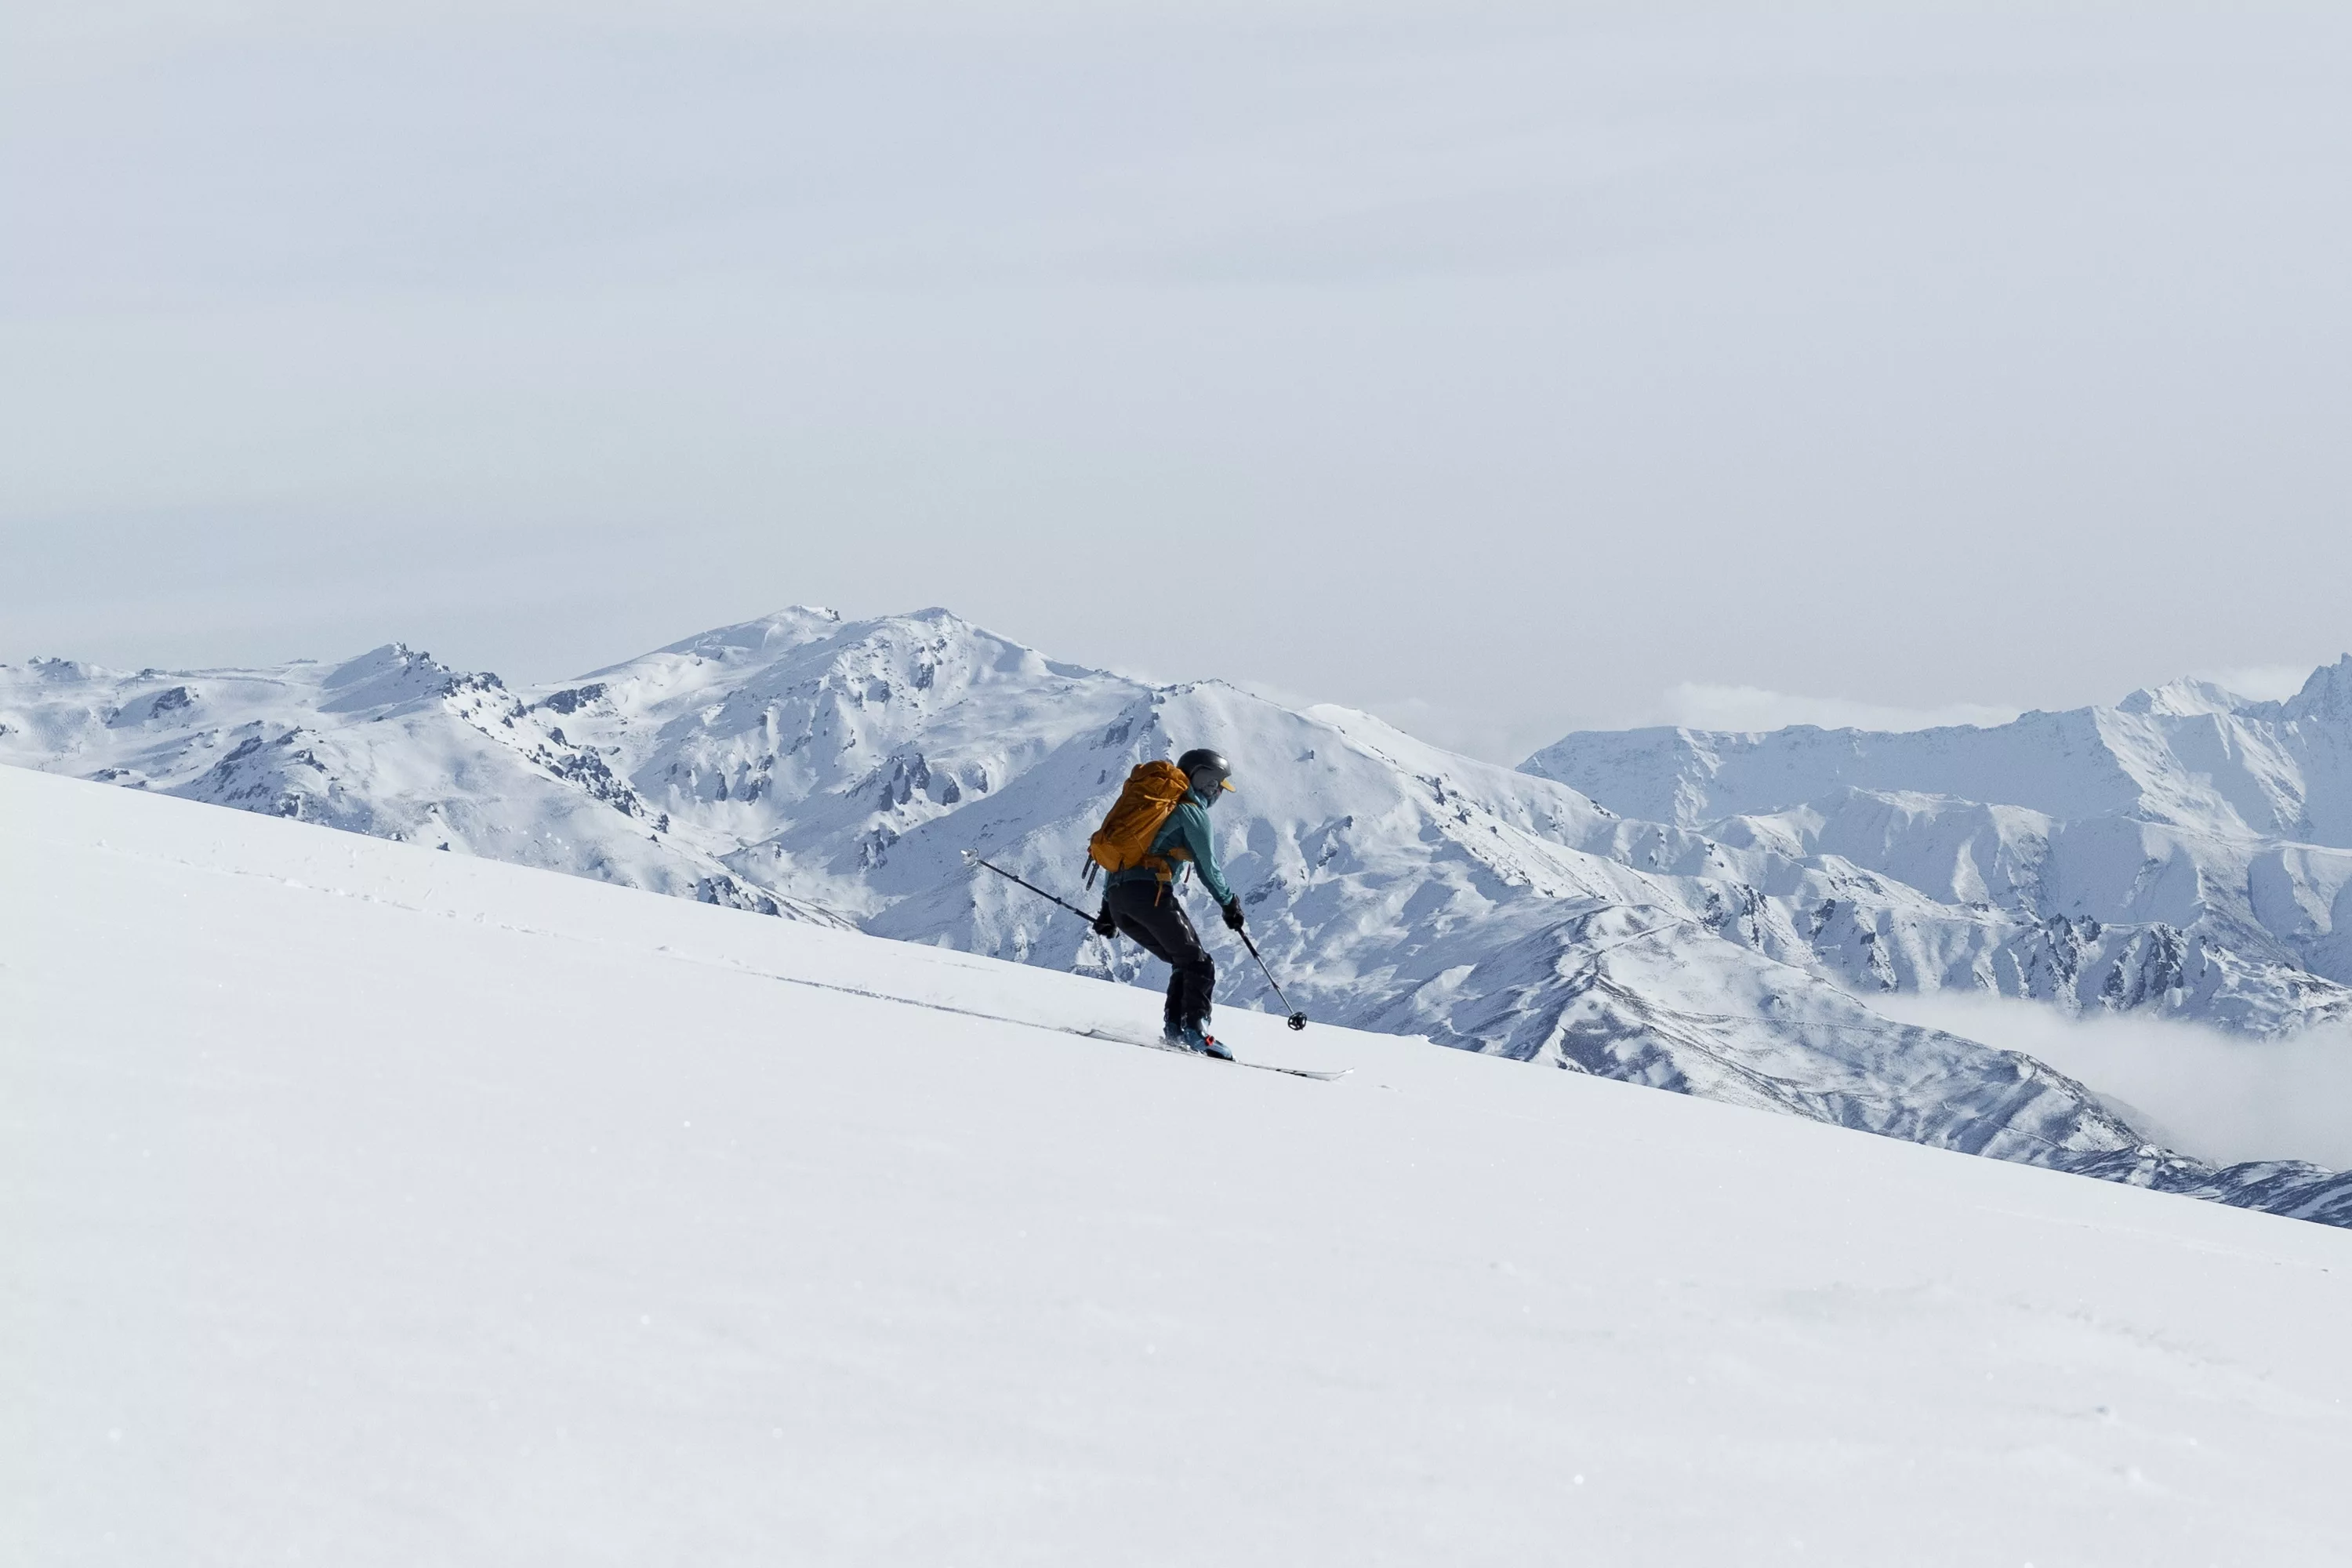
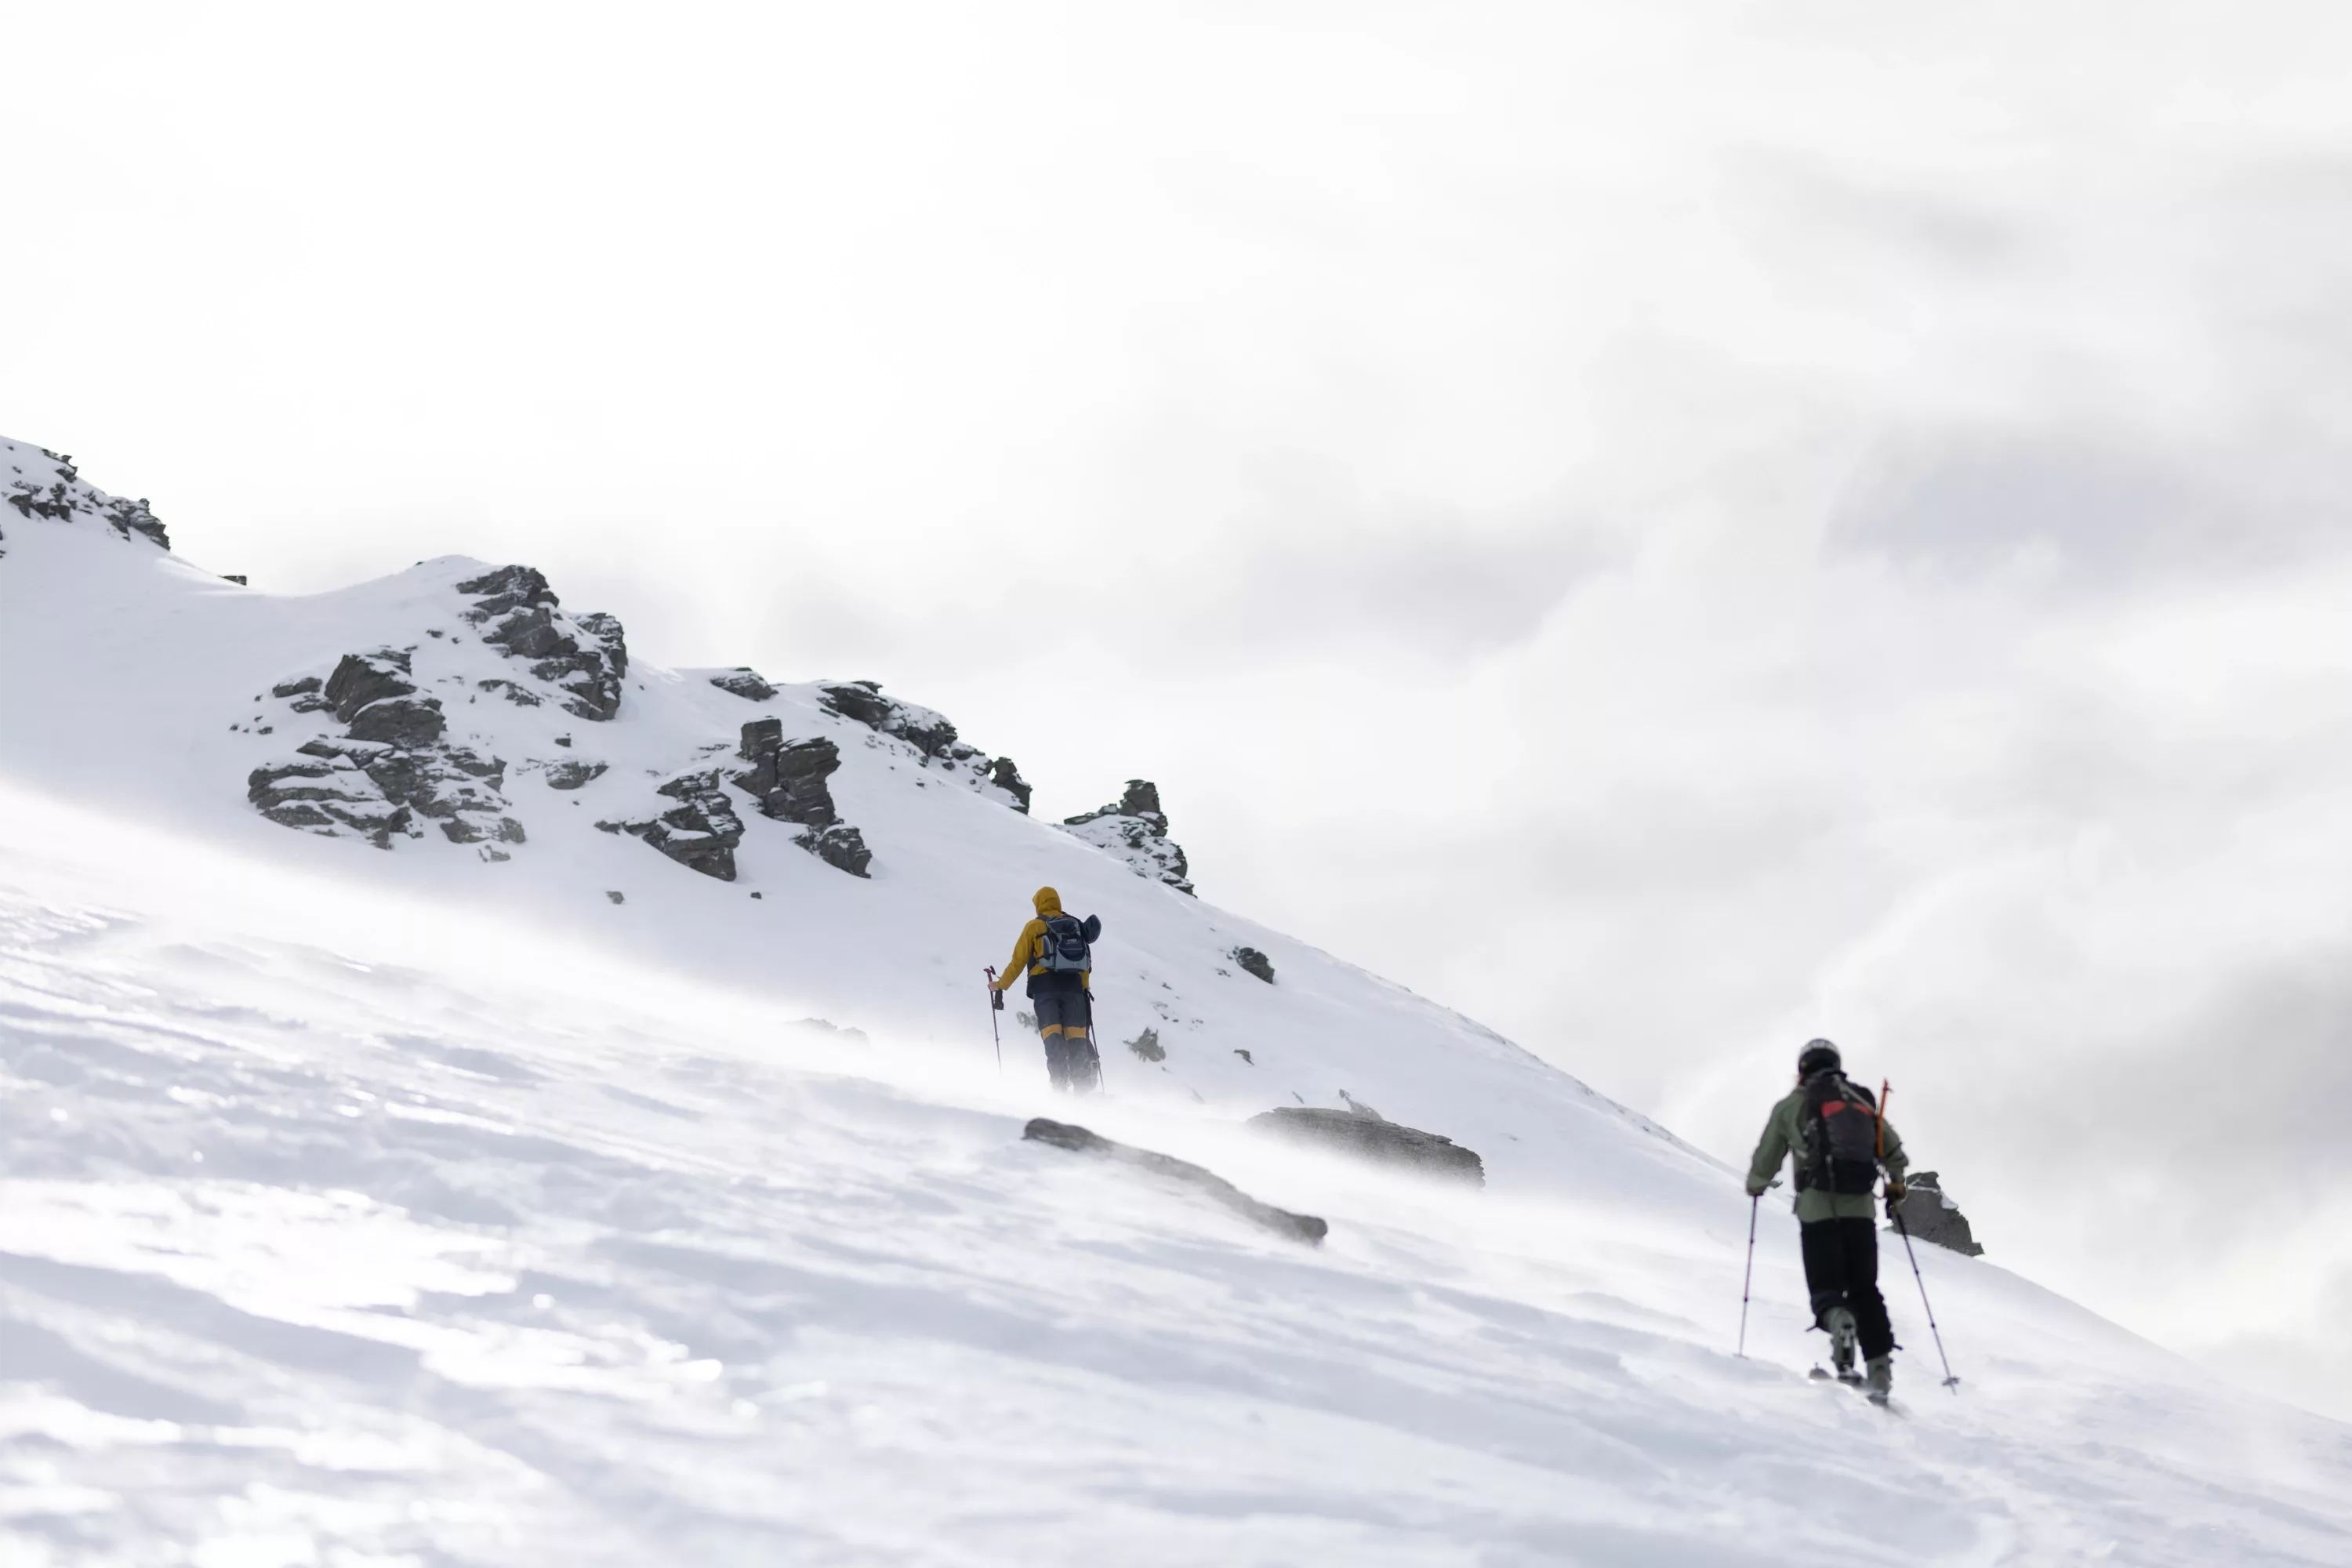
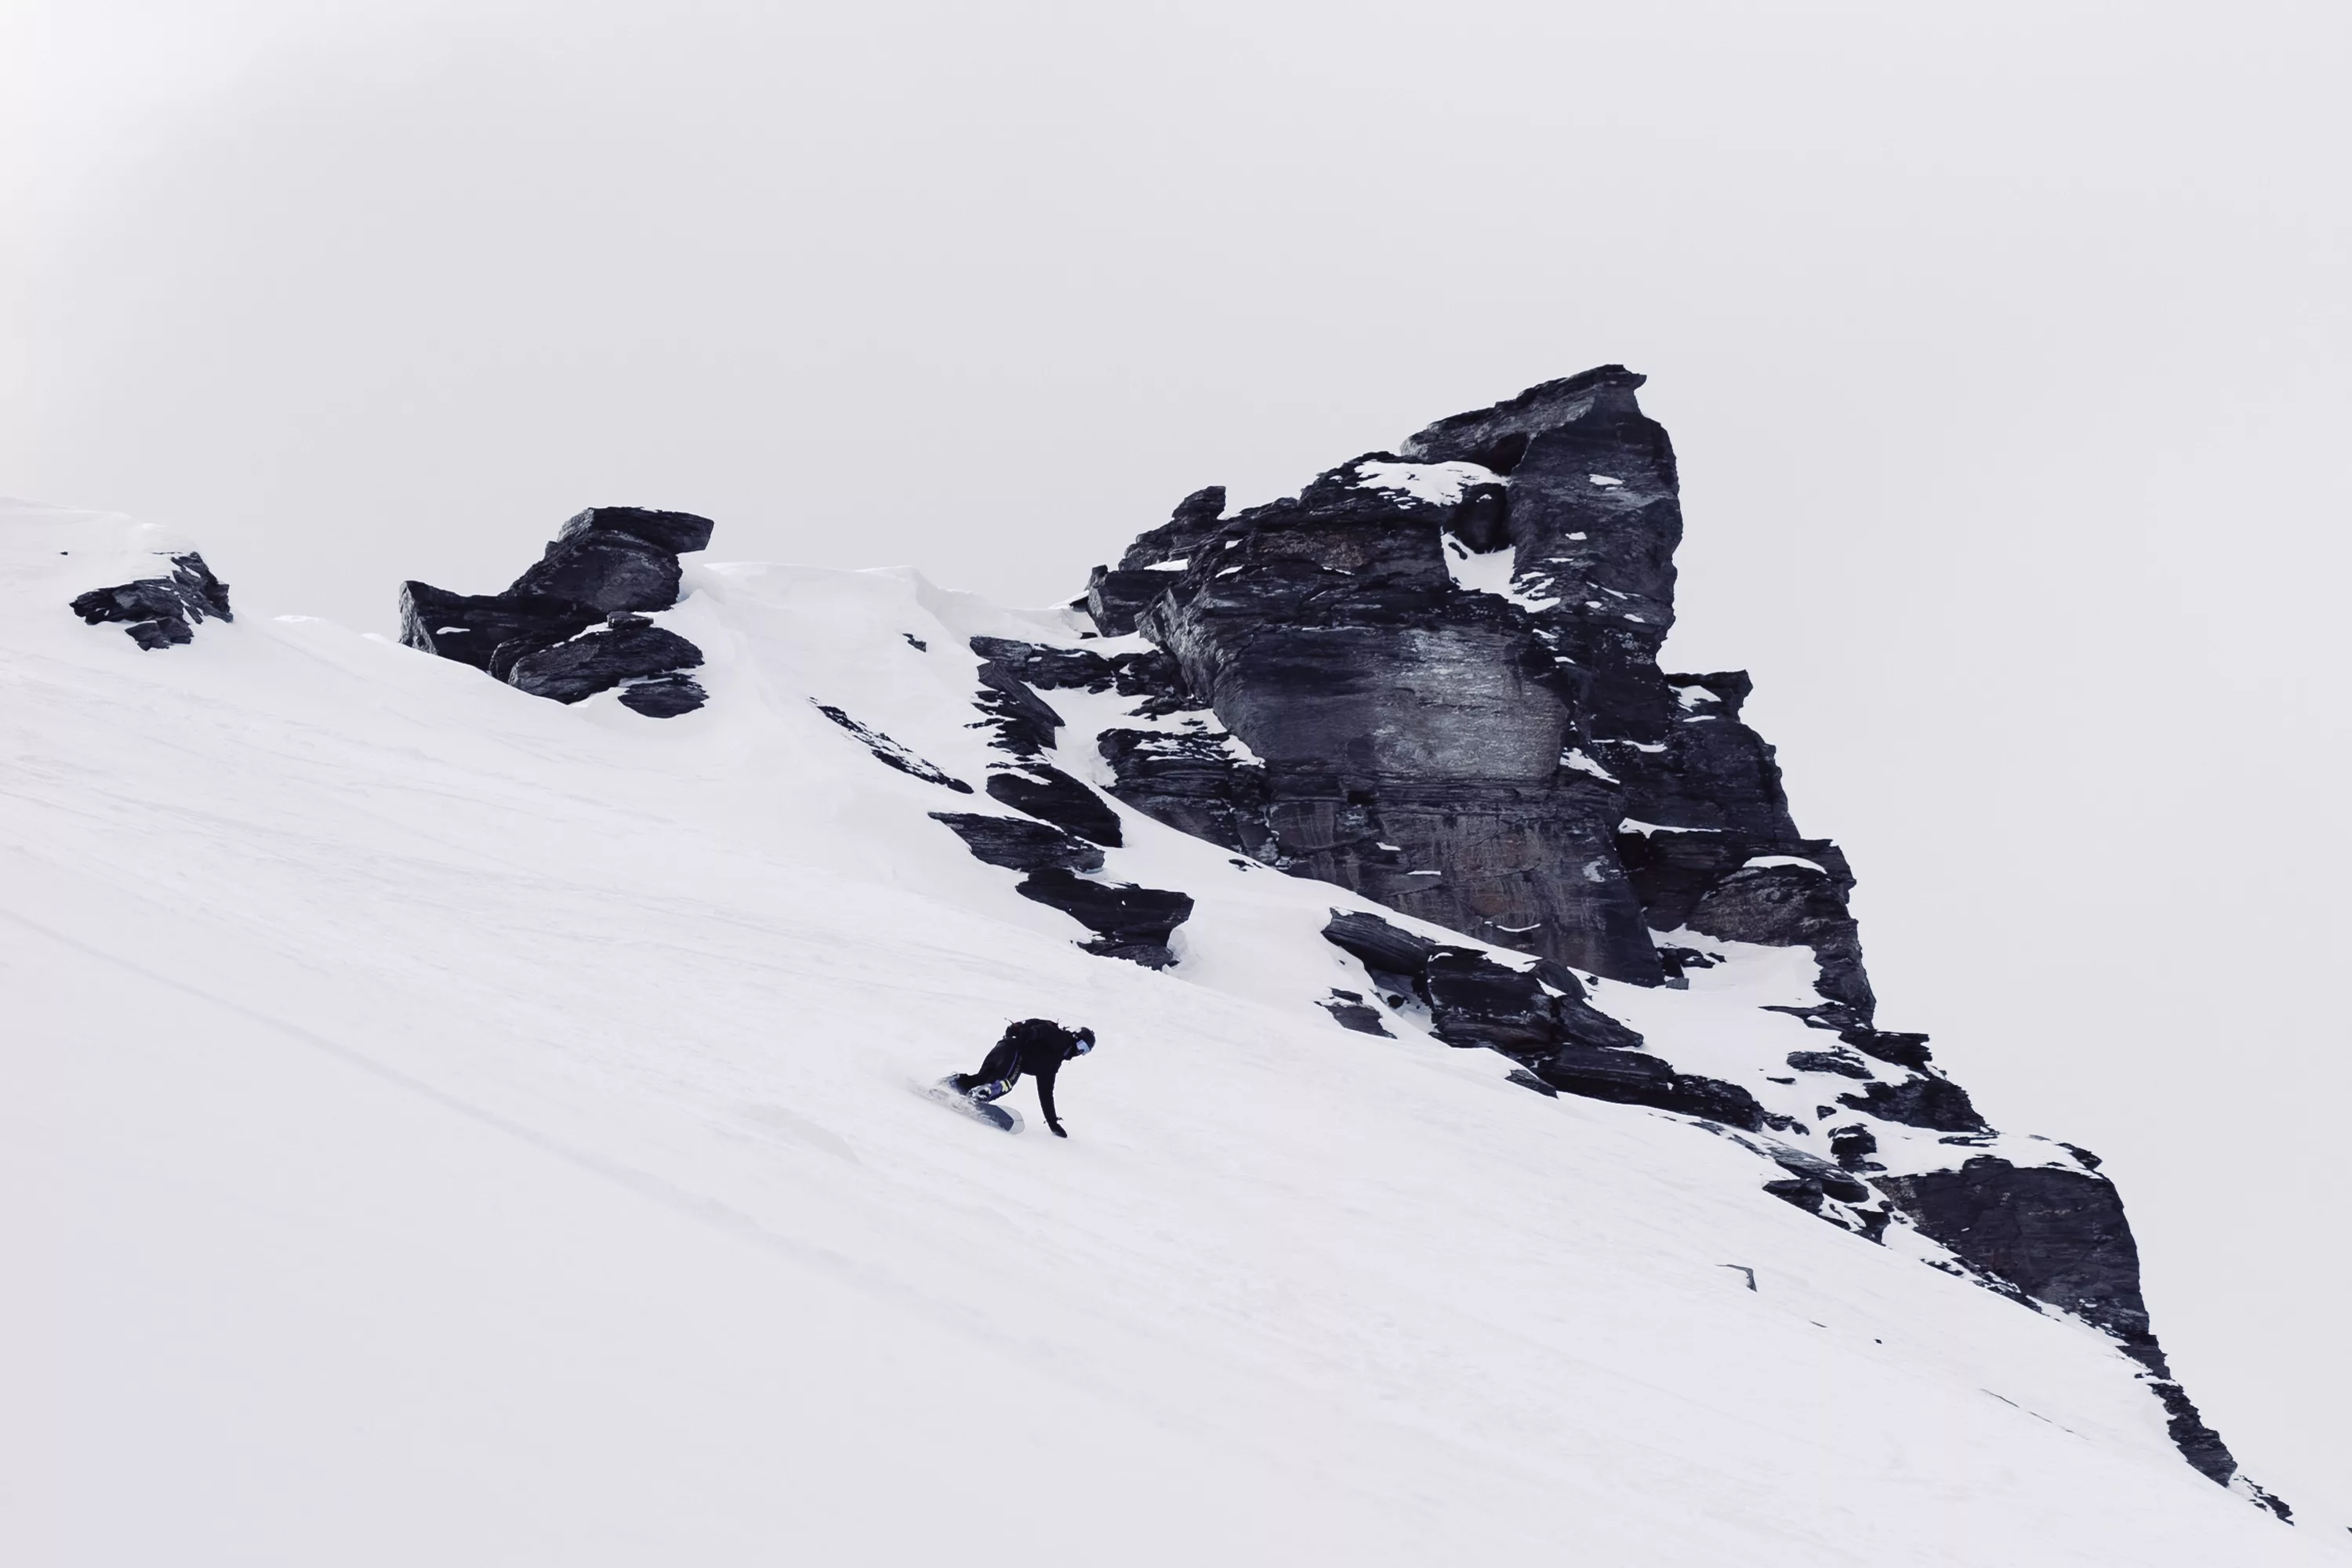
Of course, you’ll need to be a very confident skier, know your steeps (Know that you're comfortable on steep terrain, or how to avoid it and pick an easier line if you need to), be comfortable on variable terrain, and be able to pick safe and enjoyable lines that keep you out of potential avalanche danger.
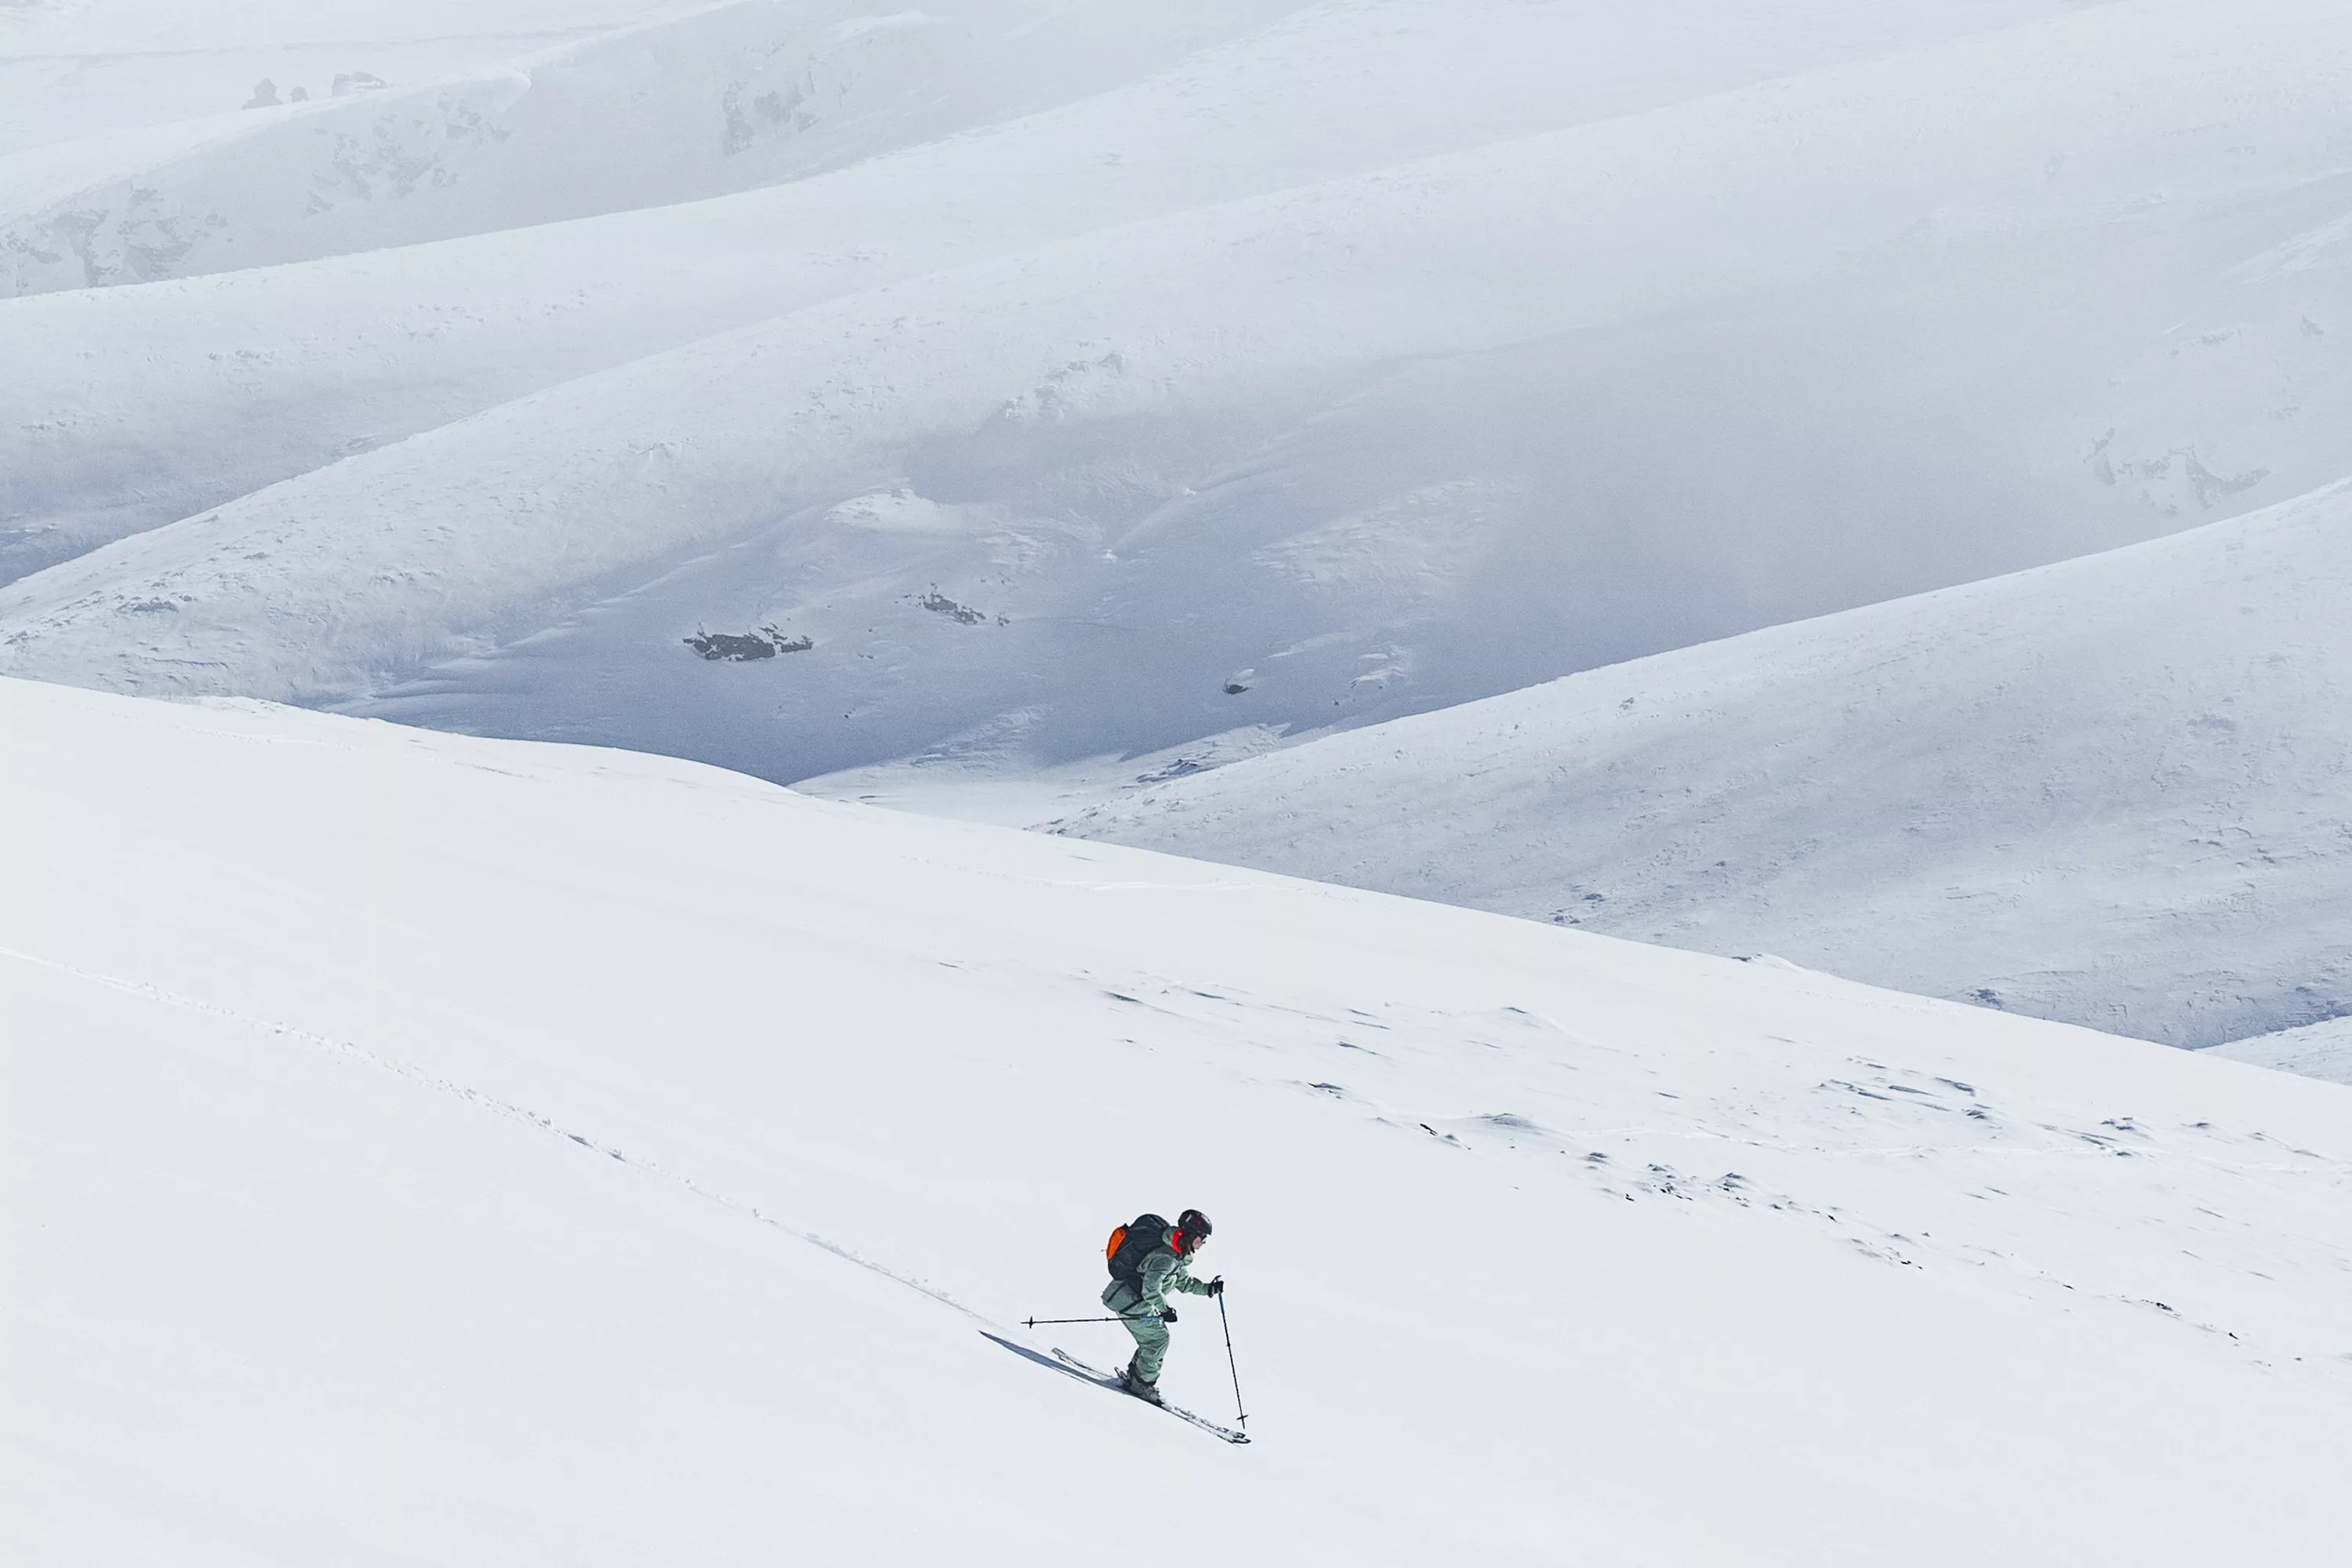
New Zealand snow is highly variable, so it’s not uncommon that you’ll encounter powder, slush, ice, dust on crust, and solid hardpack all in the same trip (if not the same run!). You’ll want to be comfortable “off-piste” before heading out into the backcountry, so give yourself a bit of time to learn inbounds.
Fitness! There aren’t any chairlifts in the backcountry, so every turn will be hard-earned by the power of your own legs (and the skis on your feet). Training with big uphill walks and working on your strength and balance before the snow arrives for the season will set you up well to be able to keep up with your mates.
Avalanche Awareness
Before thinking about heading out the back of your local ski field or resort, you should hop on an avalanche skills course. Getting the confidence to read terrain, and stay away from anywhere that could be potentially dangerous is essential. The best strategy for surviving an avalanche is to be nowhere near one. ASC 1 involves an evening lecture covering the ins and outs of snowpack and avalanche theory and a day, typically in your local ski resort, looking at the terrain as if it were out in the backcountry, selecting your lines accordingly, and gaining the confidence to pick apart terrain to stay safe.
When you’re new to ski touring, venture out with people who know more than you, spend plenty of time learning and exploring, gaining the skills and confidence you need to identify terrain and ski it safely. If you’re still feeling unsure, go guided! Ski guides have the utmost experience and knowledge and will make sure you have a safe and enjoyable time out on the slopes.
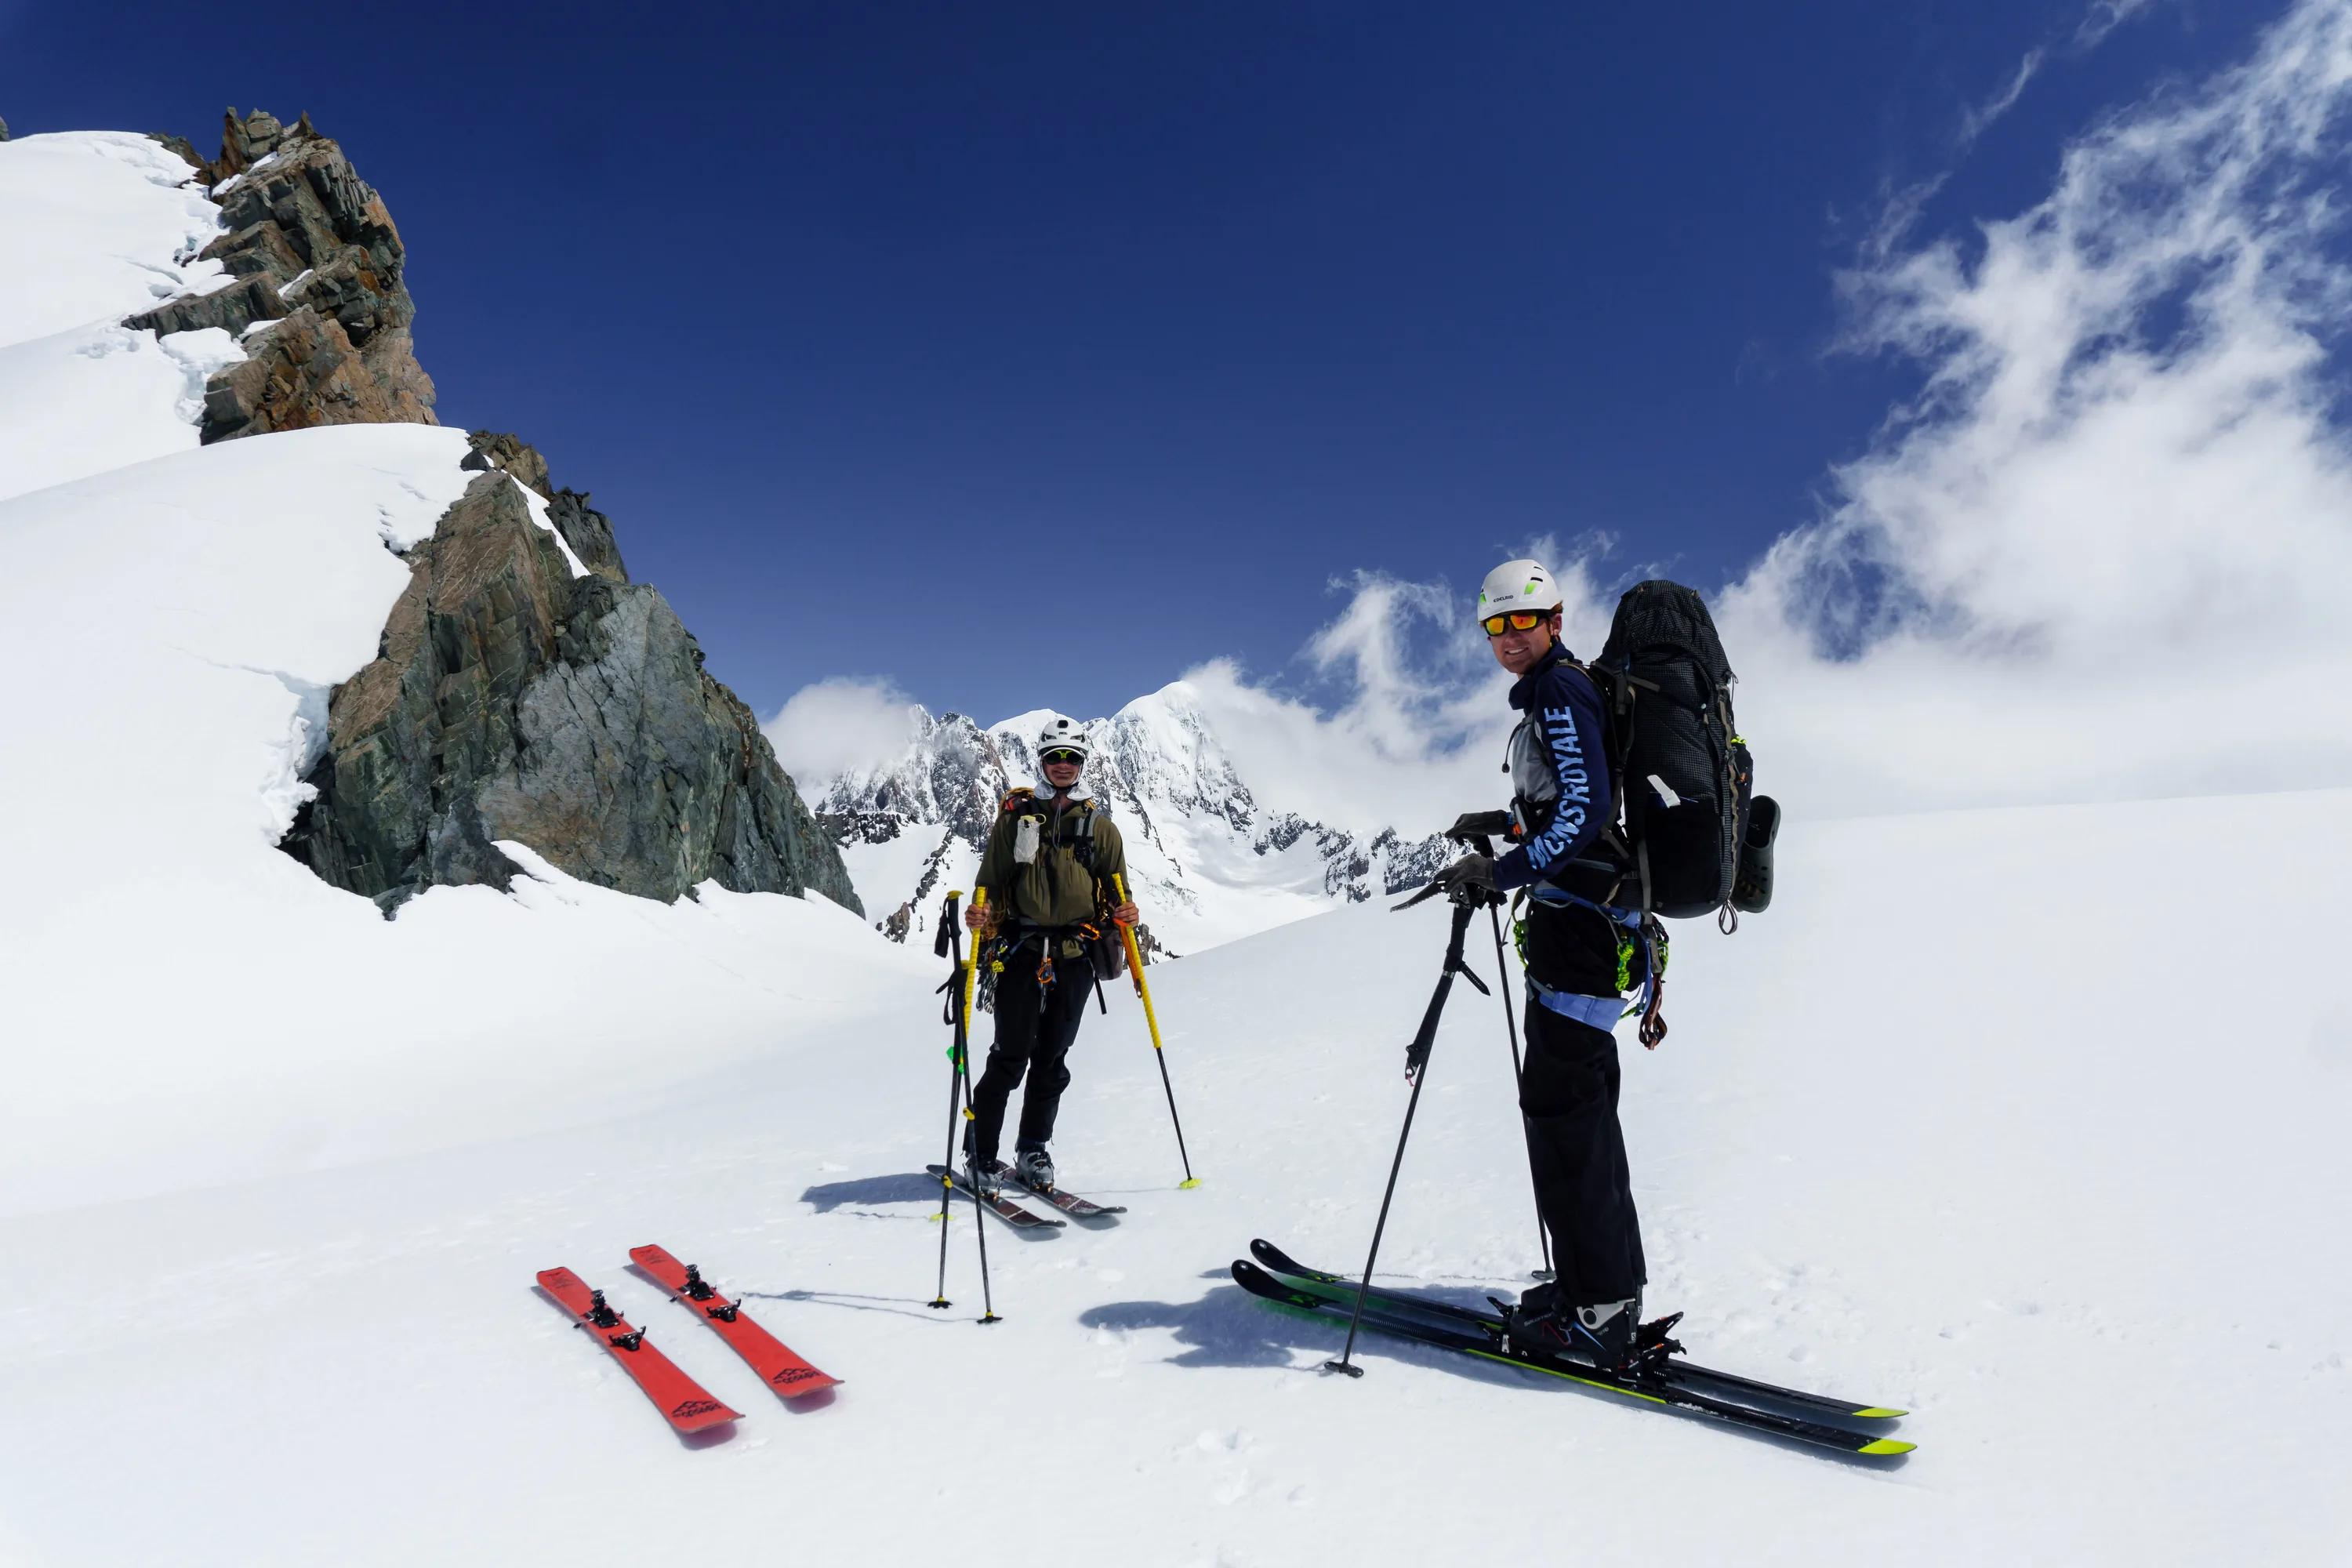
Equipment
A significant portion of ski equipment that you’re able to find these days is what can be classed easily into a category of “hybrid” this means that it functions very well as your on-piste ski/boot, but can take you out of bounds and uphill when you want it too.
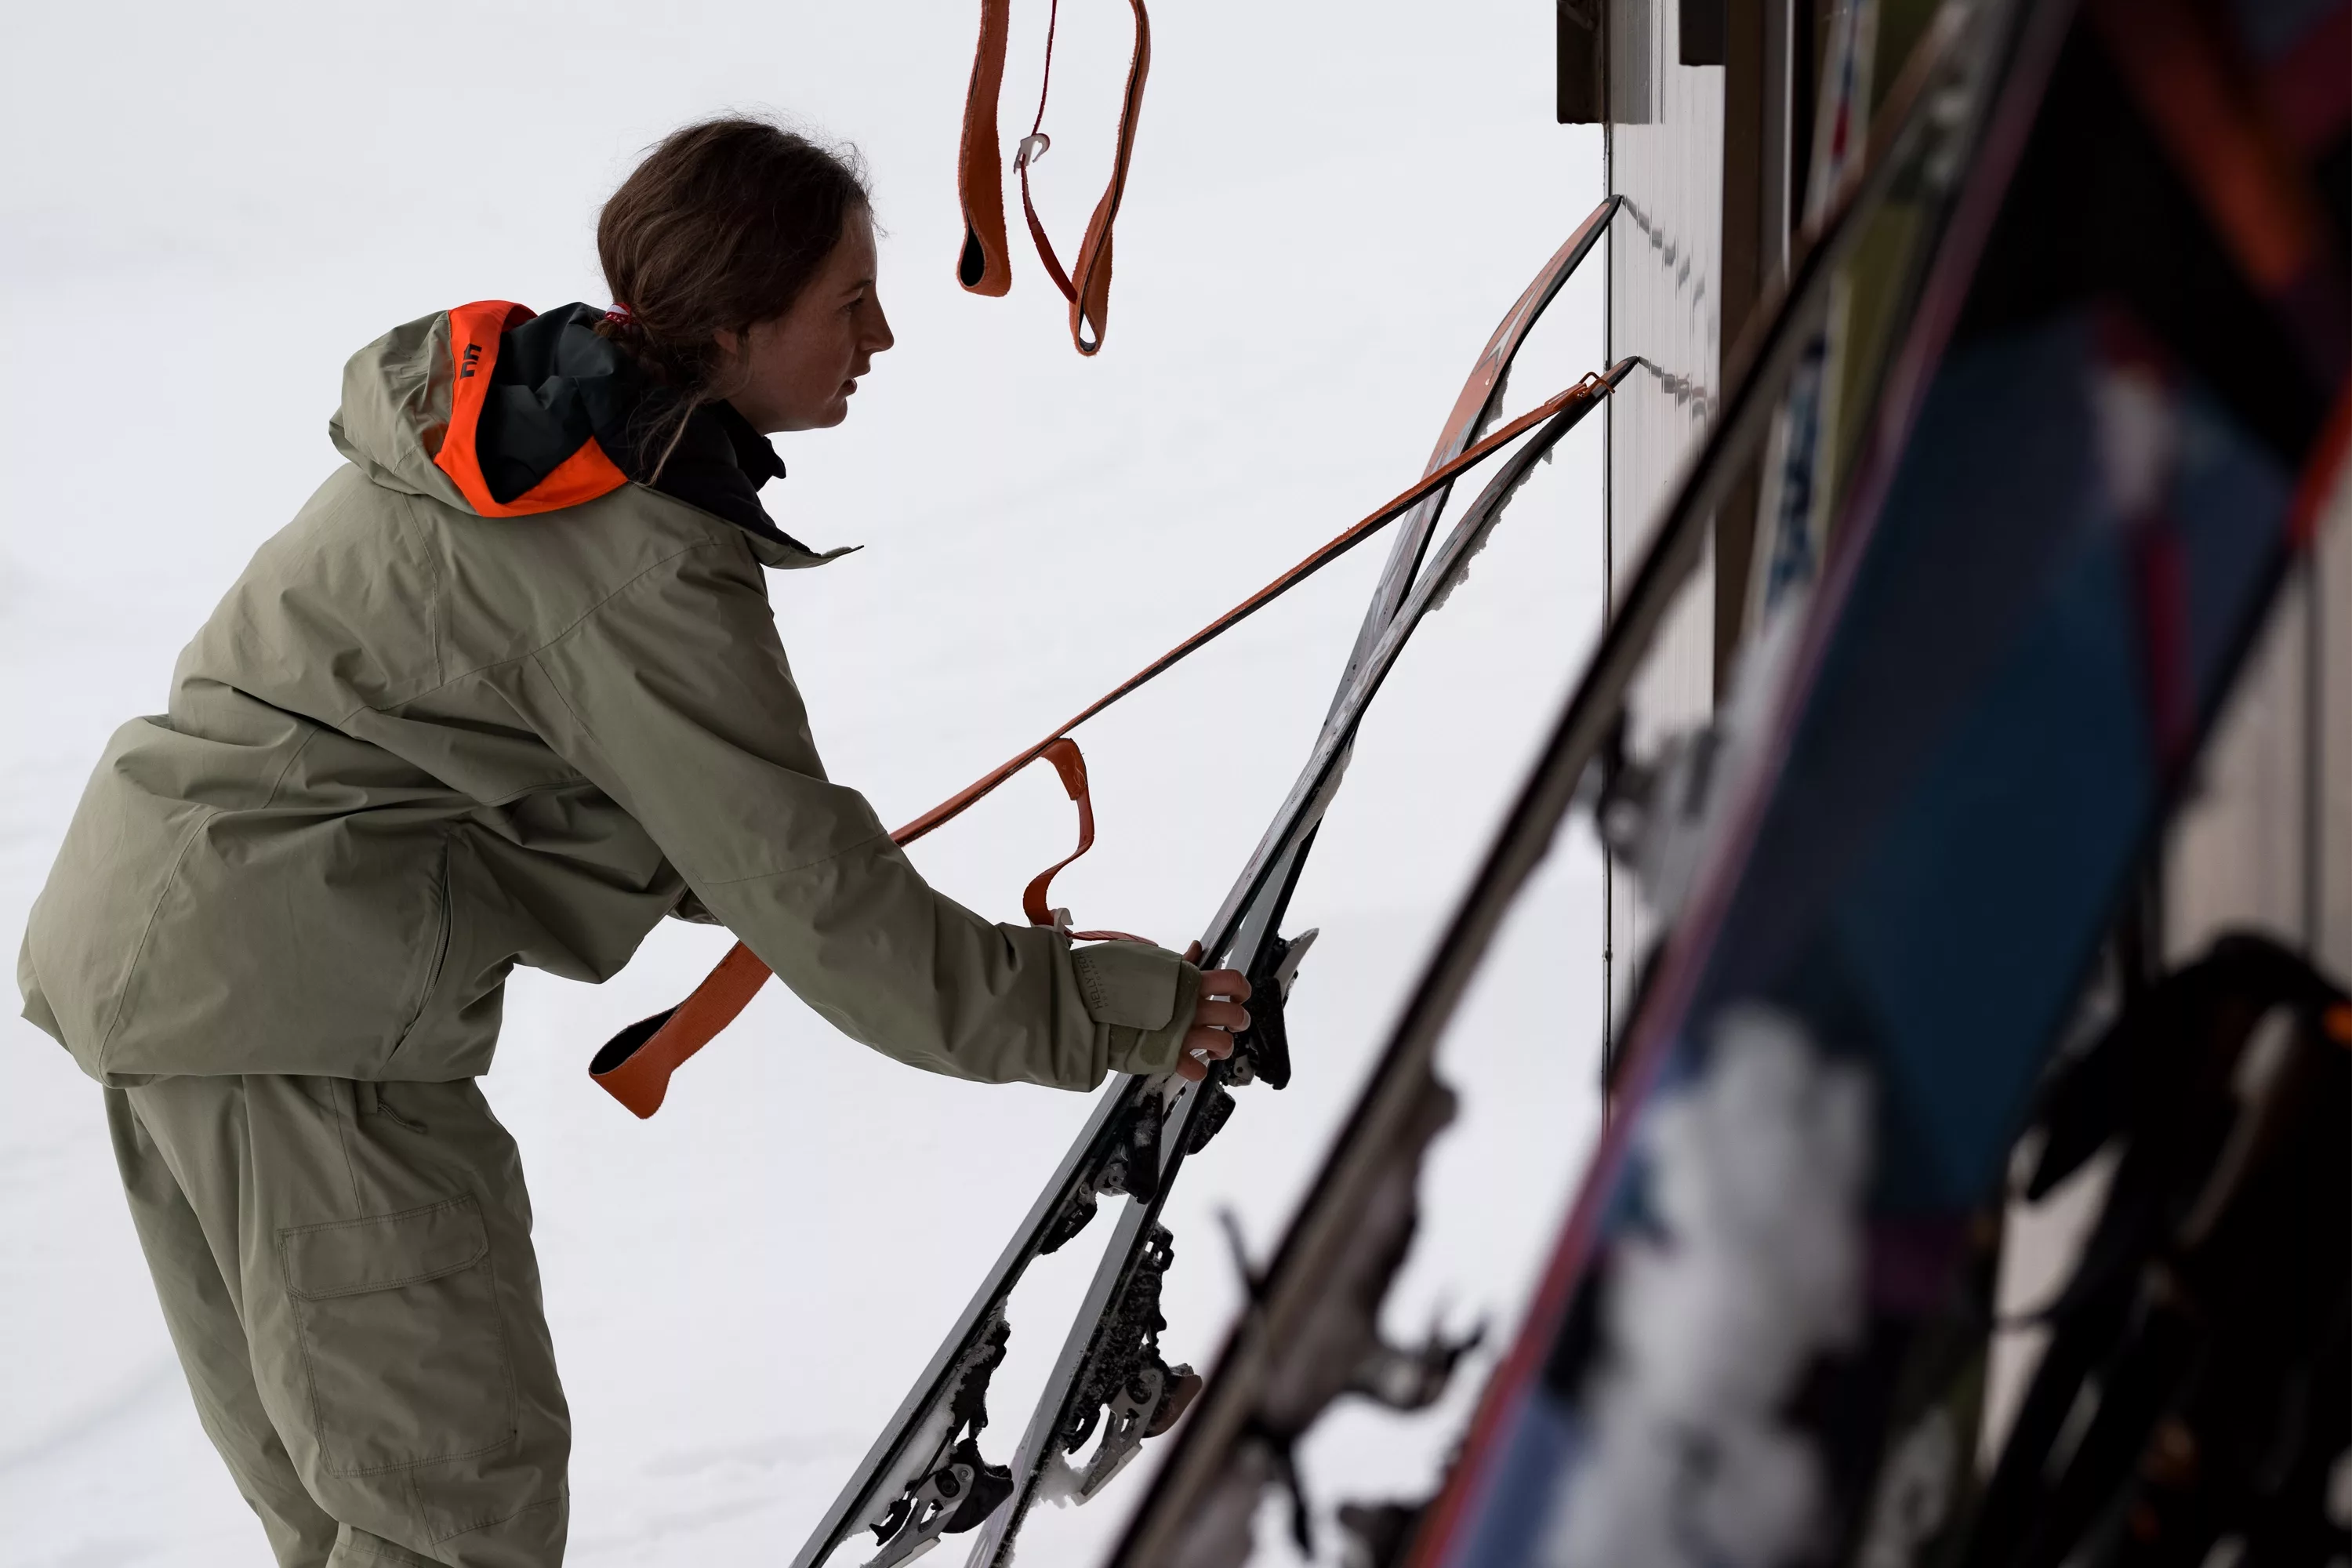
Boots: Many of the boots on the market these days have walk mode, which makes things much more comfortable for skinning uphill (and when you are back at the lodge for an apres beer). As well as toe inserts, little metal divots on either side of the toe piece for ‘tech bindings’ that lets the boot pivot around the toe piece.
Bindings: Toe inserts aren’t necessary unless you have tech bindings, frame bindings are compatible with all your typical ski boots, so open up a world of possibilities. There are three types of touring bindings, Tech/Pin (the lightest), Hybrid (Tech toe piece with a heel similar to a typical alpine binding), and Frames (essentially an alpine binding on a movable plate).
They all have one thing in common, and that’s that the heel can be released to allow your foot to move when you’re skinning up the hill. Once you’re at the top and ready to ski back down, you’ll have to adjust your bindings back into ski mode, make sure your heel is able to be locked in place, remove your skins and you’re ready to go.
Skins: Skins are probably one of the cheaper pieces of equipment to acquire, but they can be touchy to maintain. Skins are essentially strips of fabric that glide up the snow in one direction, and stop you from slipping back down. Different skins have different qualities, some are more slippery and will glide further with your stride, while some will be stronger for climbing steeper snow slopes.
You’ll need to make sure that you properly dry off your skins after a day out on the snow as they will likely be wet by the time you get back in, make sure you place them in a cool, dry place as the glue on the non-fabric side needs to remain sticky so that the skins don’t come off your skis! Little maintenance things can involve re-gluing your skin and having some skin wax so that when the snow is wet your skins don’t get too saturated.
Skis: Any ski that’s described as an ‘All-mountain’ ski will function well as a touring ski, provided you have the right bindings on it. Around the 100mm wide underfoot mark functions well for all conditions, you’ll find it over most of New Zealand unless you’re planning on doing most of your touring at the top of the Tasman Glacier. Ski the skis that you enjoy skiing the most, if you feel comfortable on them, you’ll have a much more enjoyable time when you’re out in the backcountry.
The big sacrifices that come with touring skis have to do with the weight. Your inbounds ski will likely be heavier underfoot, but this provides stability and control over all kinds of variable conditions you’ll come across. Touring-specific skis are significantly on the lighter side of the spectrum, which is fantastic for your uphill performance, but you make the sacrifice with your downhill performance.
Avalanche Equipment: Any time you’re venturing outside of controlled ski terrain, you should be carrying your full avalanche rescue kit. This includes your transceiver, probe, and shovel, and you should possess the skills to utilise them all to their fullest potential. Get your mates together, have someone hide a transceiver somewhere, and see who can find it the fastest. Fine-tune your skills, so that if they’re ever needed, you’ll know what to do.
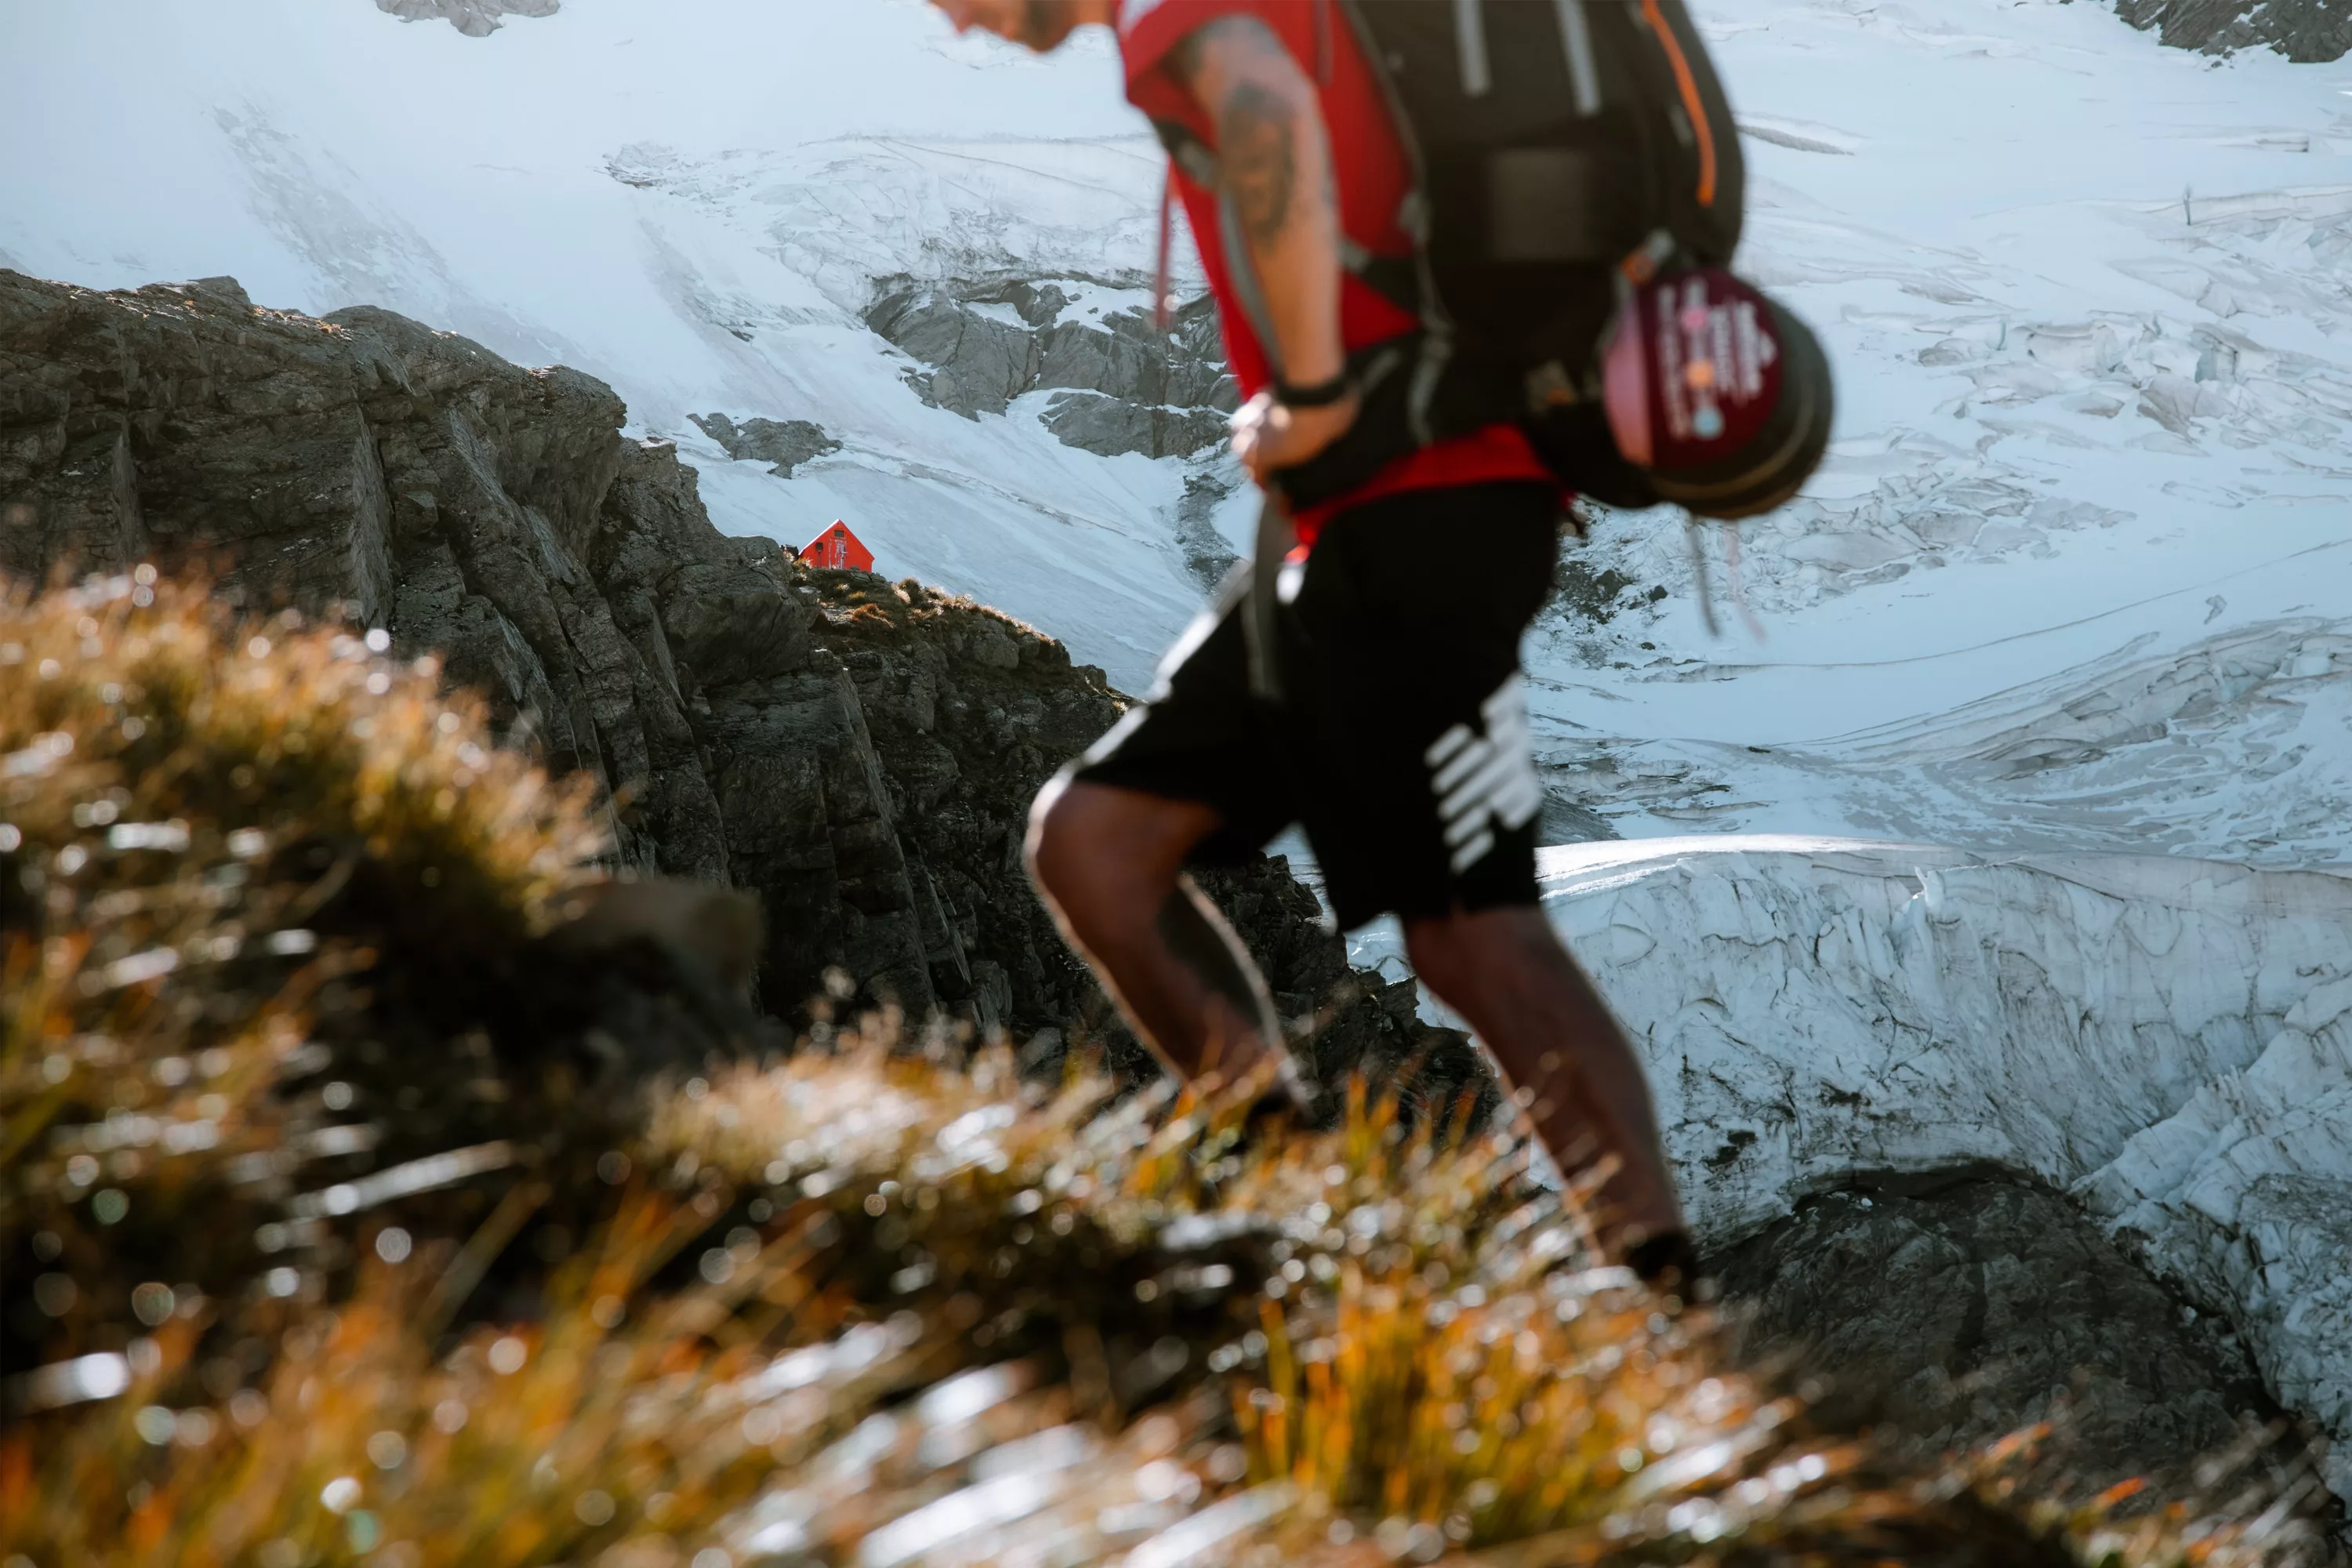
Clothing: Be bold, start cold. Many of your on-piste skiing clothes will function perfectly well for ski touring, albeit a bit on the warm side of things, They’ll do the trick if you‘re just starting out. Make sure you keep all the vents on your pants open on the uphill, and you’ll probably want to be in just a t-shirt. Essentially, you’re hiking with a few kilos strapped to each foot, your body will be working hard, so try to keep the pace slow and try not to sweat.
Wear clothing that wicks quickly such as merino, but make sure your warm gear is readily accessible so that when you’re ready to transition to ski down, you’re ready to go. A fleece mid-layer and a hard shell is what I would usually look towards skiing downhill in, and I’ll always make sure that I have a puffer jacket in my pack as well.
Eye protection and hats are essential, I always carry a pair of sunglasses, as well as goggles, because there’s nothing worse than being out on the snow with a broken pair of sunnies and risking going snow blind. Always carry the essentials you’d taking hiking with you too.
Where to start?
New Zealand has lots of ski fields and resorts that have fantastic “slackcountry” terrain meaning that you can get out of bounds, enjoy fresh tracks all day long, and be back in the car without too much hassle. You may even be able to get a single uplift pass from many fields too. Pop in and have a chat with the Ski Patrol crew, they have all the information about the snowpack, and what’s going on, and are usually happy to have a chat about your plans and give you a bit of feedback on where you’re going.
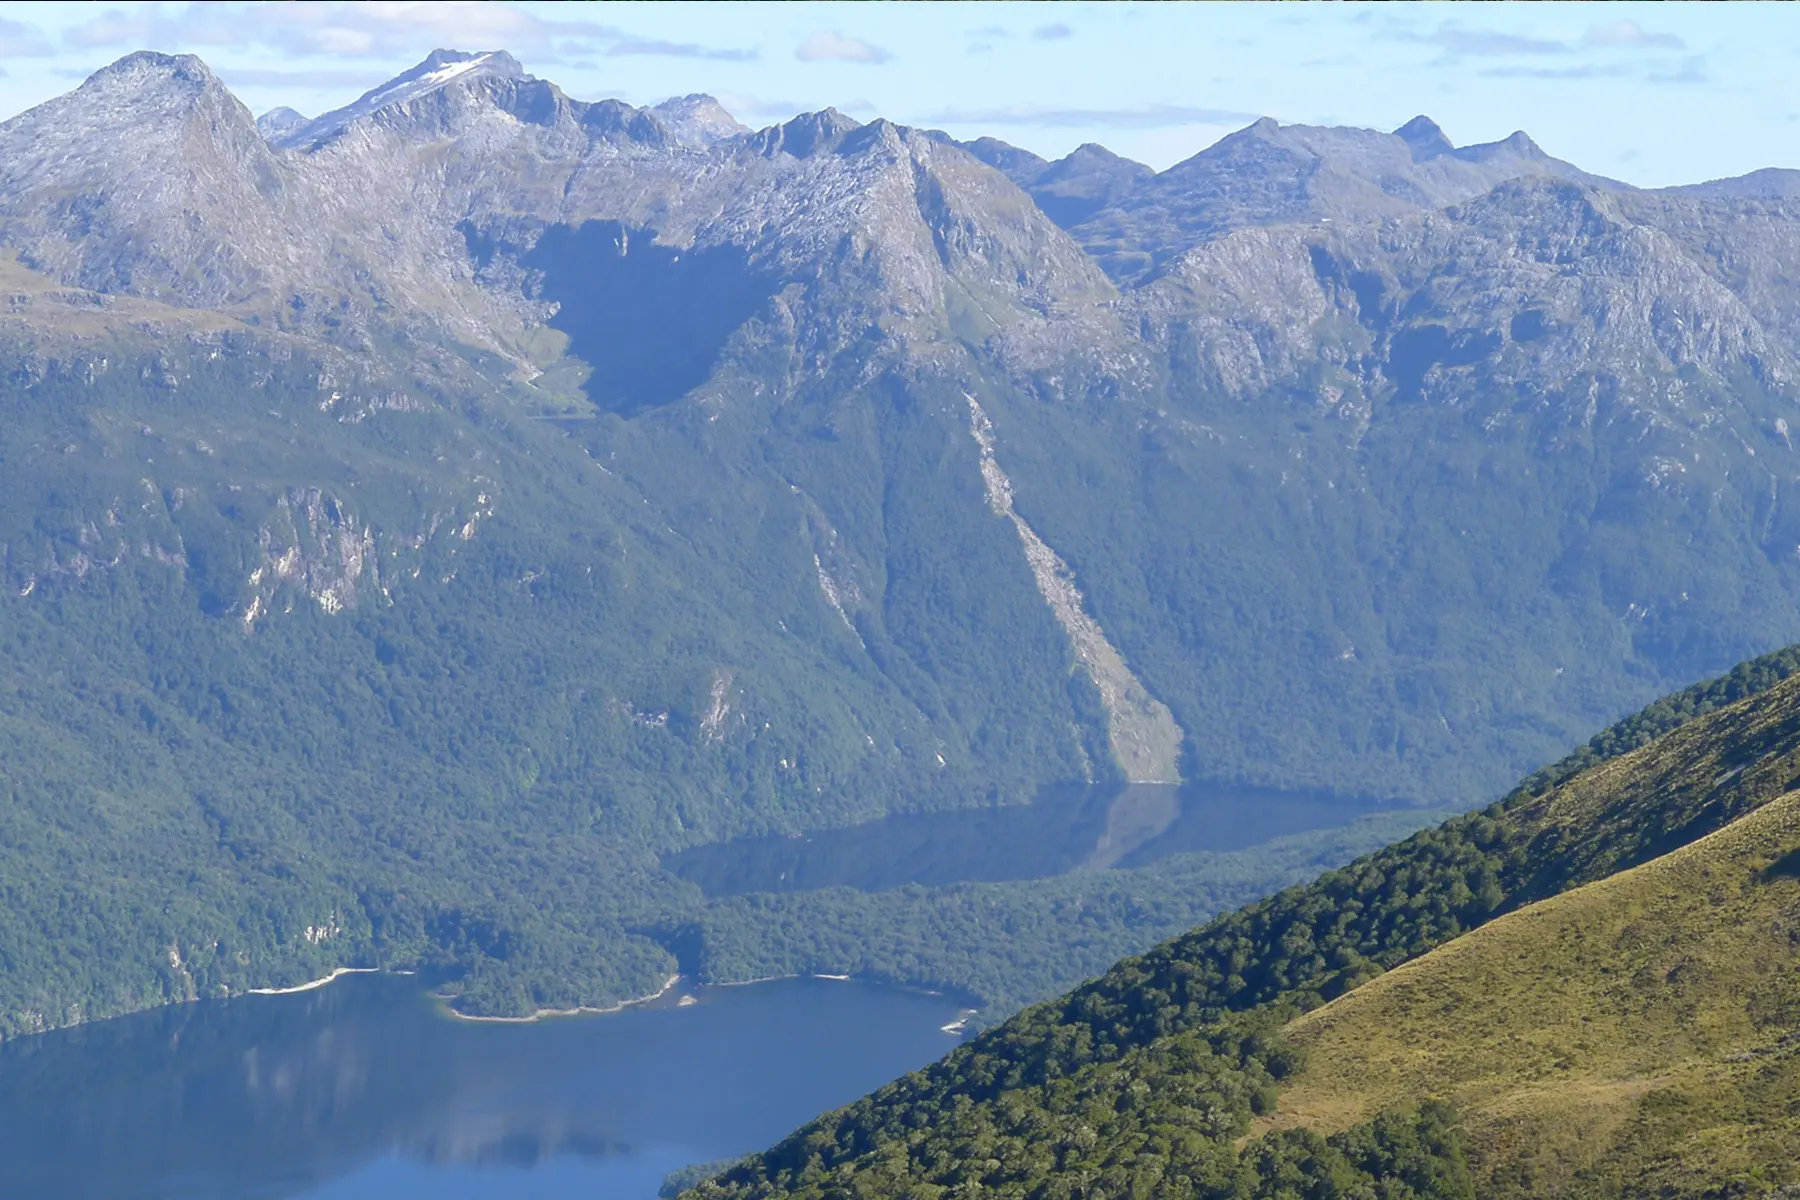
The Craigieburn Range offers fantastic touring between the ski fields that sit along the range, both Treble Cone and Cardrona have fantastic side country options, and Coronet Peak has great uphill access protocols for you to build that fitness up too. Mt Ruapehu in the North holds snow late into the year so you’re able to enjoy slushy skiing late into summer, and is easily accessed with the help of the Sky Waka, and Far West T-bar when Whakapapa is open.
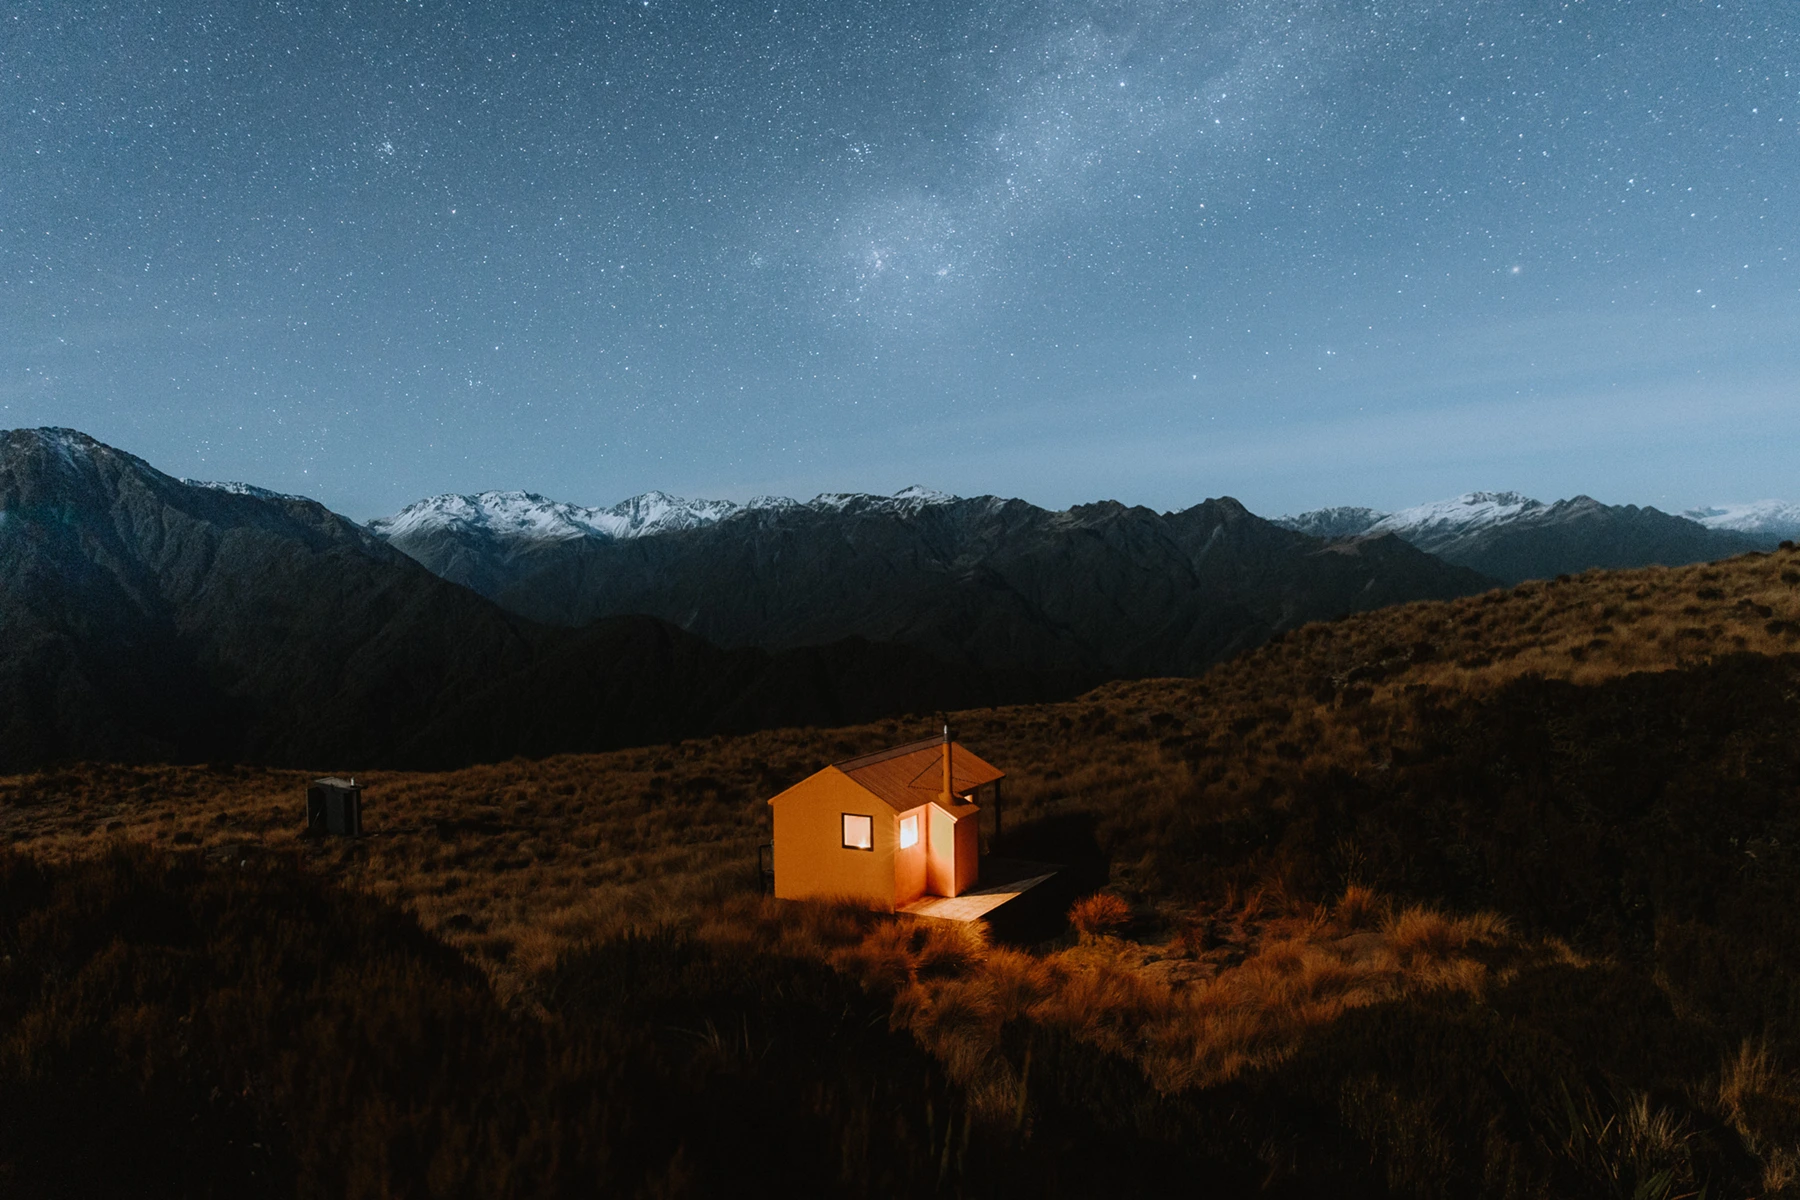
If you’re looking for overnight options, the Pisa Range has a fantastic network of huts, mellow terrain, and access through Snow Farm making your track to huts such as Kirtle Burn well-marked and enjoyable.
Despite it being a slow winter snow-wise, there’s still lots of skiing and touring to be enjoyed, even if you just count it as training for next winter, there’s nothing that beats being out on a pair of skis with a few good mates and some gorgeous scenery to boot!
To keep up to date with our latest blog sign up to our newsletter.