Mt Ruapehu Summit Winter Missions
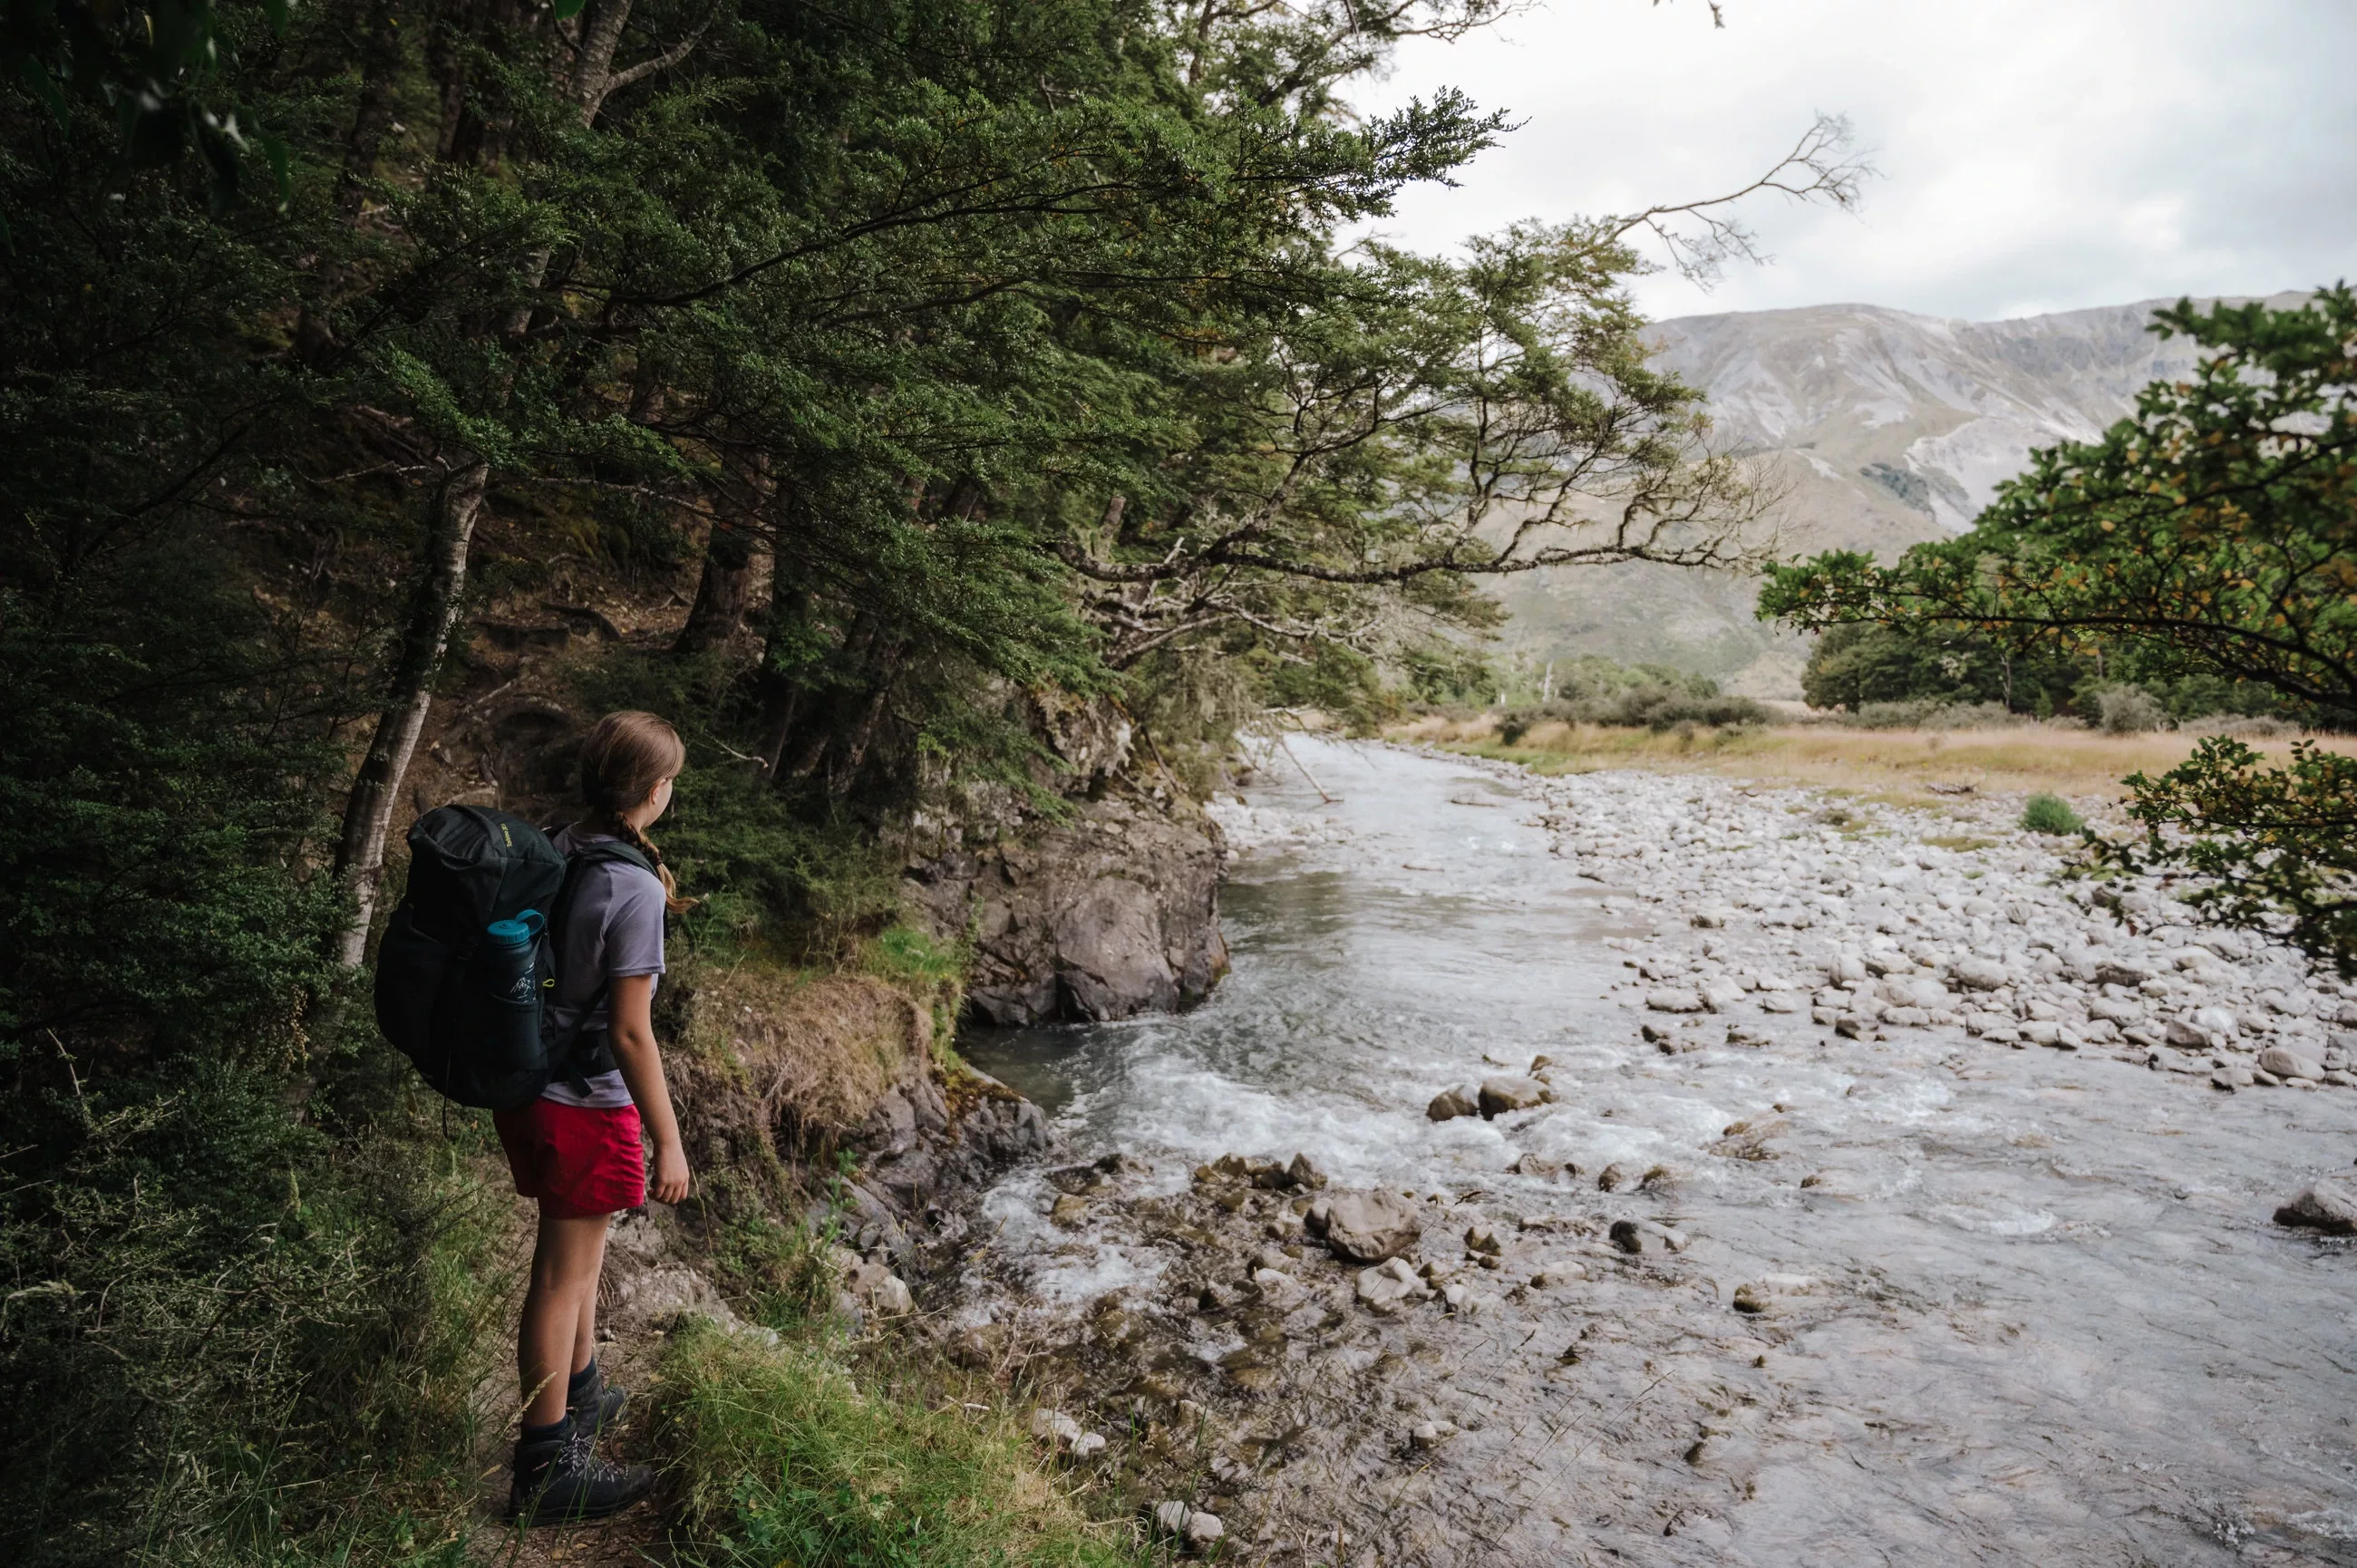
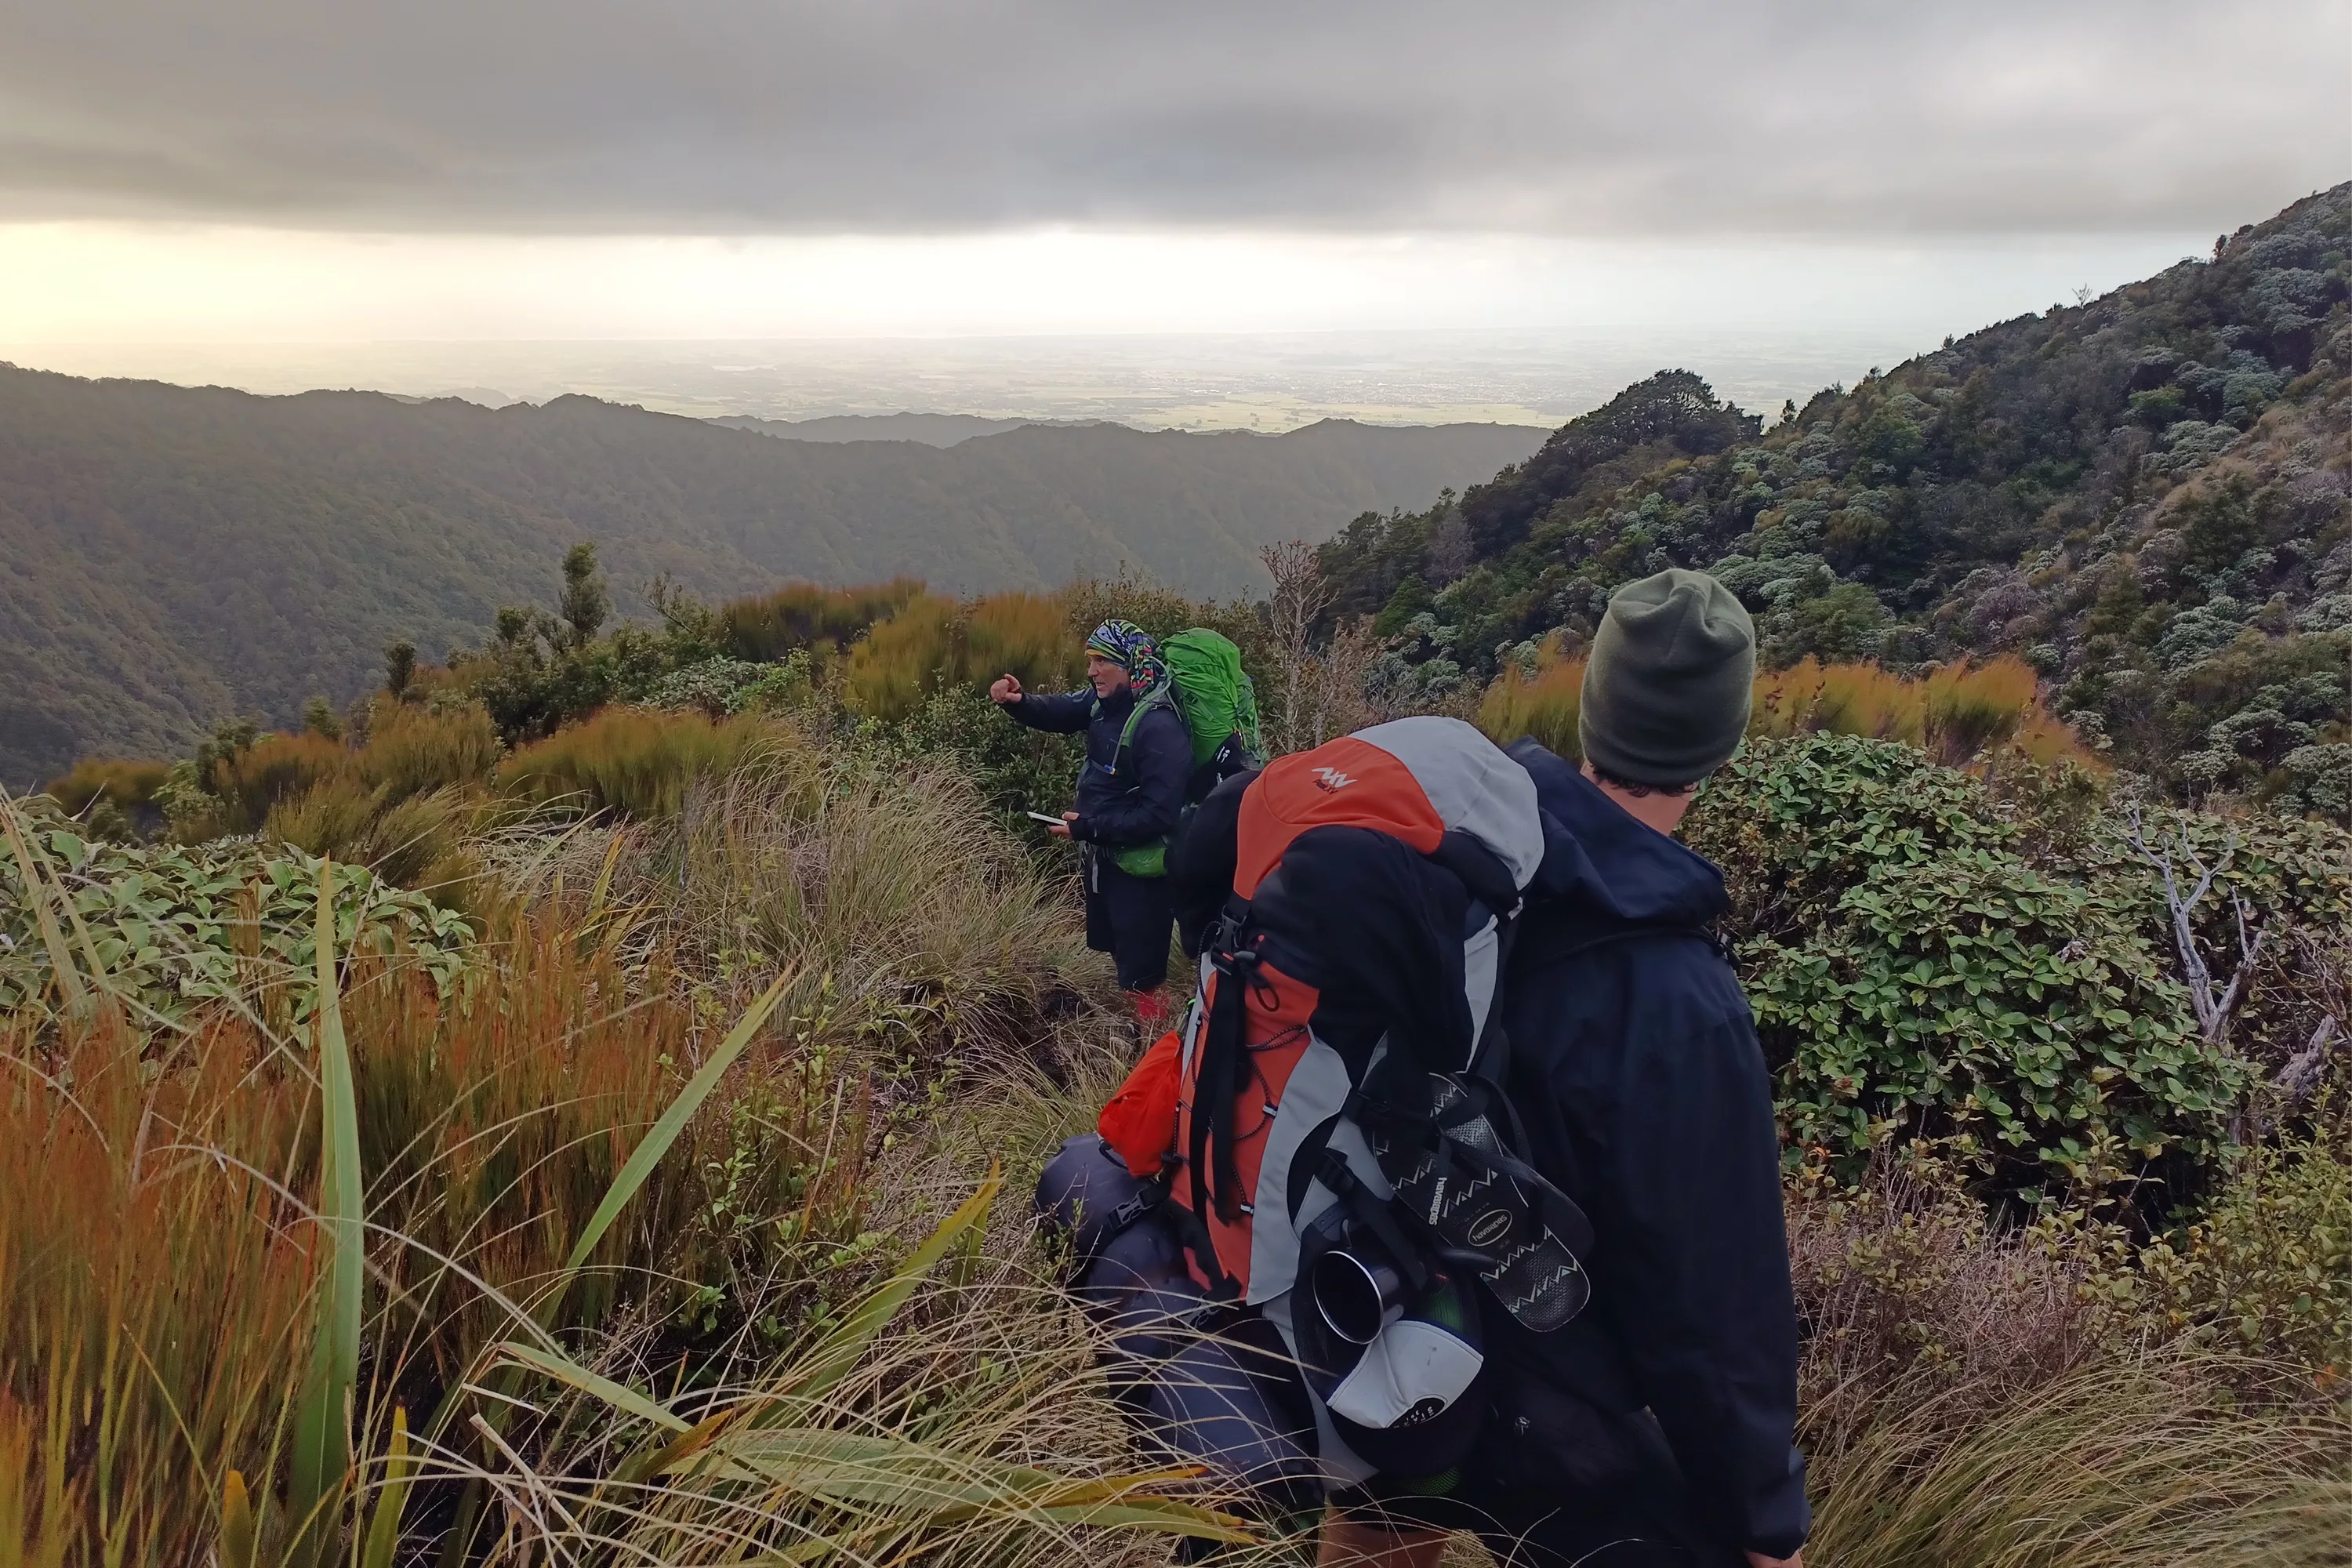
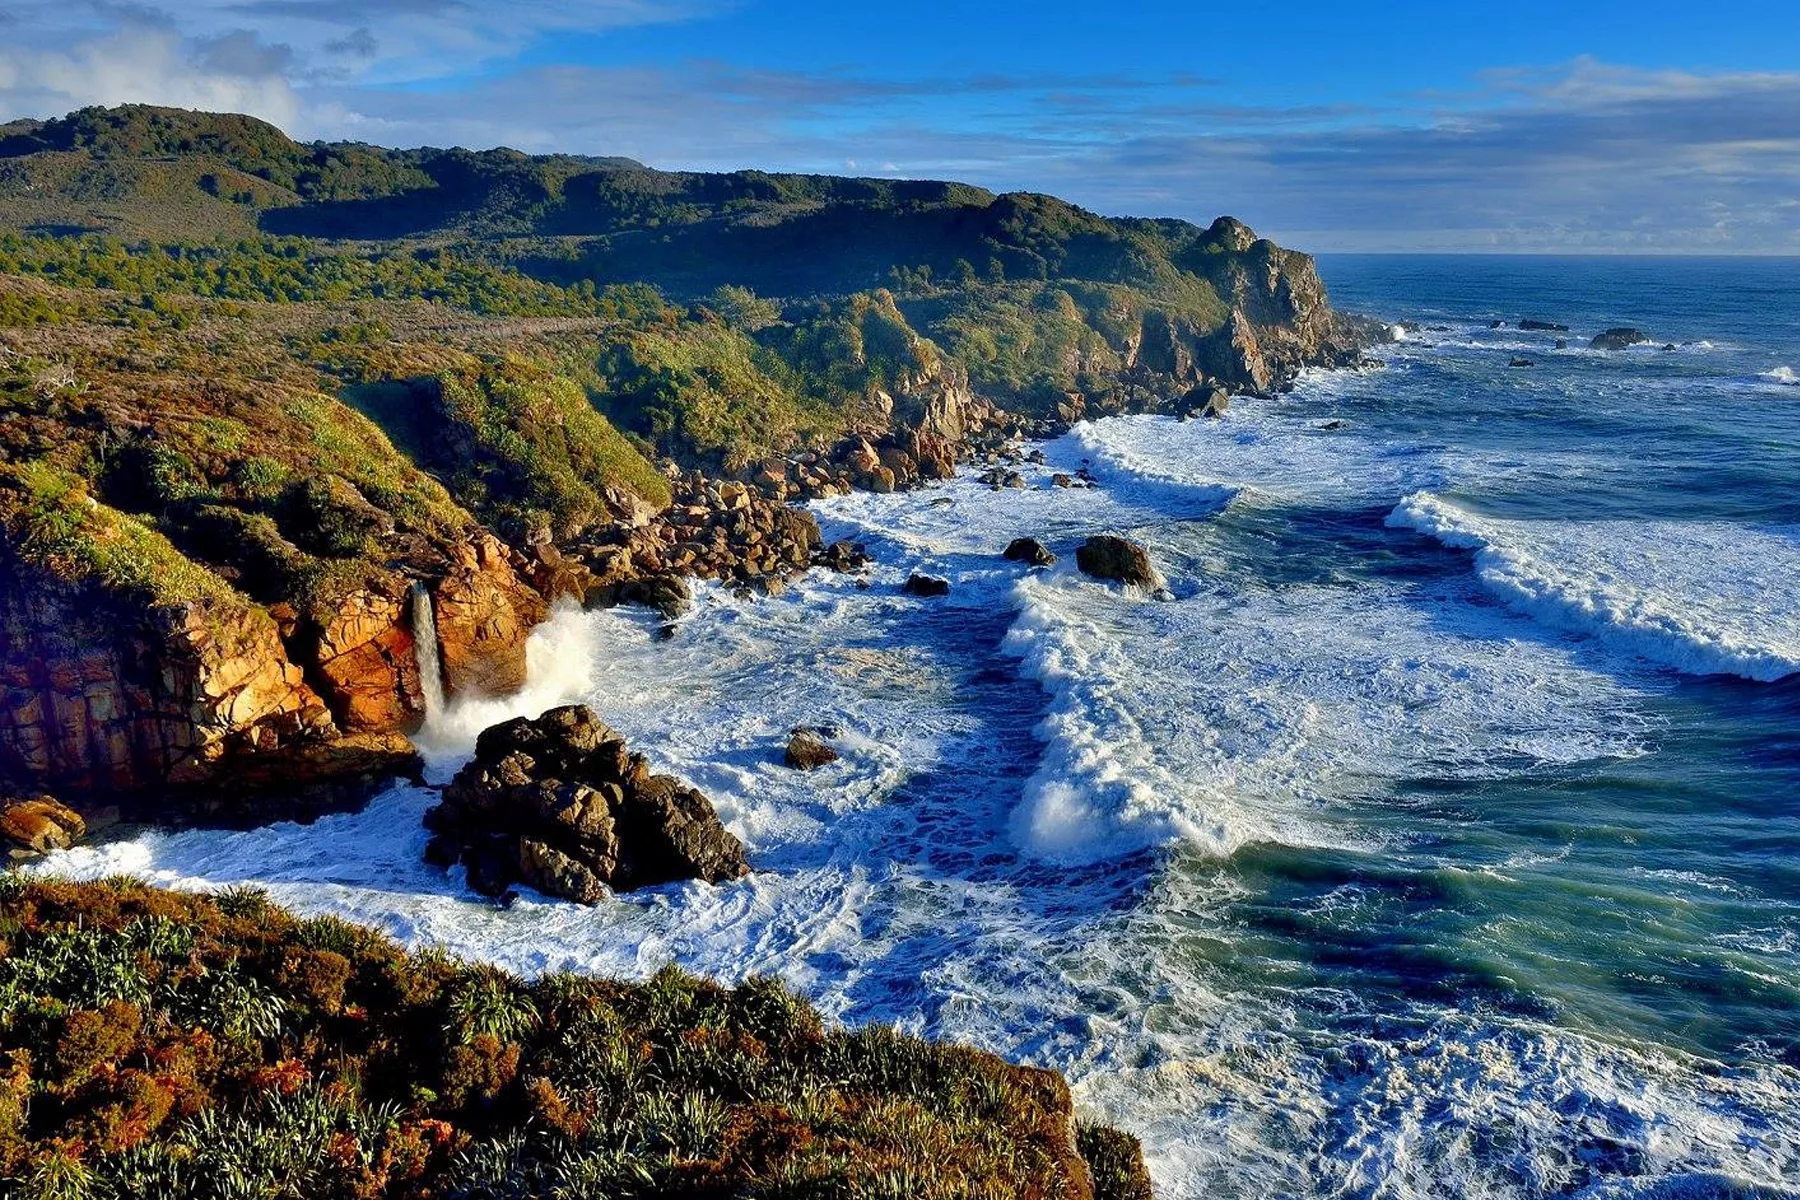
The North Island’s Central Plateau - epic volcanoes, desert plains, a handful of waterfalls, and expansive vistas stretching across the island. The Mount Ruapehu summit, being the tallest mountain in the North, gives you a brilliant, as well as a rewarding climb, which is often a lot of people’s first venture into the alpine (for North Islanders at least!).
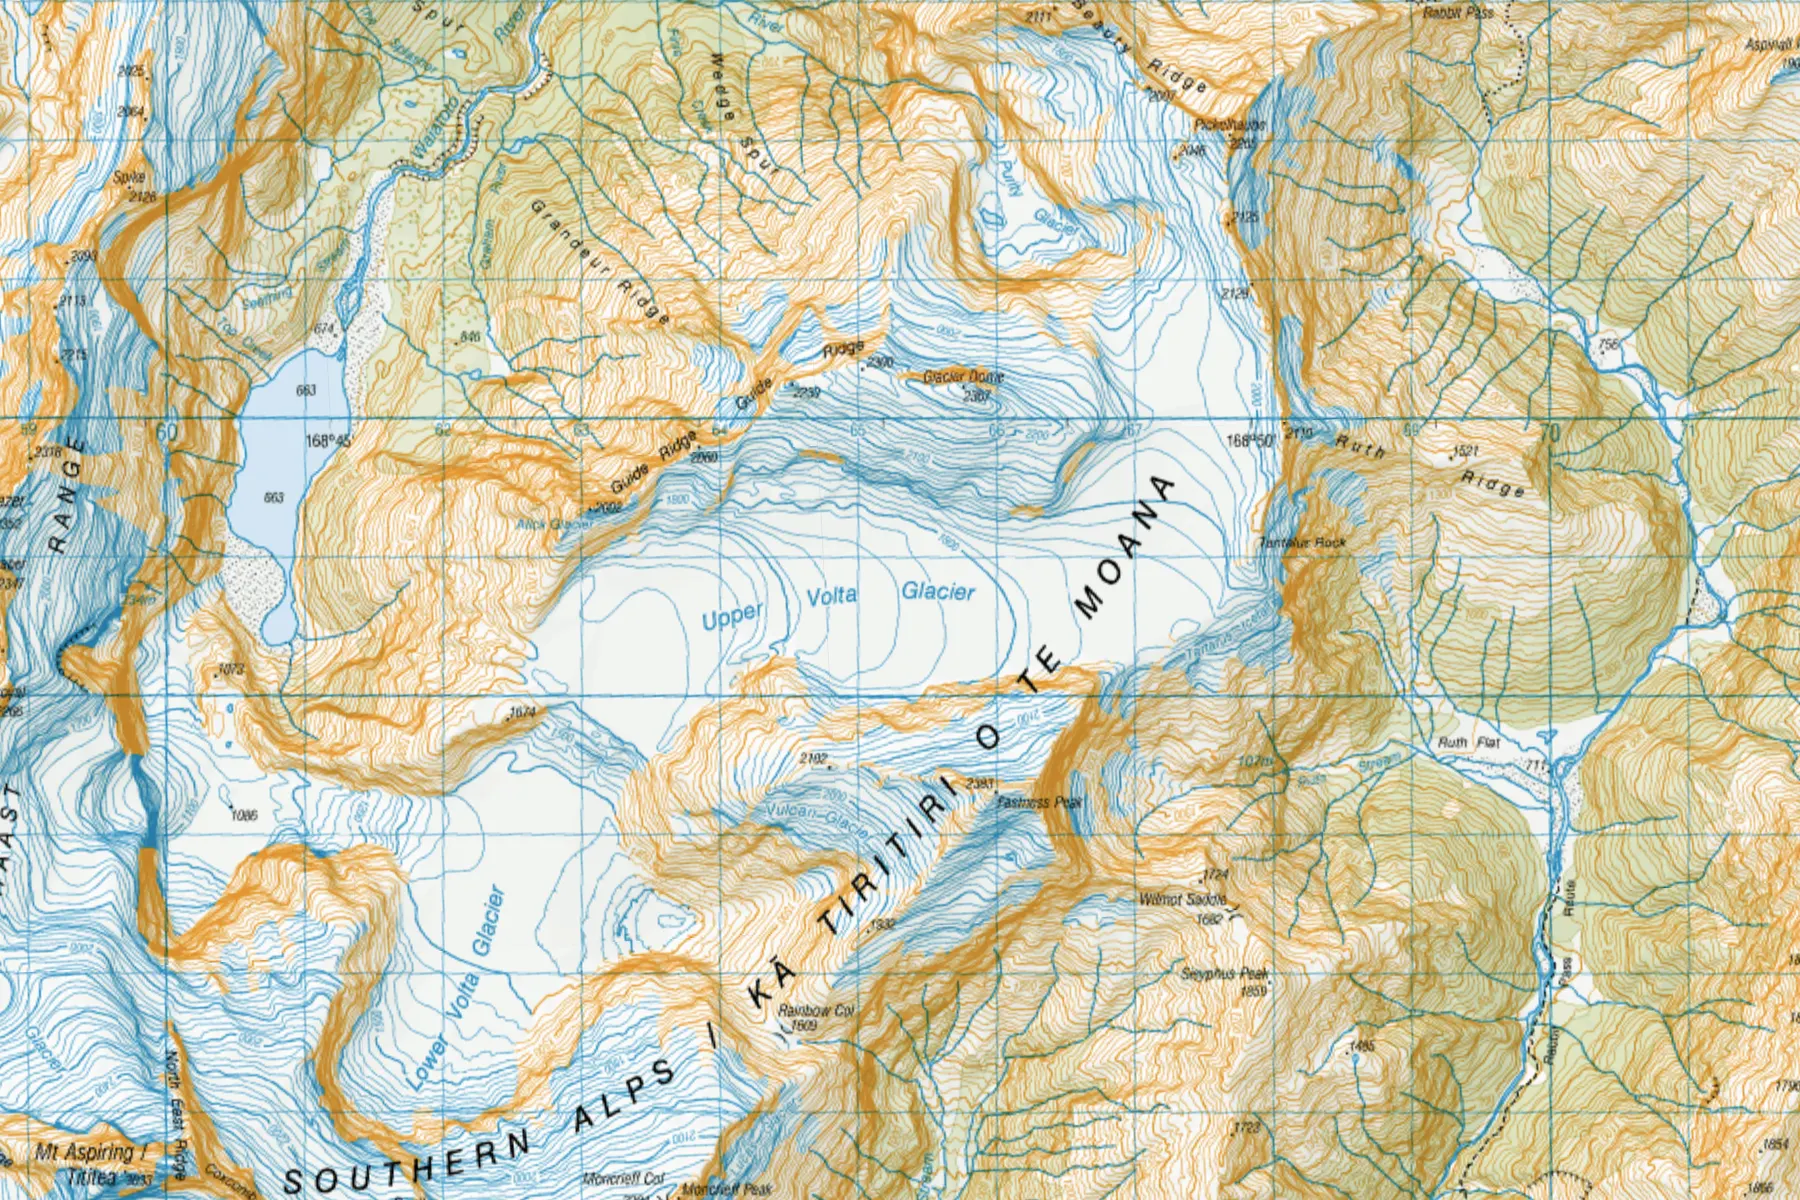
HOW TO ACCESS THE MT RUAPEHU SUMMIT
The most popular side to access the Mt Ruapehu summit, and the only side I have ventured up from, is from Whakapapa Village on the Northern side of the maunga. From this side, you can drive up the Bruce Road towards the Iwaku Village and start your ascent of Ruapehu from there. Depending on what time you chose to start (and how adventurous you’re feeling) you can either make your start from the base area of the Whakapapa skifield, or you can take the Sky Waka from the base to the Knoll Ridge Chalet.
- If you chose to start from the base of the skifield, the easiest option is to follow the groomed trails, first to the top of the Rangatira Express, and then follow the trails that follow the Sky Waka up to Knoll Ridge. This is all easy walking, albeit a little steep, but generally takes about an hour to reach the Chalet.
- From the Knoll Ridge Chalet, you’ll get a good indication as to the snow conditions to expect heading further up the mountain. The typical routes followed up from here are either Delta Ridge, which will be on your right as you head up from the Chalet, or Knoll Ridge. Personally, I prefer taking Knoll Ridge, as the views over the Pinnacles to Ngauruhoe are nicer (in my opinion!)
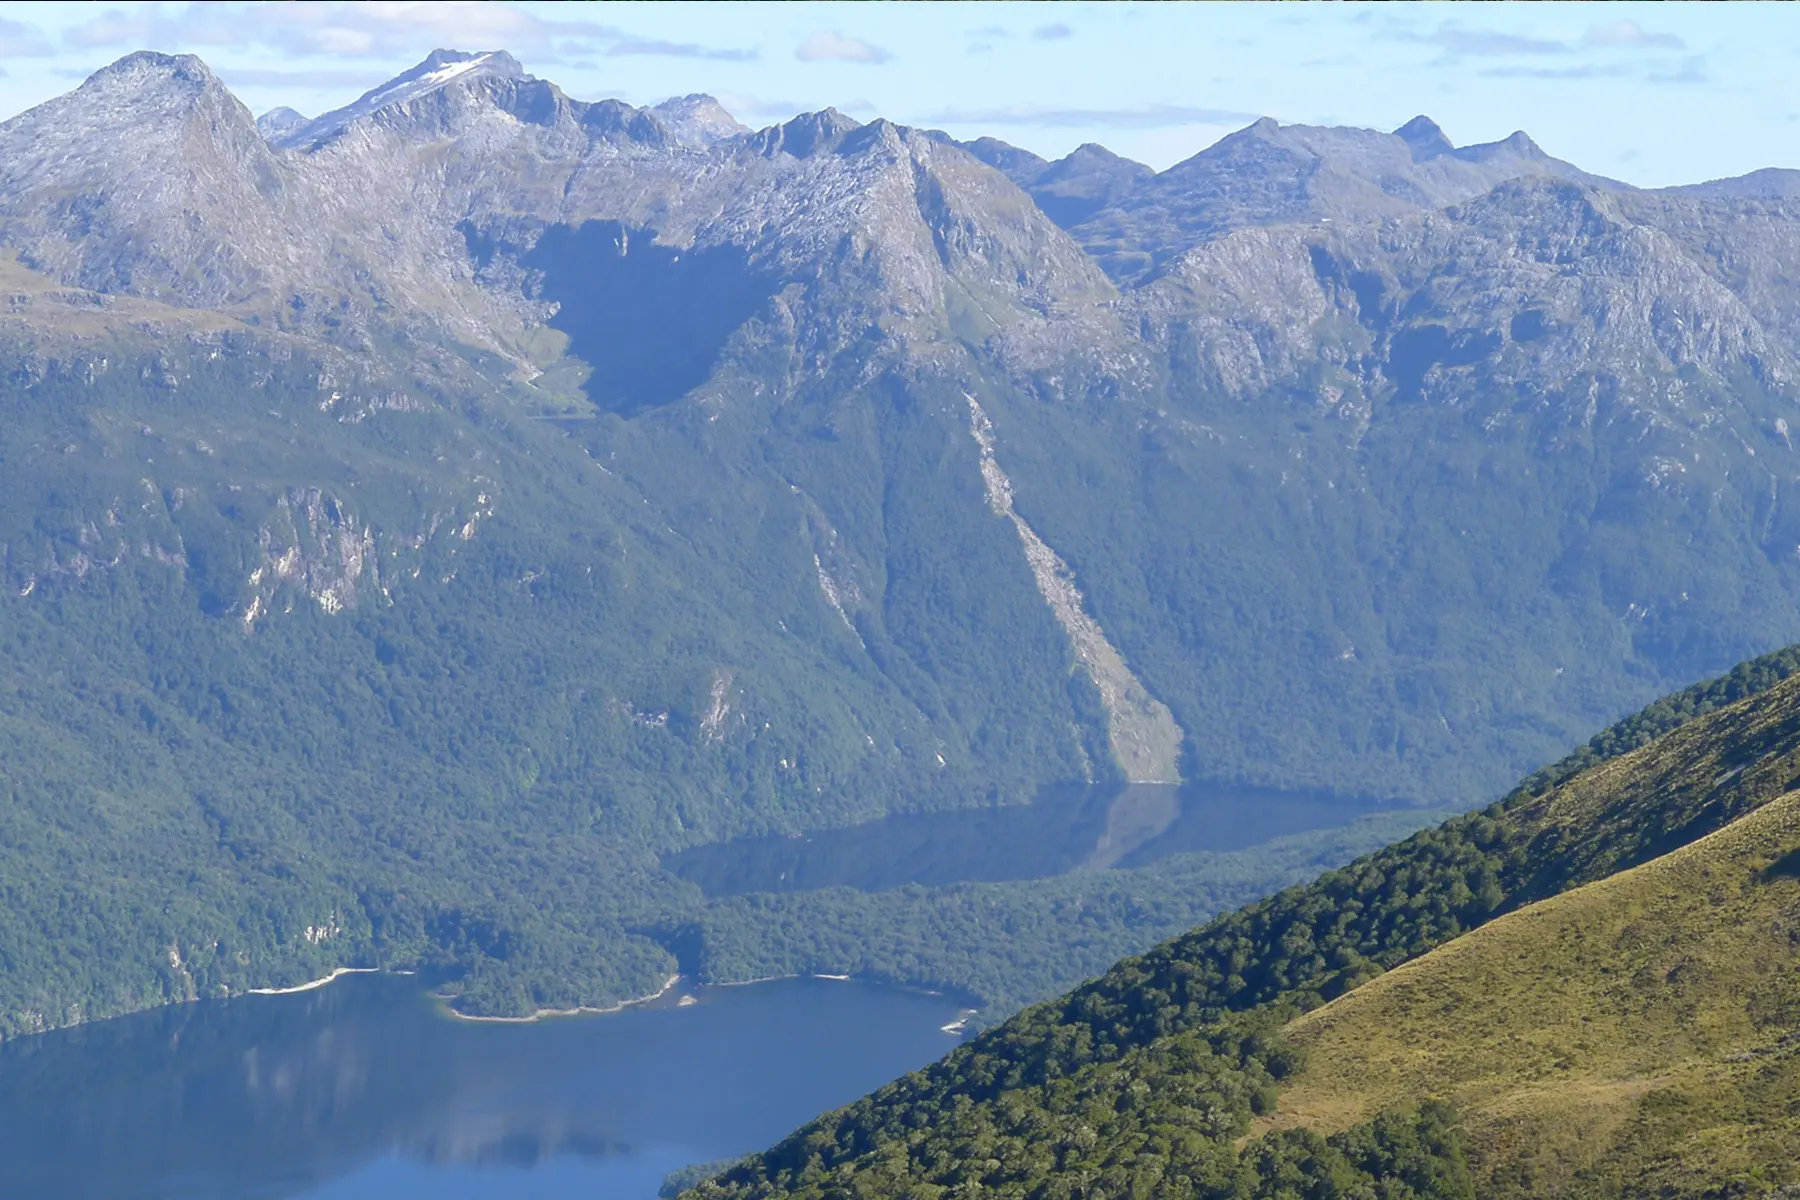
- From Knoll Ridge, progress up towards Glacier Knob and onto Dome from there, which is what most people consider to be the main summit of Ruapehu. From Dome you’ll have views down over the Crater Lake and over the Summit Plateau as well. Depending on the time of day, and how much daylight hours you have, the Summit Plateau is perfect for exploring the expanse of snow and get some more practice moving on snow.
- Returning down takes a bit more concentration, but follows the same route that you took up, and it’s easy to see down to the Knoll Ridge Chalet, so you can get a good indication of where you’re heading.
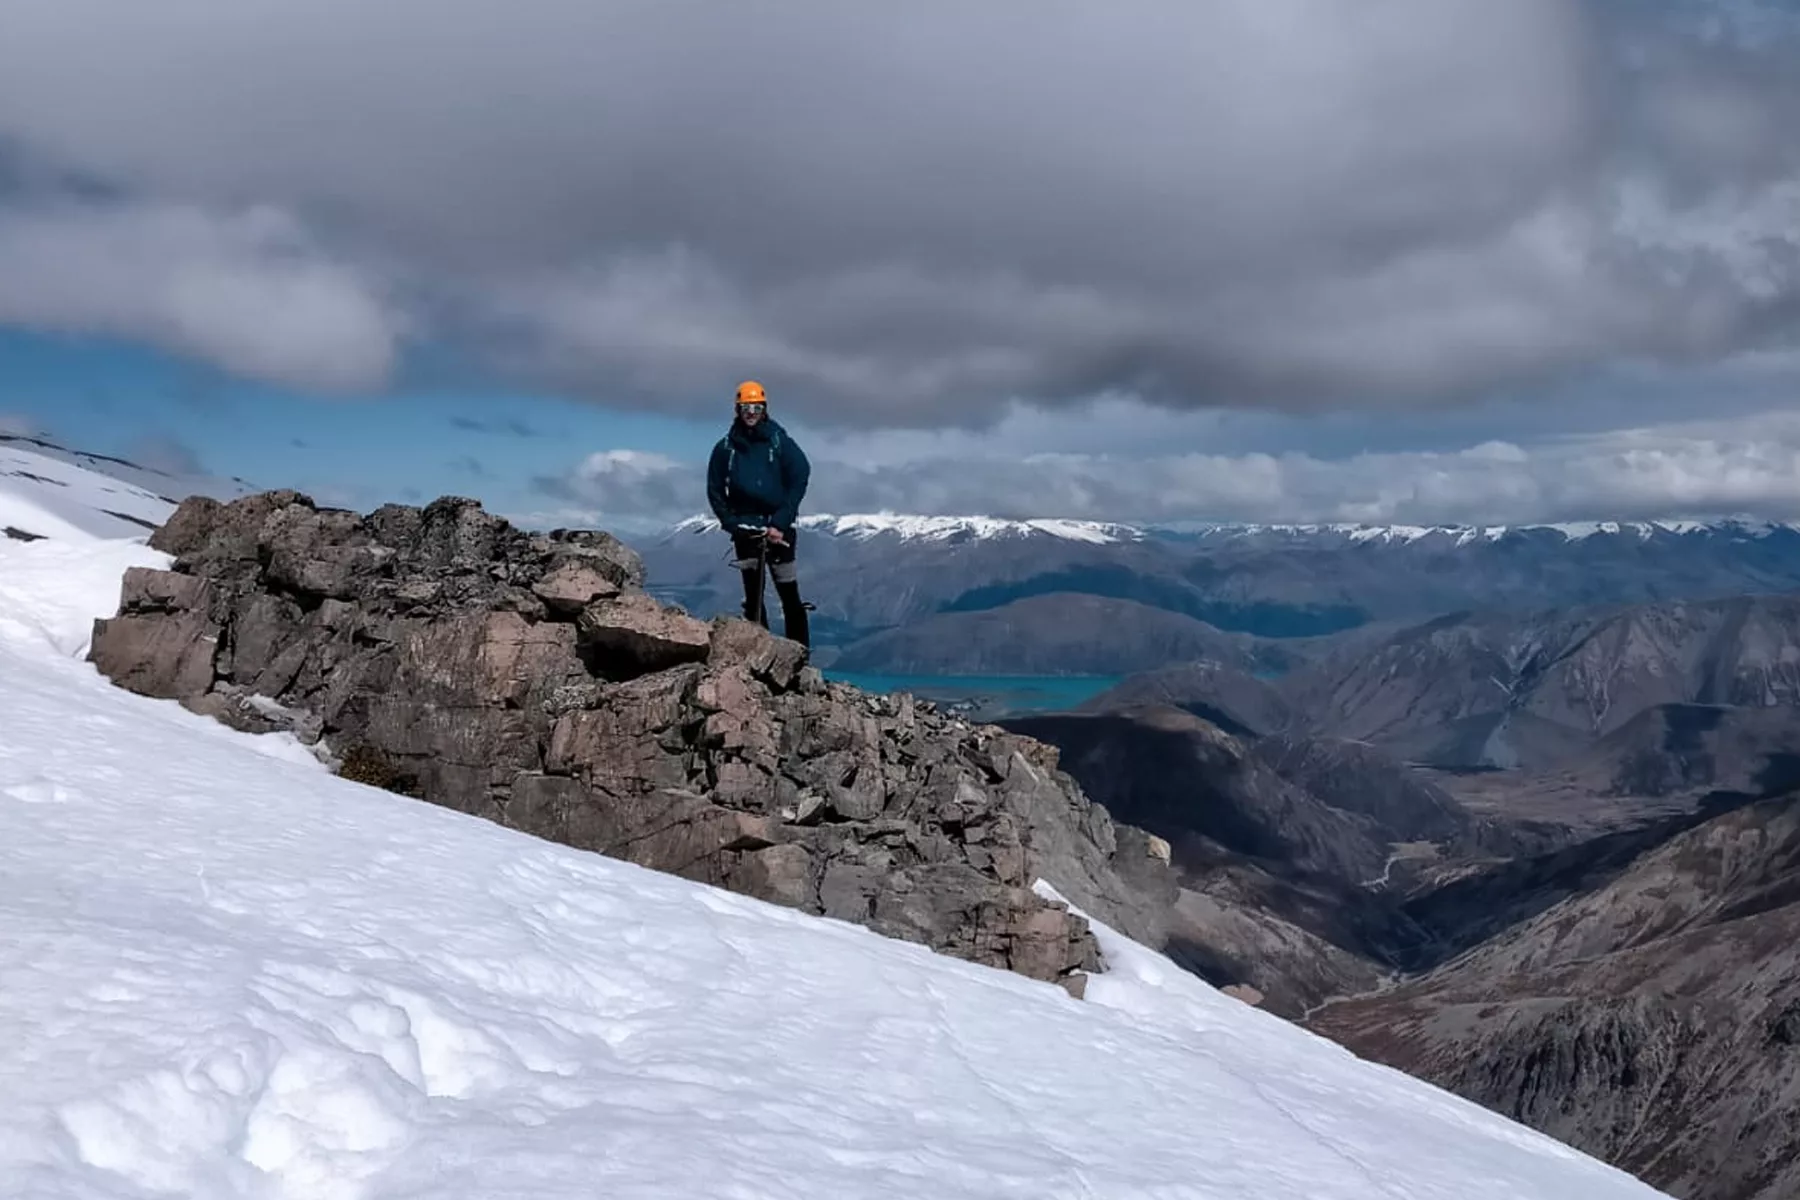
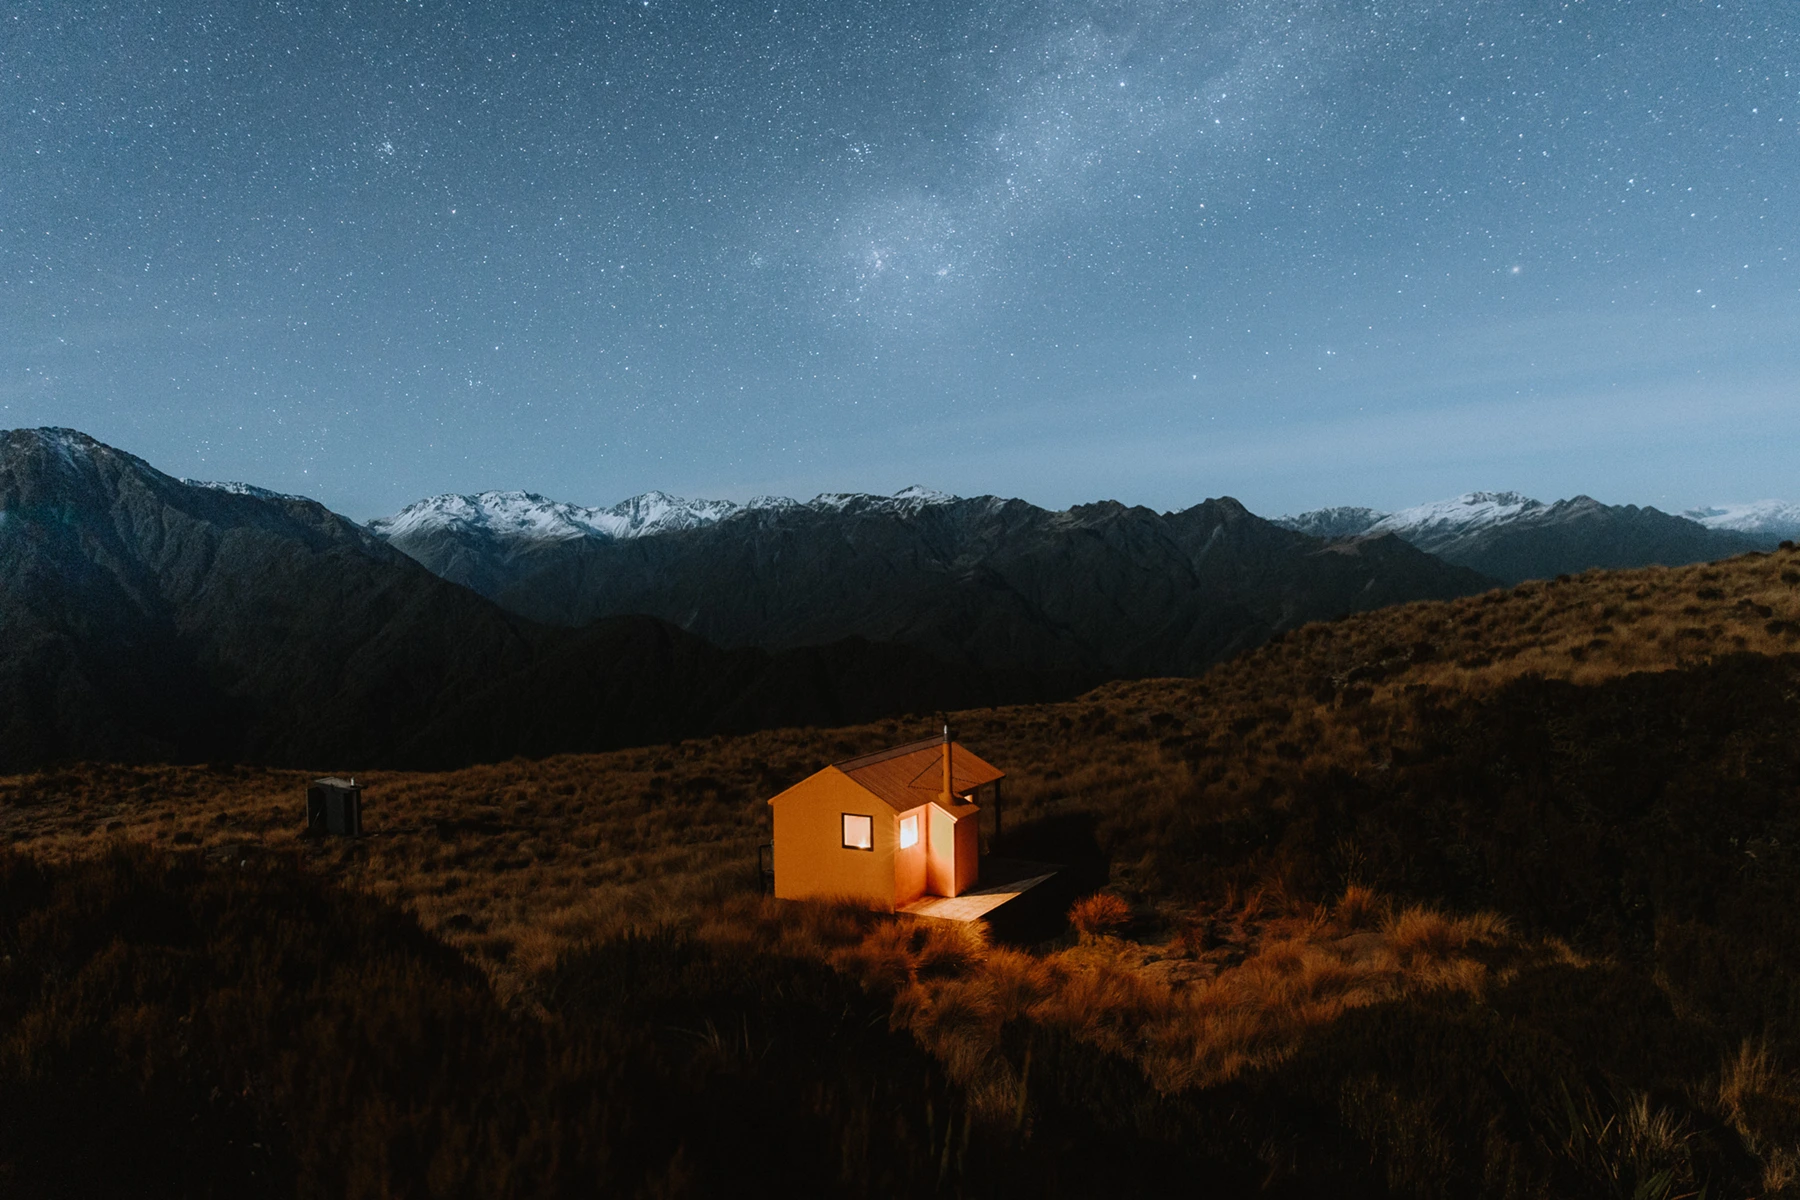
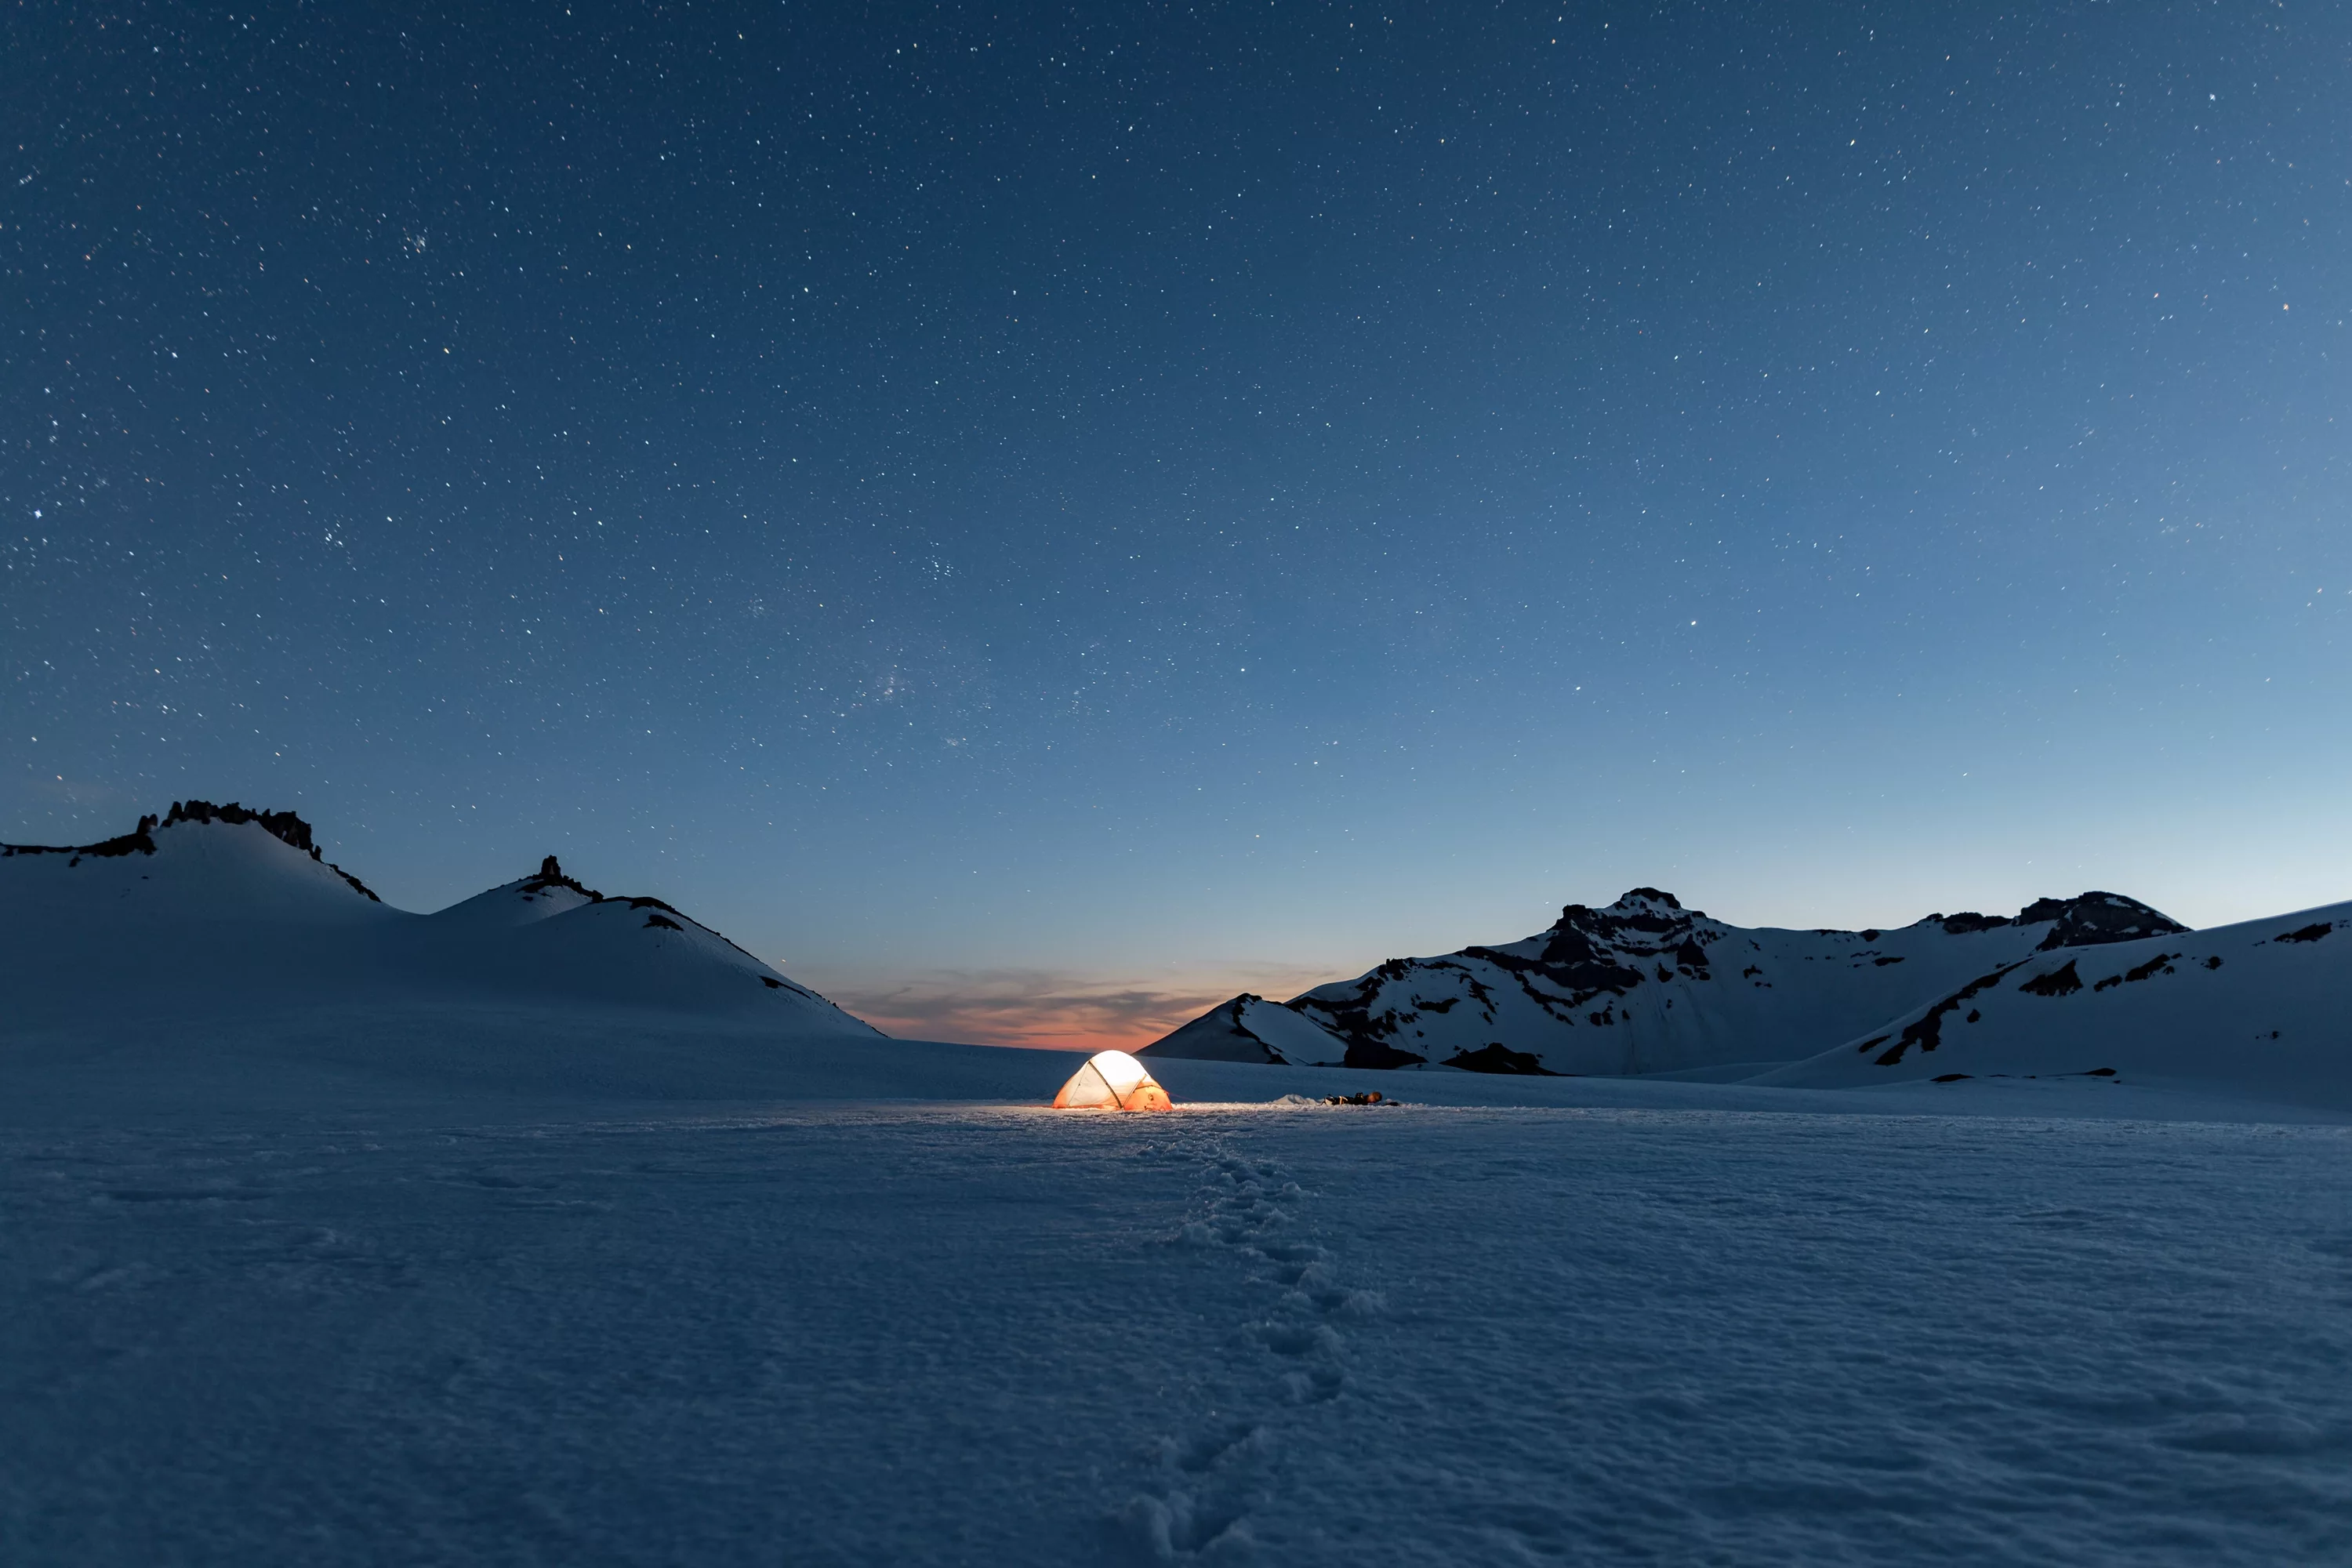
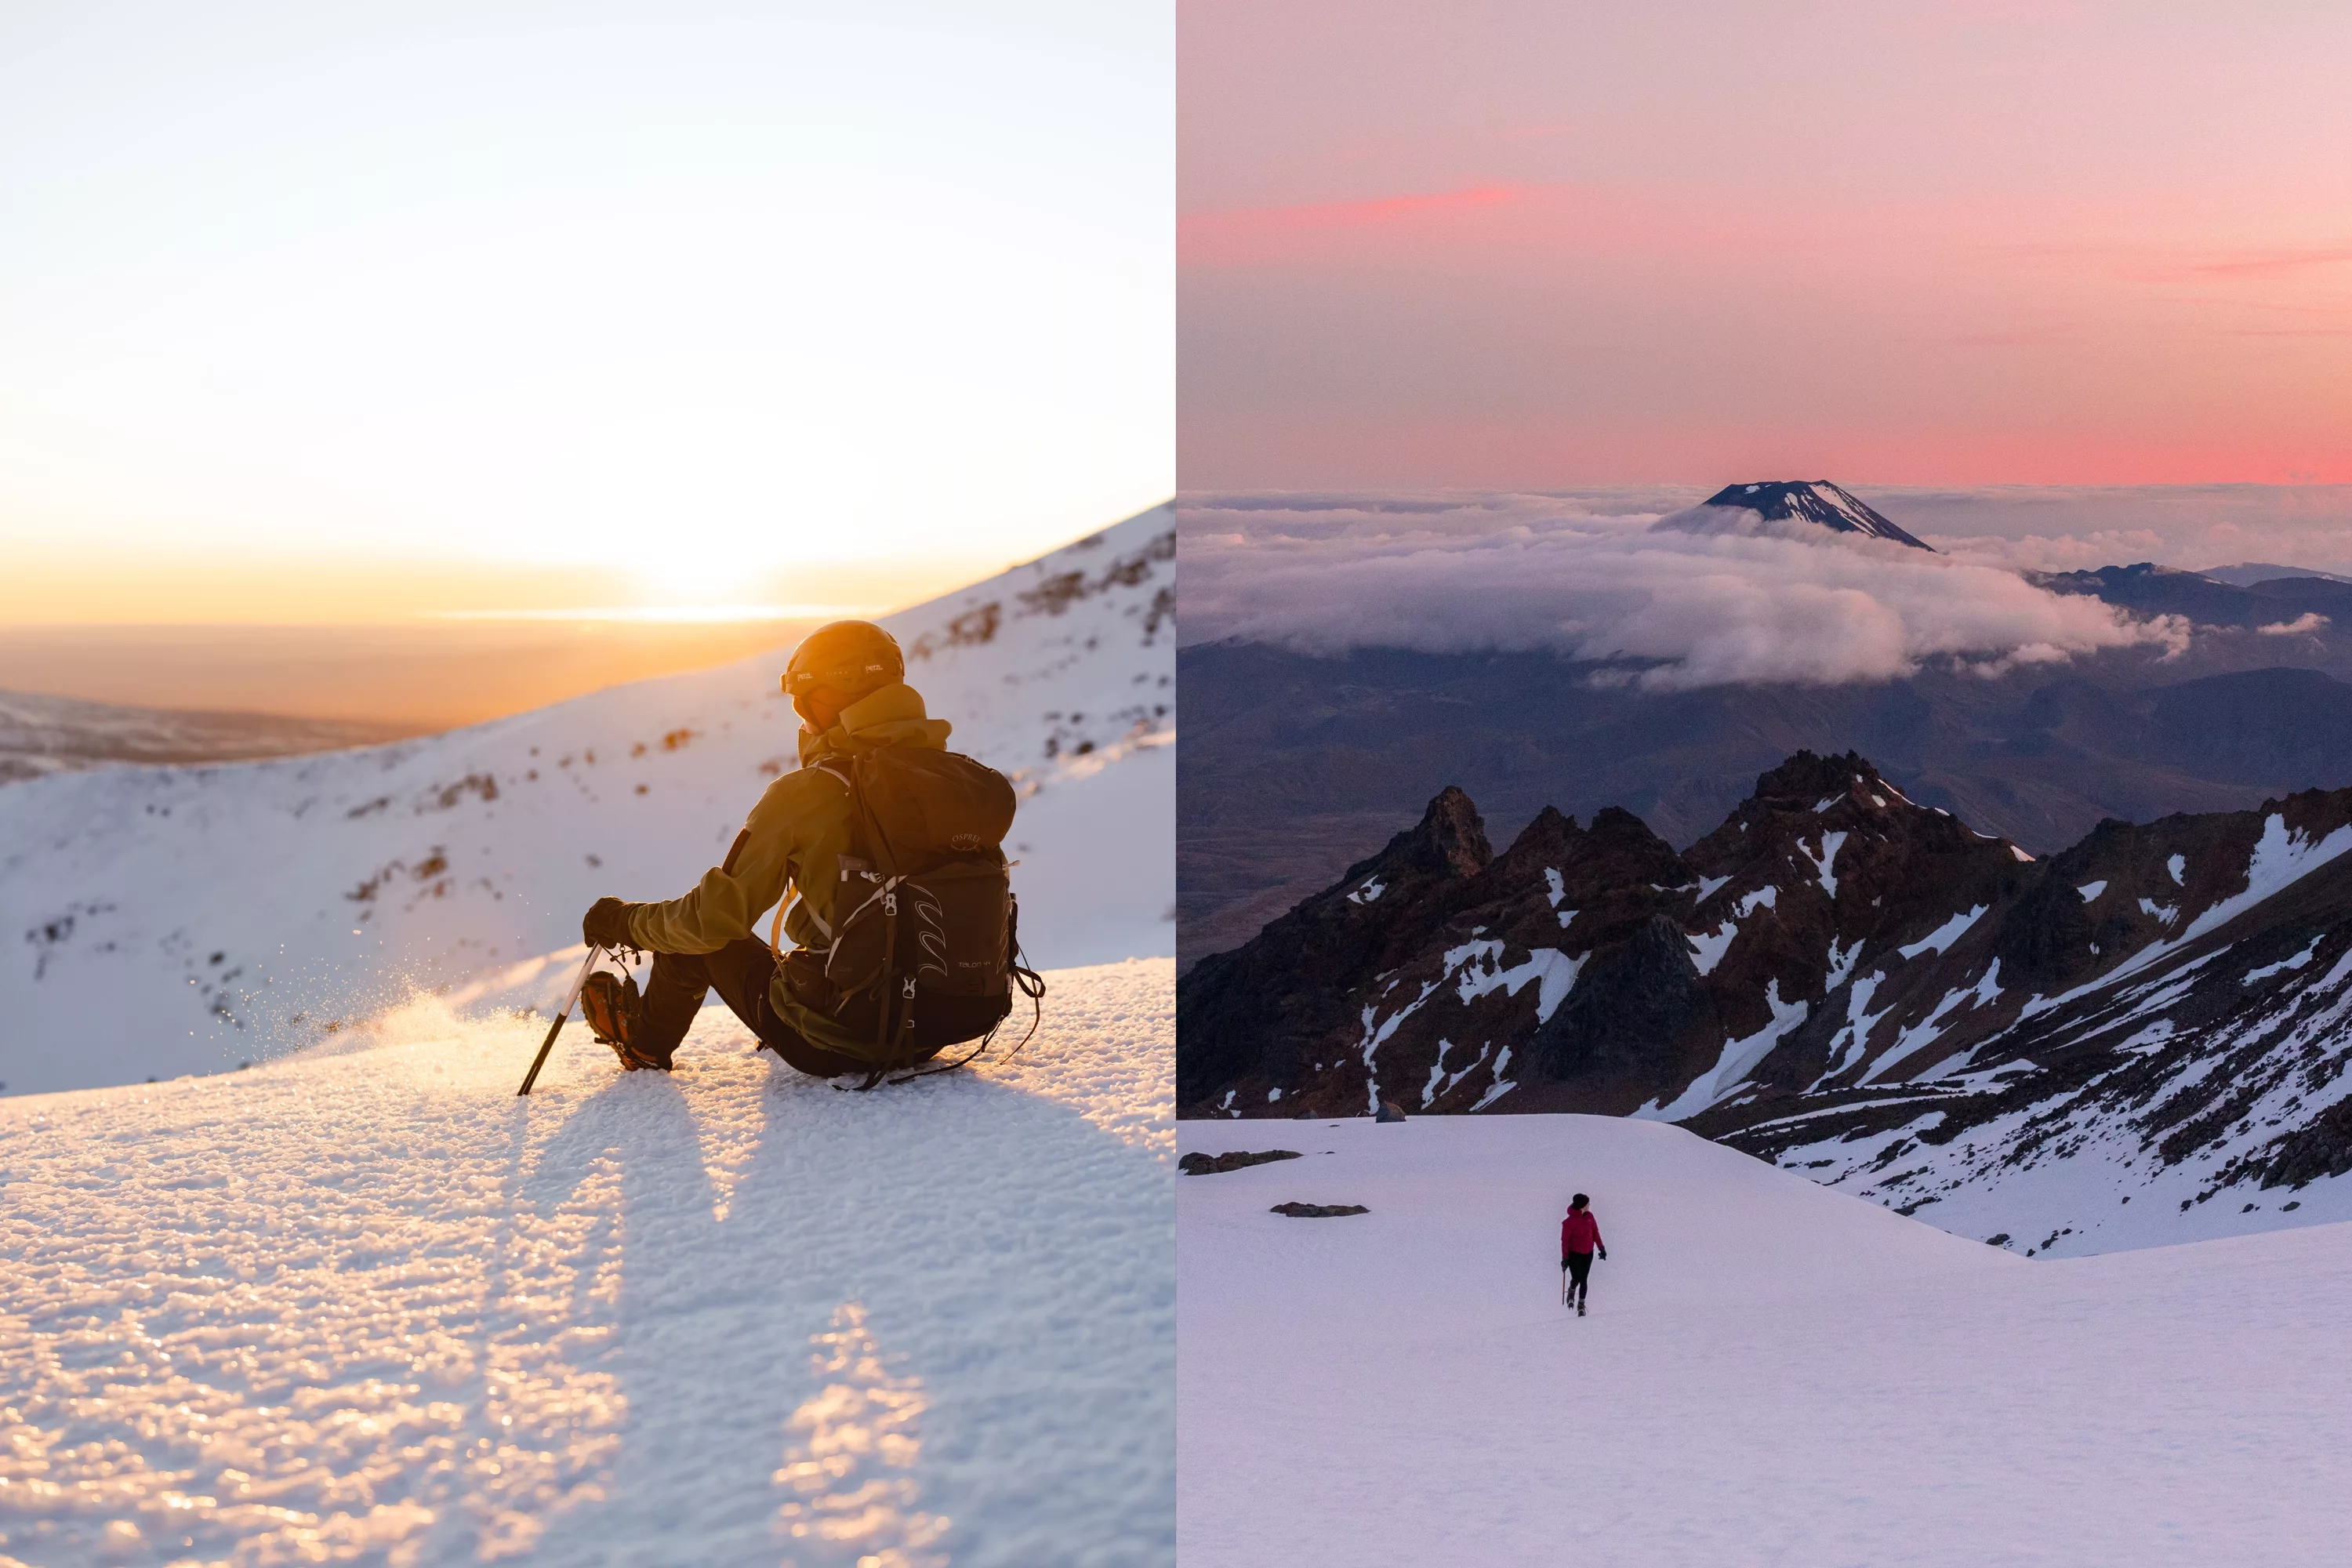
Some of my favourite experiences on Ruapehu have been the epic sunrises, watching the first light of day illuminating the snow underneath my crampons, watching the stars glistening above my head as I drift off to sleep on the summit plateau, and coffees shared with friends as we defrost from the night.
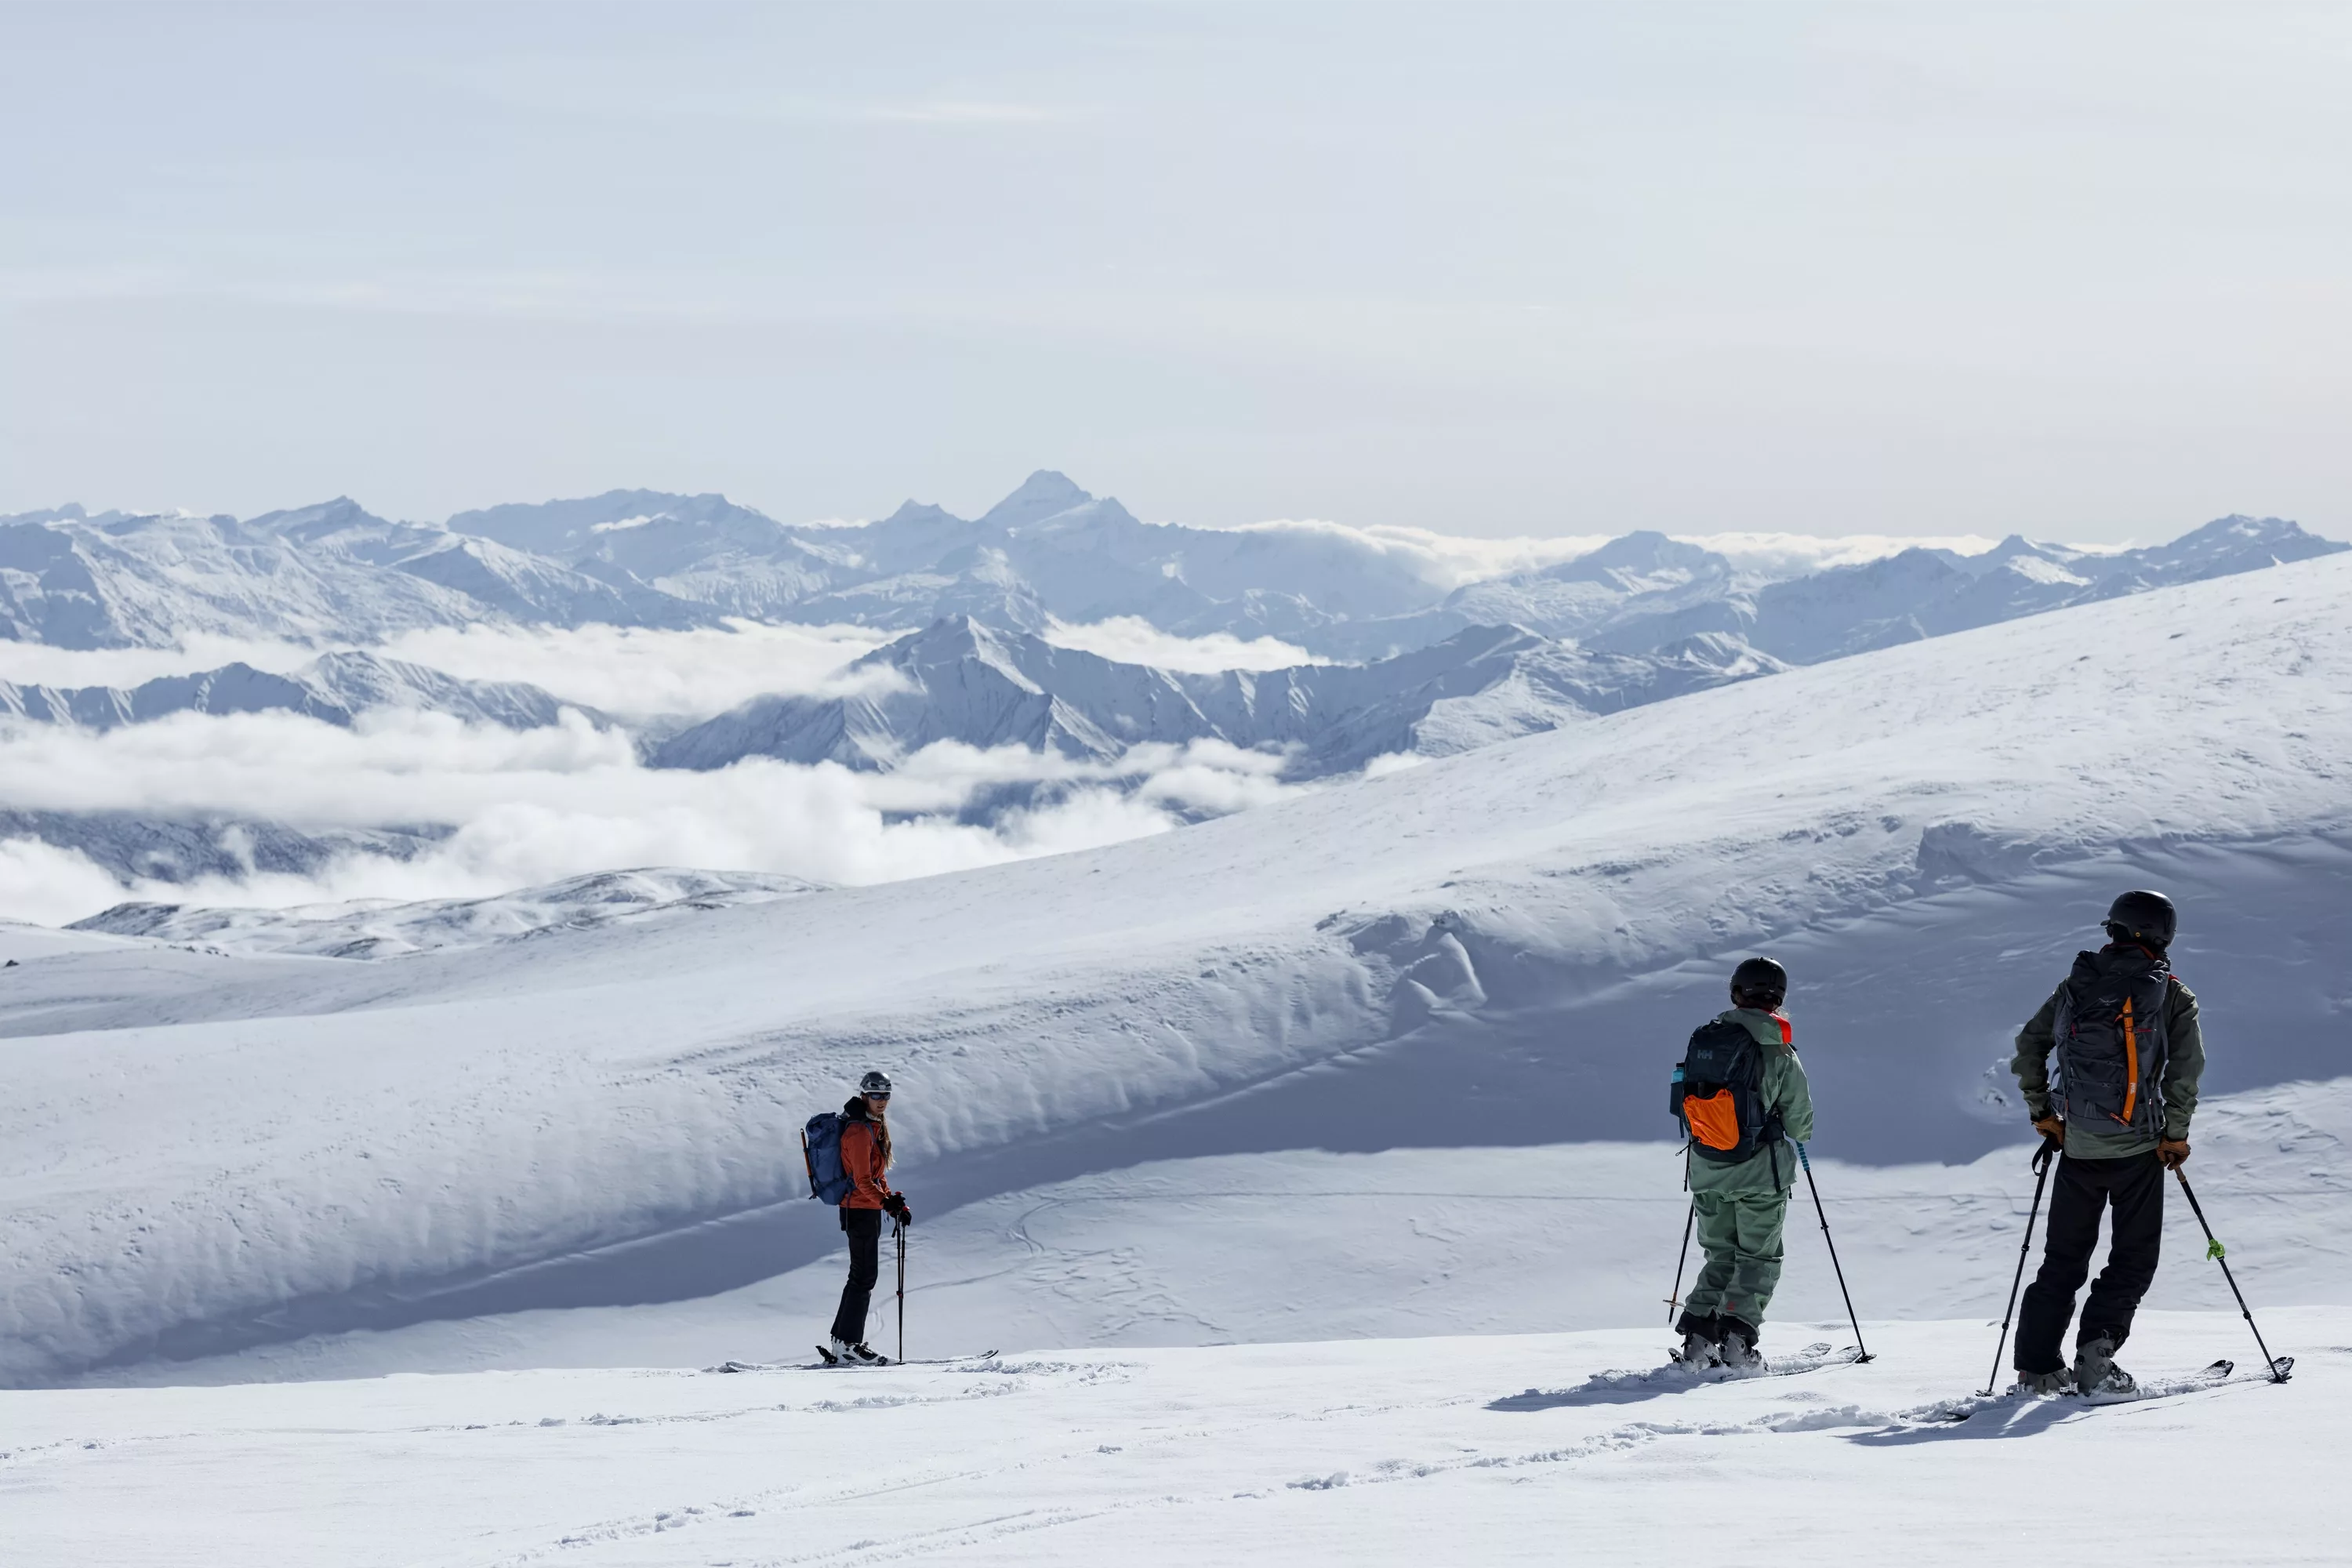
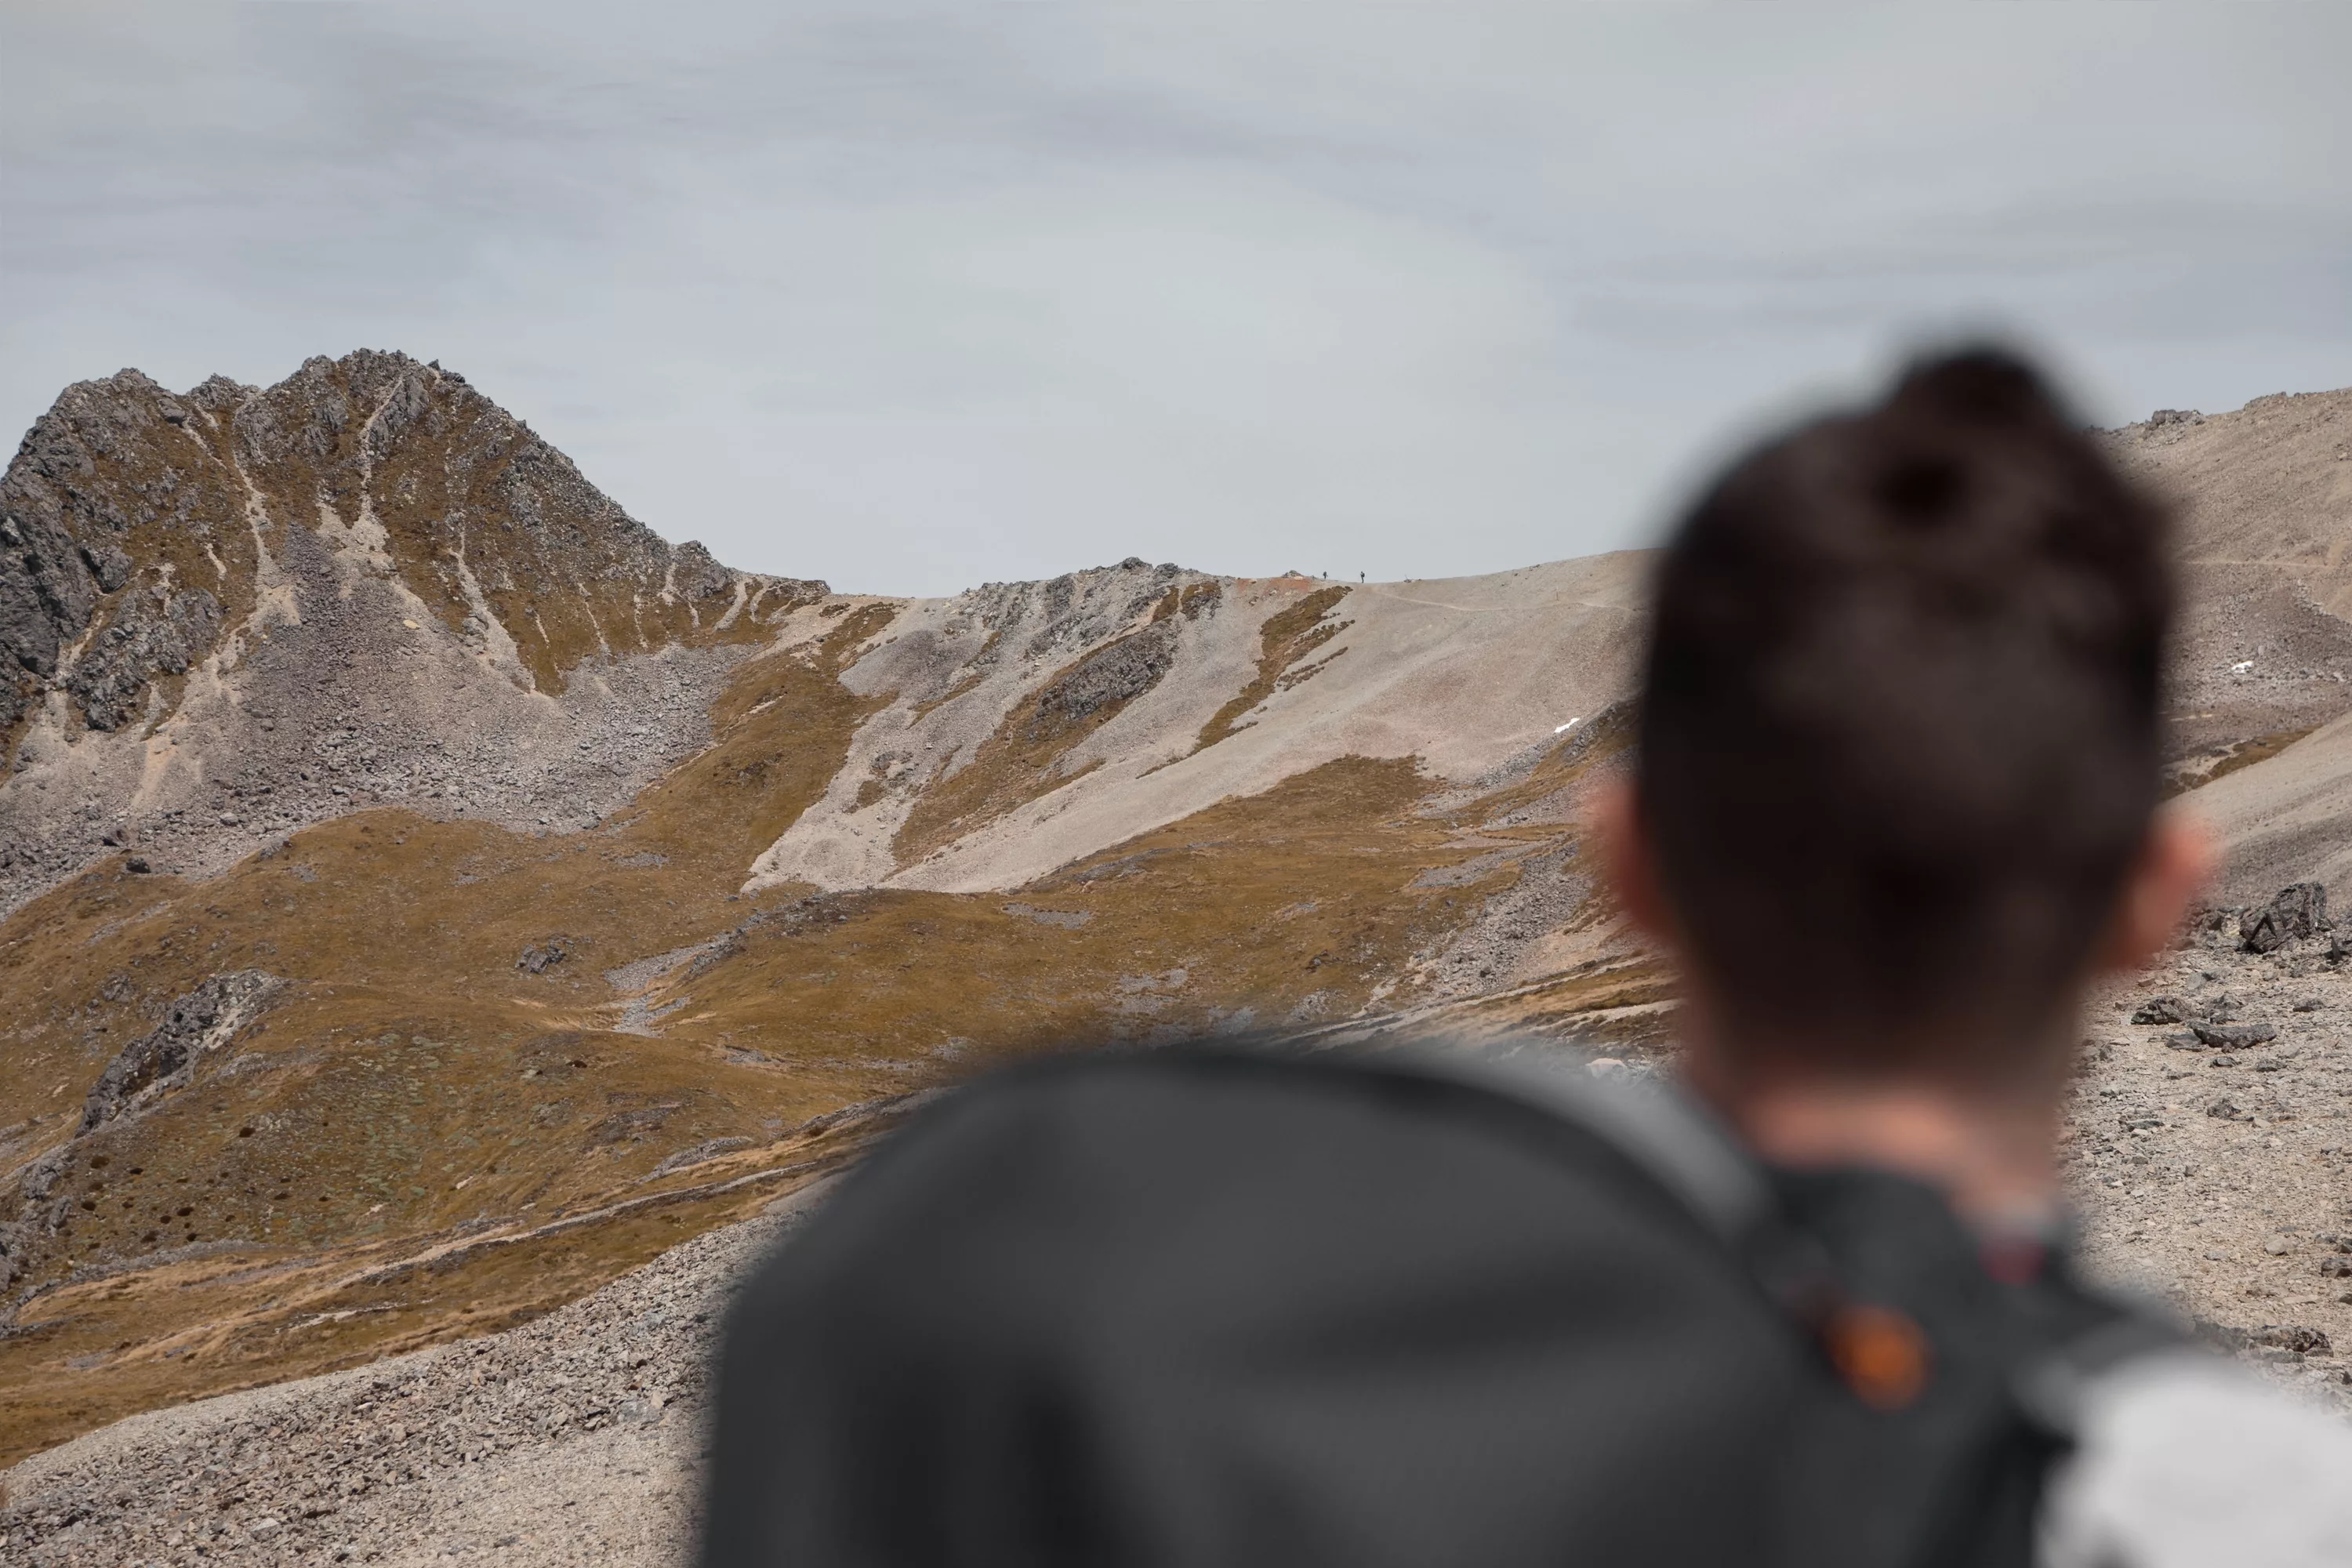
MT RUAPEHU HIKING ON SNOW
Crampons and an ice axe will be absolutely essential to accessing the Mt Ruapehu summit in the winter. If you don’t know someone who has experience in using these tools who can teach you how to use them, seeking guidance from experienced guides will be a good way to learn the essential skills needed to use them. I will cover a few of the basics so you have a good idea, however, it is essential to practice in a safe controlled area with a good run out so if you do have slips or falls, you’re in a safe area.
- Before you aim to do a hike with crampons on, you should ensure that you know how to fit your crampons to your boots before you leave home, or if you’re hiring them, make sure you get some instruction on how to put them on, then practice yourself!
- When you’re out on the slopes, you’ll need to have a good level of awareness as to when putting your crampons on will be a necessity. Ideally, you should be in a flat spot before the snow/ice is too firm and before it gets too steep. This will mean you’re in a safe spot to stop and put your crampons on and will give you time to adjust to walking with crampons before you’re climbing anything too steep.
- From there, there are three basic techniques used for walking with crampons: flat-footing, front pointing, and the hybrid technique. Usually, you’ll utilise a mix of these techniques on your trips. One thing to remember is that you’ll need to walk with your feet slightly wider than usual, it’s very easy to catch your pants with the points of your crampons and end up with holes in your clothing!
- You’ll need to take more care when you’re descending back down the slope, as this is where most accidents happen when mountaineering. This is when you’ll be a bit more fatigued and likely the snow will have warmed up, making it more likely to get stuck under your crampons.
- Another way to get down the hill is known as glissading. This is where you slide down the slopes on your backside! Make sure to take your crampons off and have your ice axe ready to slow yourself down when needed!
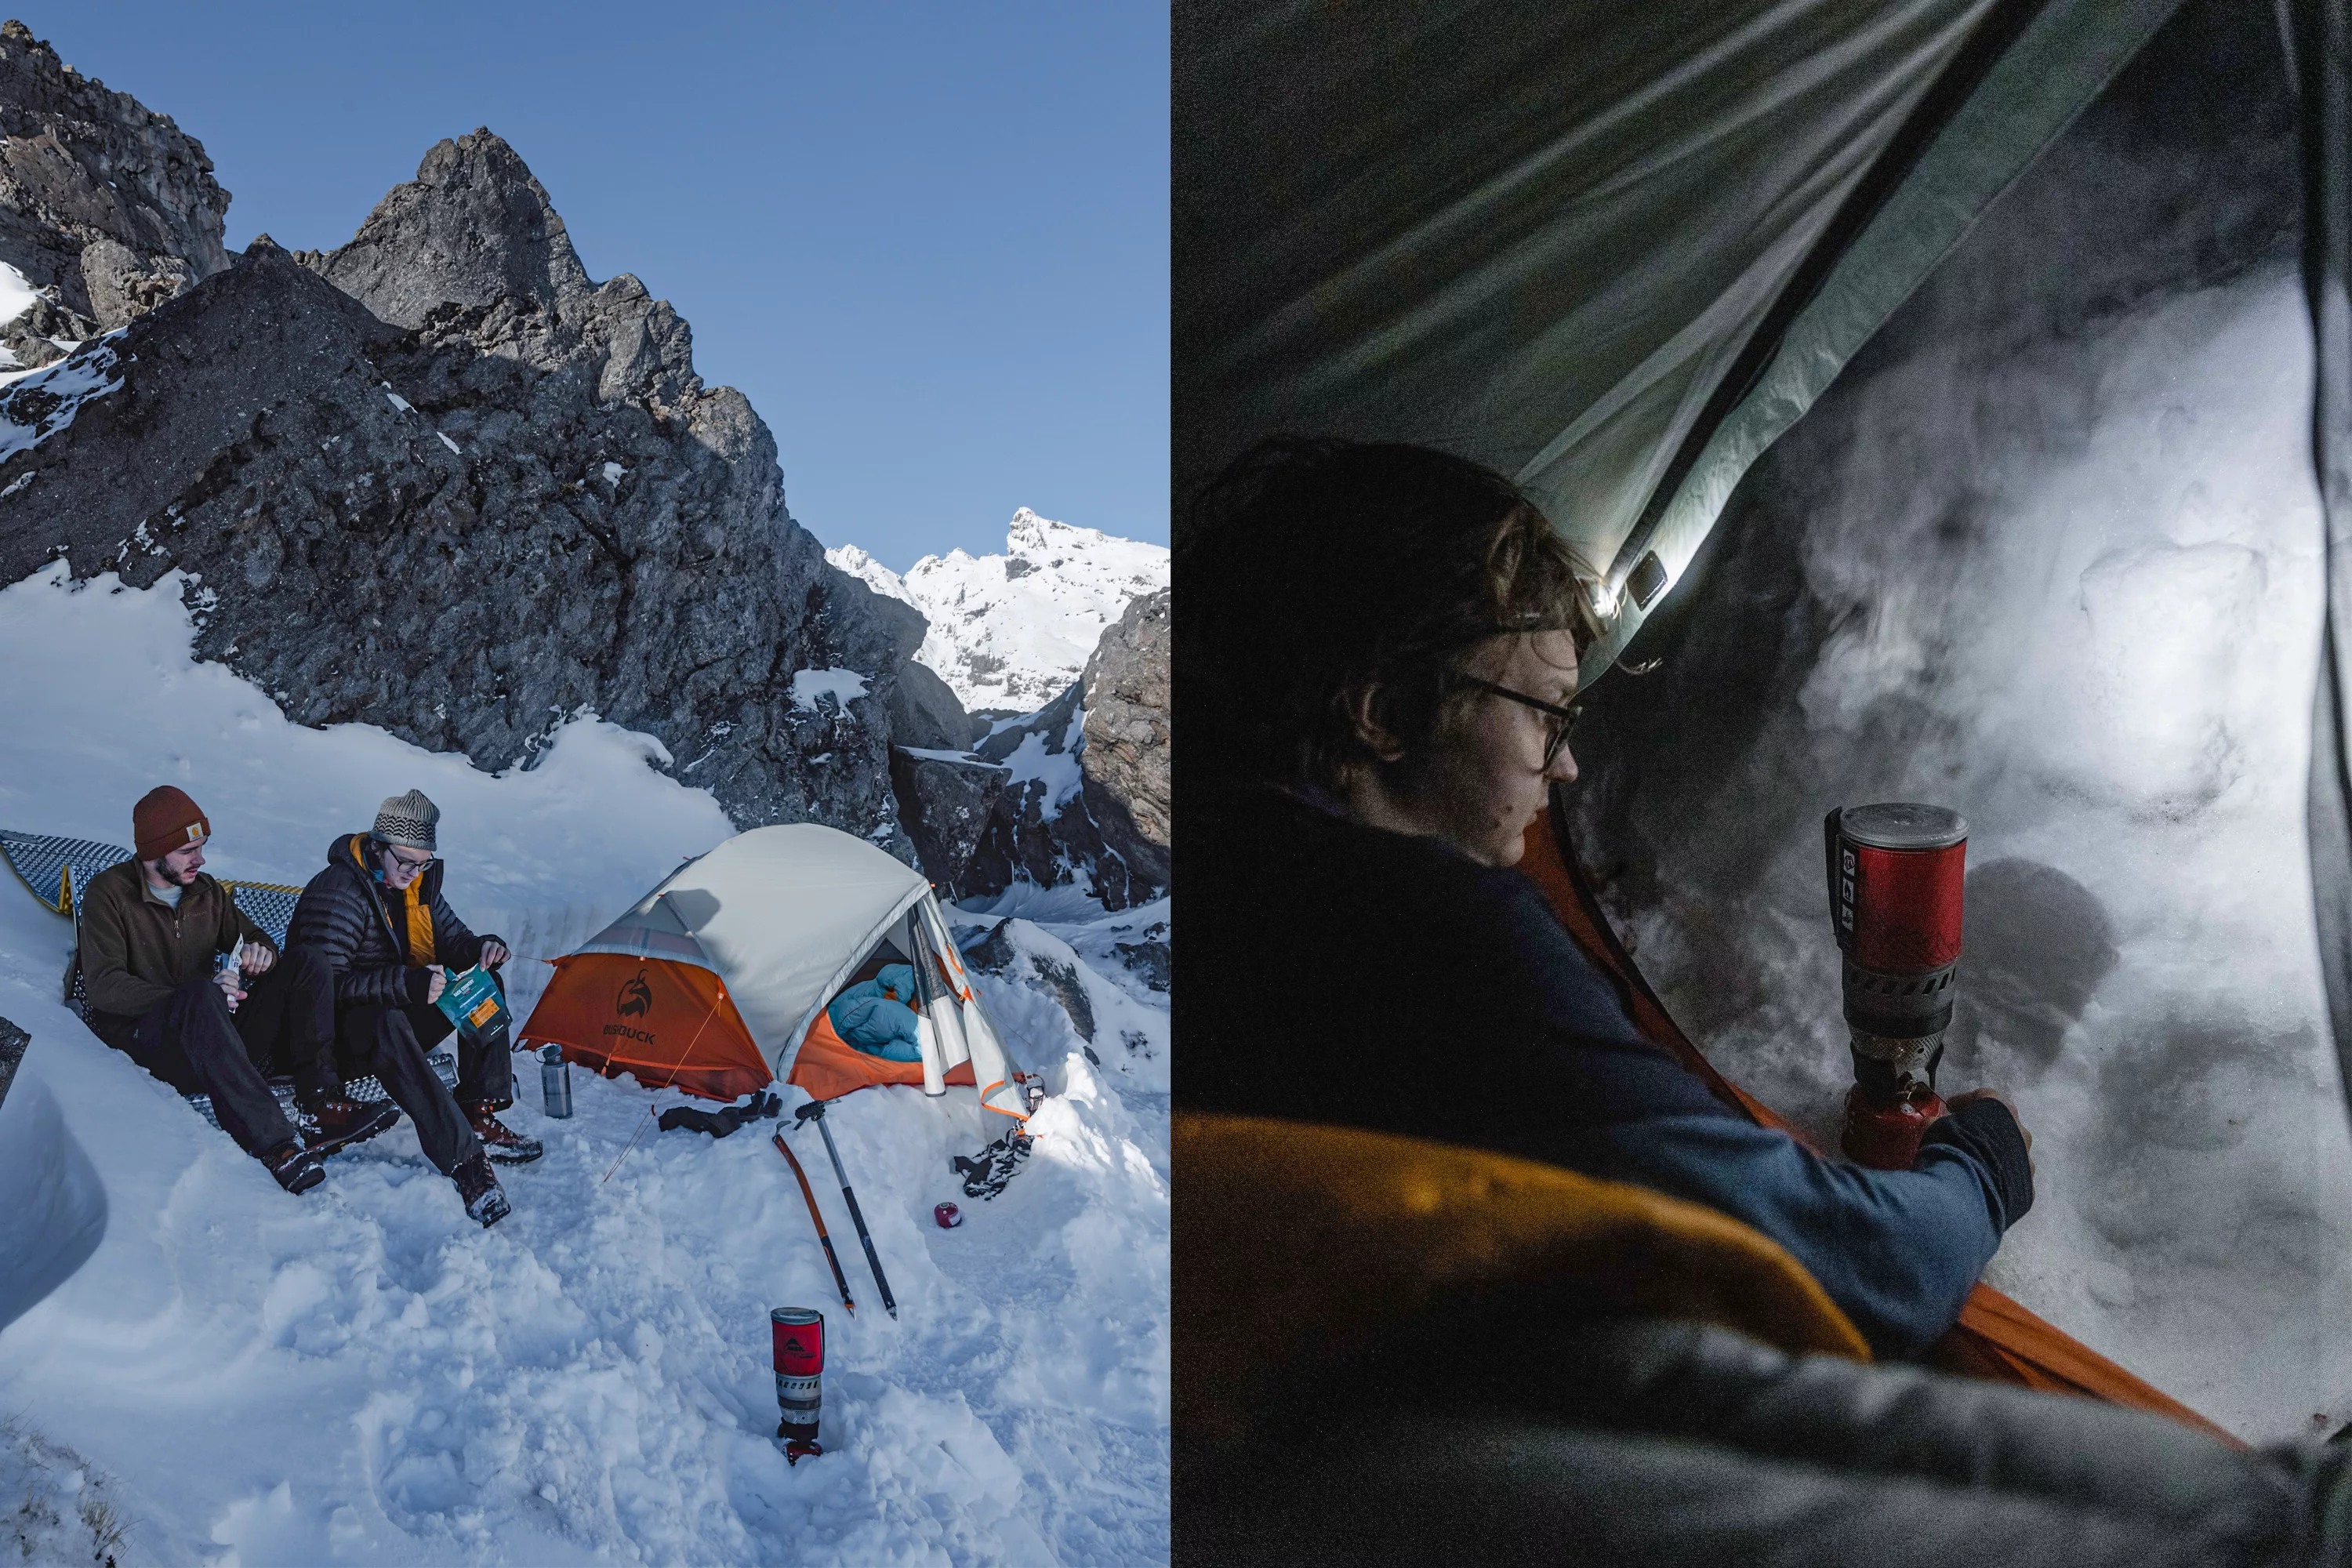
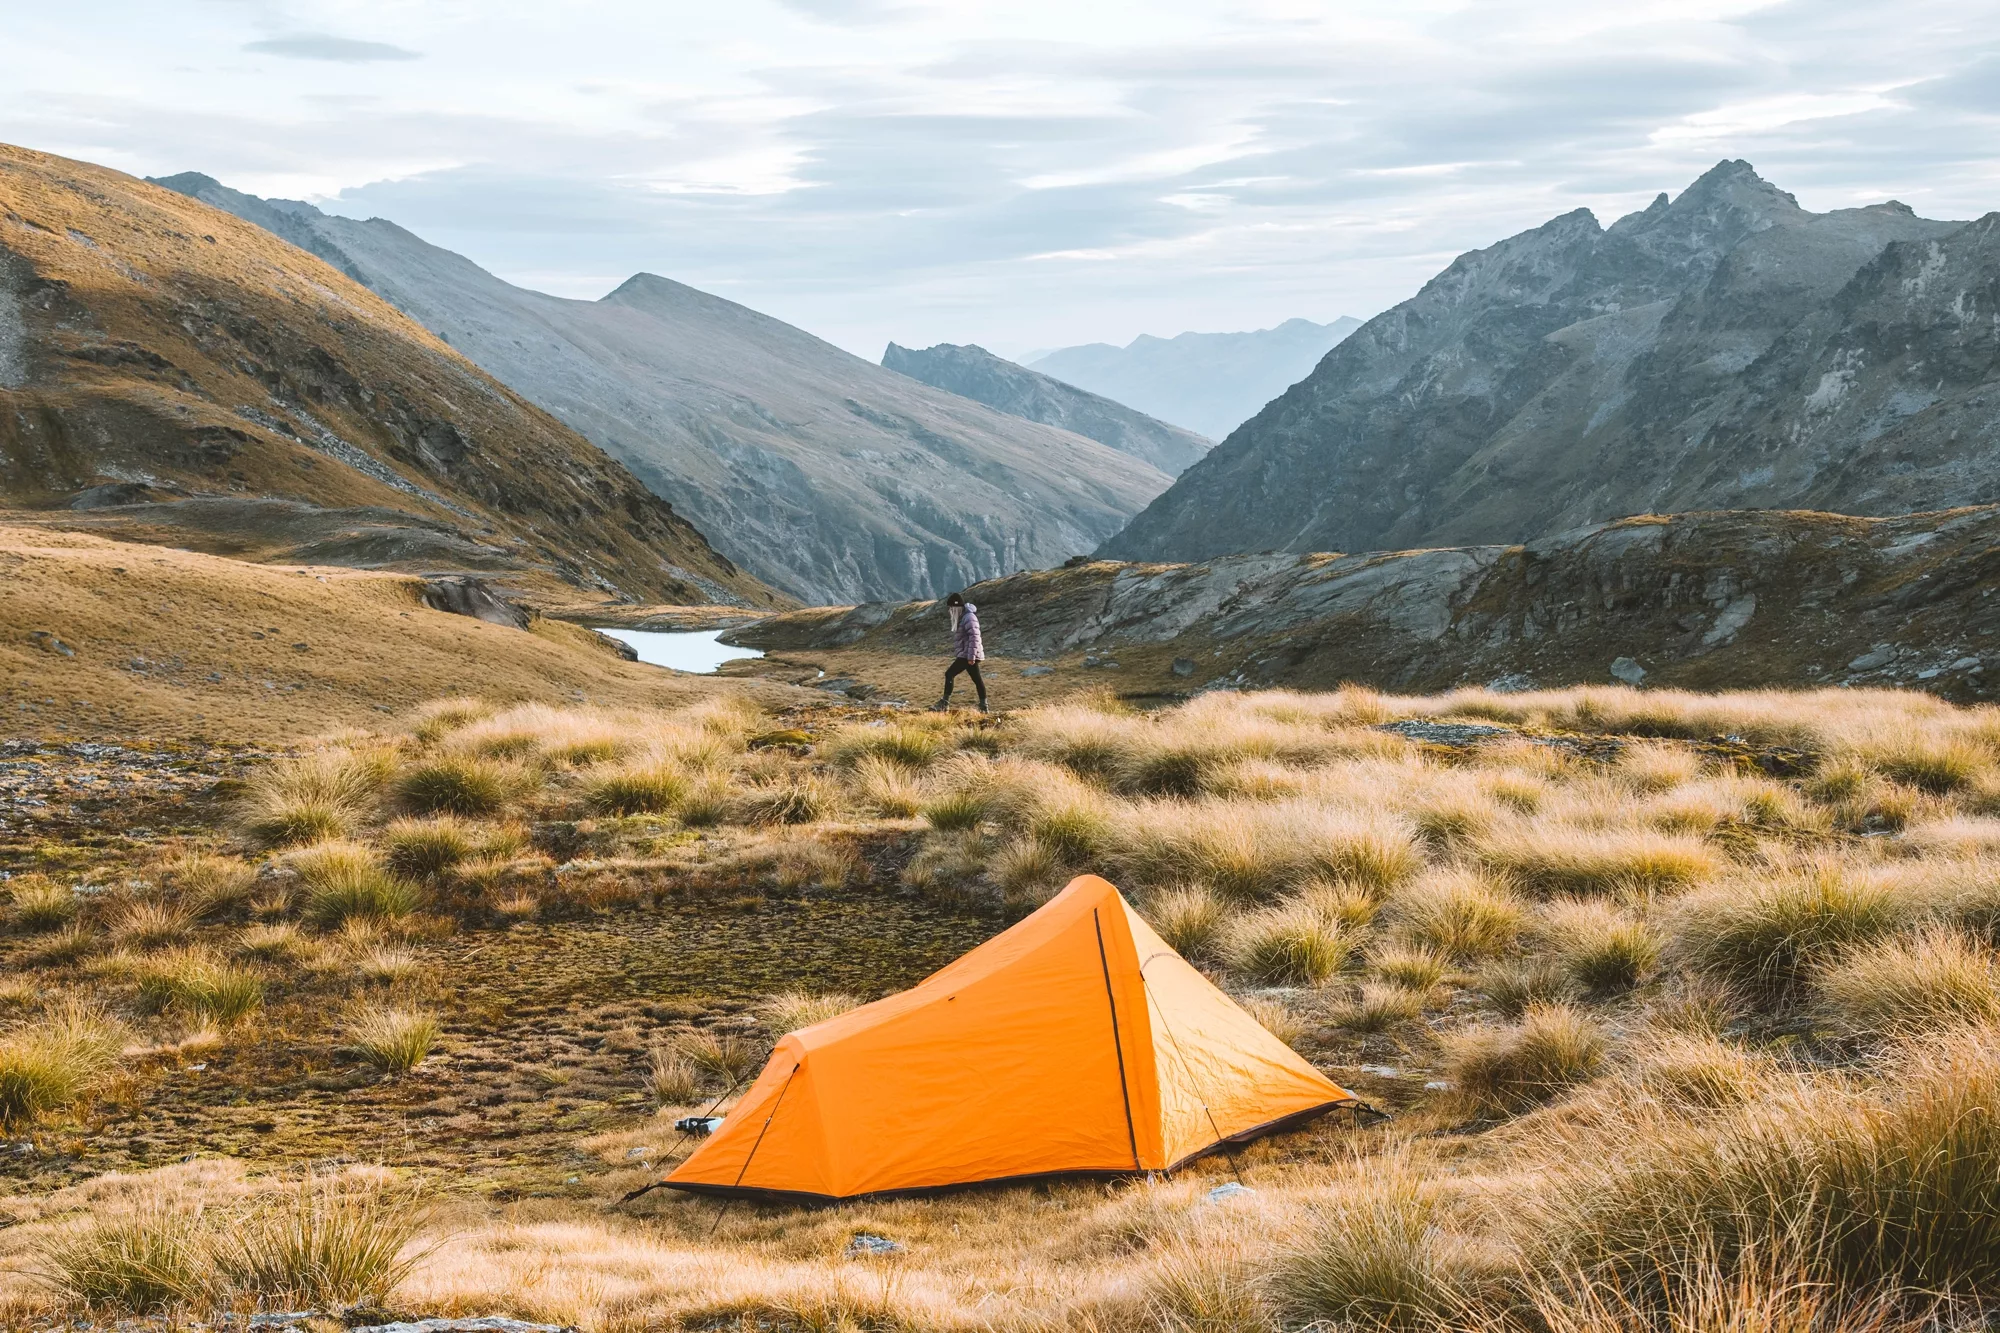
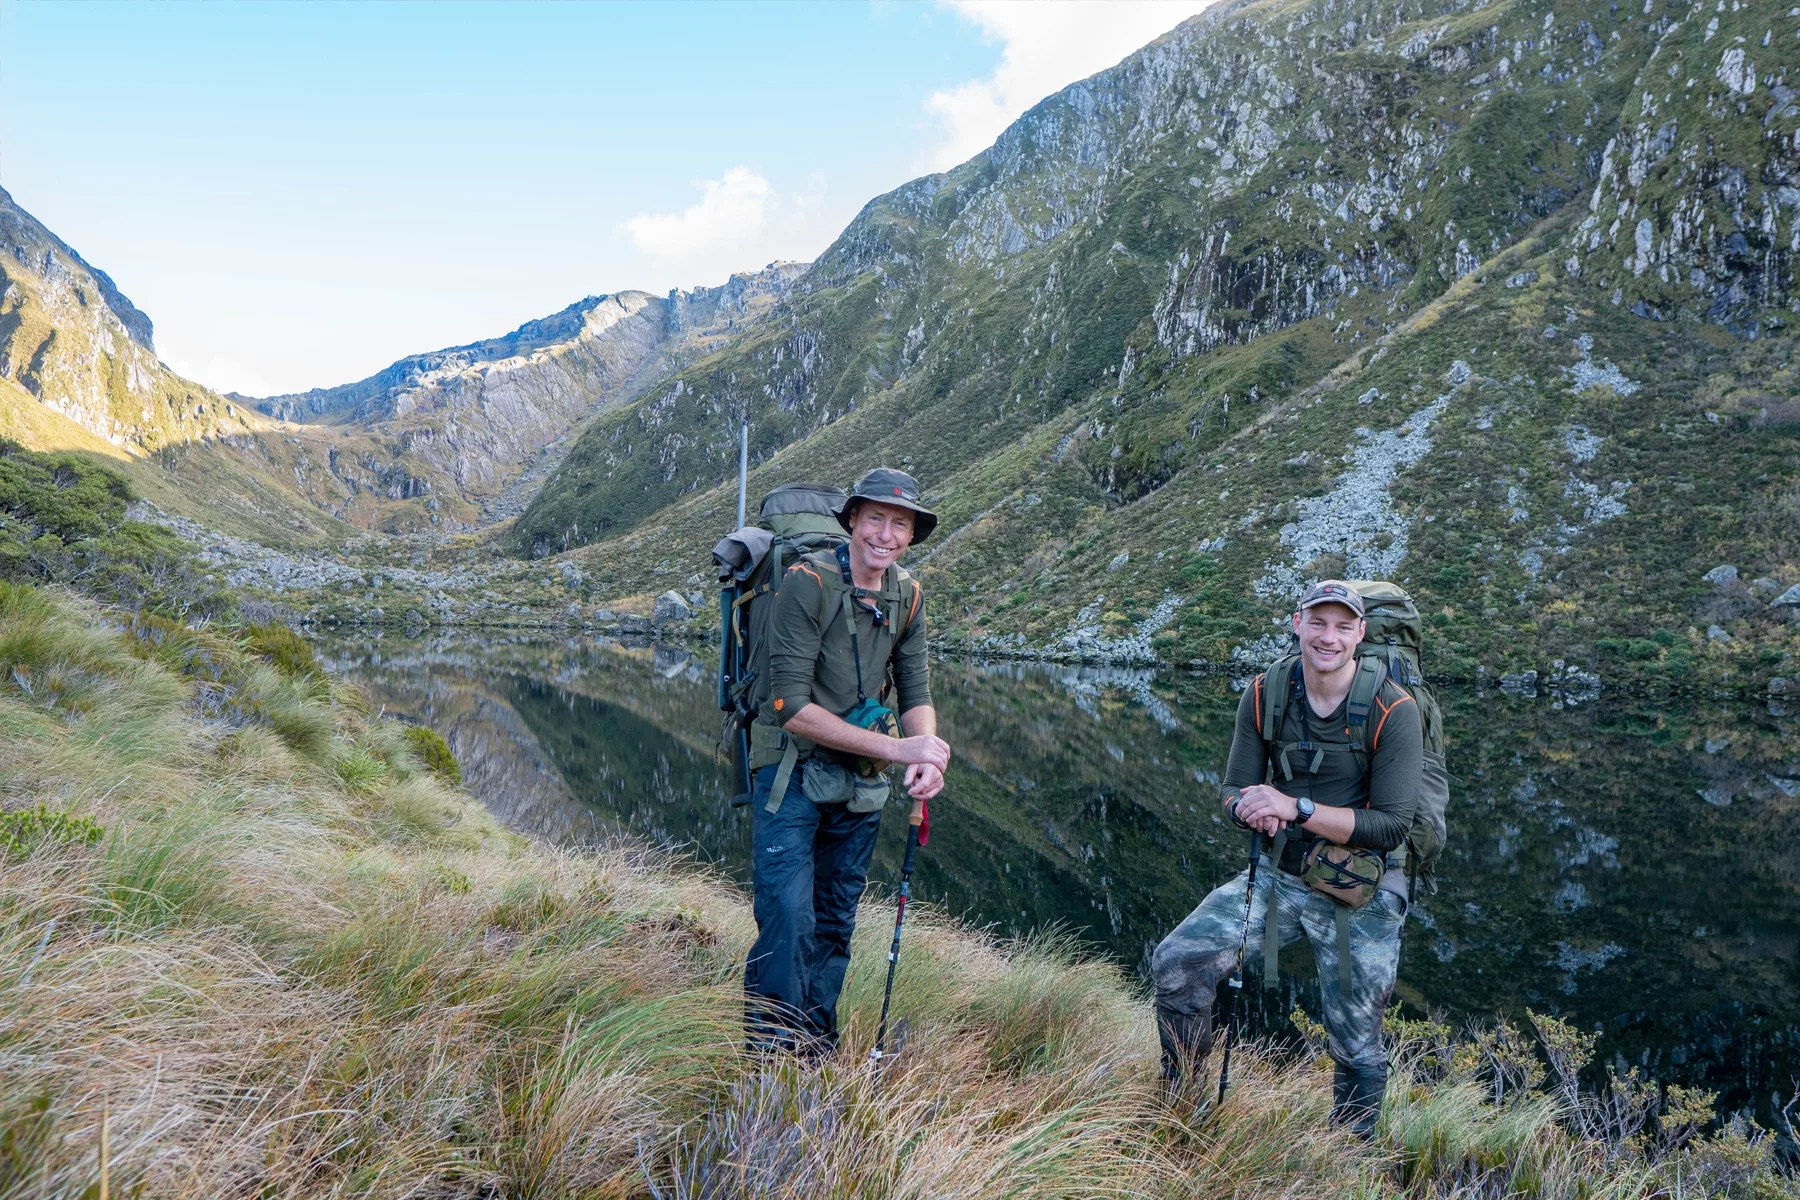
CAMPING ON MT RUAPEHU IN WINTER
Want to take things to the next level on your trip to the Mt Ruapehu summit? Spend the night in a frosty oasis, melting snow, and drinking lots of tea to keep toasty? Here are a few tips to help get started if you want to camp out above the snow line.
SLEEPING INSULATION
When you’re asleep, you only have what’s between yourself and the ground to keep out the chill of the snow. In order to do this, an inflatable sleeping mat is essential. When looking for this, you should look for a sleeping mat with an R-value of 4 or higher. In addition to this, you should pair your mat with a closed-cell foam pad, with a reflective side that radiates the heat back towards your body and traps warm air in your inflatable sleeping pad.
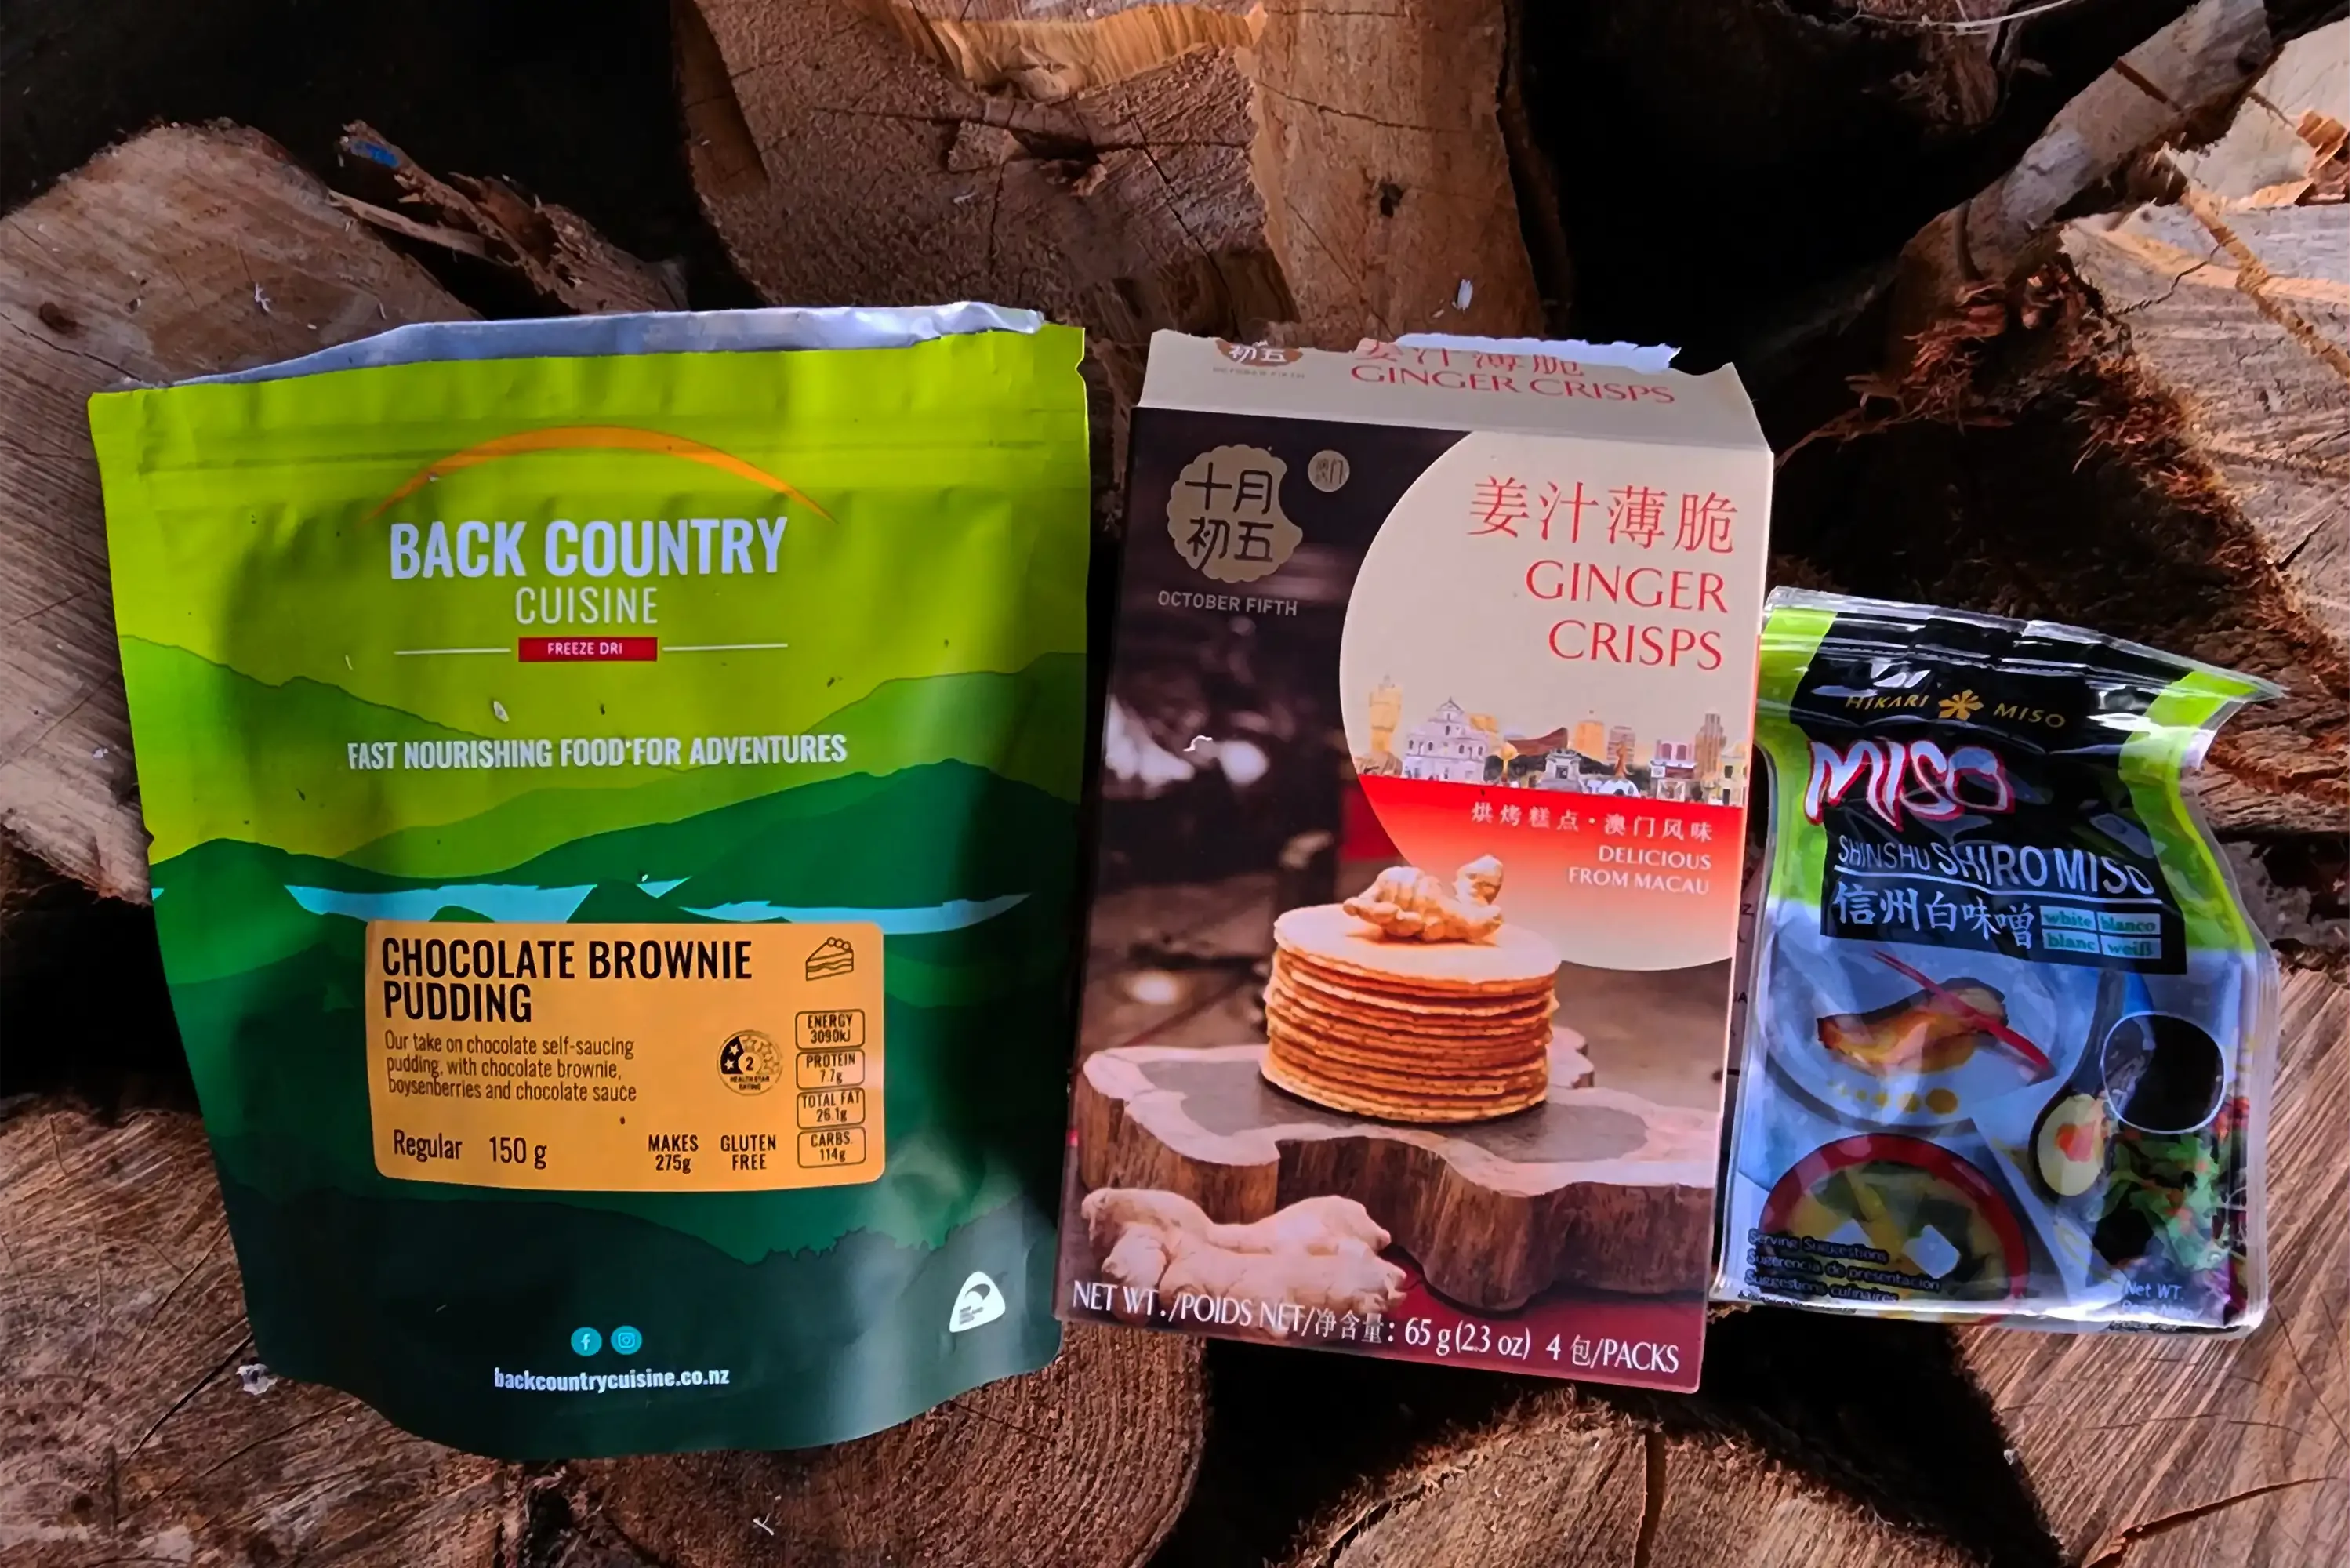
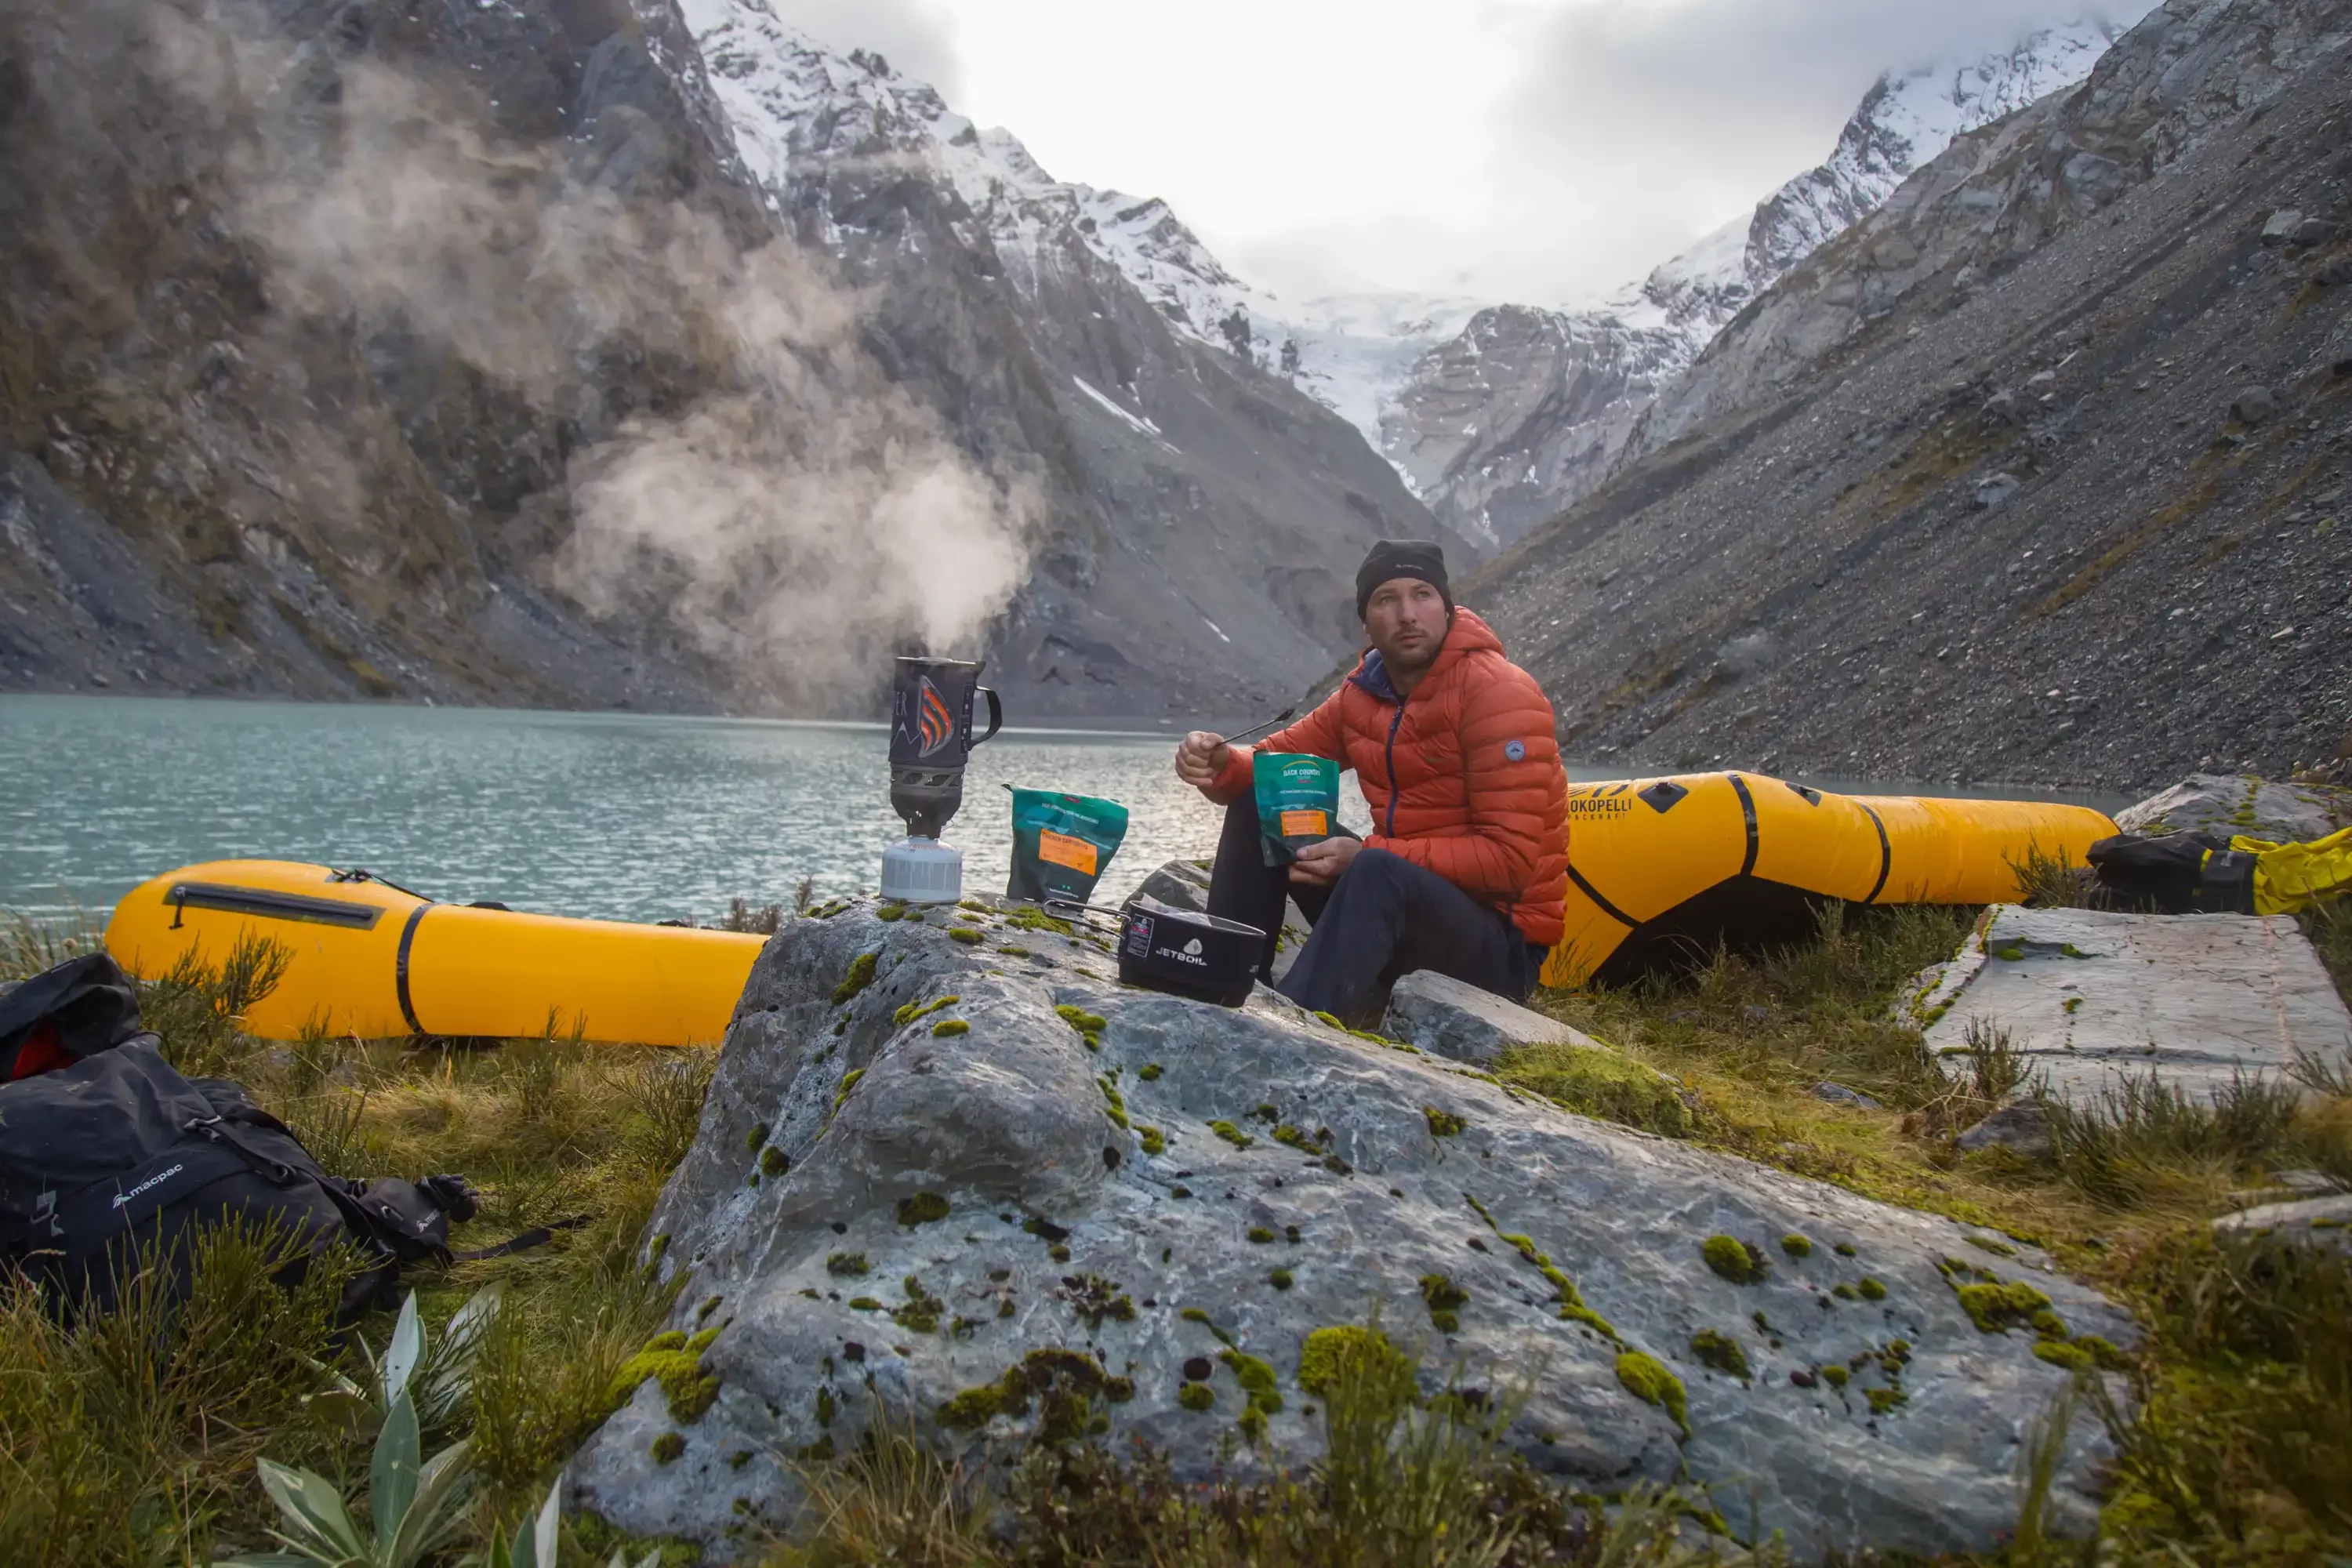
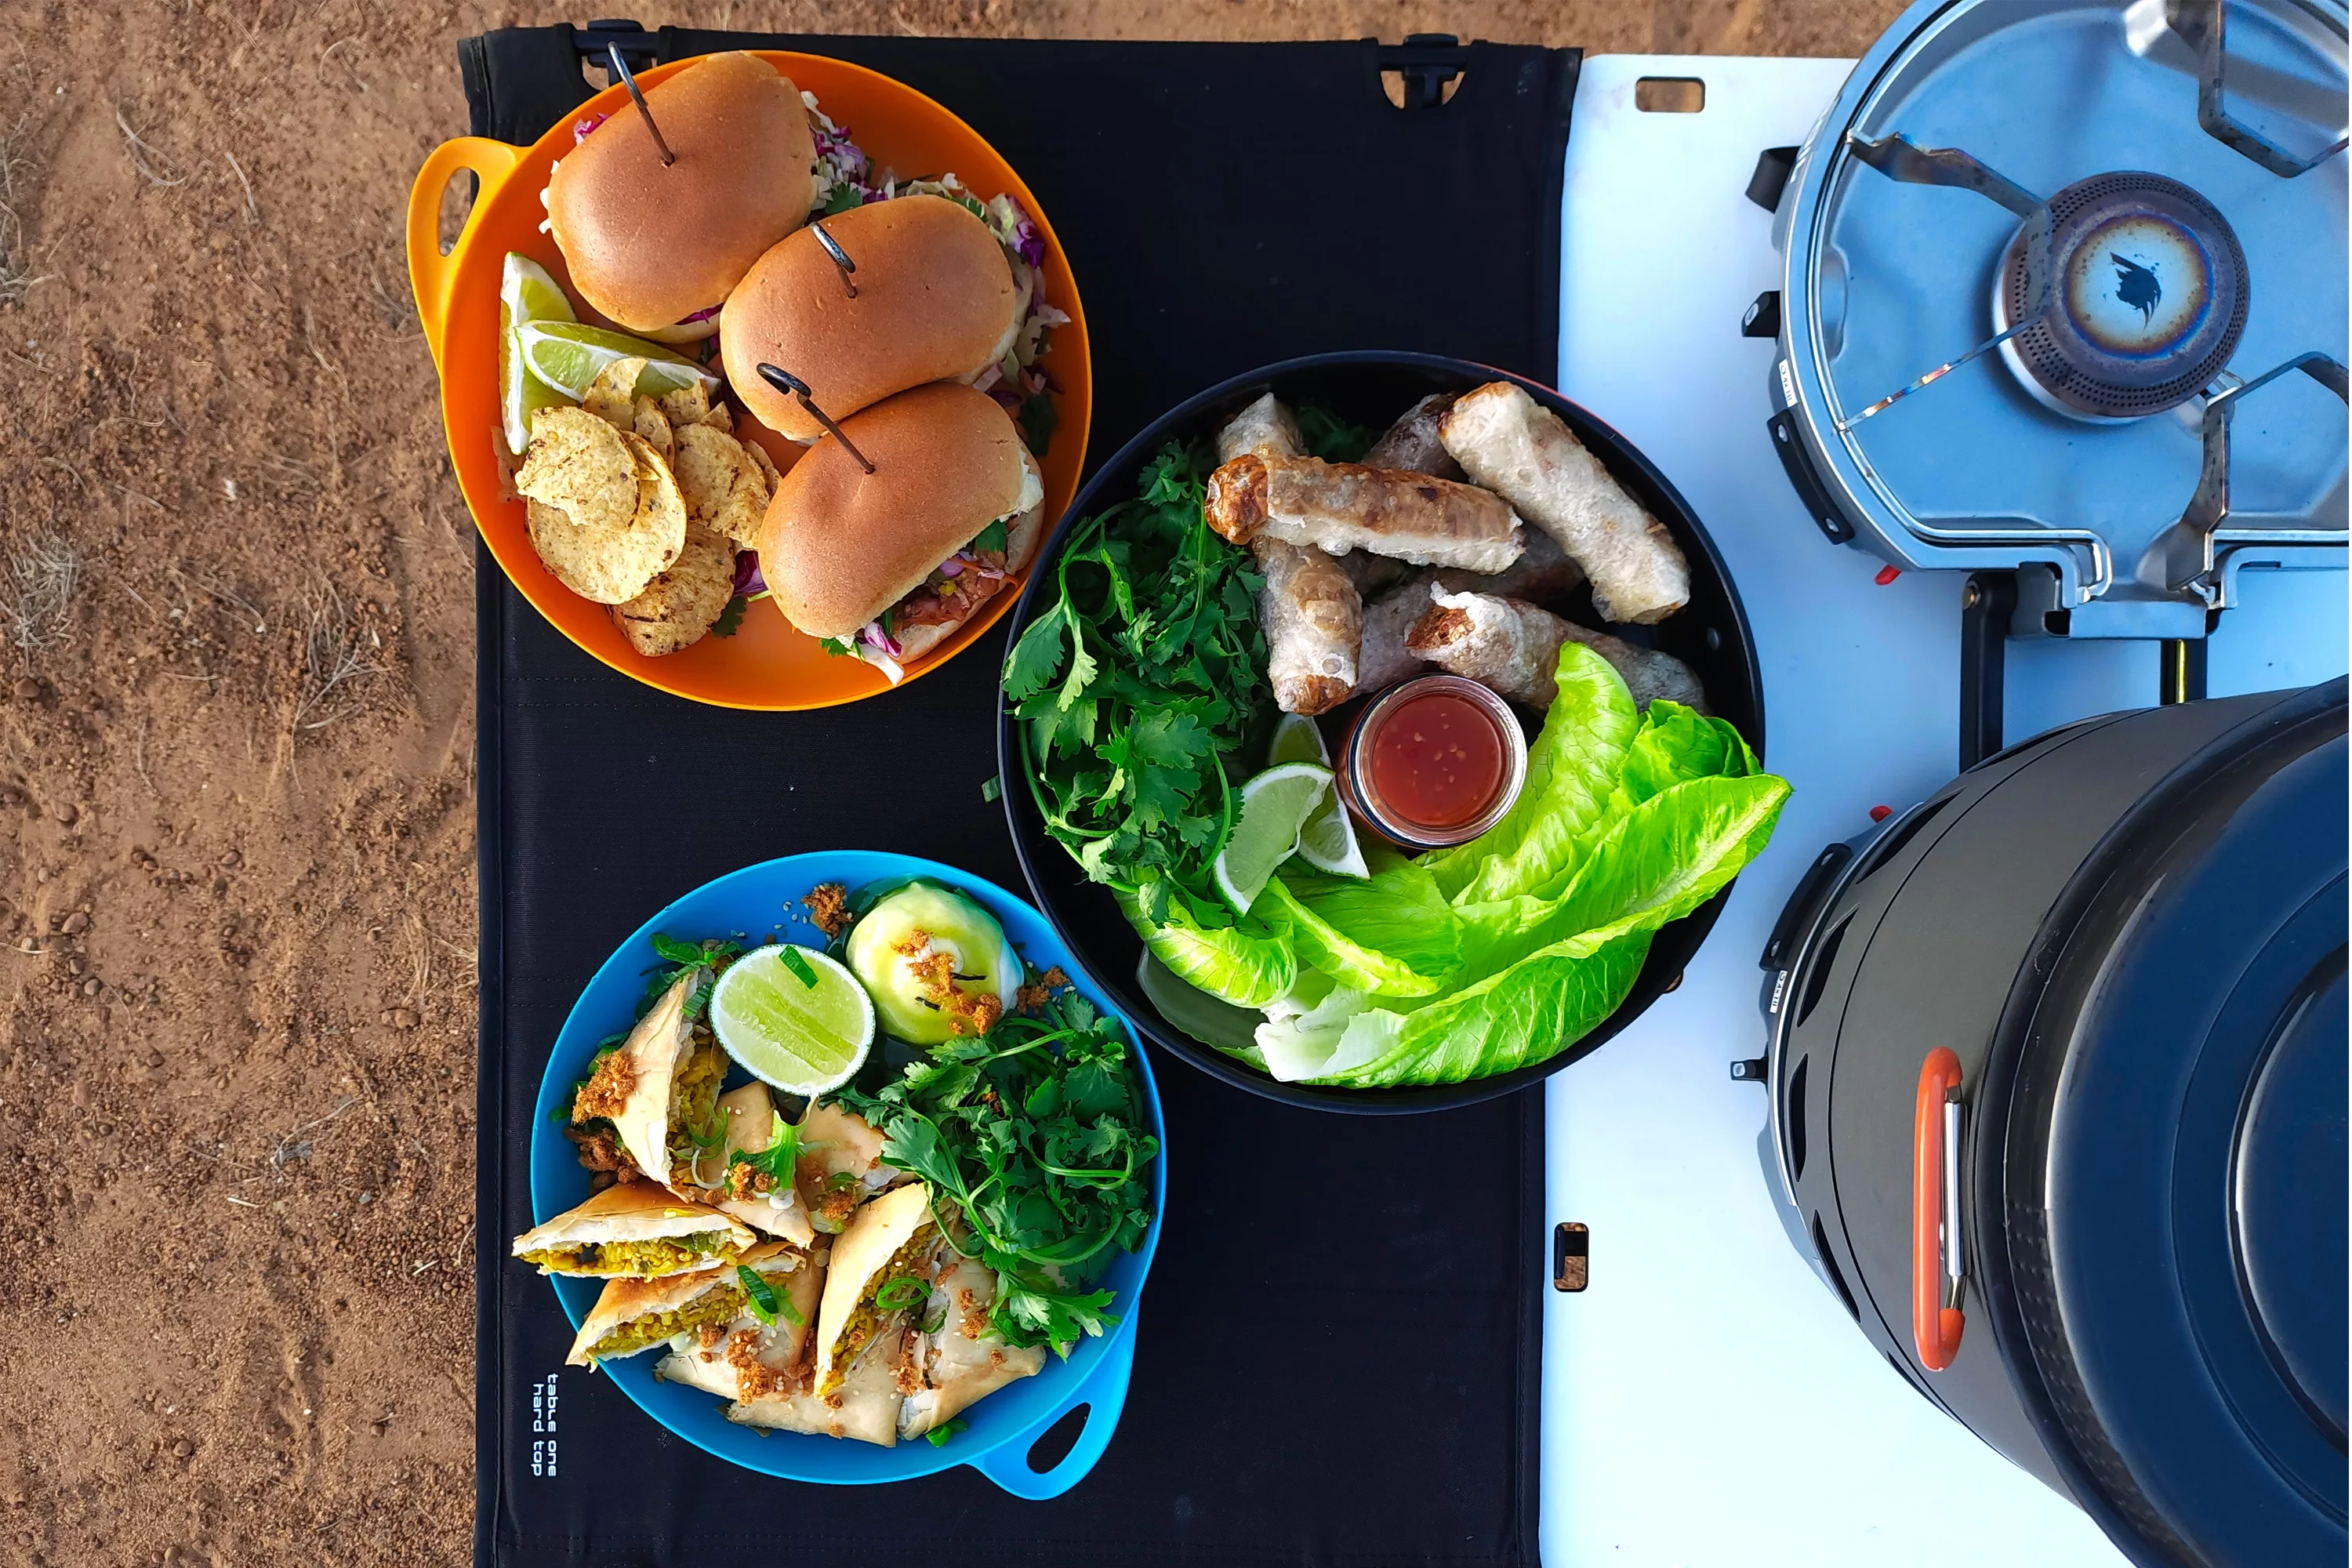
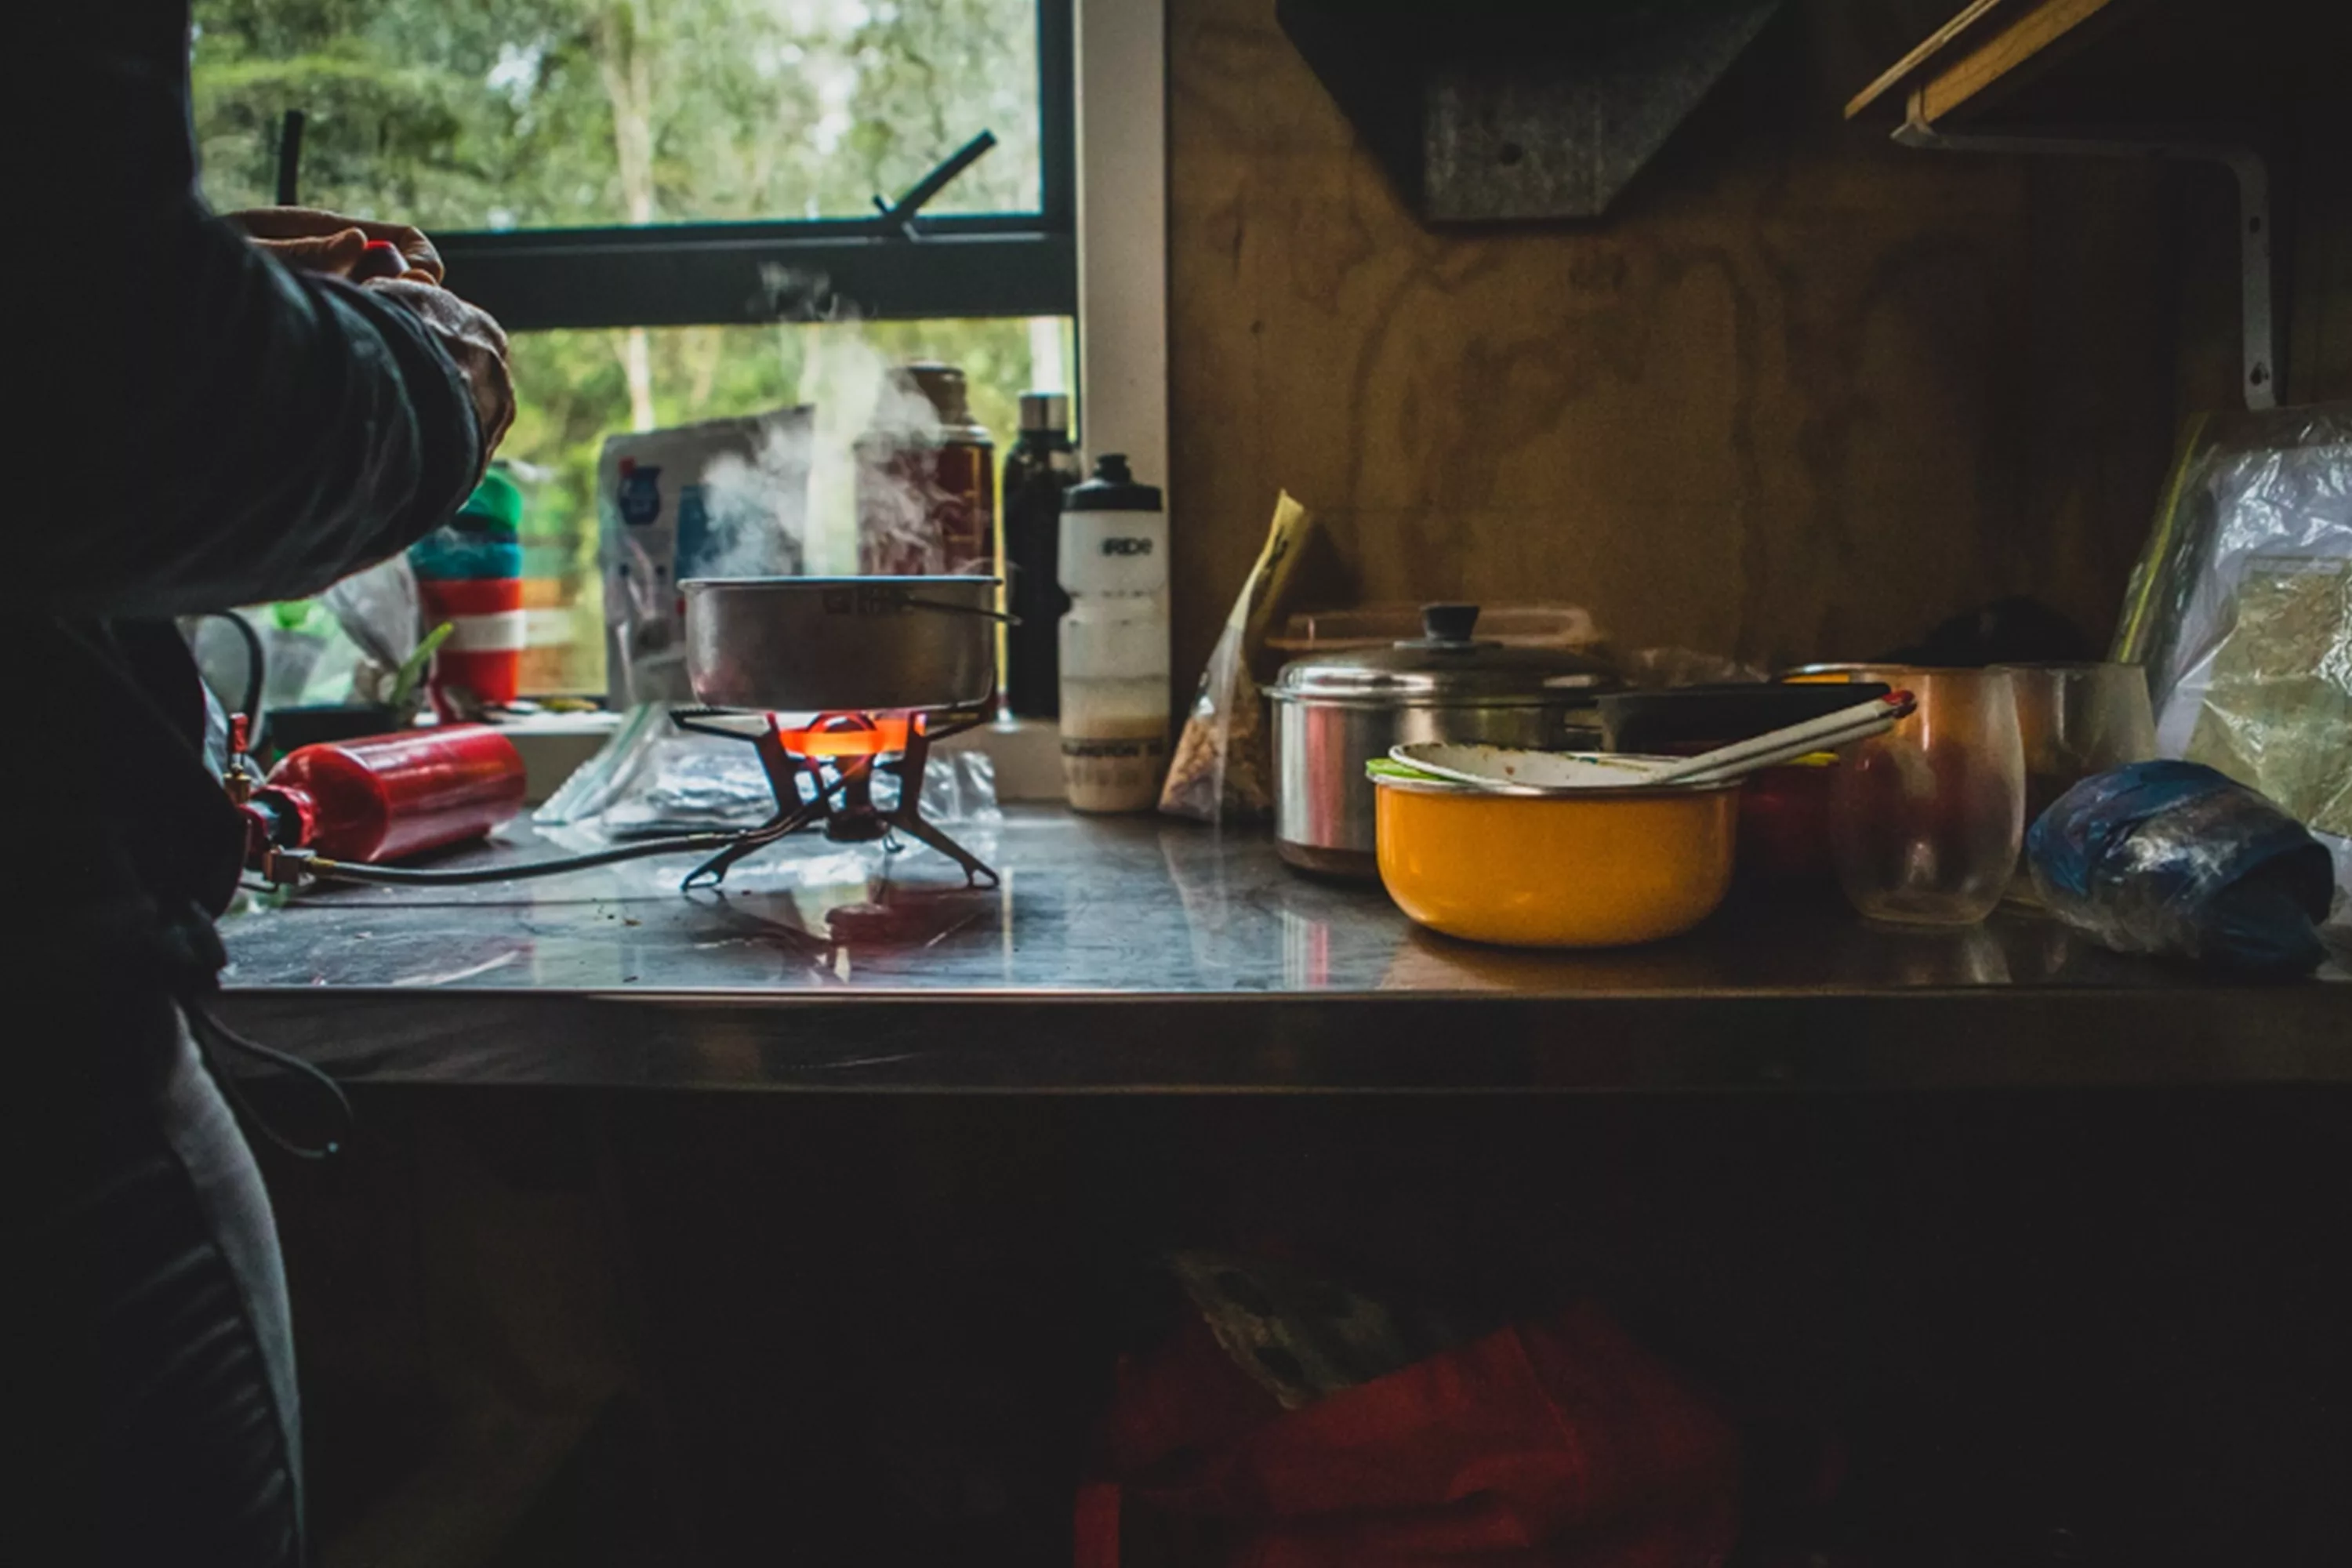
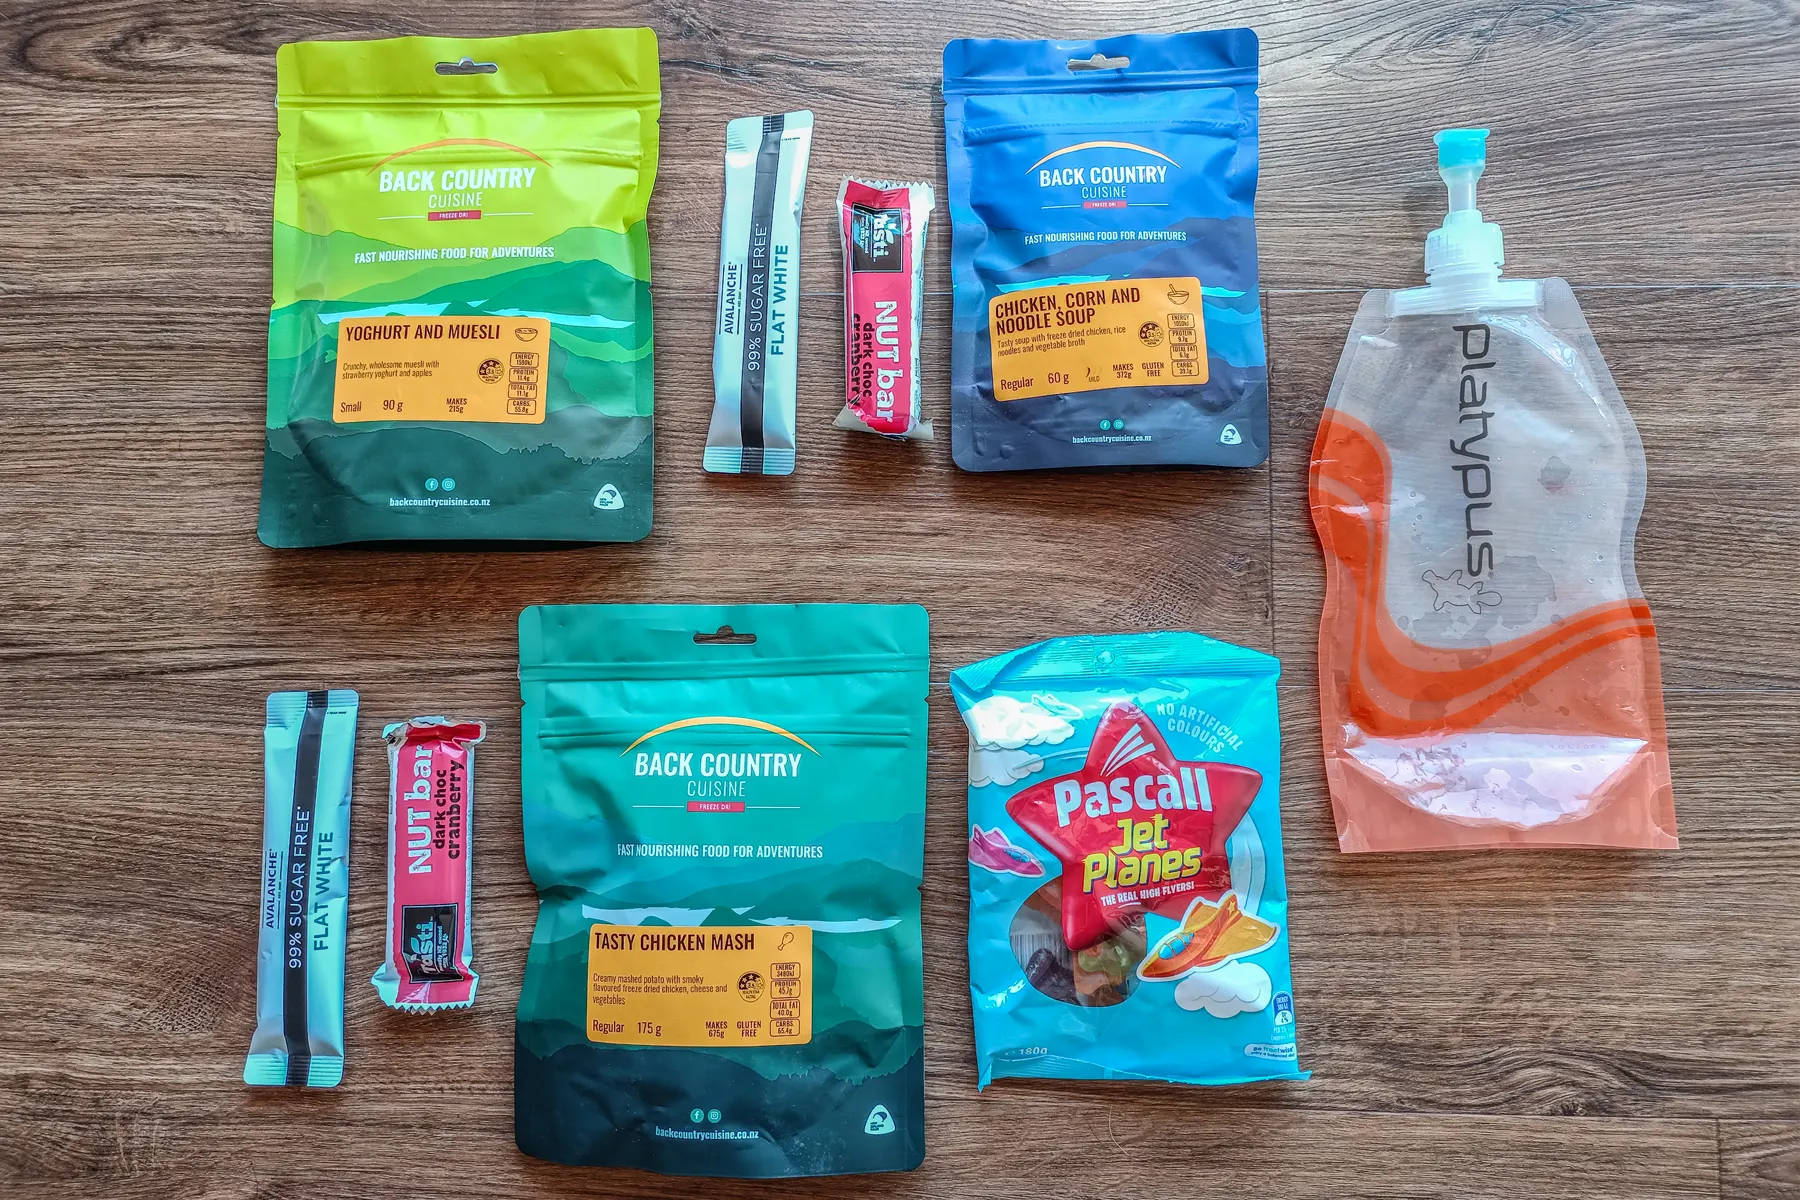
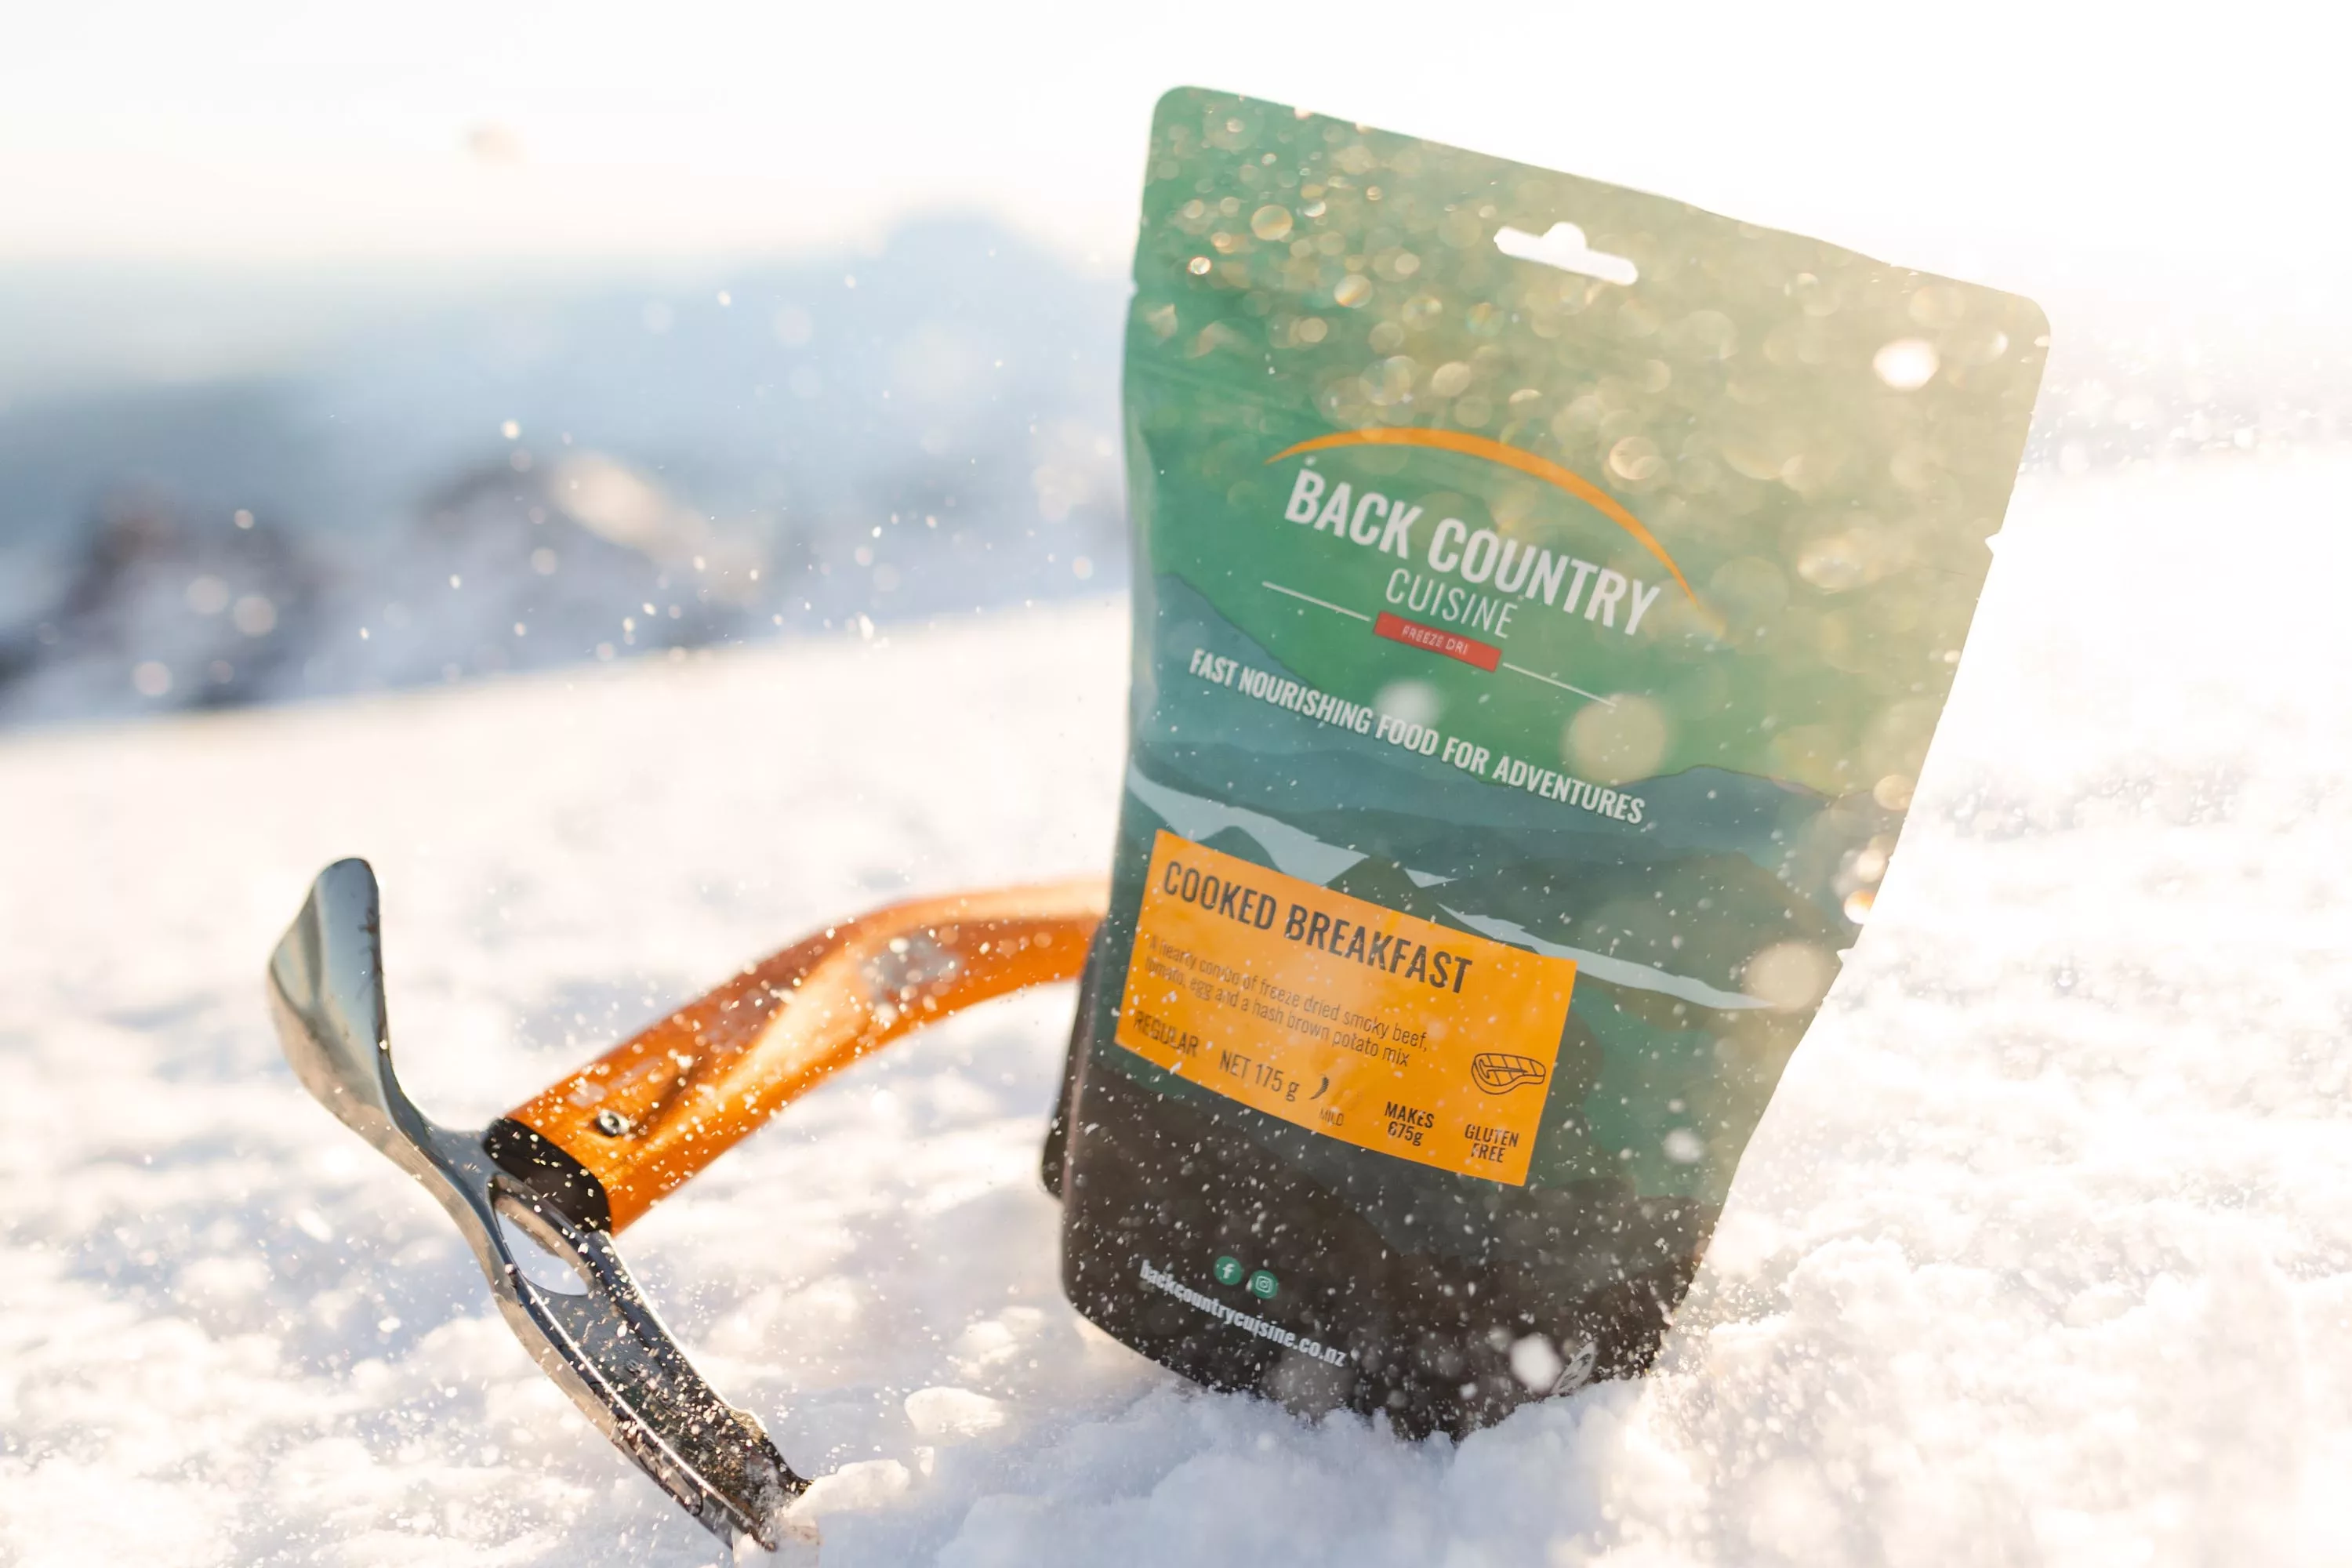
COOKING AT ALTITUDE
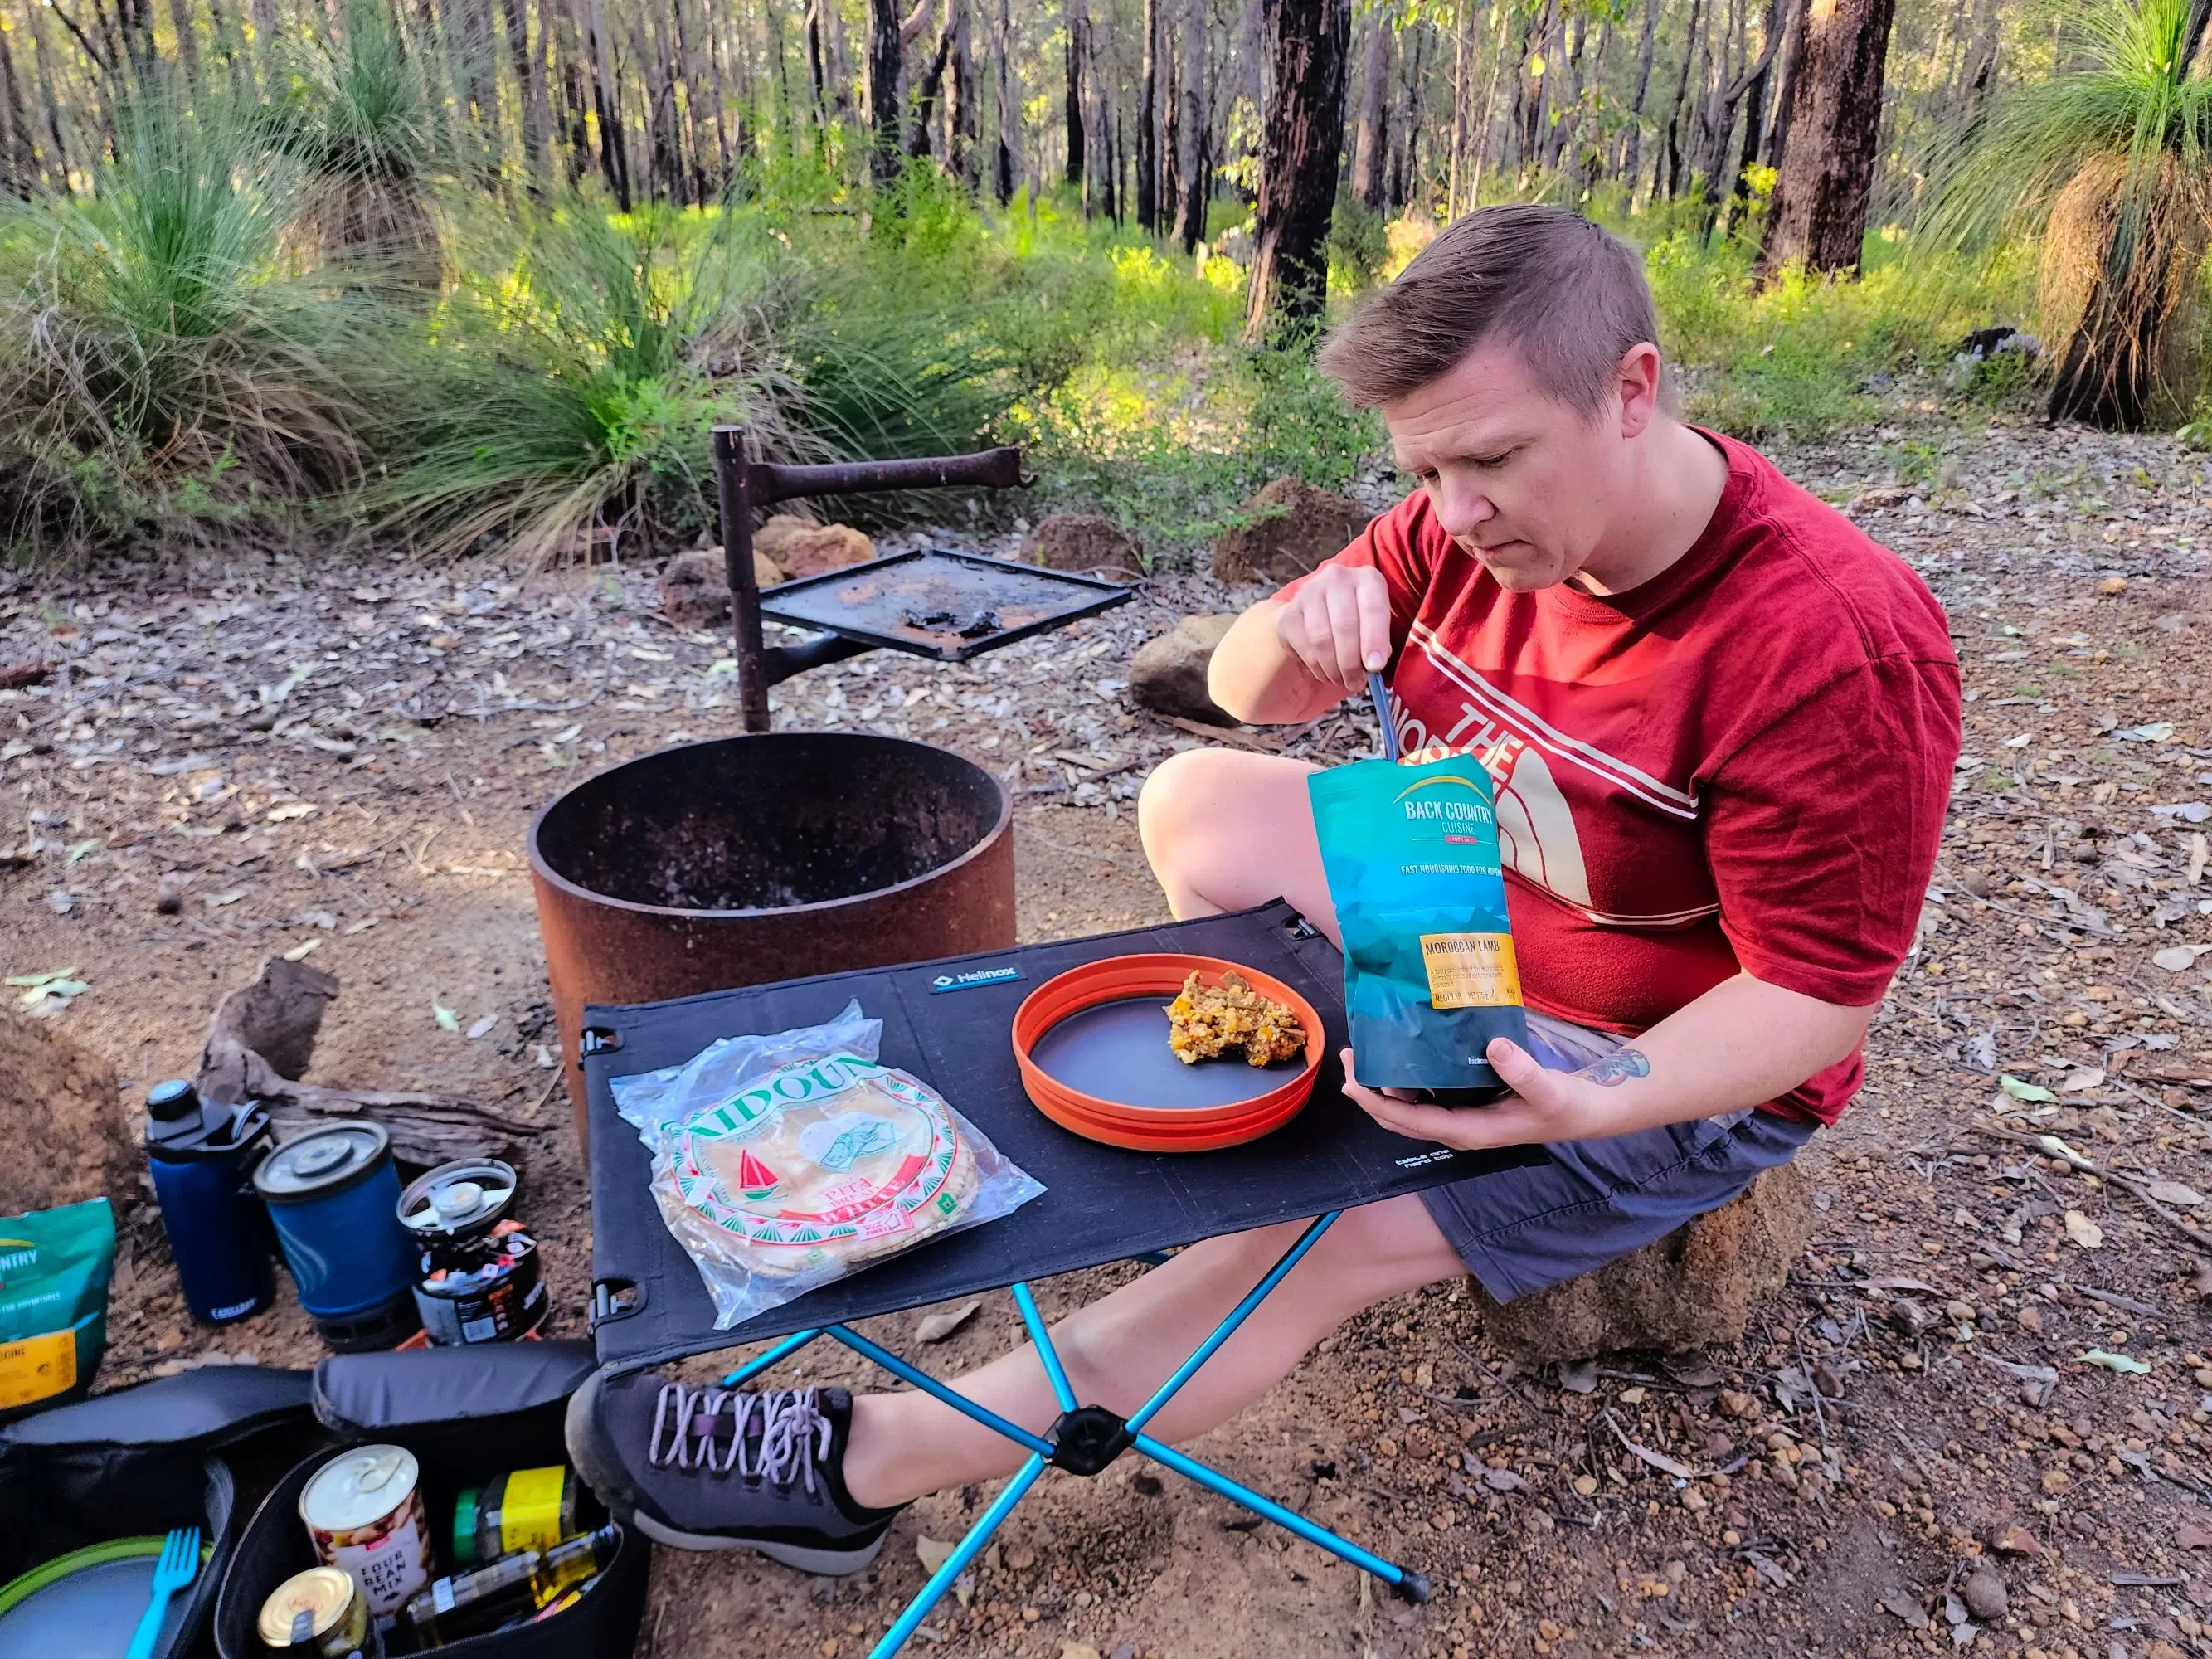
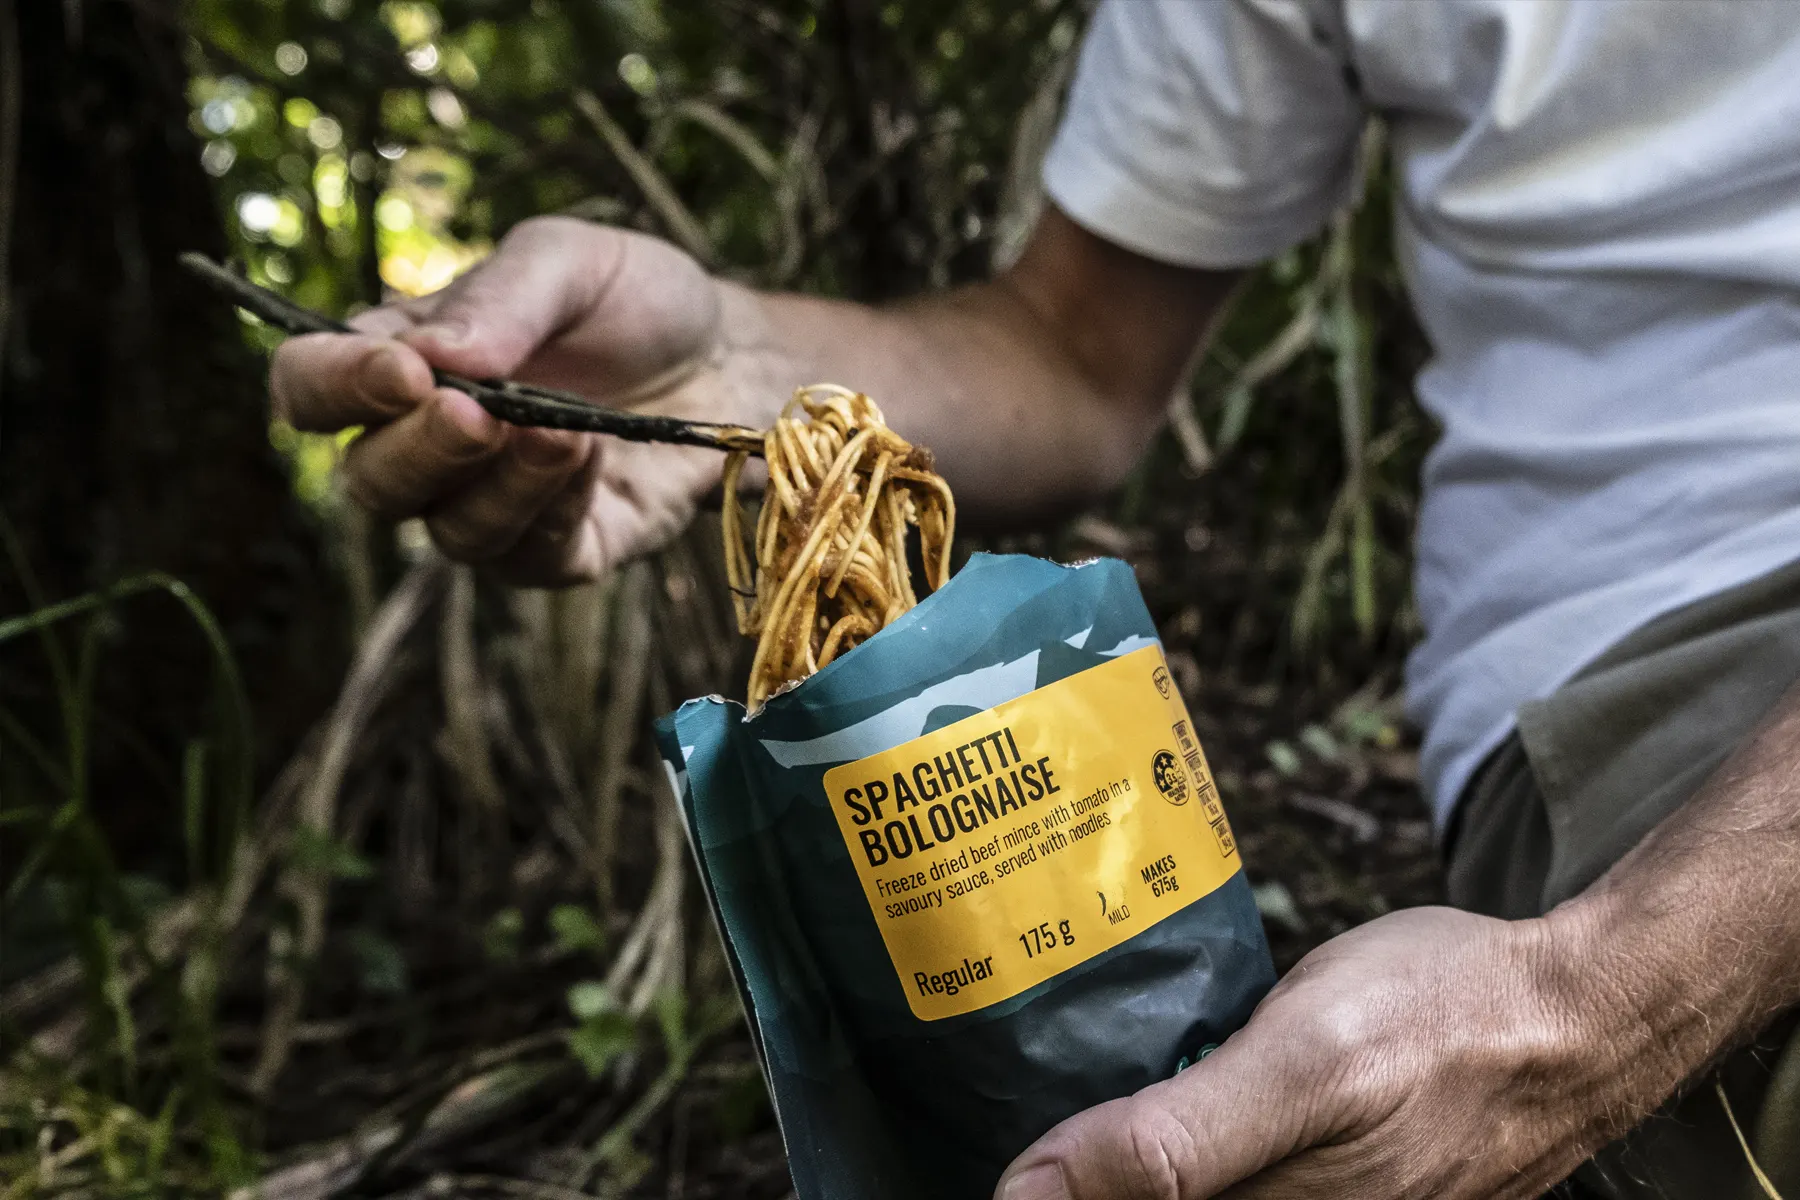
Cooking above the snow line is a whole new experience. Your typical gas won’t work as efficiently at higher altitudes or at colder temperatures, so I recommend at least using an isobutane fuel, or even better, white gas. Utilising reusable hand warmers to give your gas canister a little boost of warmth is also beneficial, as is keeping it elevated off of the snow. If you’re melting snow to enjoy some delicious Backcountry Cuisine freeze-dried meals, ensure to put some water in with it to begin with, as this will speed up the process significantly. Keeping water once it’s warm will speed up a few of your processes as well! I highly recommend Nalgene water bottles, fill them up with boiling water and they can also double as a hottie, or can be used to dry wet boots.
SLEEPING TIPS
A sleeping bag liner can add a hugely beneficial boost to the warmth rating of your sleeping bag, plus tends to feel a bit nicer against your body than the inner of the sleeping bag itself. A good set of merino thermals and sock will keep your body warm throughout the night and stop you from getting cold toes. A Nalgene full of hot water at the bottom of your sleeping bag, between your legs or up by your chest will provide the most warmth for you while it's hot. An inflatable pillow is a small but invaluable addition to your kit if you want to have a great night’s sleep!
*Please note – all images were taken prior to the increased volcanic alert on Mt Ruapehu
To keep up to date with our latest blog sign up to our newsletter.