Photography | Creating Memorable Images
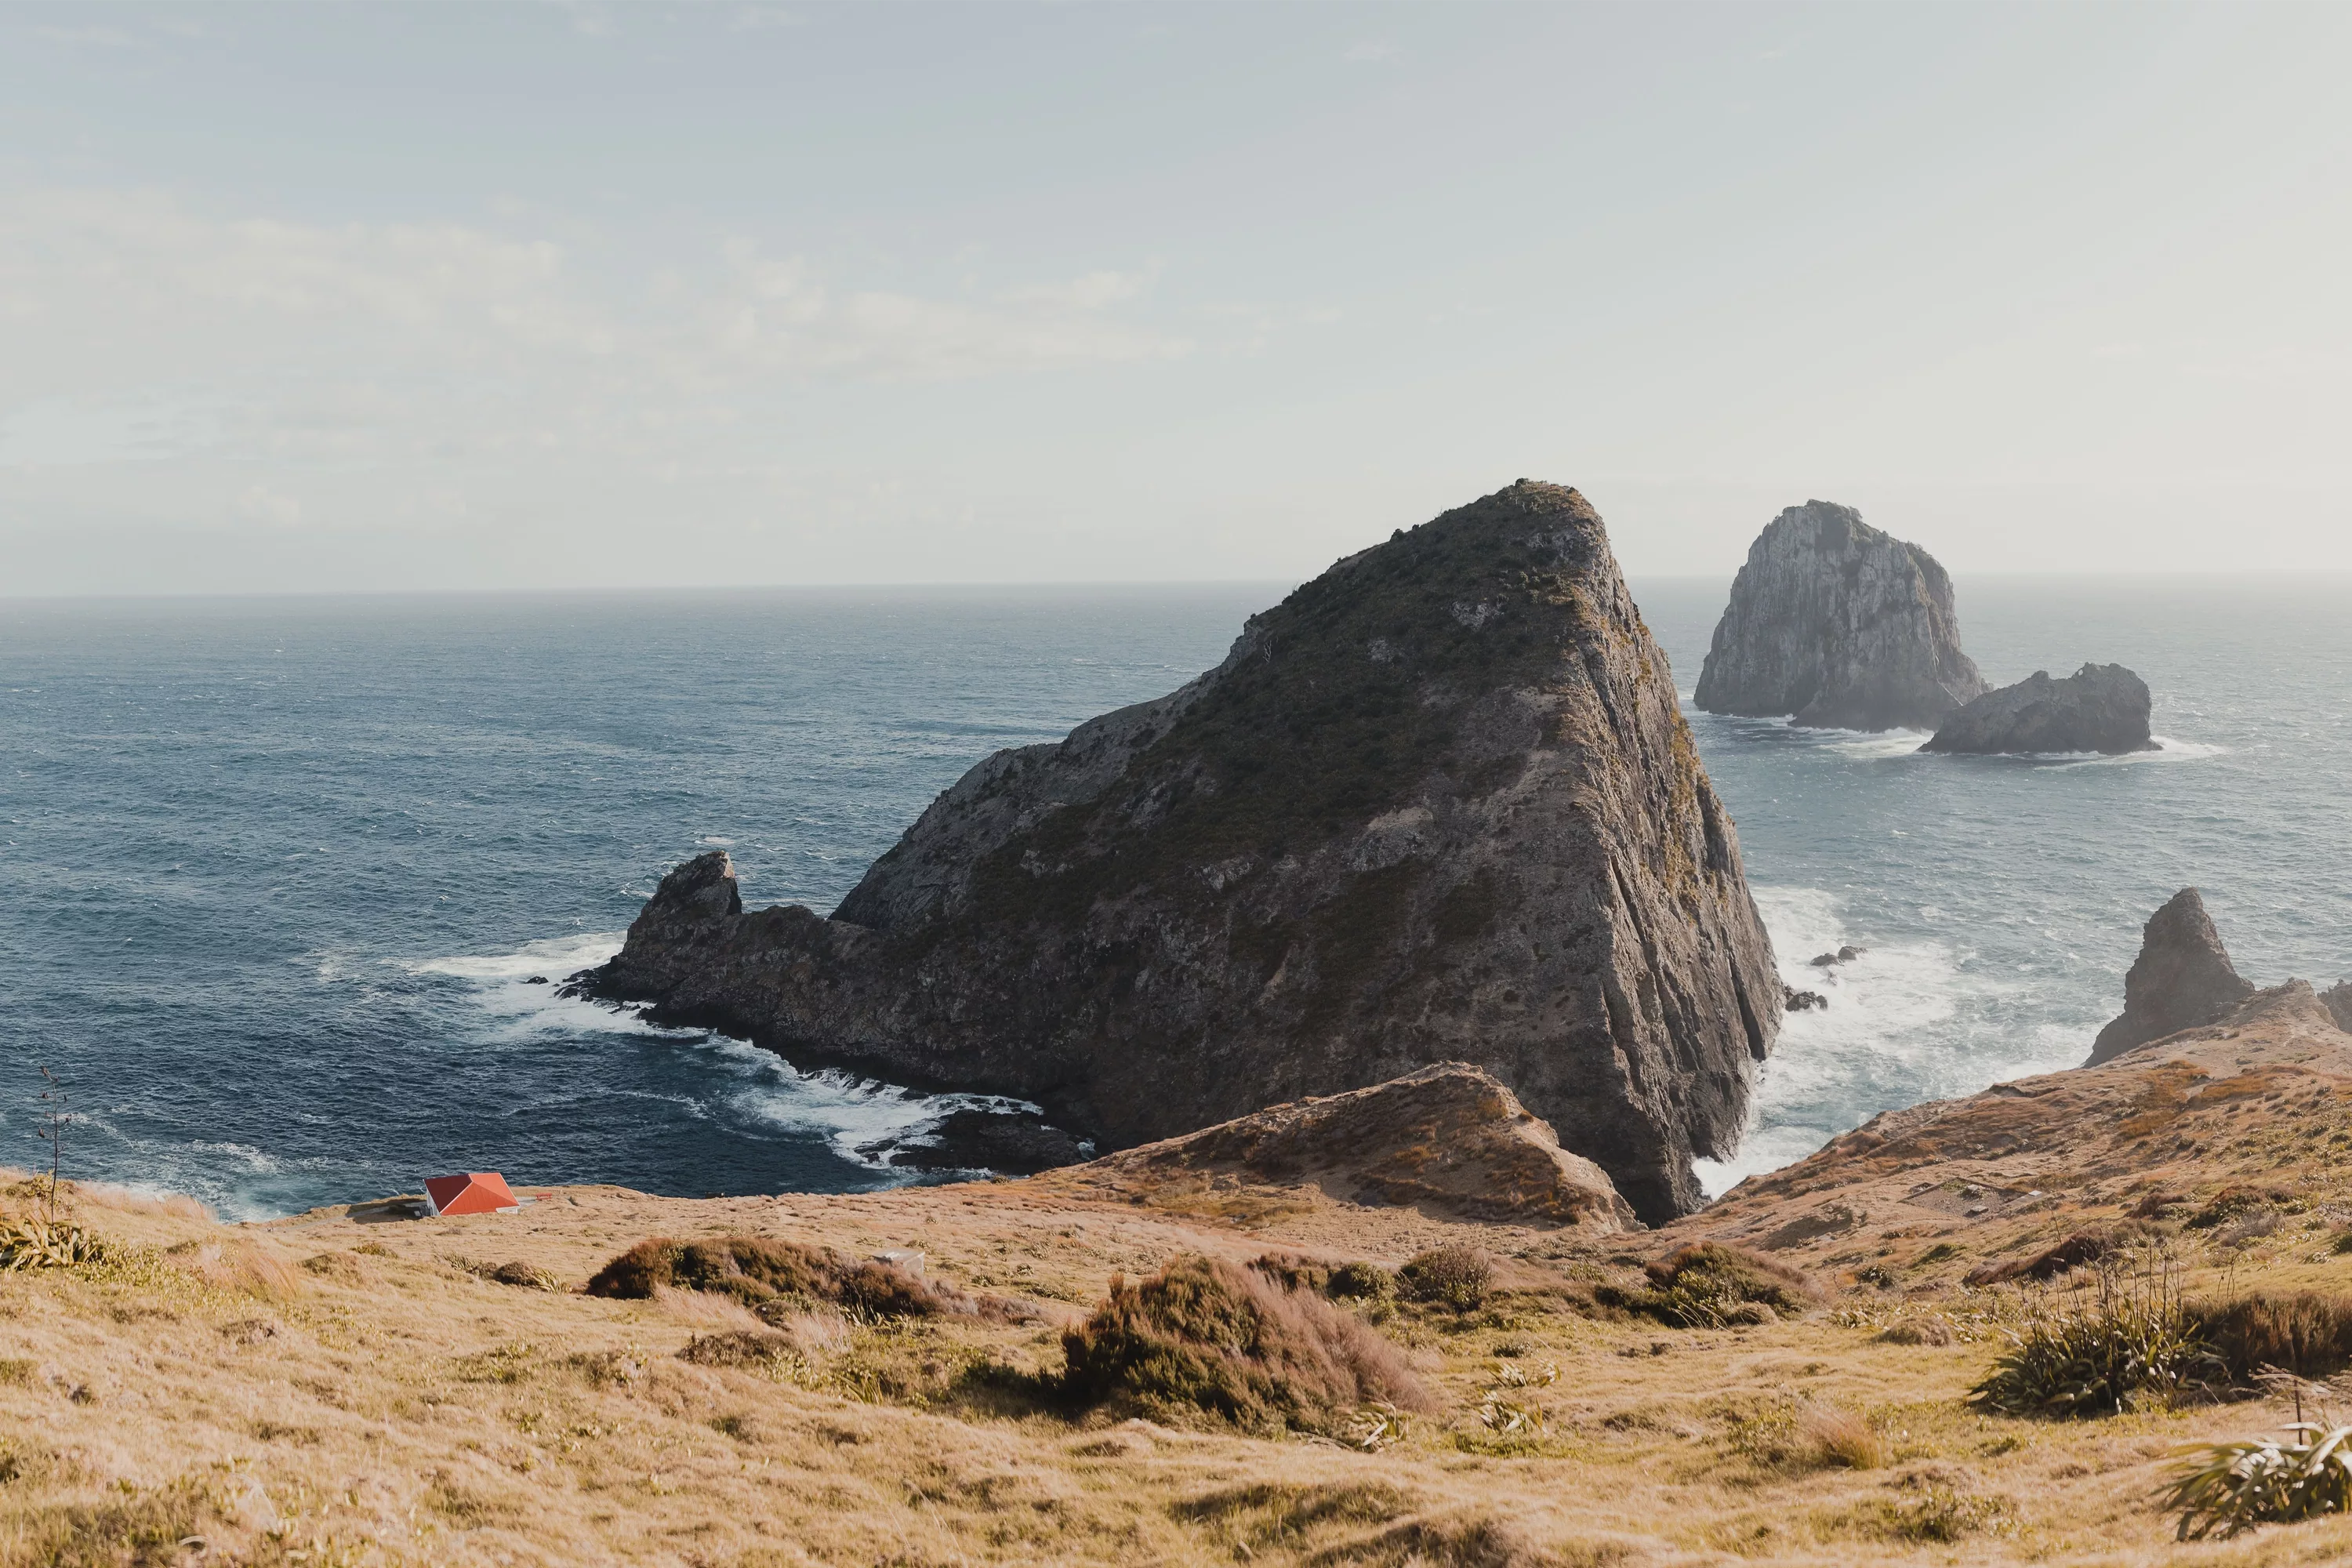
We’ve all been there, you’re out hiking, in the middle of nowhere, with the most spectacular scenery you’ve ever had in front of your eyes. You take a few snaps on your camera to catch this beautiful fleeting moment in time. When you get home, you look back on this beautiful memory you’ve created, and its not at all how you remember it, its out of focus, the colours look all out of whack, and you’re just a bit disappointed because you know you’ll not be able to go back to that moment. Following are a few tips in how to get the most out of the photos you’ll be taking in those meaningful moments and having brilliant photos to brag to your friends and family with in no time.
Know Your Camera Settings and Your Creative Vision
They say the best camera is always the one you have with you at the time. So that means you should know your camera inside and out, so you’re ready in an instant to capture some beautiful fleeting light when it hits. Personally I shoot with a mirrorless camera, so that’s what I know best, but I’ve seen the progress that mobile phone cameras are making, and there certainly is the possibility to take outstanding photos with phones these days as well.
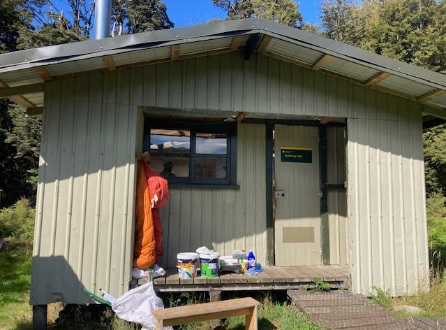
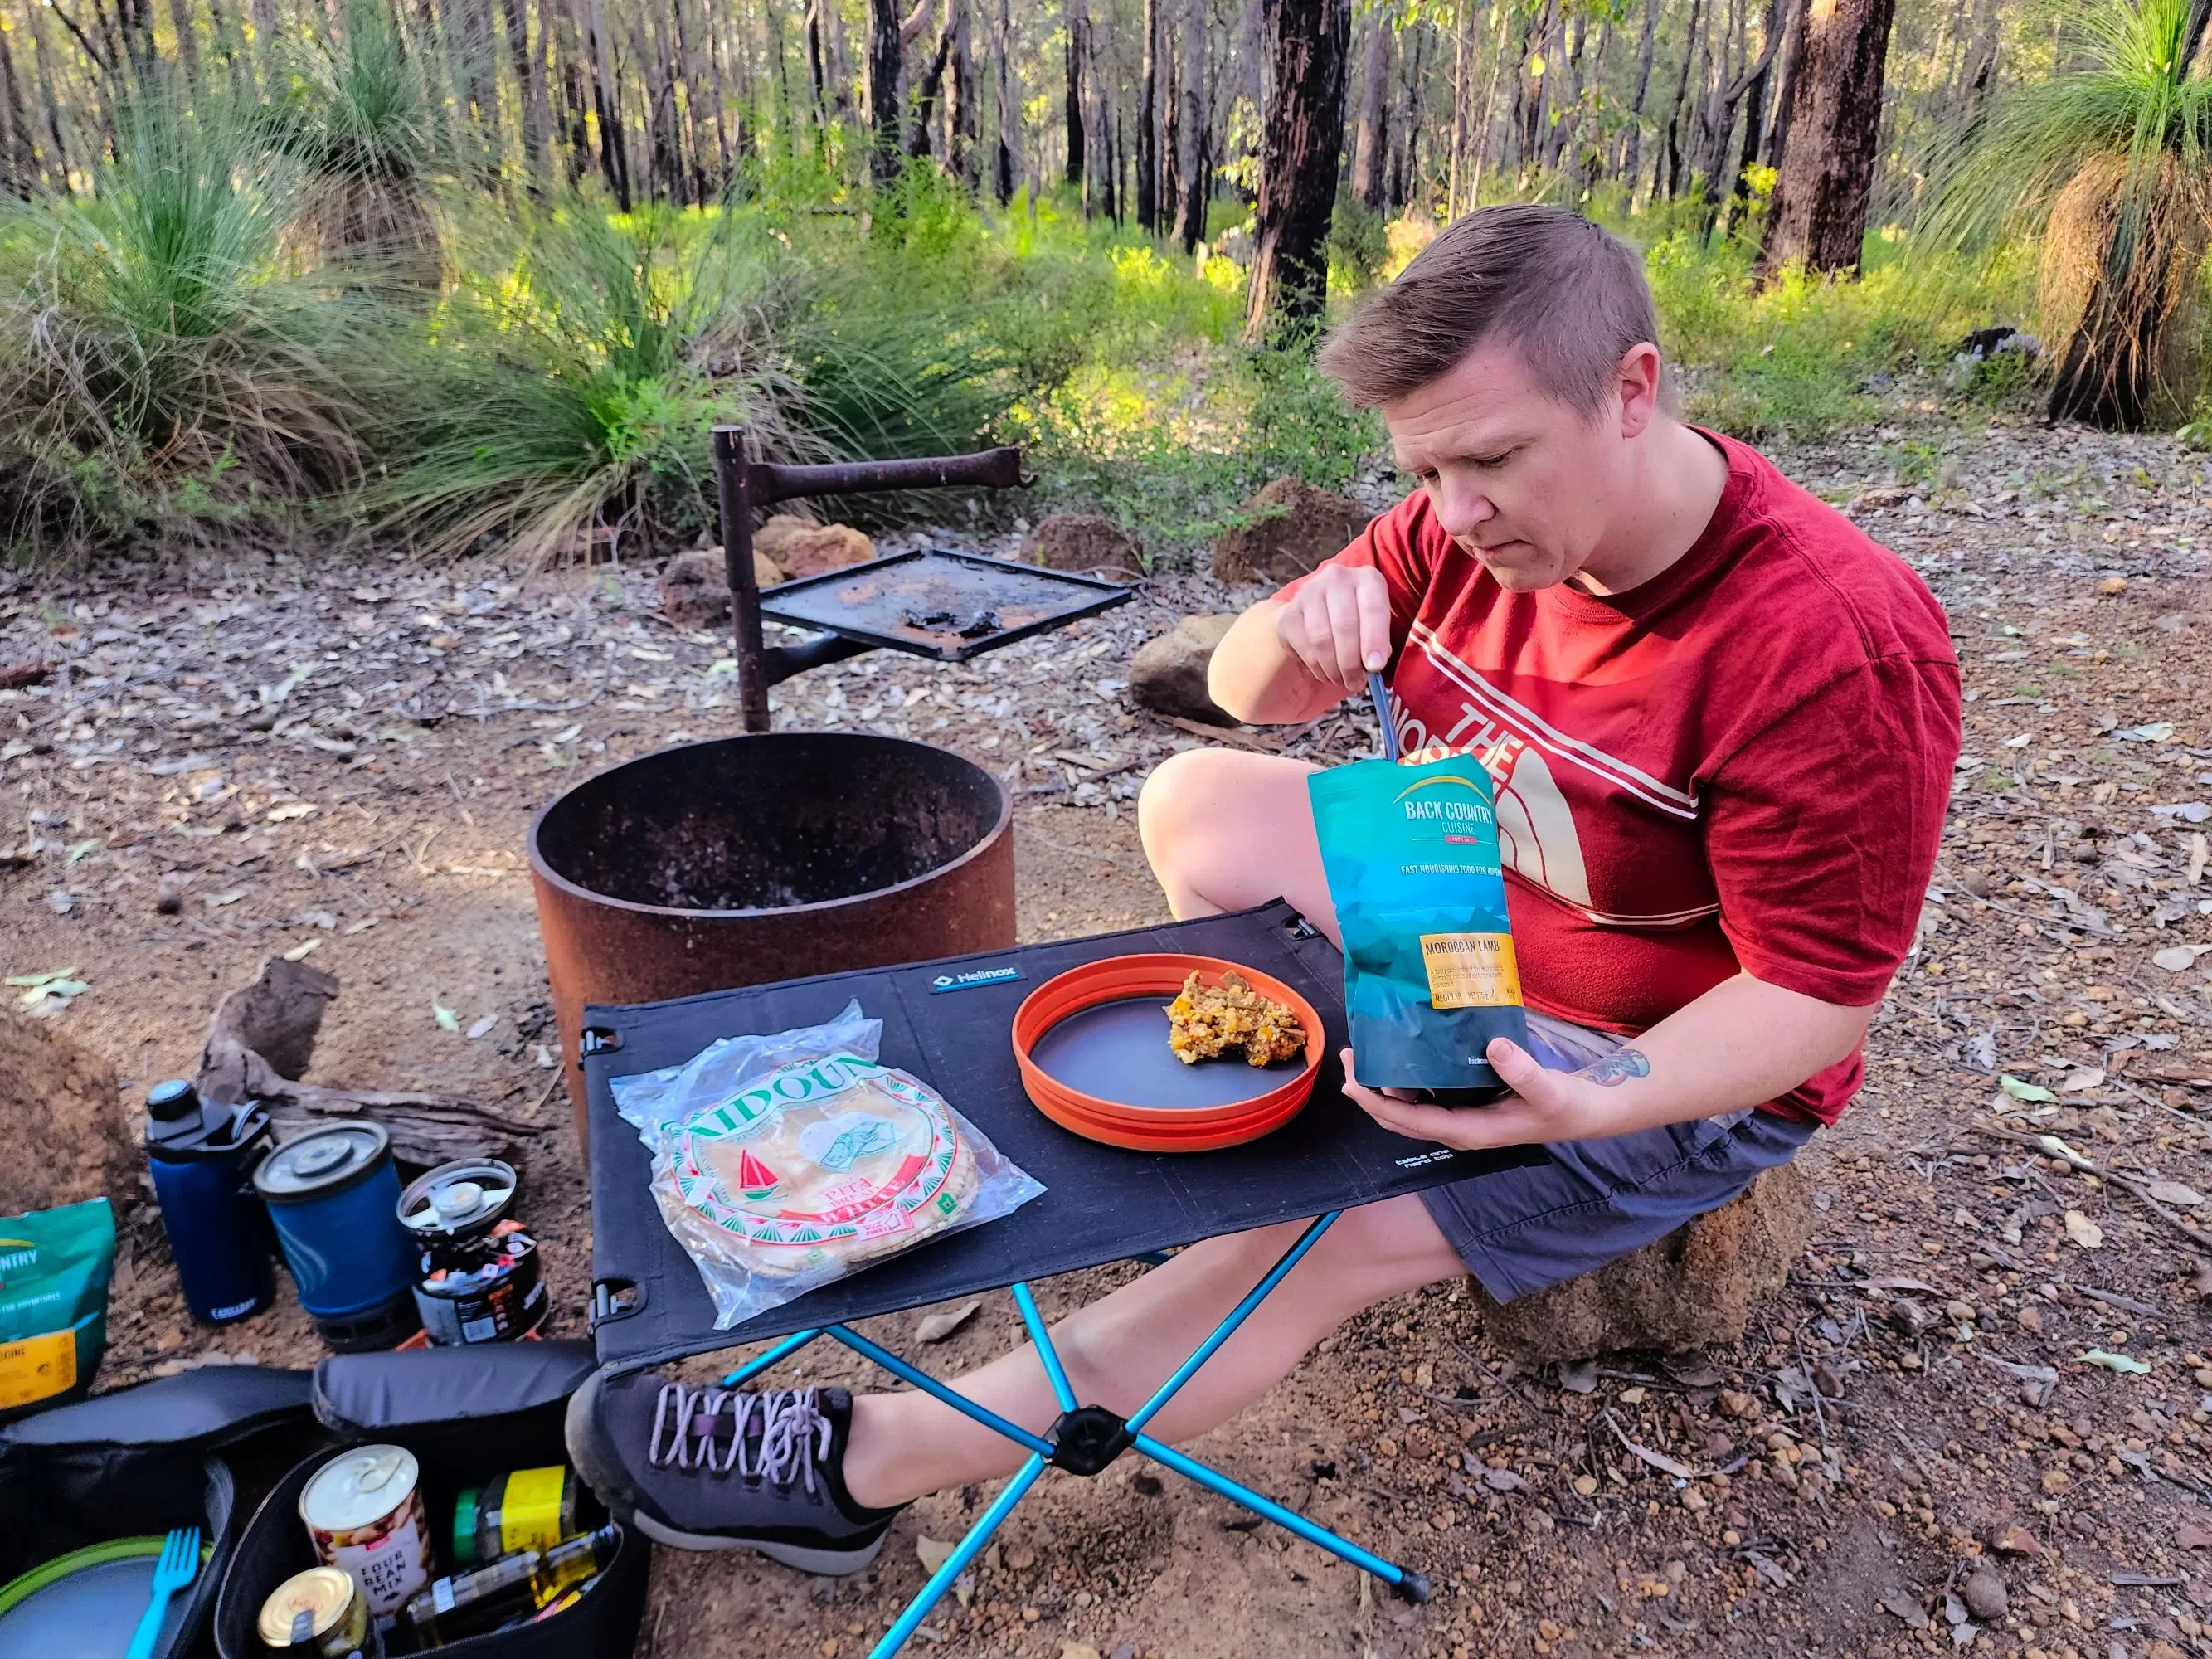
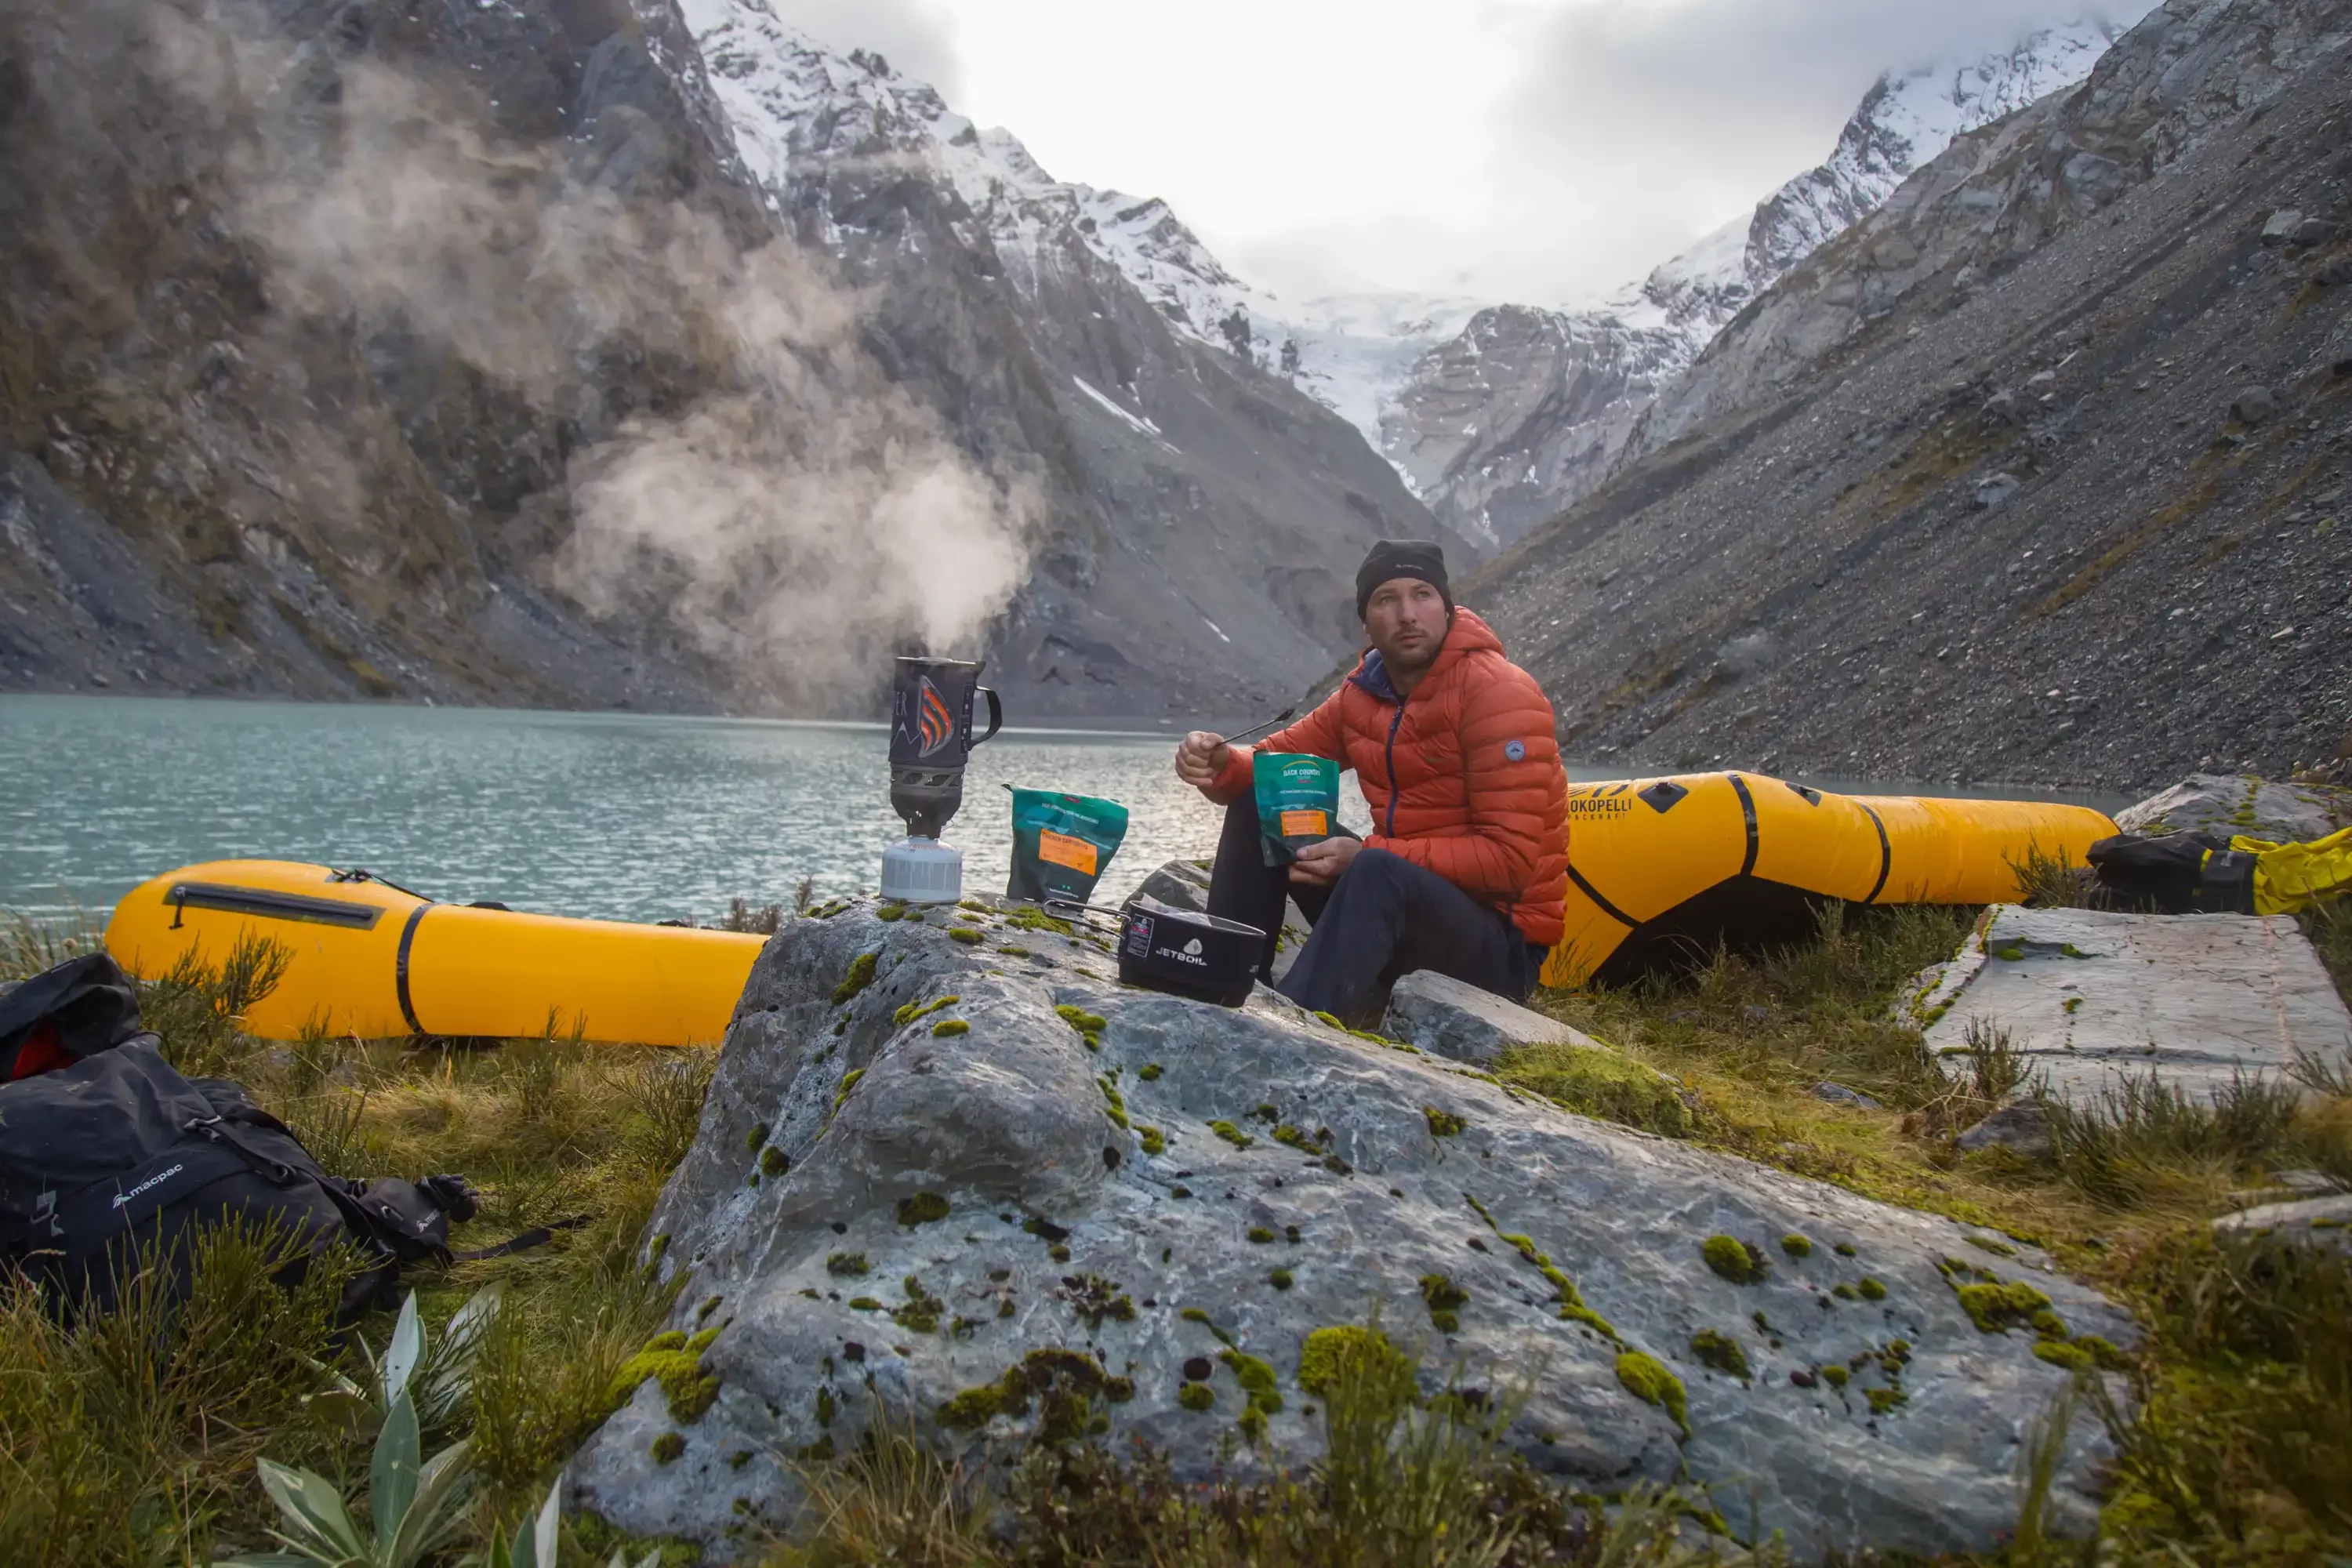
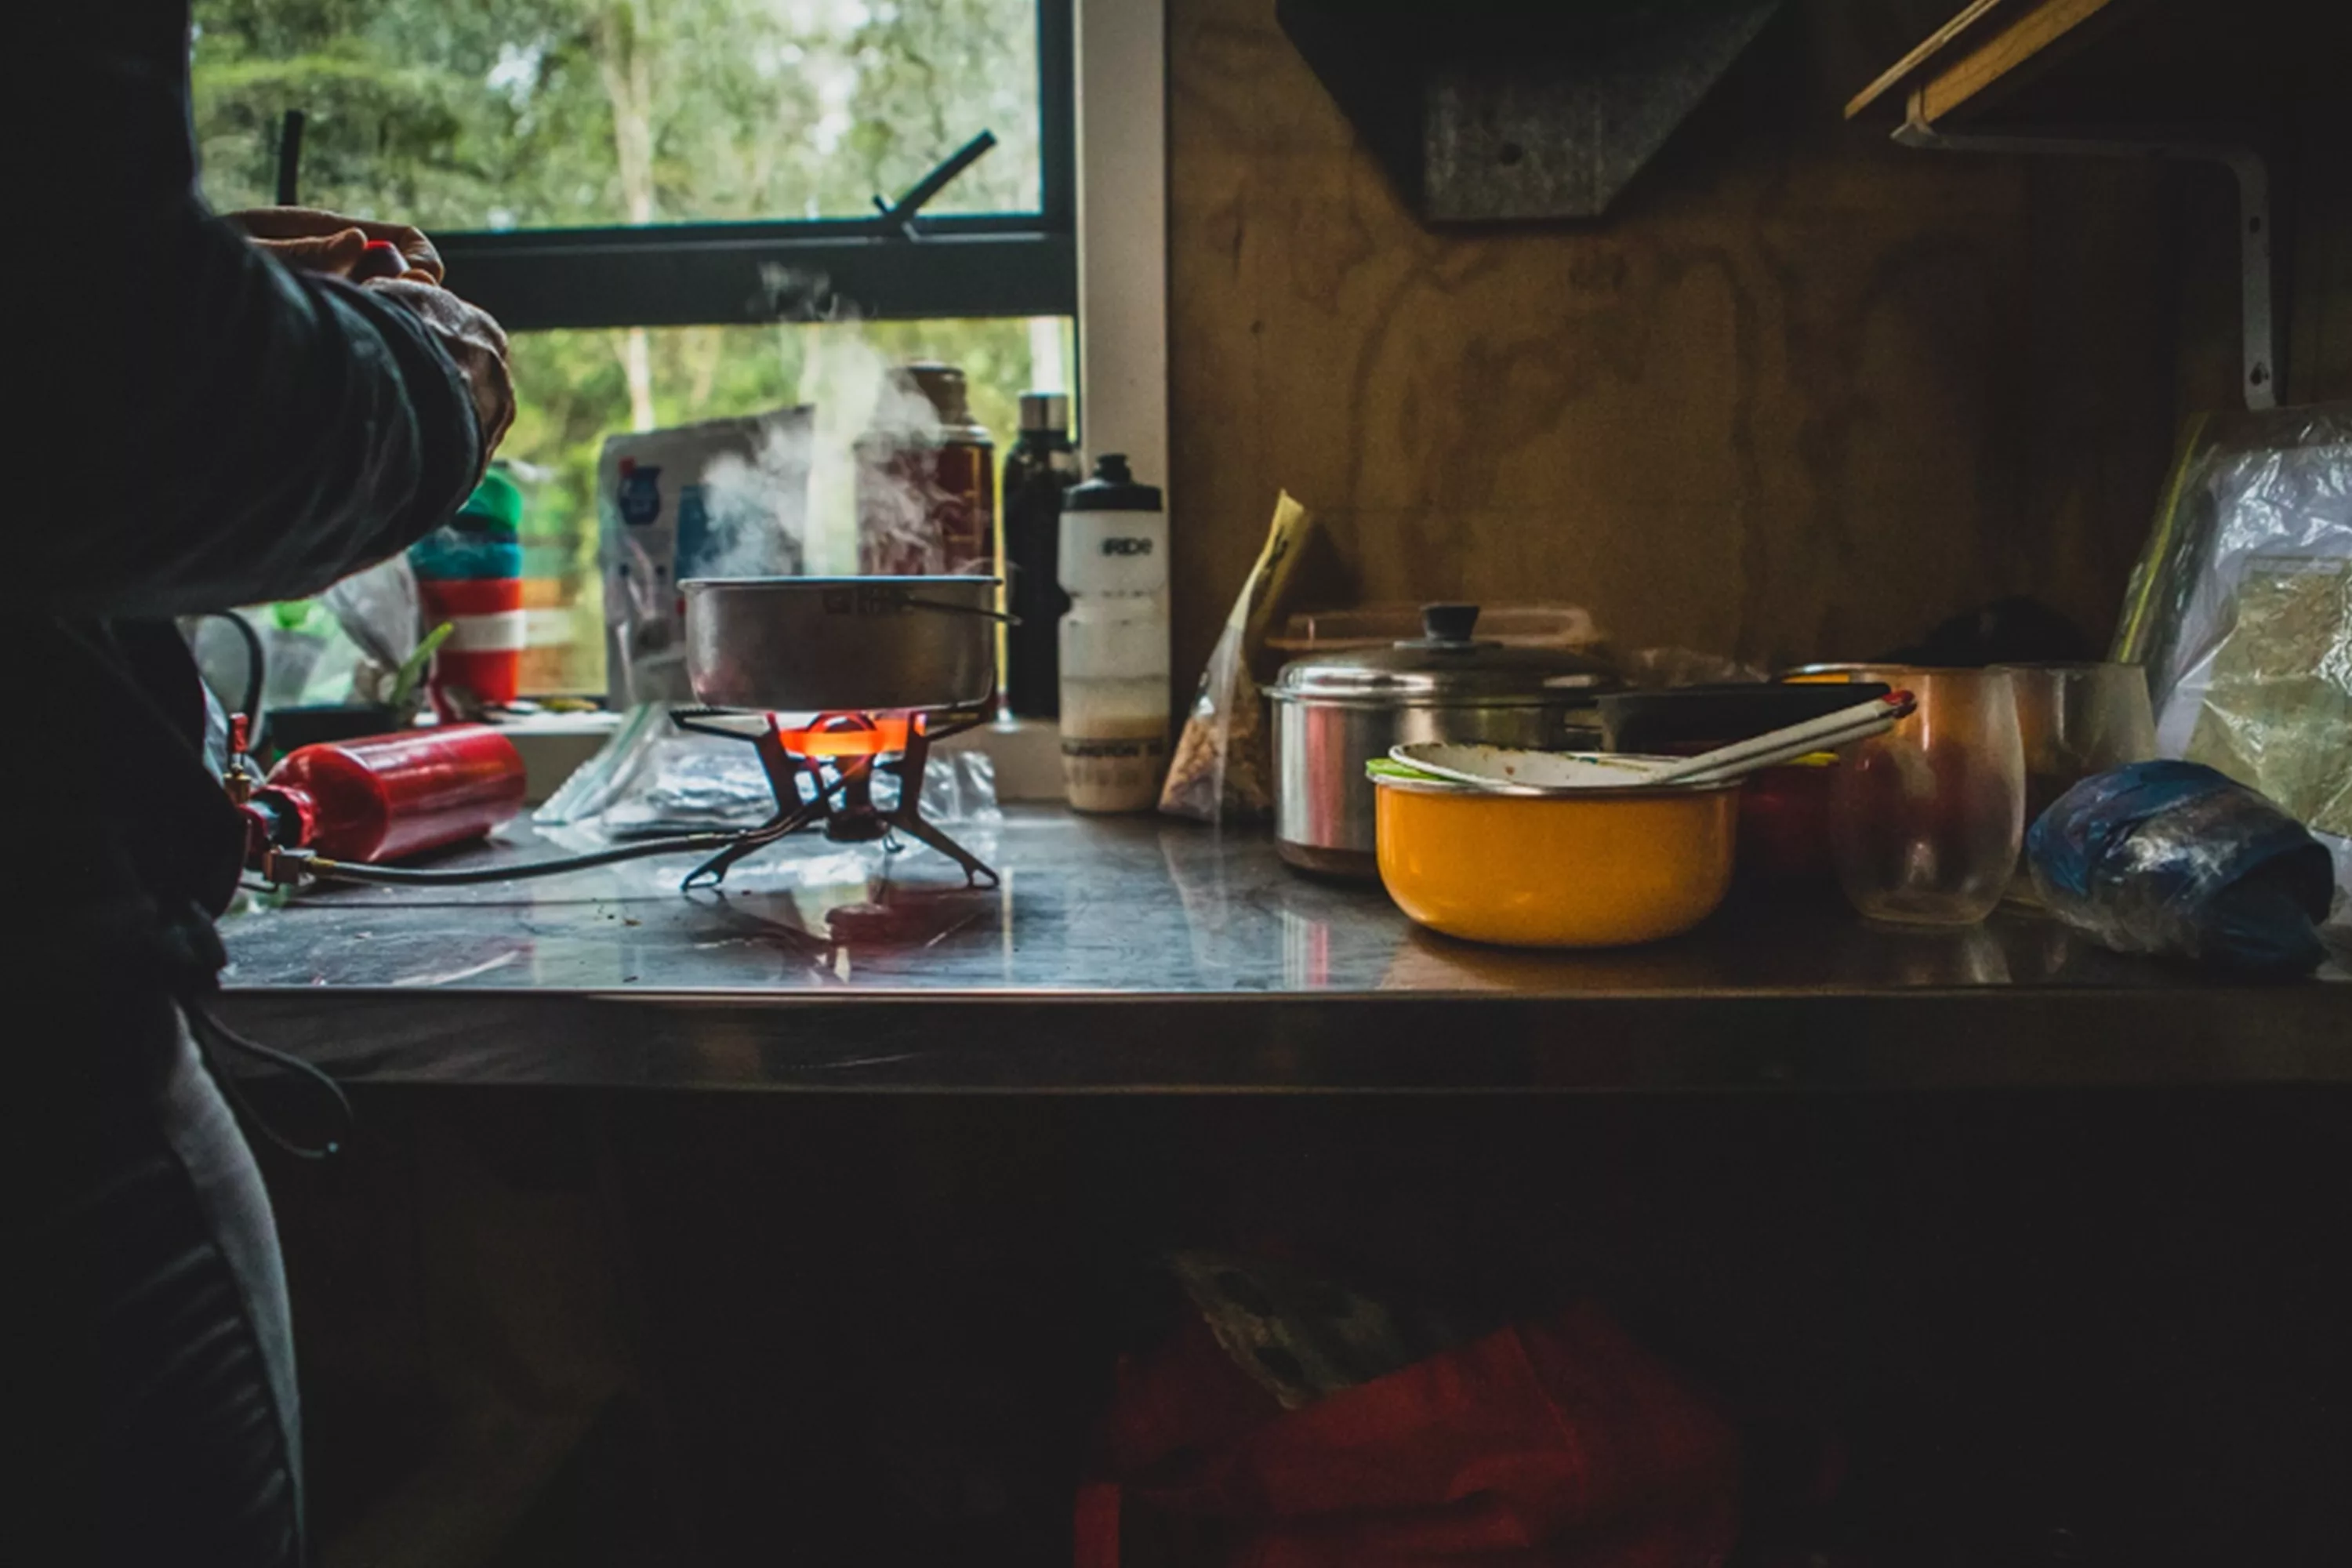
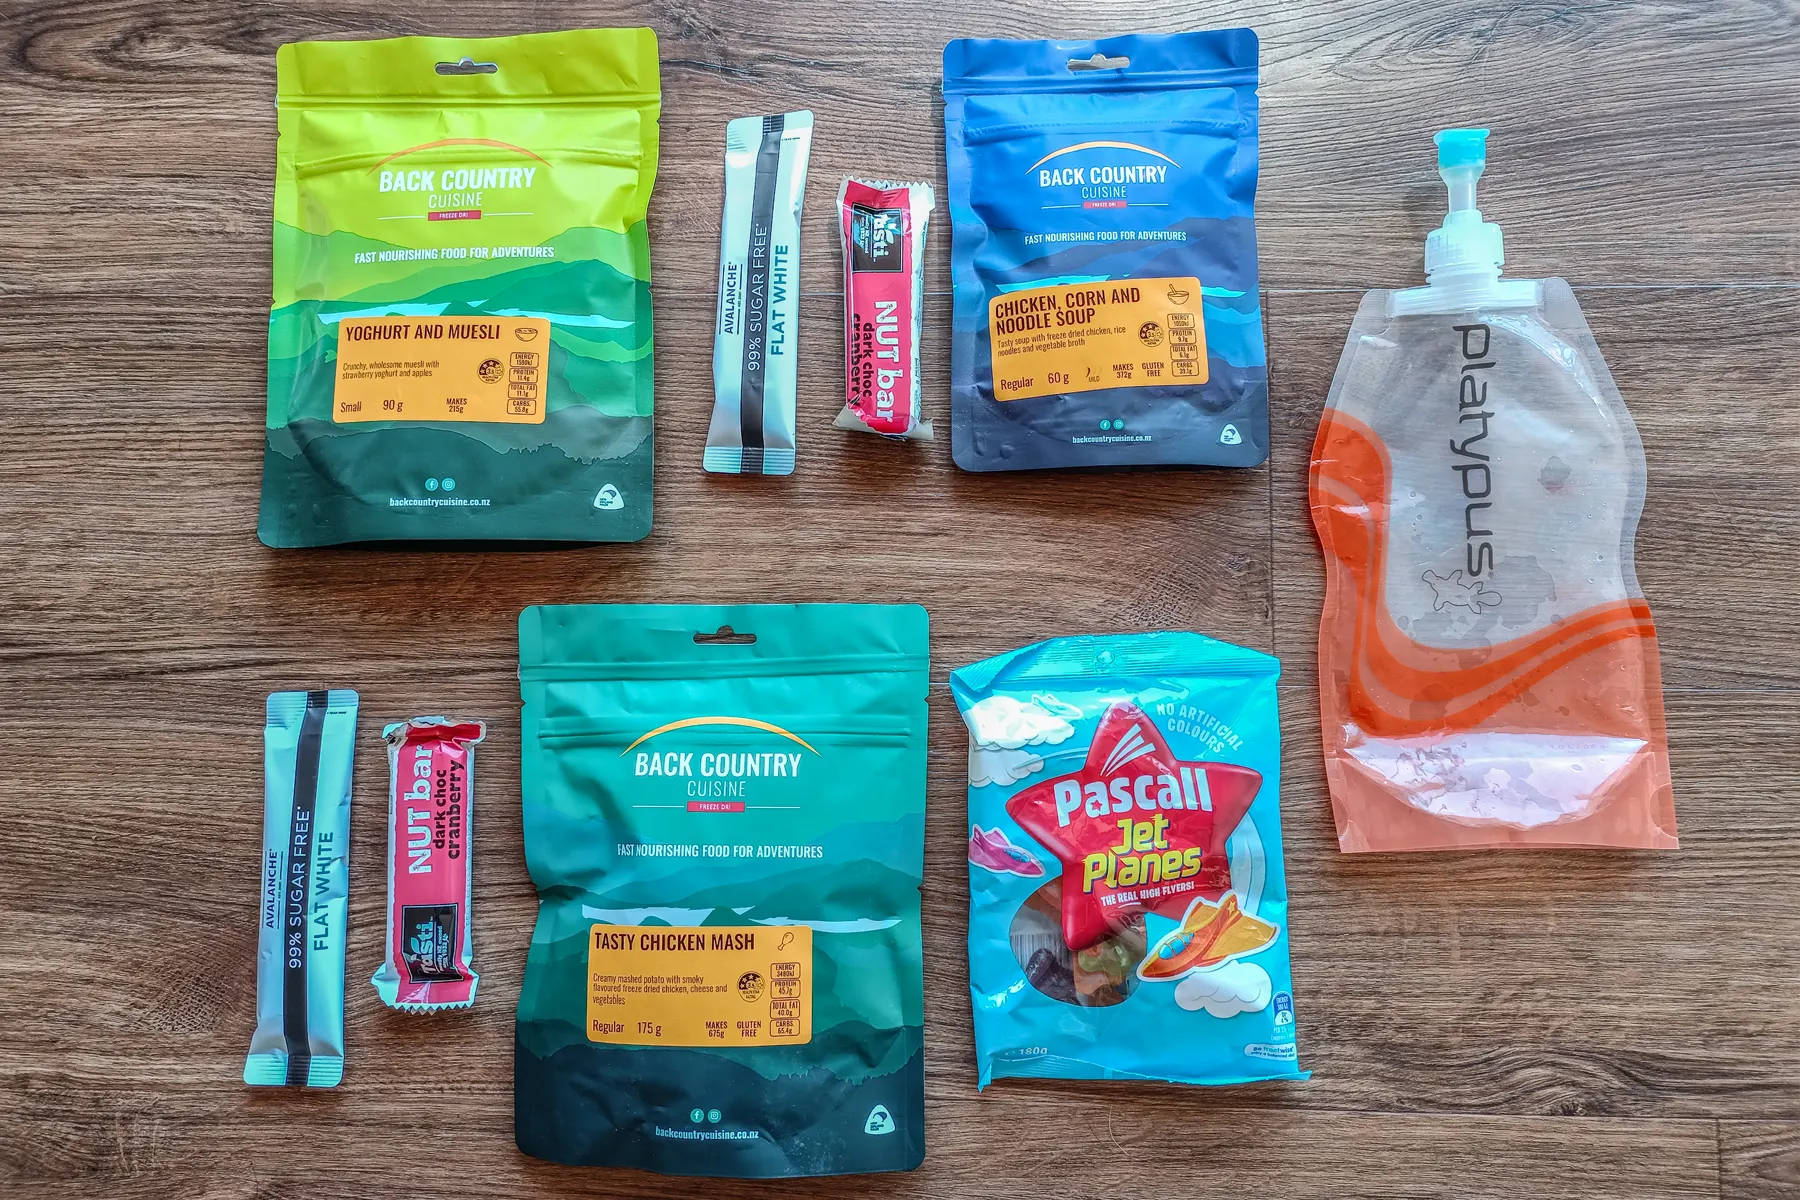
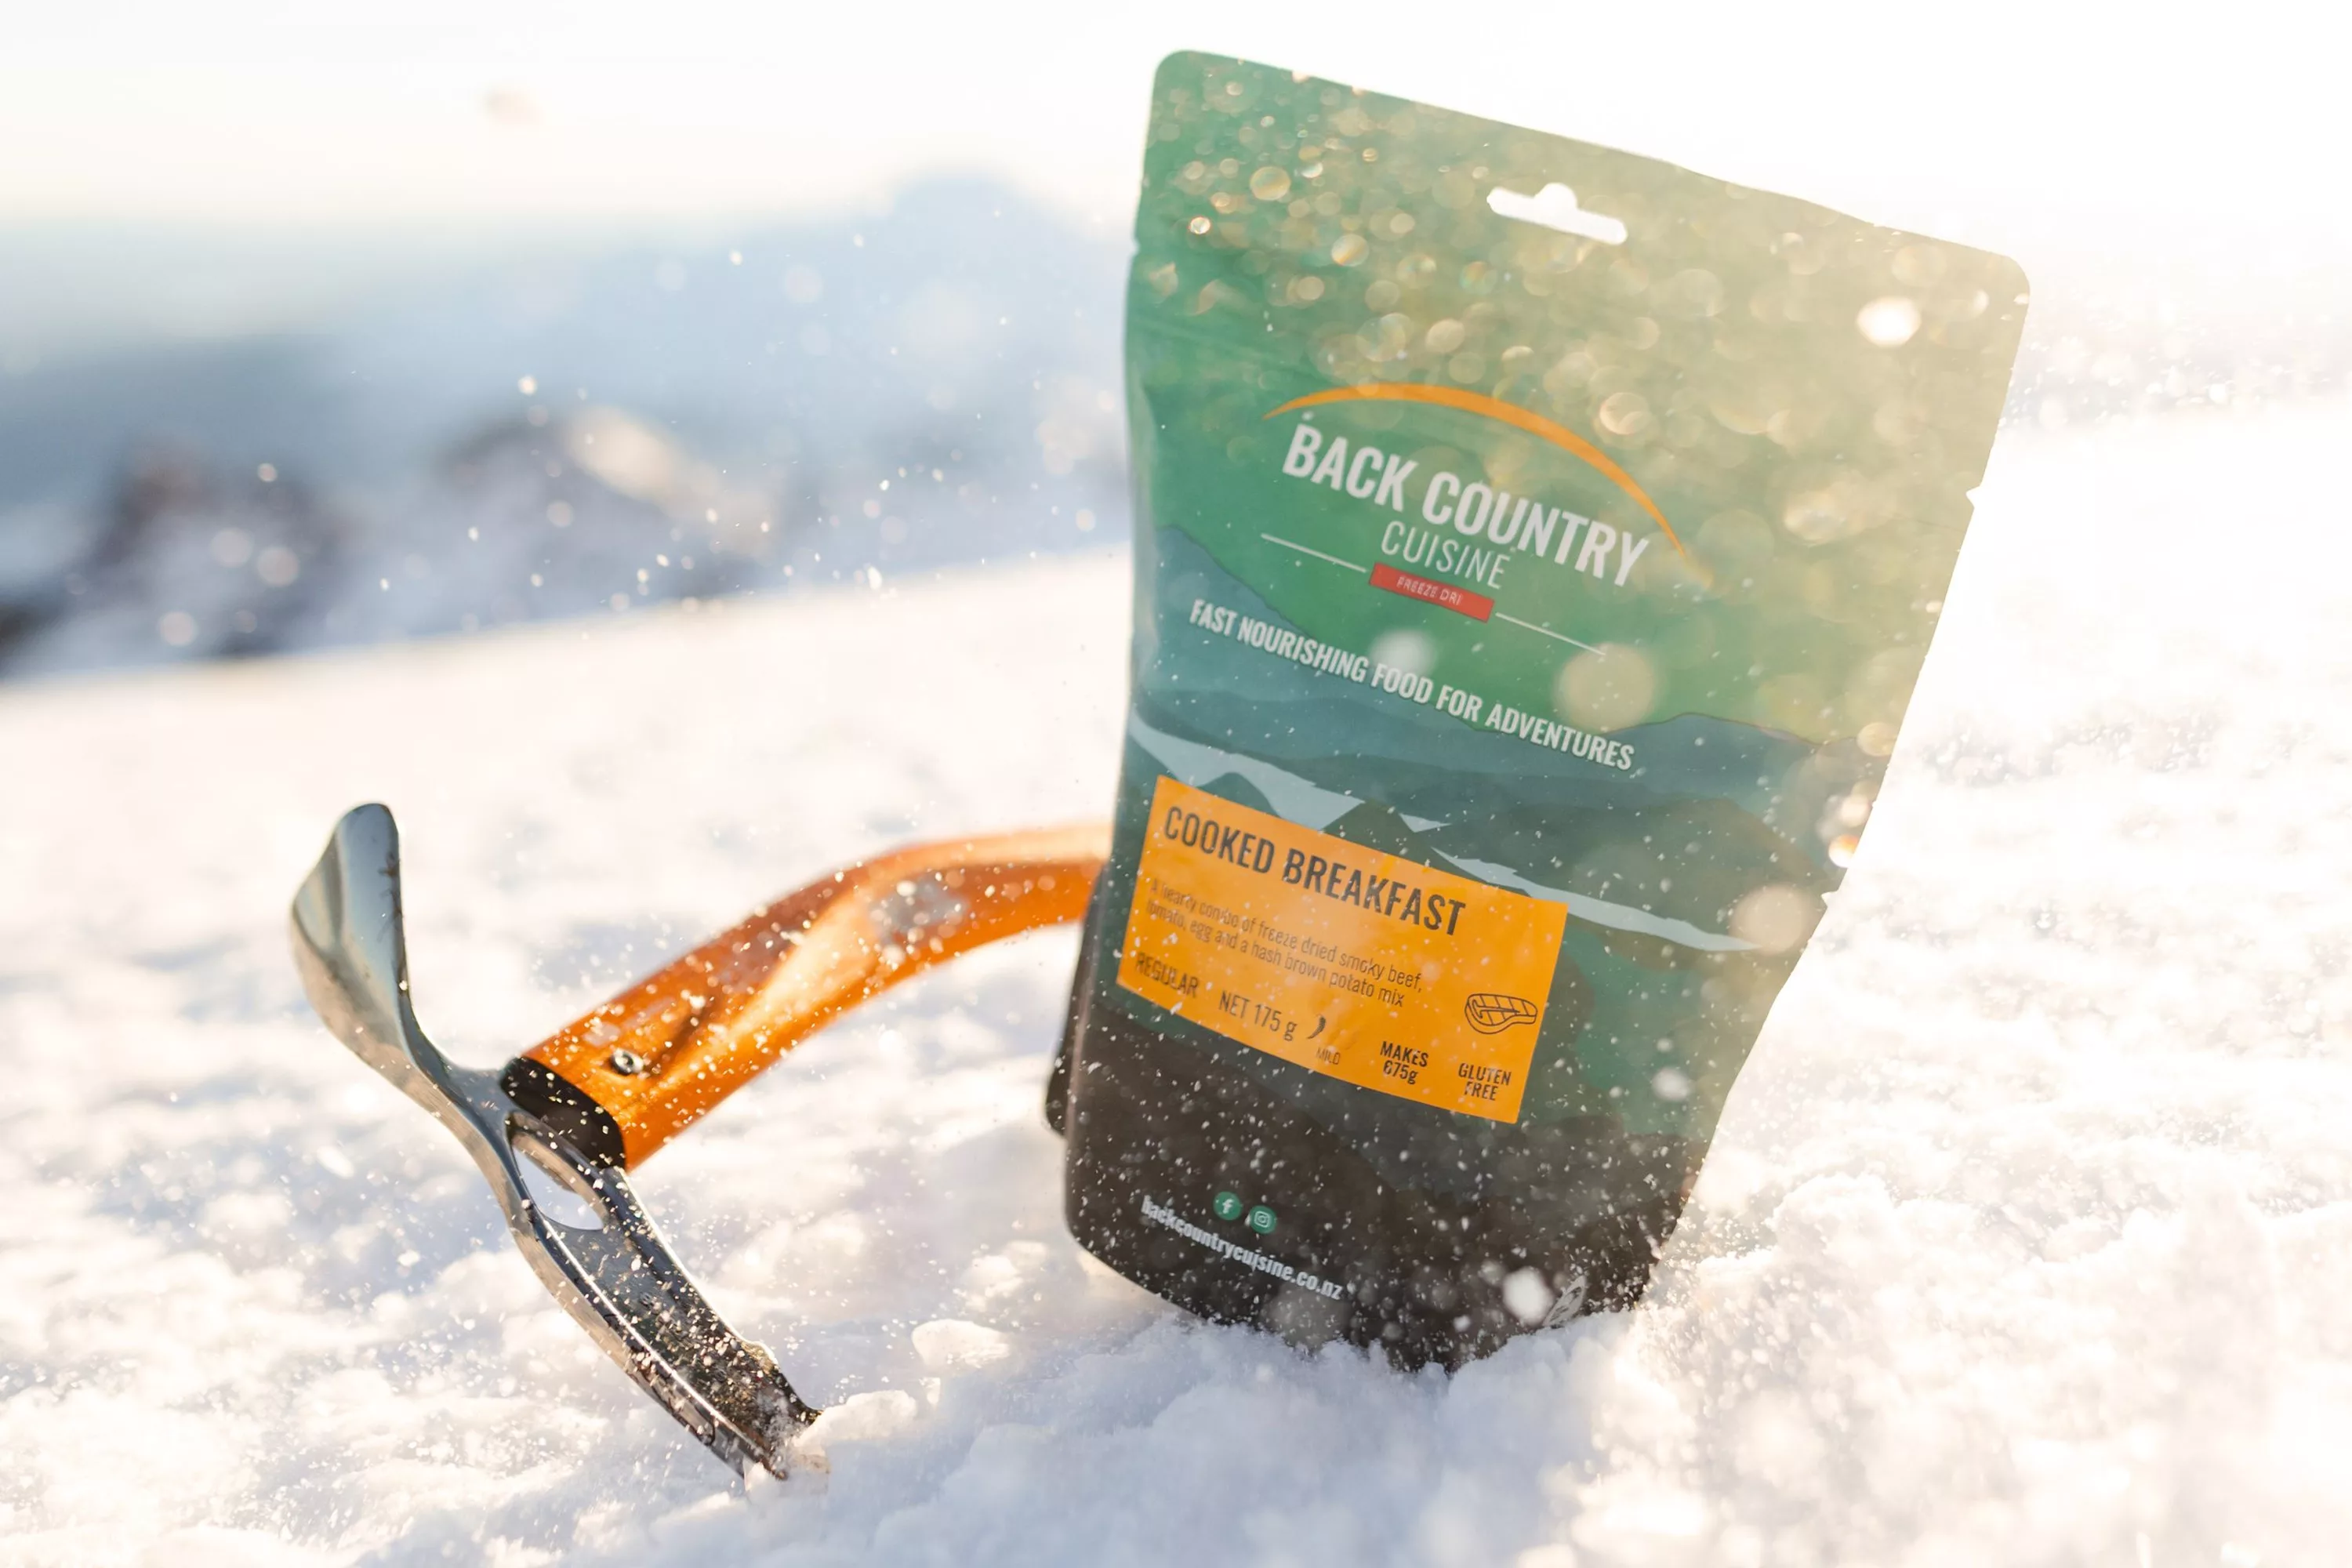
Utilising a Mirrorless or DSLR camera, or even a phone that has adjustable or ‘pro’ settings, making the most of Manual Mode will allow you to have the most creative freedom over your photos. Having a clear creative vision for the images that want to walk away with will mean you’re more likely to hike back out with photos you love, than if you just turn up without much of a vision and just shooting at random. If you’ve arrived at a hut/campsite/vista that’s going to be the scene of your shoot, make sure you take the time before golden hour to find the best compositions, hidden gems and make sure you have plenty of time to get in a delicious feed of Backcountry Cuisine so you’re fueled up!
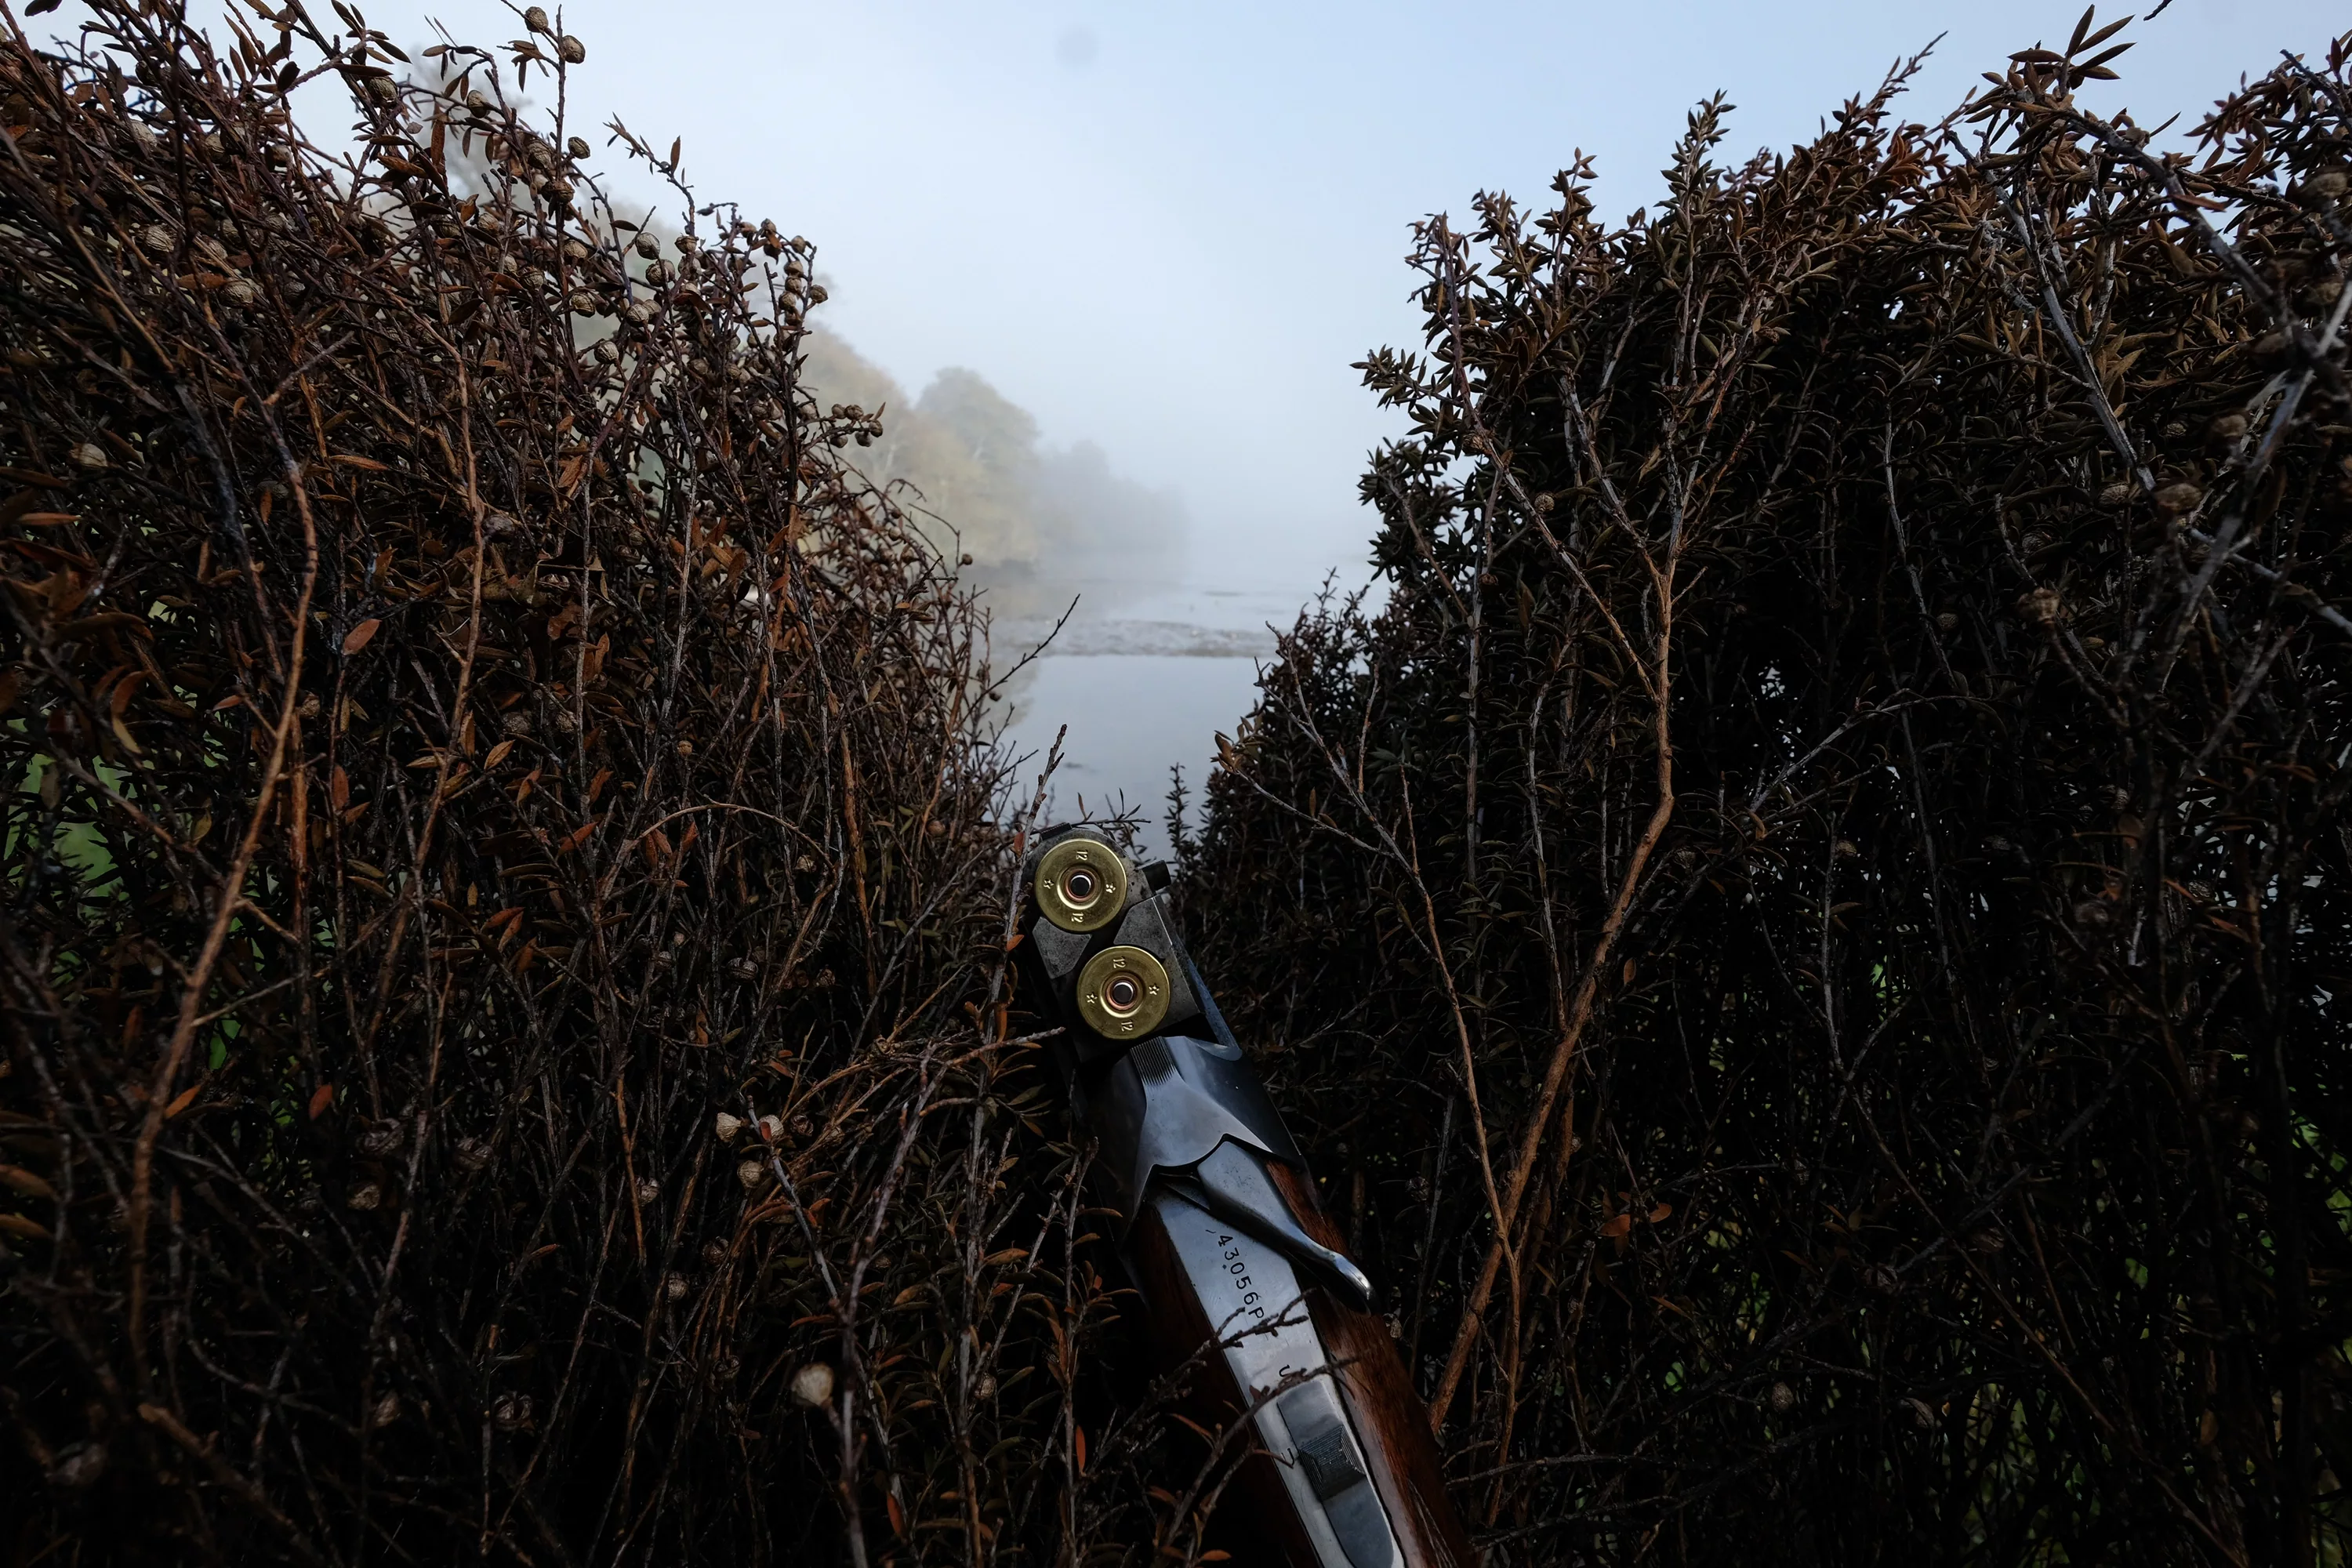
Once you have your compositions nailed, you’ll need to decide on how you want to shoot. Are you looking for a shallow depth of field with your subject crisp and in focus with a blurred out background, or do you want everything tack sharp and in focus? For this you’ll need to adjust your aperture. A low aperture (f/1.4-f/4.0) will achieve that beautiful bokeh, and out of focus background, as well as will serve you better when the sun has set and there’s less light. Whereas a high aperture (f/9-f/22) will bring the whole scene to be sharp in frame, but may need you to utilise a slower shutter speed to make sure enough light is let into the camera.
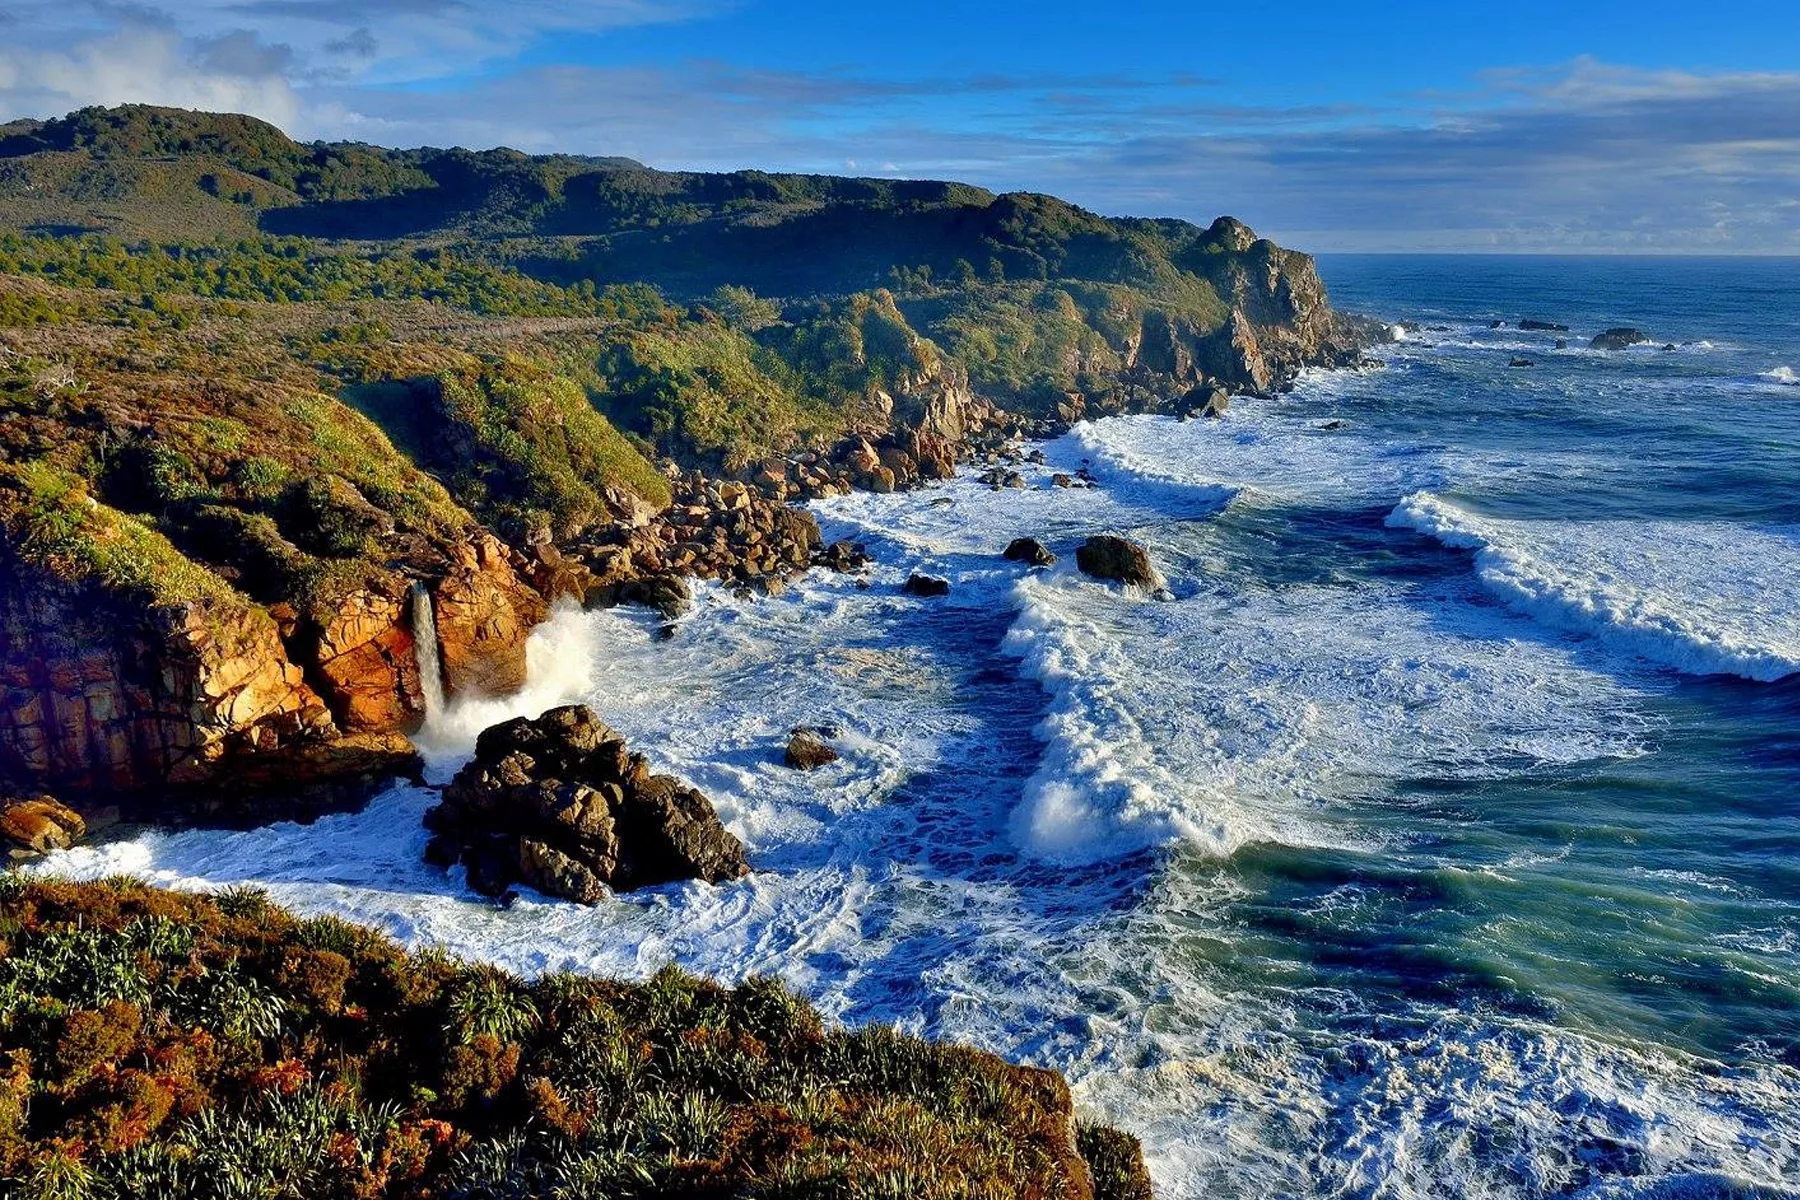
Shutter speed is always a big factor that decides how your images turn out. If you want to take photos of waterfalls that look silky and elegant, slowing down your shutter speed to 1-2 seconds or longer, have a play around and see what look you like best! For shots like this you’ll need to have a tripod to be able to get a tidy, sleek looking composition, but if you don’t have a tripod at your disposal, you can stack your camera on a rock (so long as its stable) to achieve a similar effect!
The last setting you can play with on a camera’s manual mode is the Iso. This is your camera’s sensitivity to light, you can turn up your Iso to make your picture brighter, but in doing this you’ll add some grain to your images as well. Generally when you’re shooting through the day, you won’t need to change your Iso off 100, which is the standard for most cameras, my you may want to look at increasing it when the light changes at the start or the end of the day.
Shooting in a raw file format will allow you the most flexibility to edit your photos in lightroom or photoshop, giving you the ability to adjust the exposure and the colours to bring the most out of your images. This will mean that you’re able to brighten your photo if its too dark, or bring out the best of the colours in your image and even tweak them slightly to meet your creative vision and capture what you envisioned in the wild.
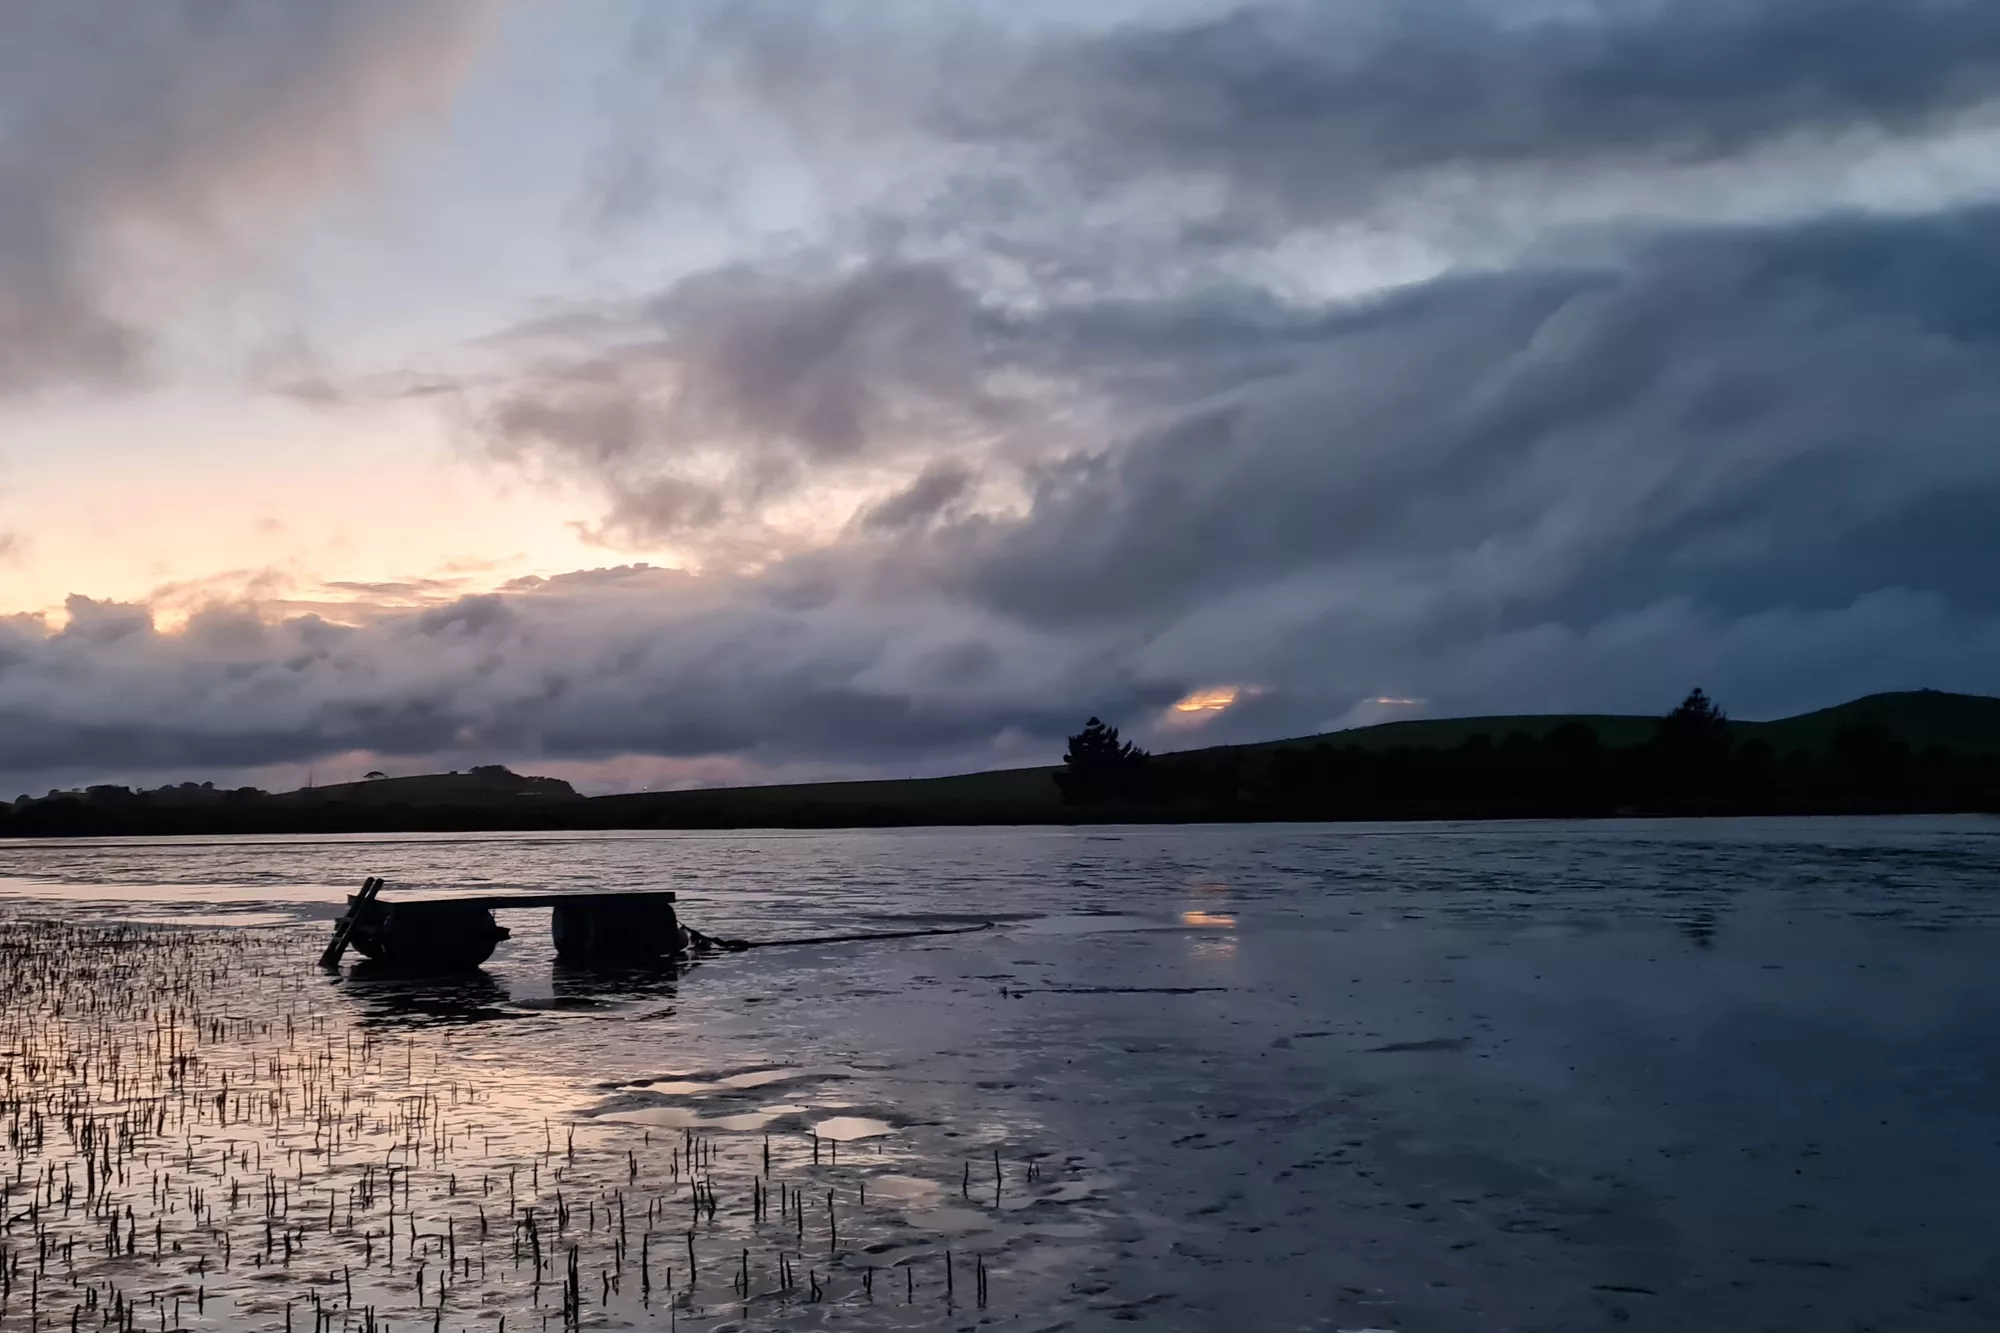
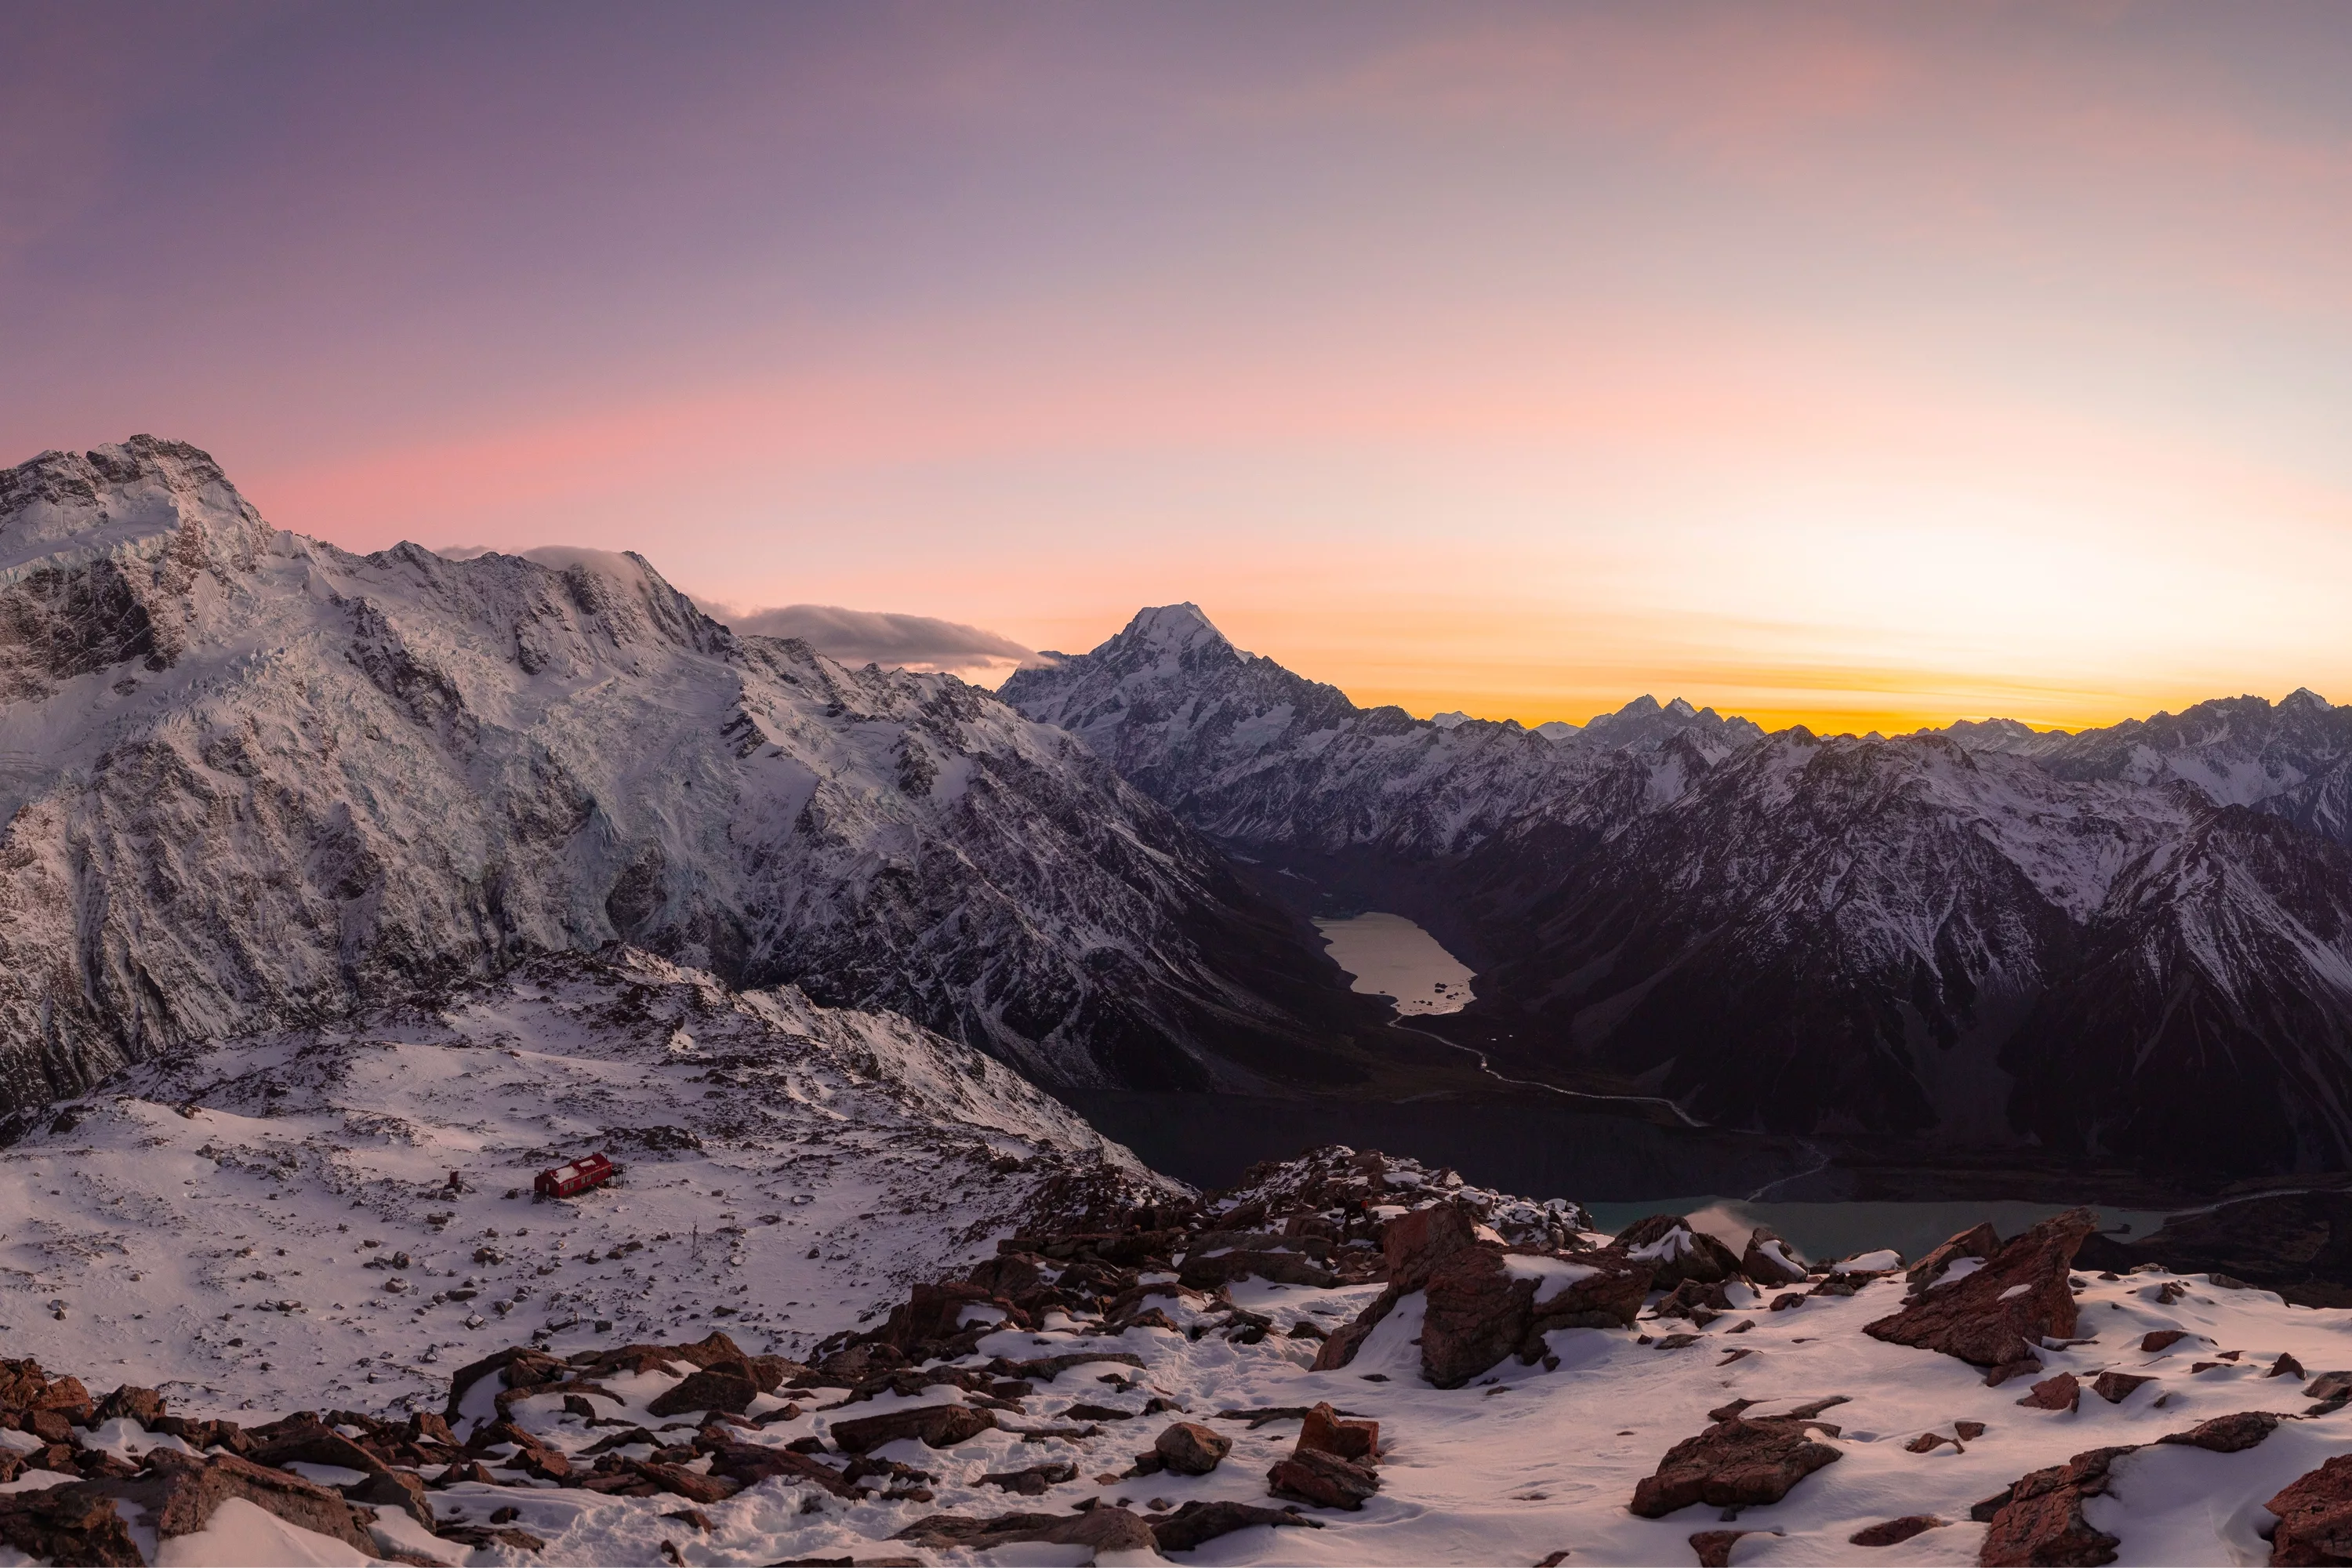
Know Your Golden Hour
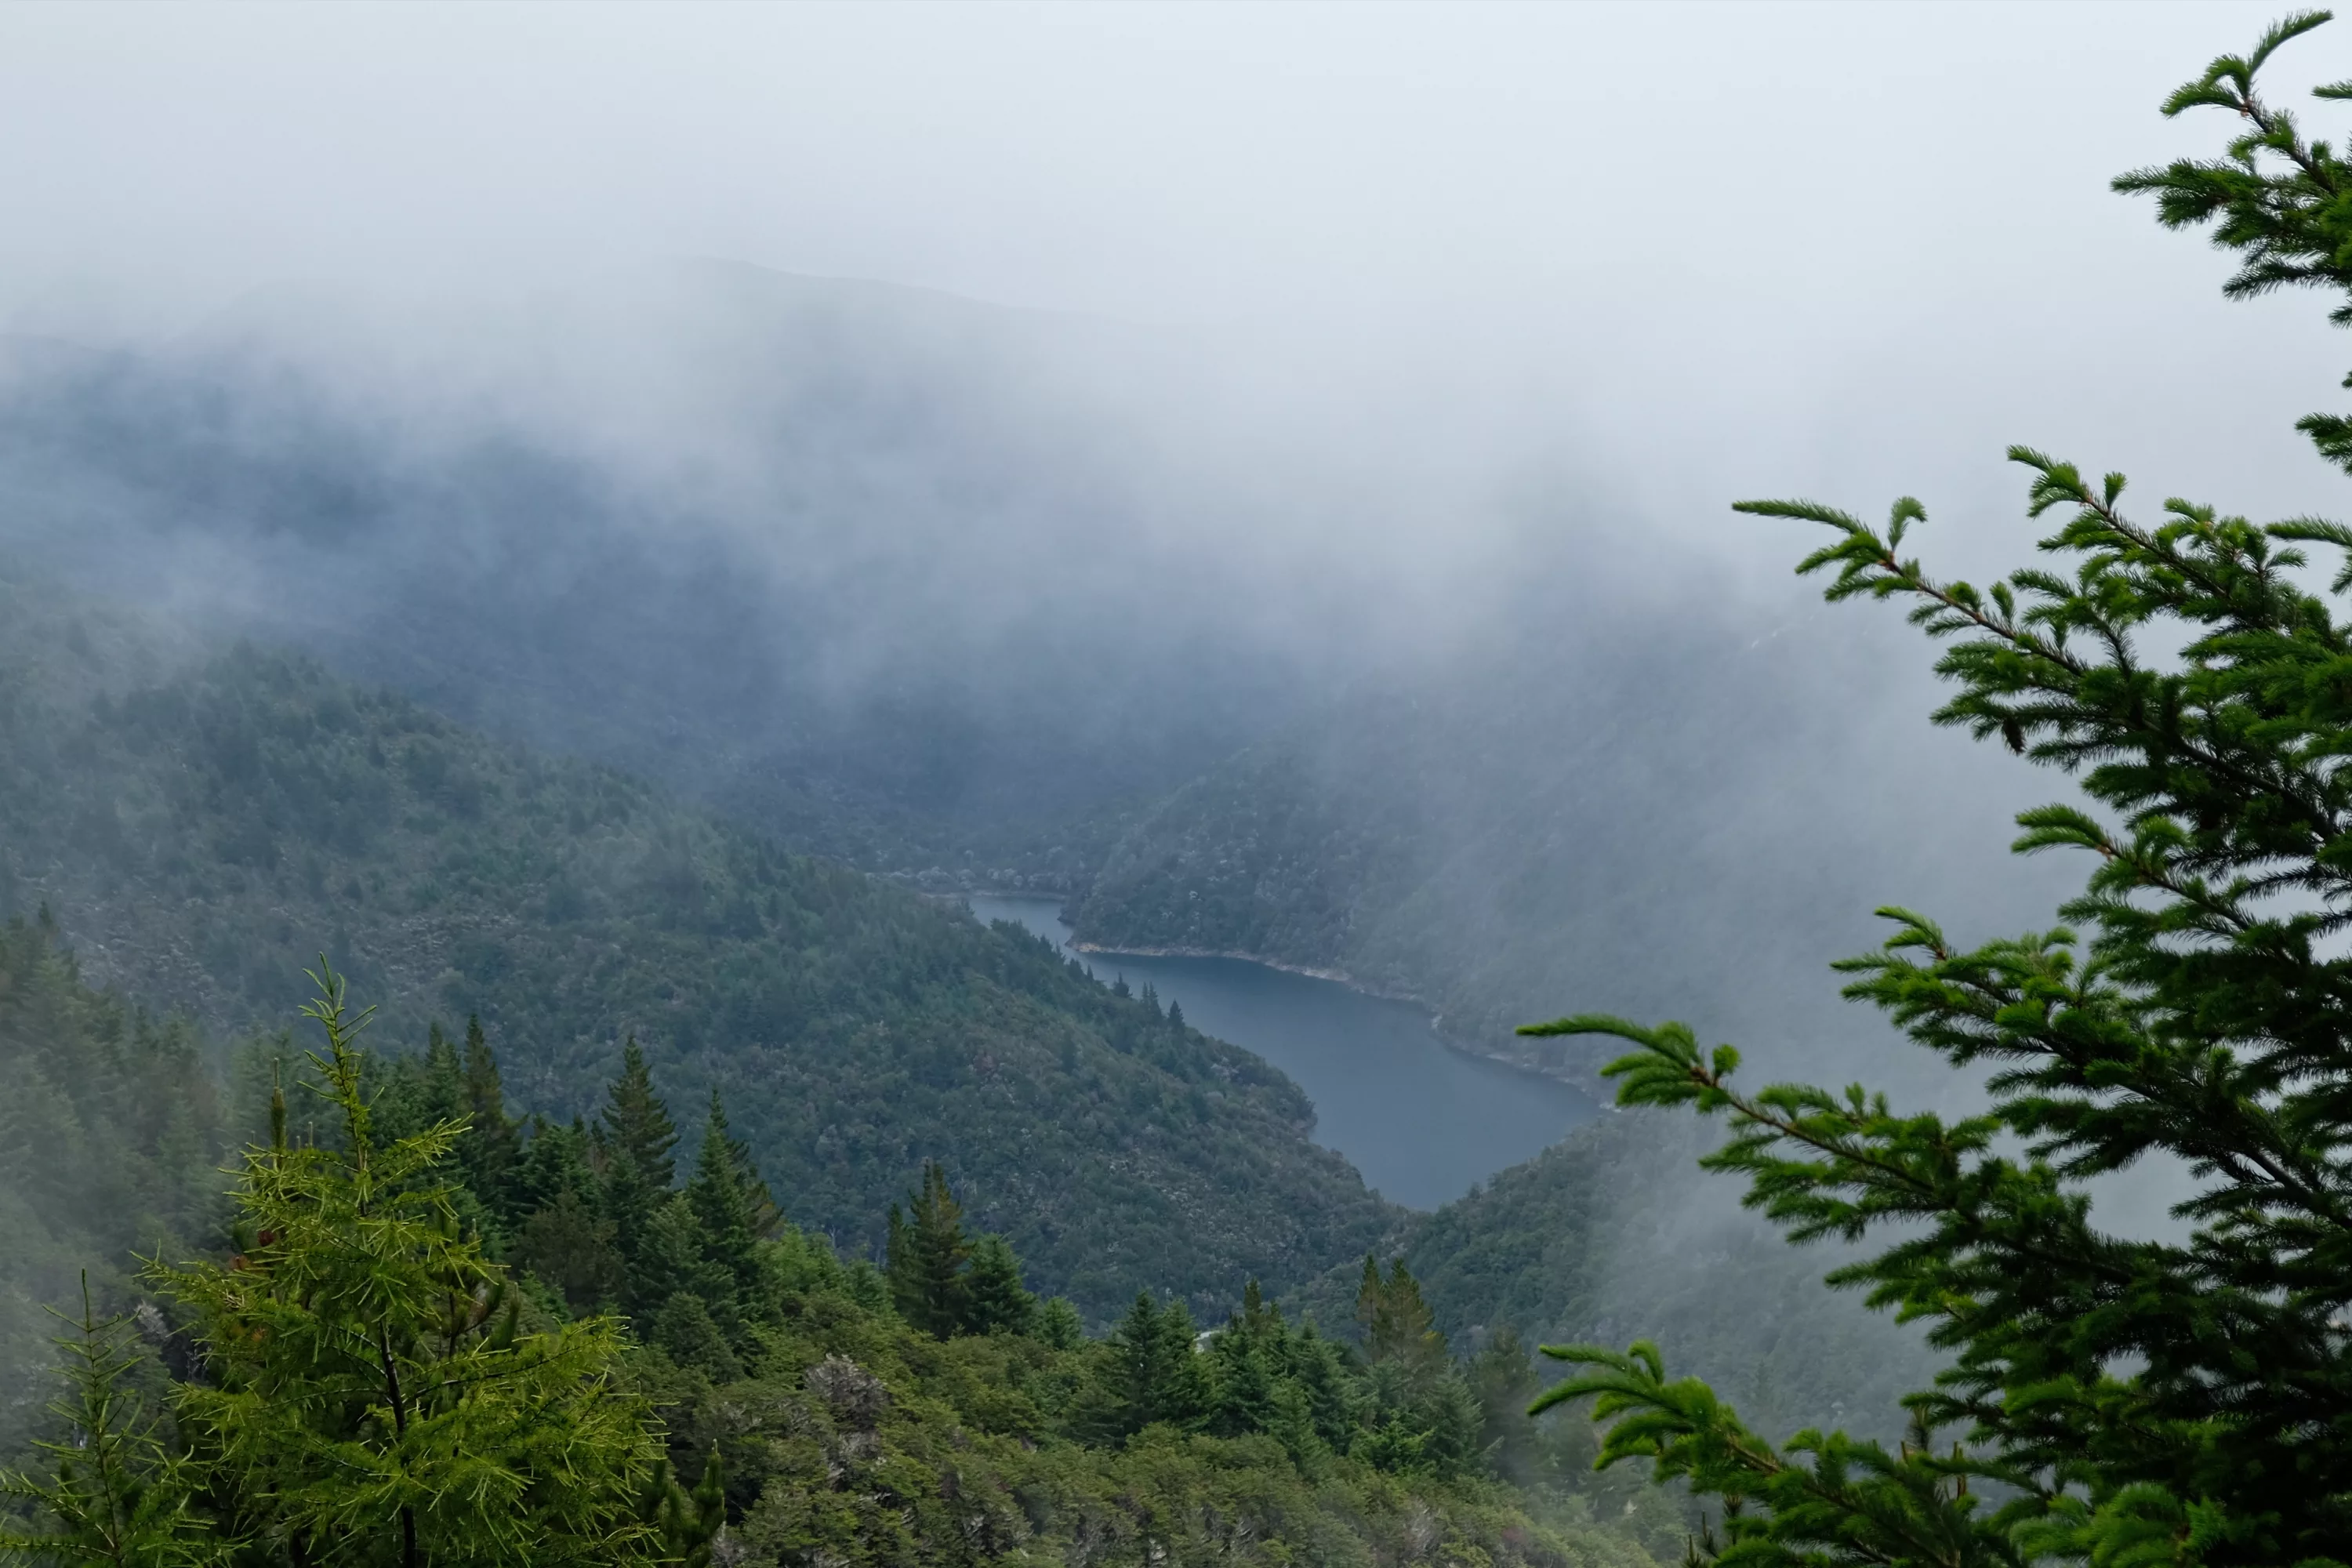
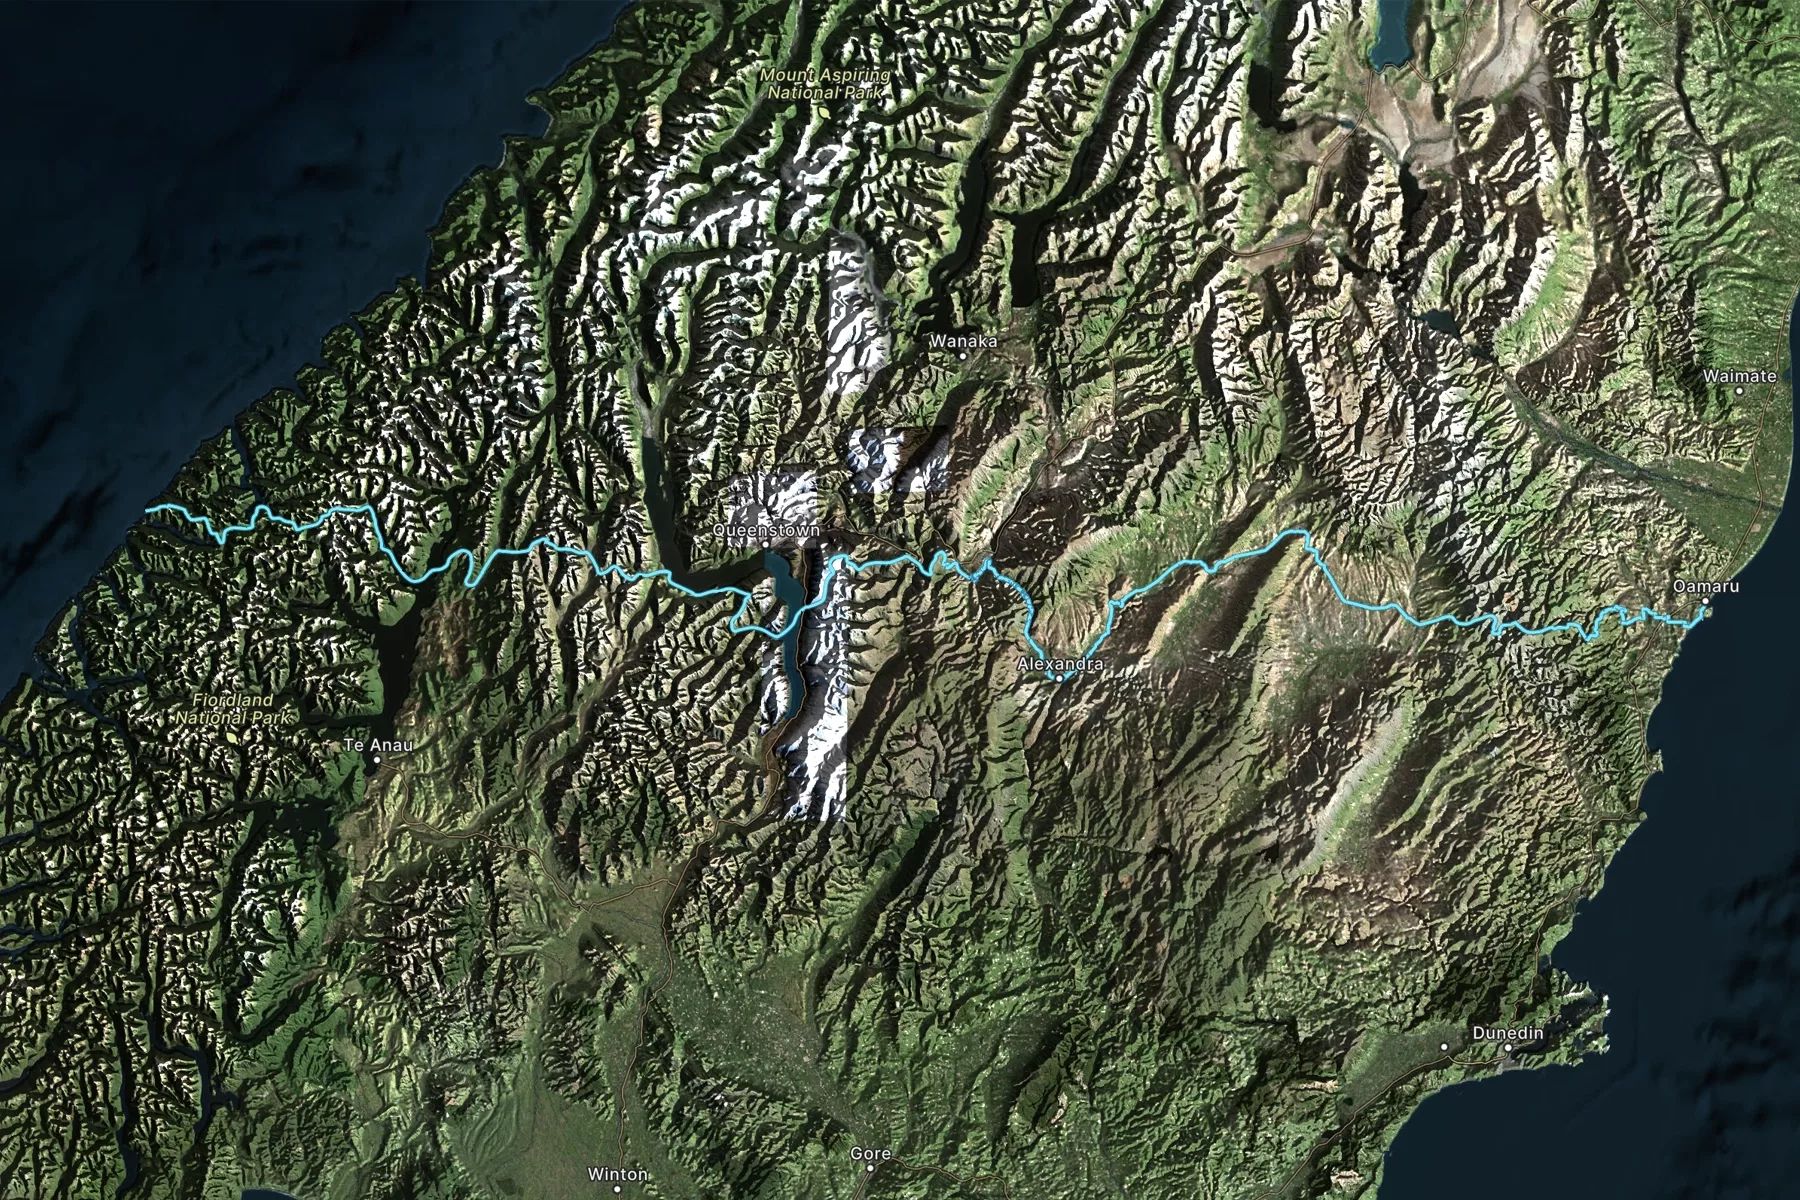
Personally, I utilise Photopills to pre plan my adventures around what time the light is going to be at its best. Photopills breaks down Golden Hour, Sunset, Blue Hour and Twilight into their individual times and will adjust to your chose GPS location through the app. This makes it easy to know what time you need to be in place to make the most of the light and you’ll know what time you need to set your morning alarm for before you go to bed! Light is truly the make of make with photography, in the mornings and evenings the light is soft and the shadows are elongated increasing the contrast in the landscape. Shooting in the midday sun can provide some challenges as the light tends to be harsh, but it still allows plenty of opportunities to be creative and really tell the story of your trip as a whole.
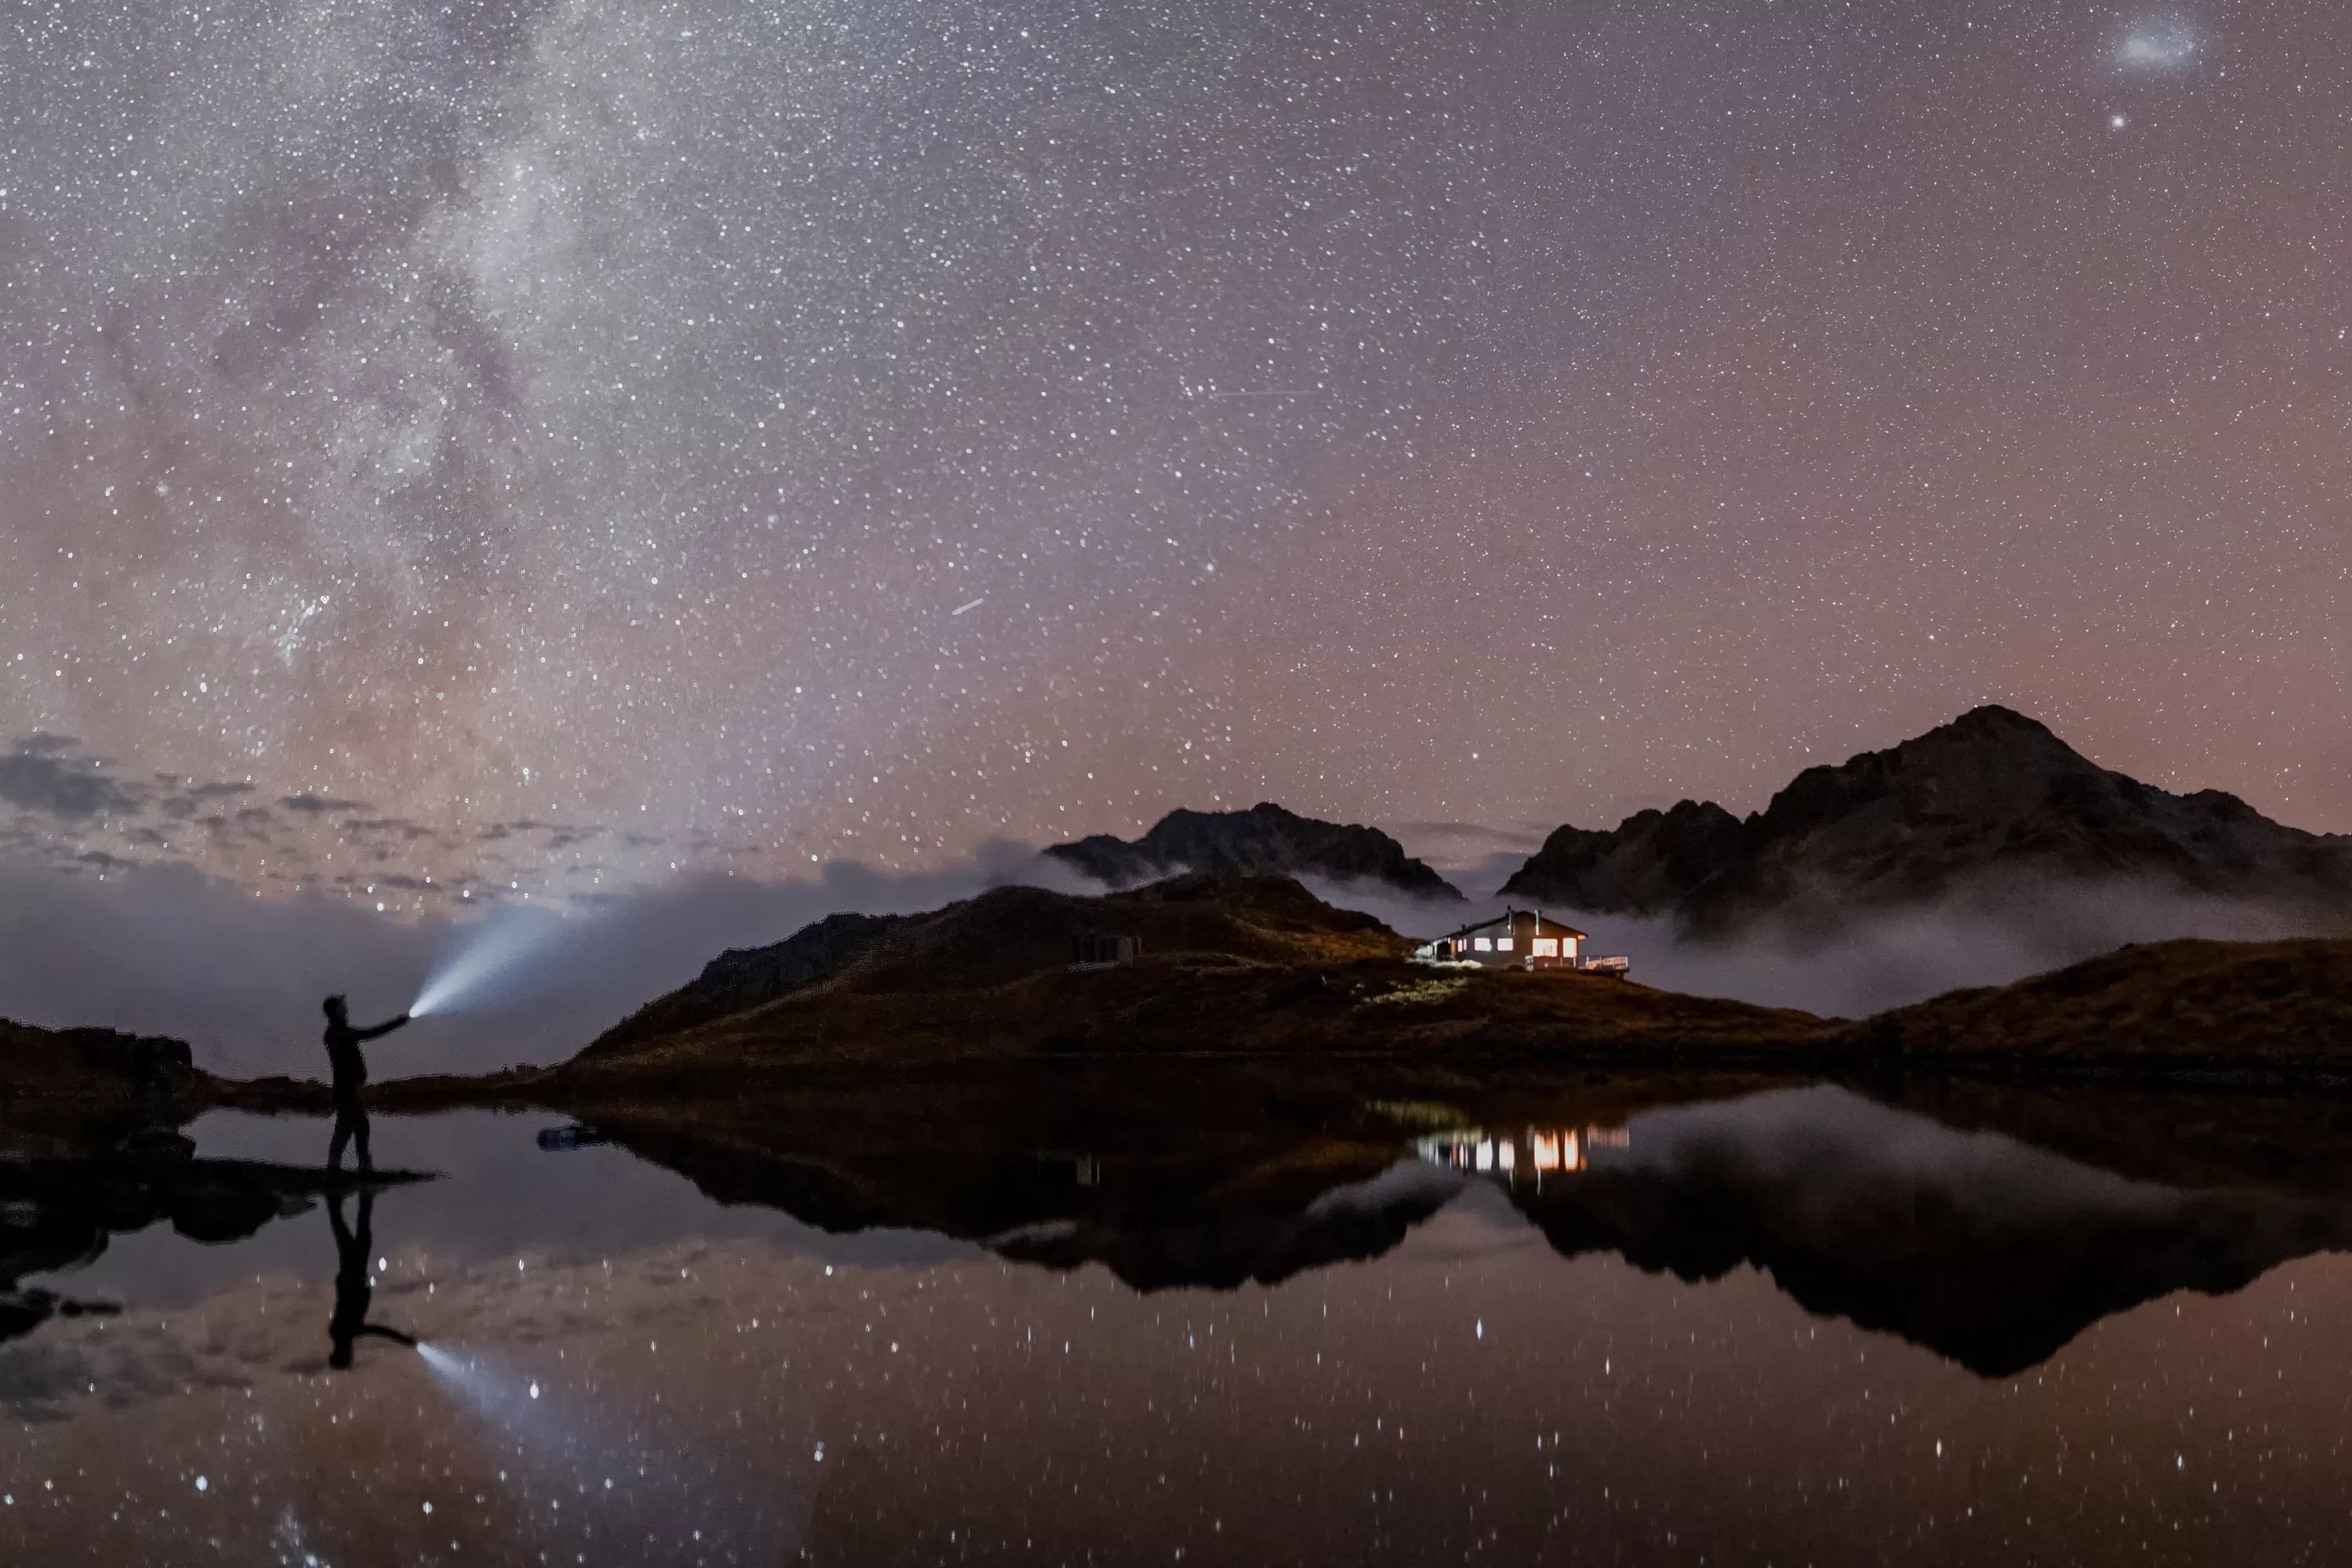
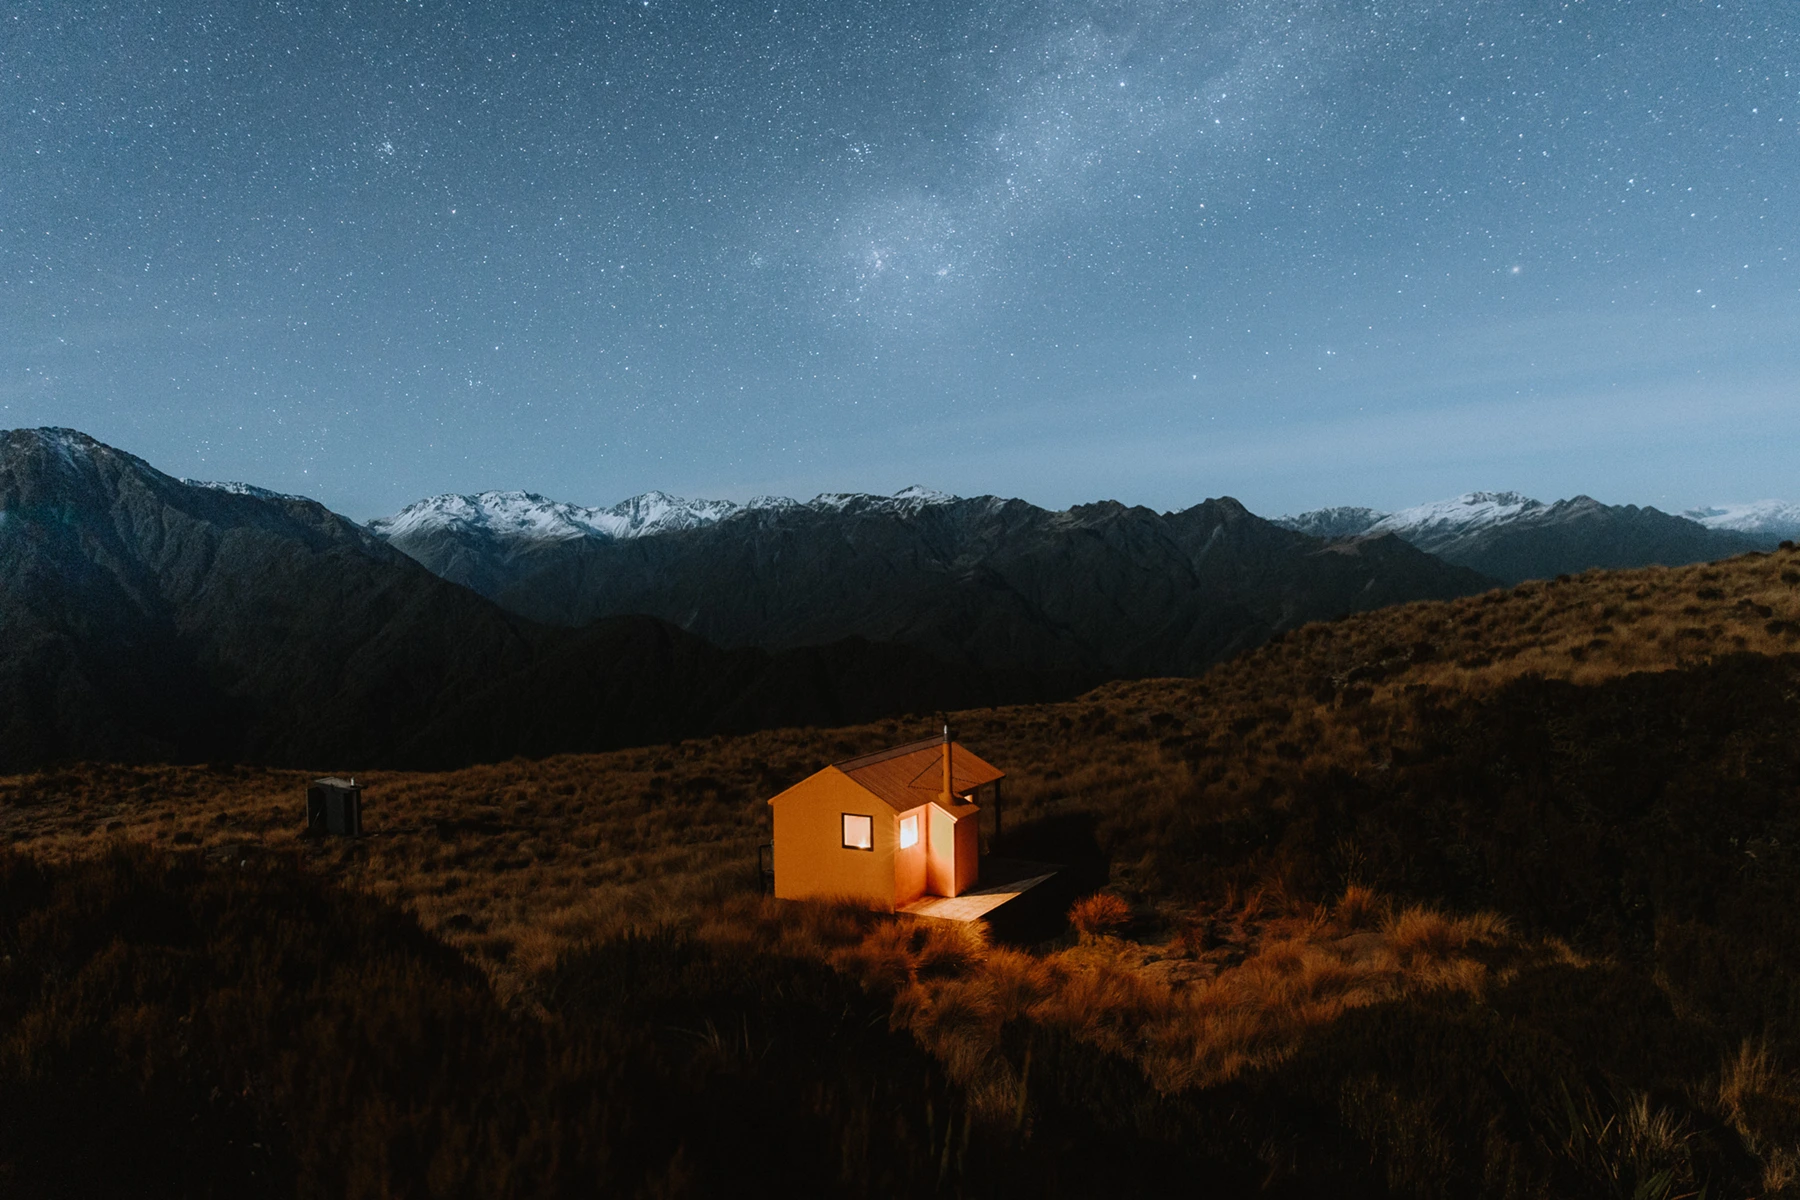
Night Photography
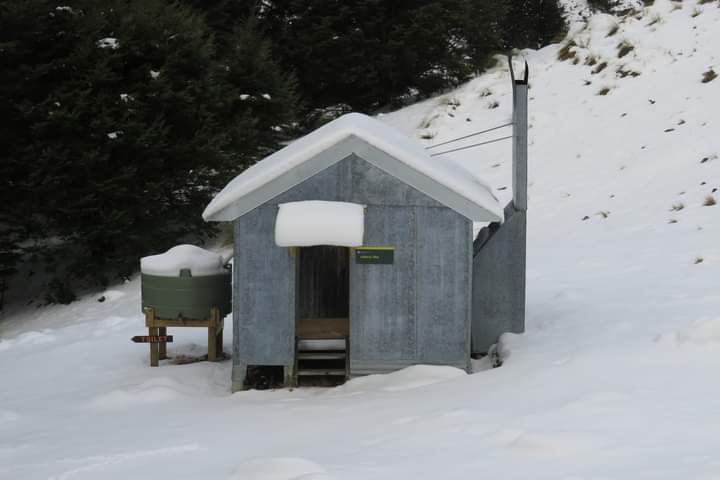
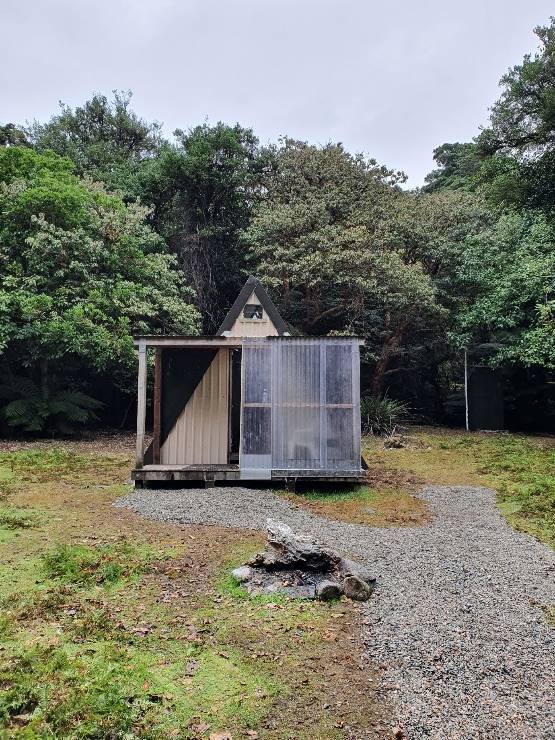
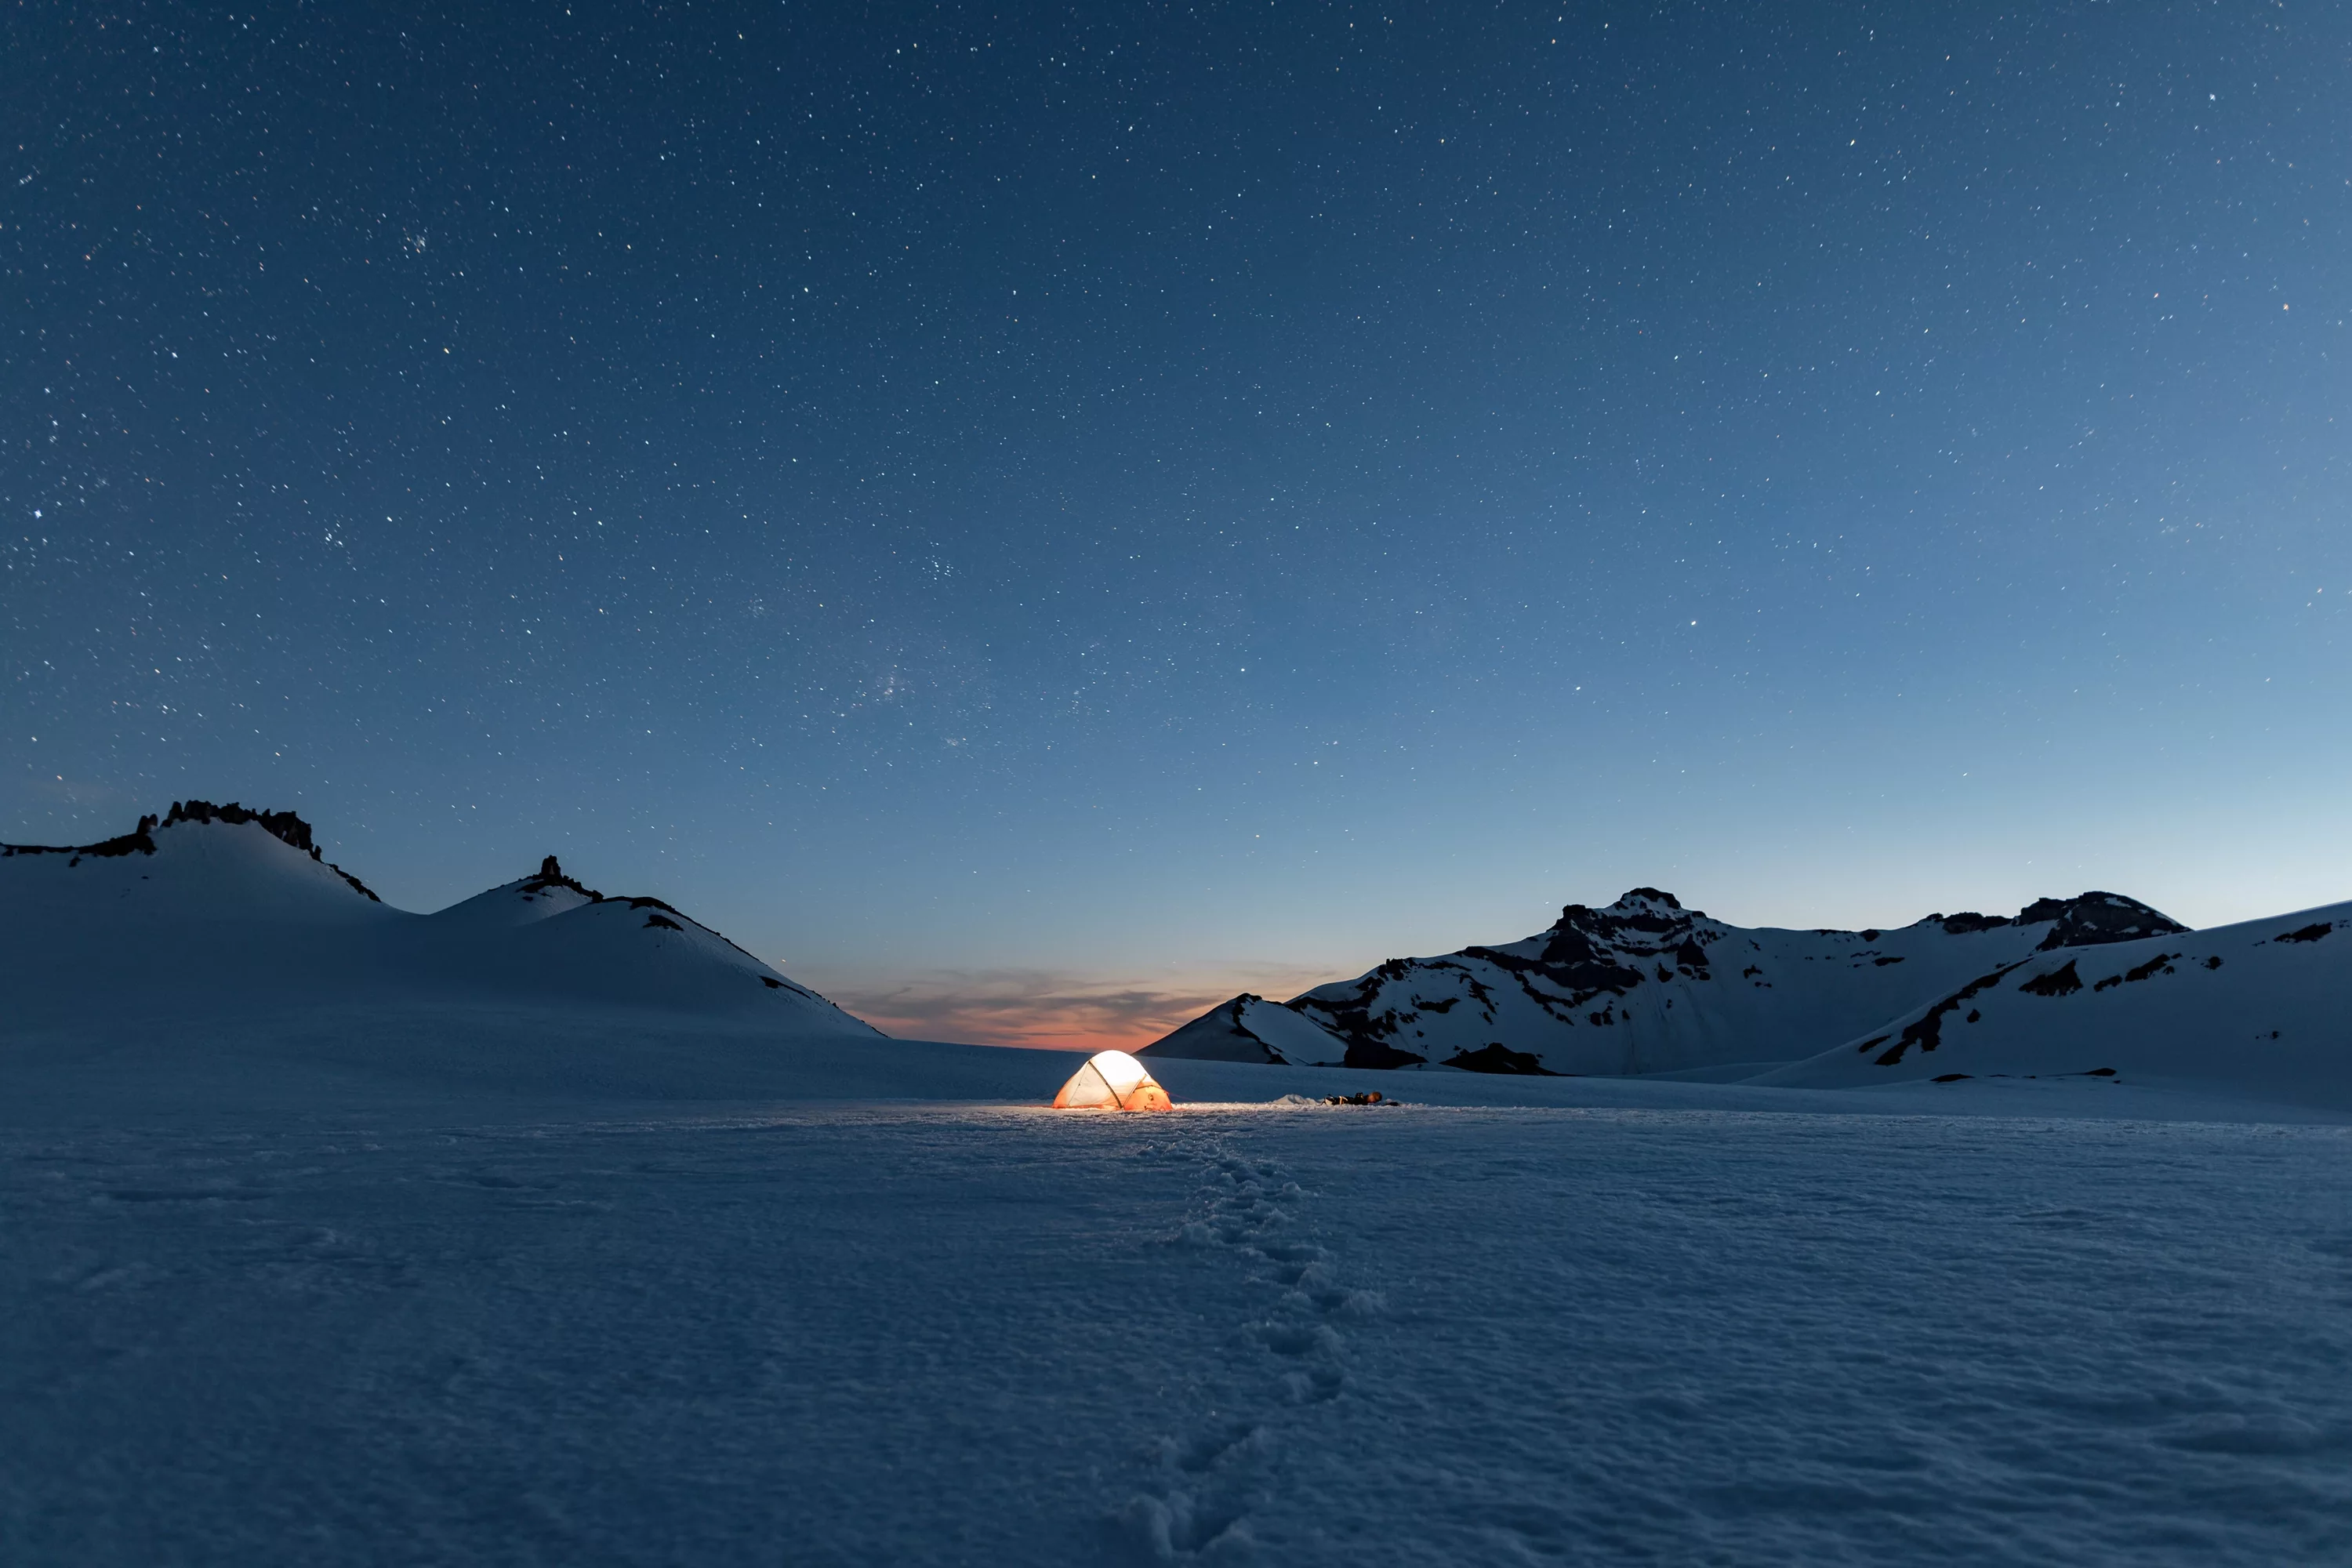
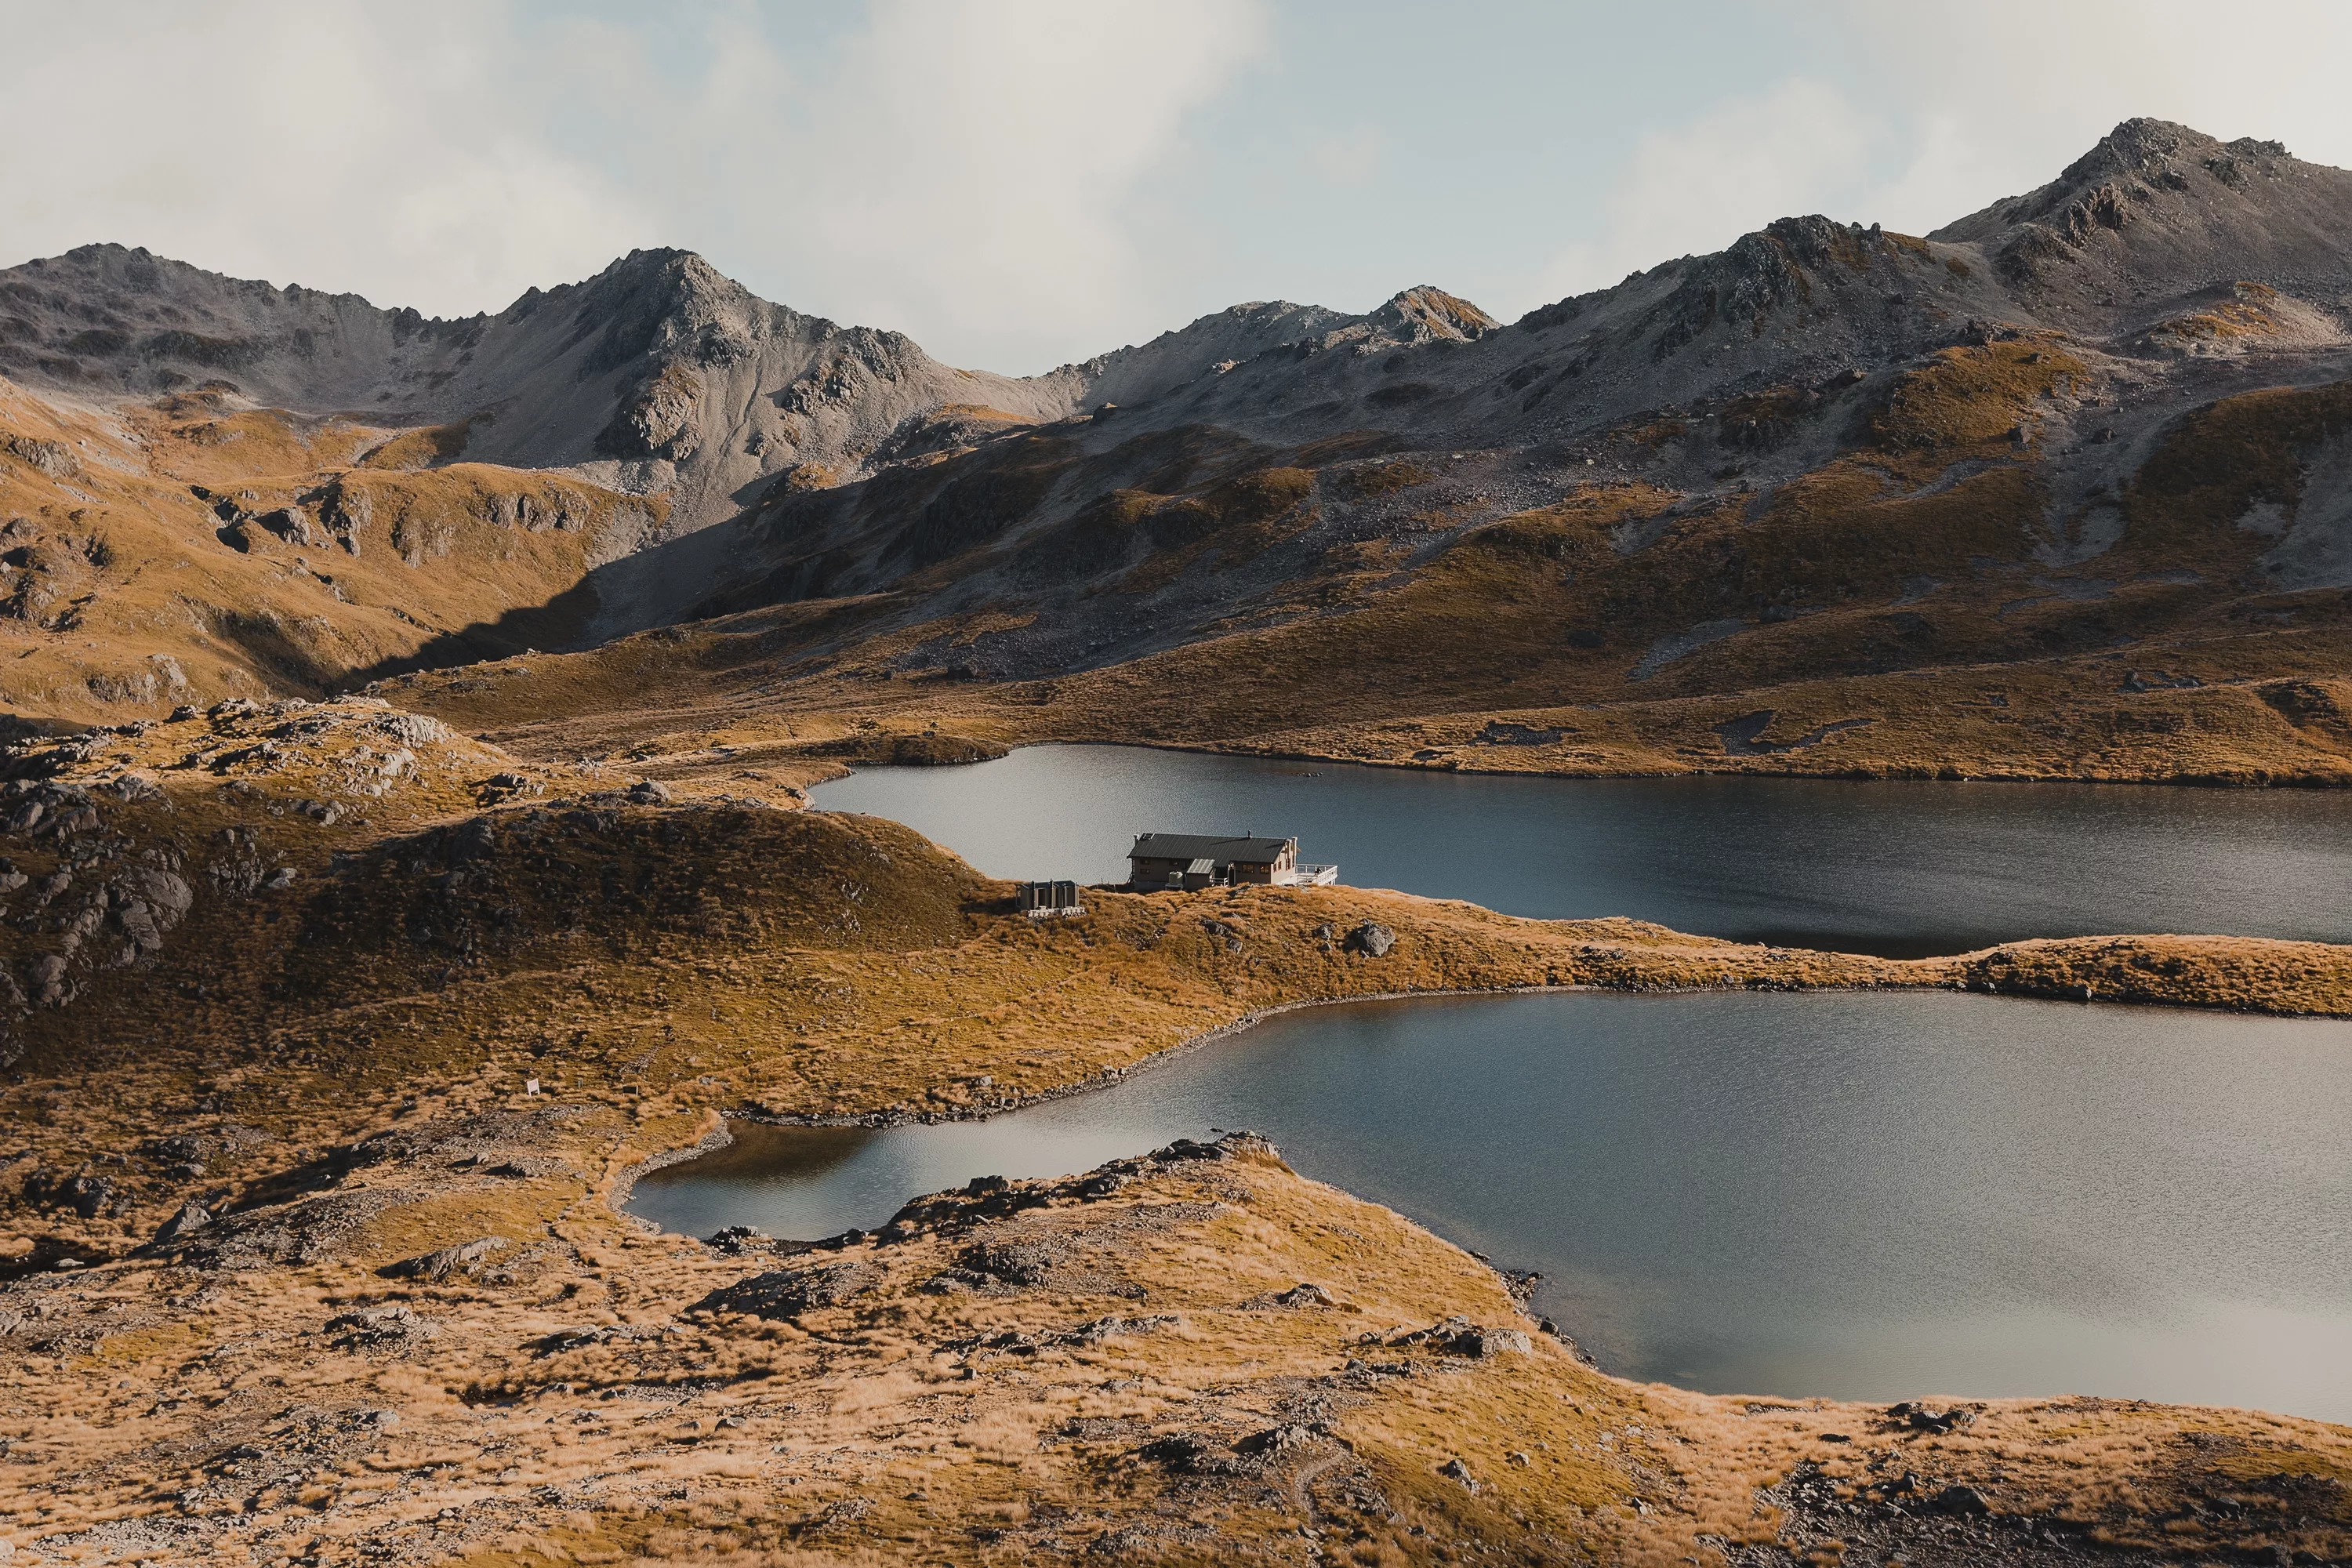
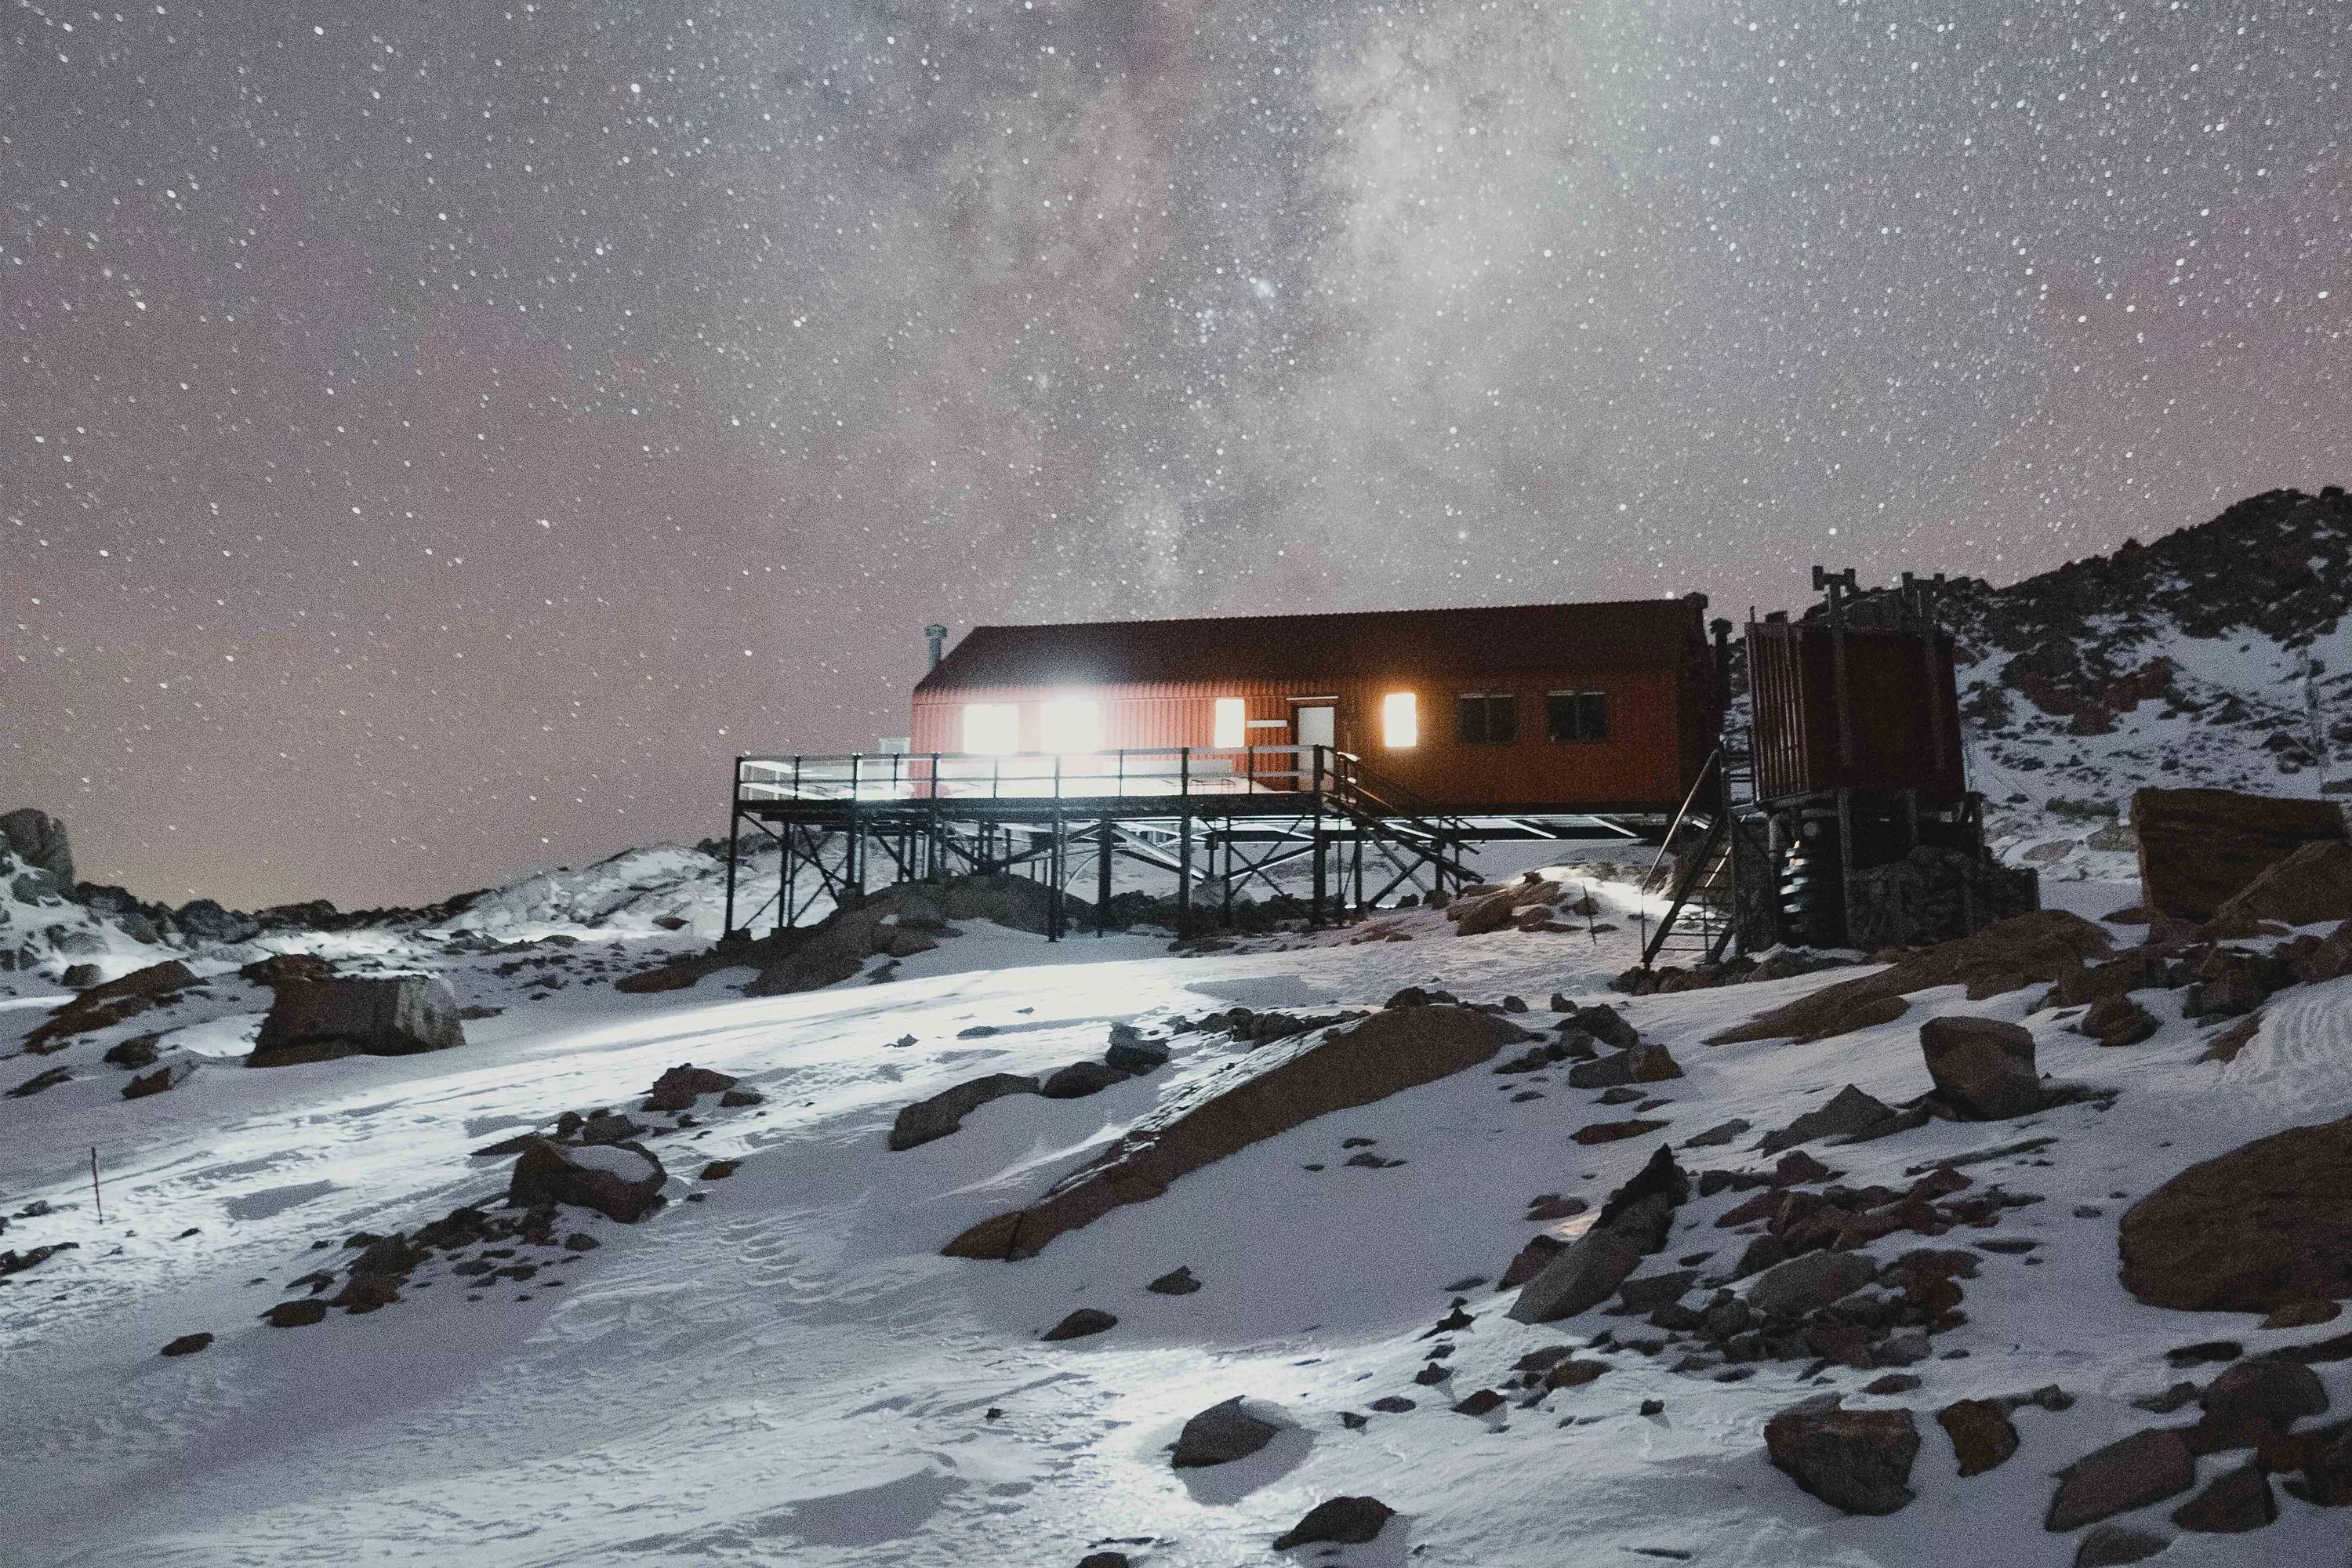
One way to make people jealous of your hiking, is to take photos of the pure clear night skies that we get to experience in the backcountry. Backcountry Huts, wild campsites in epic valleys, rock bivs in exposed places all make for the most epic foregrounds for the vibrant stars that come to life when you’re far away from any light pollution.
To take epic photos of the night sky, you will need to have a tripod with you, as you’ll need your camera to be still for 15-30 seconds to bring as much light as possible into the camera. The easiest way to work out an appropriate exposure time is to take 500 and divide it by your focal length, eg, 500/24=20.8 so you’d have a 20 second exposure at most. Having a lens with you that is able to open up to an aperture of 2.8 or wider will allow you to bring out plenty of detail from the stars. Bear in mind you will have to focus your lens manually, so use the live view screen of your camera, pick a star in the centre of frame to zoom in on, then adjust your focus ring until the star is at its smallest and take your shot from there! If you have an external shutter to use so you don’t shake the camera in its initial exposure, otherwise you can set your camera onto its 2 second timer.
Making the most of what you have in the foreground of your image will mean you’ll have to use some form of lighting to be able to bring out some detail. Whether you light a candle in the hut window, or turn your headlamp on in your hut, have a play around with how long you have your lighting on for as to what looks best for your vision!
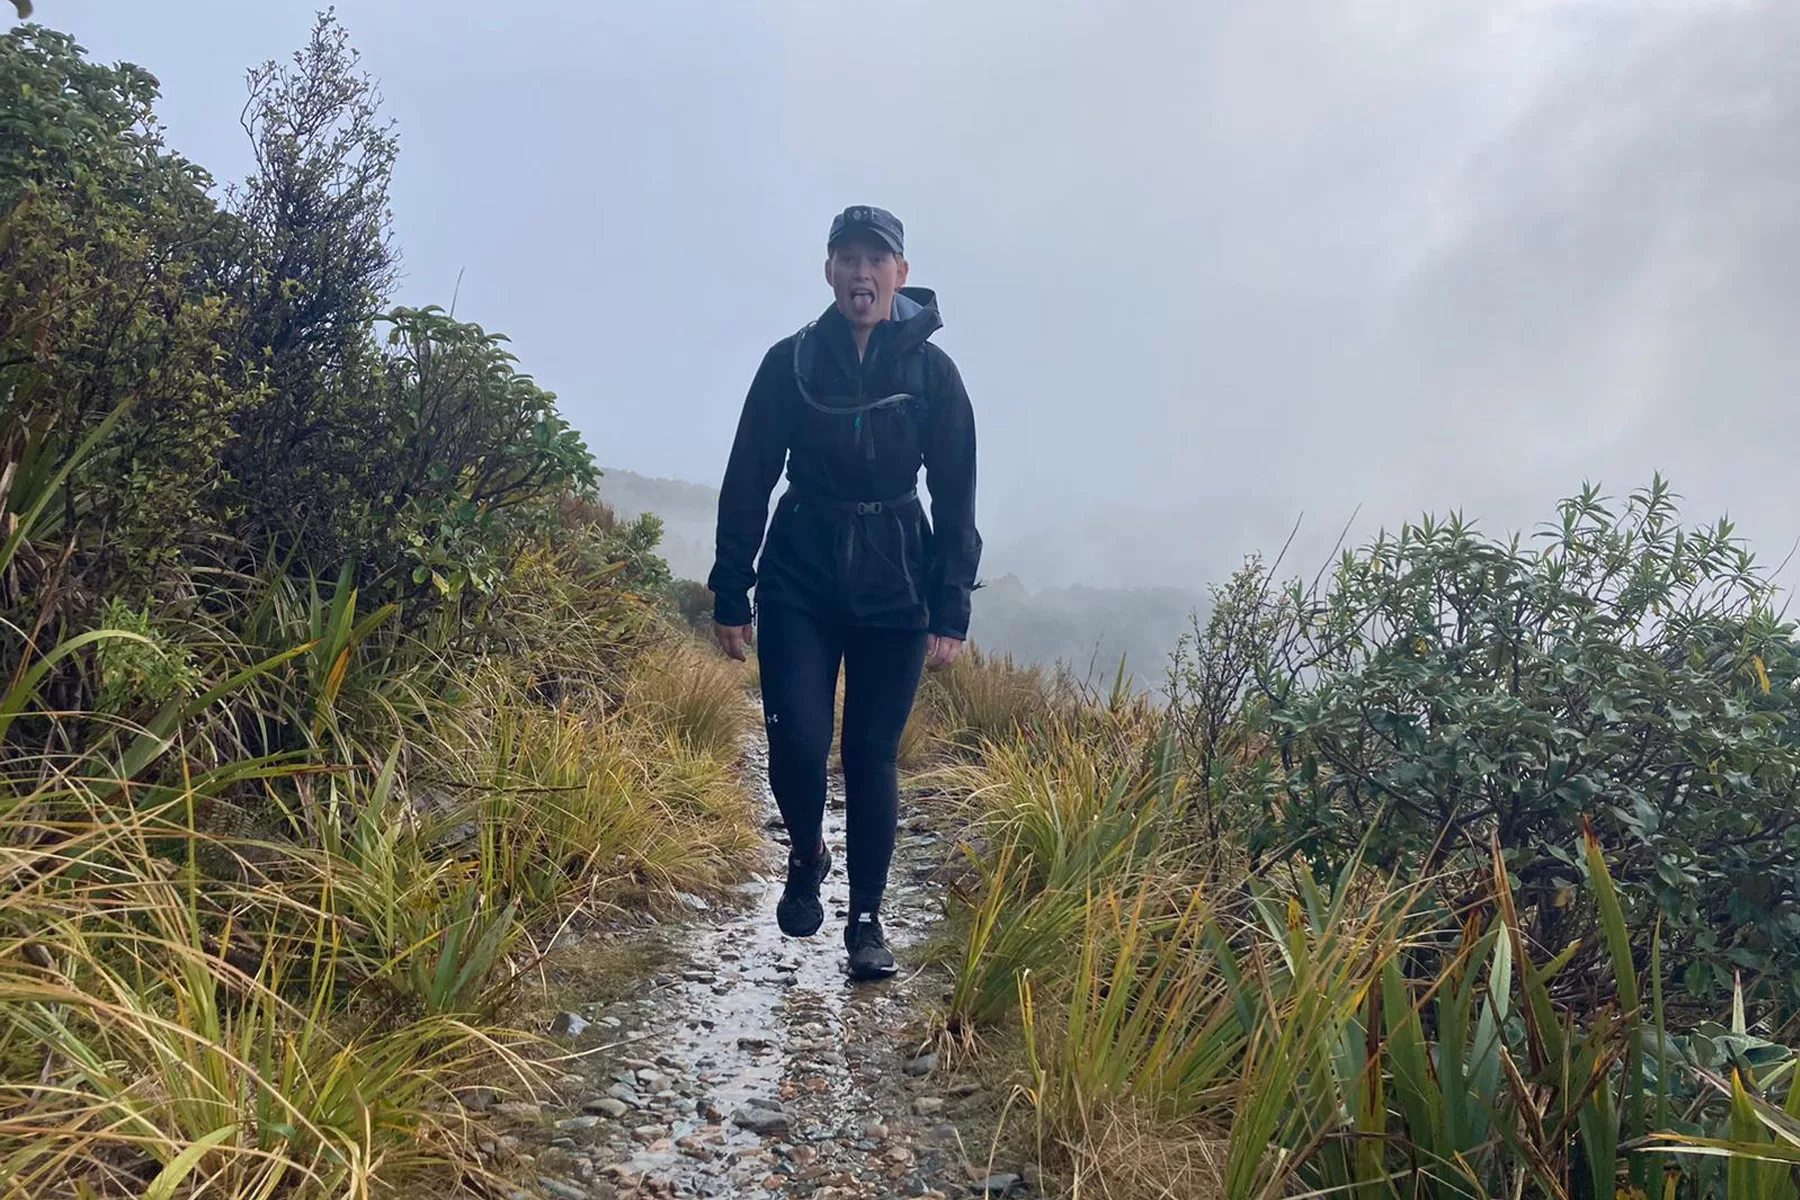
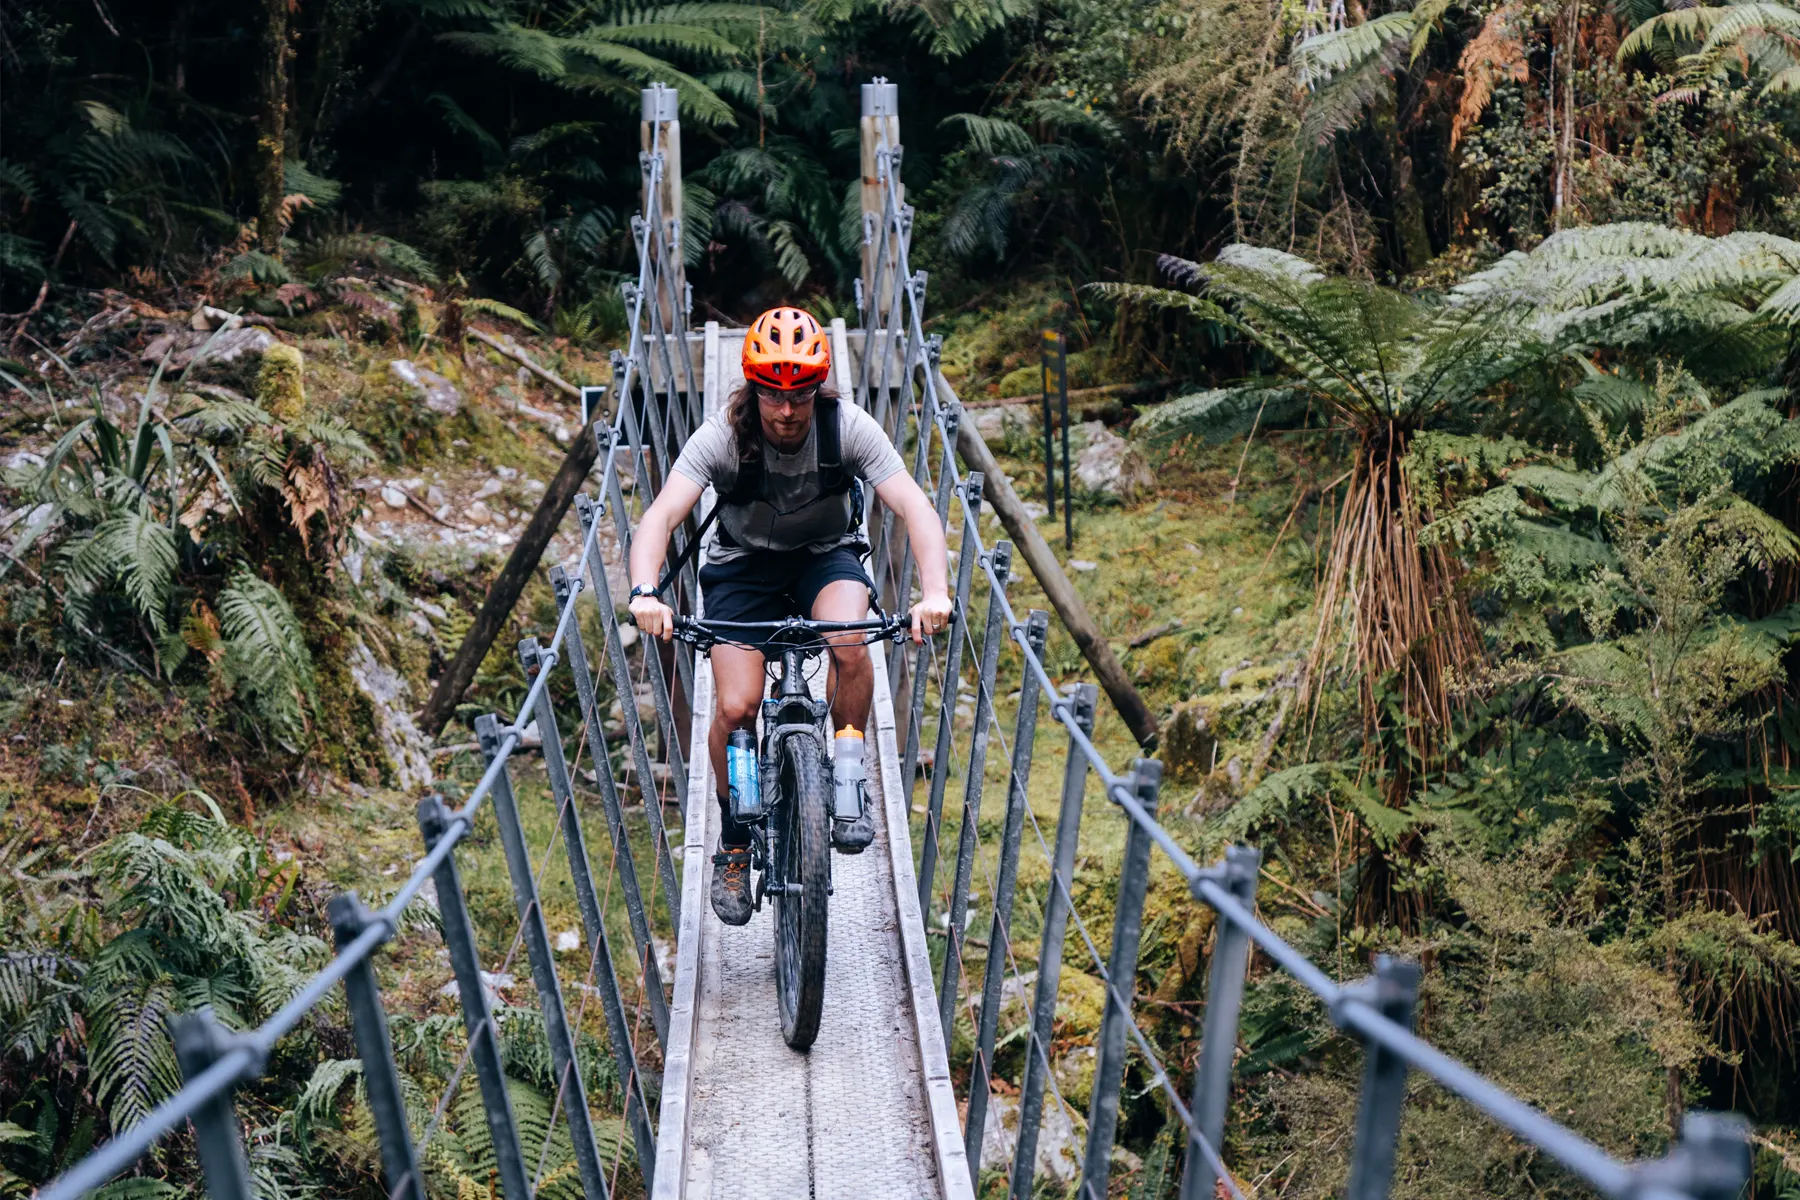
Keep Your Camera Accessible
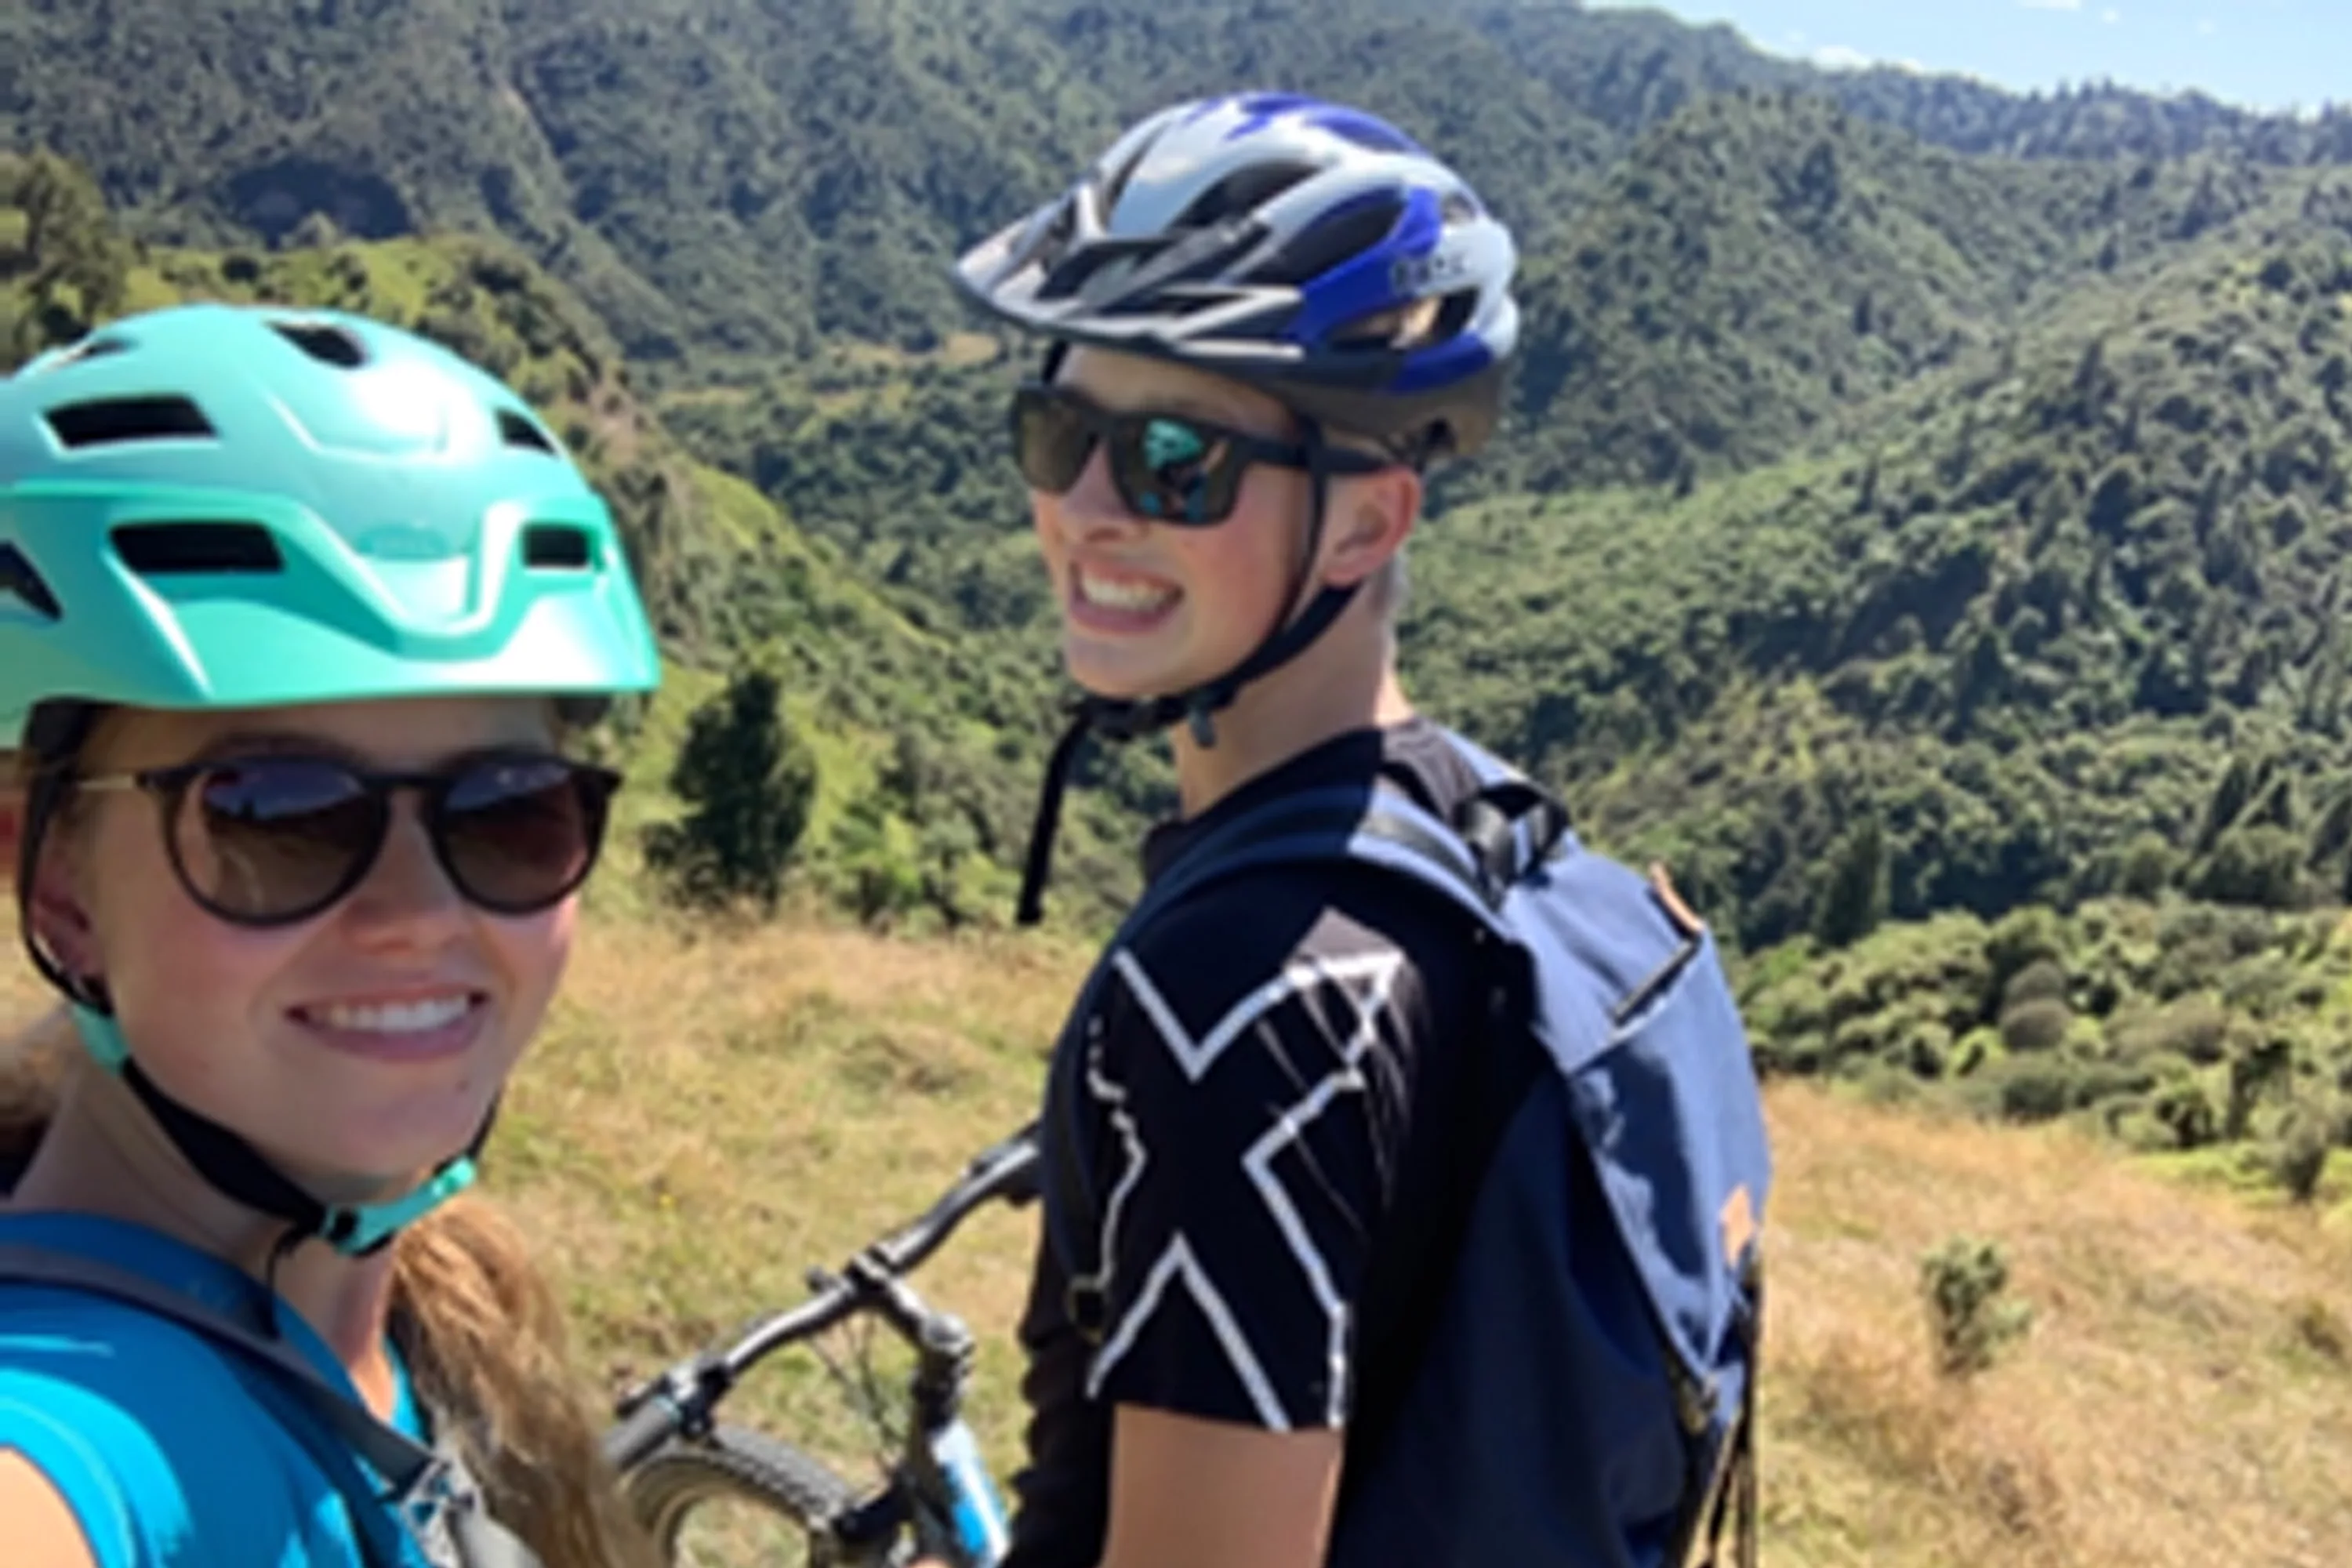
Whether you keep your camera around your neck on its strap, or like myself utlise a Peak Design Capture Clip, having your camera accessible will mean that you don’t miss out on any of those WOW moments that come along when you’re on the trail. When you have to stop to take off your pack, dig through your things to get your camera out to be able to take a photo, you won’t be motivated to grab it when those moments pop up. However, if its always on hand, you’ll take plenty more moments, and with more photos, you’ll have more winners! Keep it handy when you’re hiking and you’ll be sure to capture more of those moments that catch everyone’s attention.
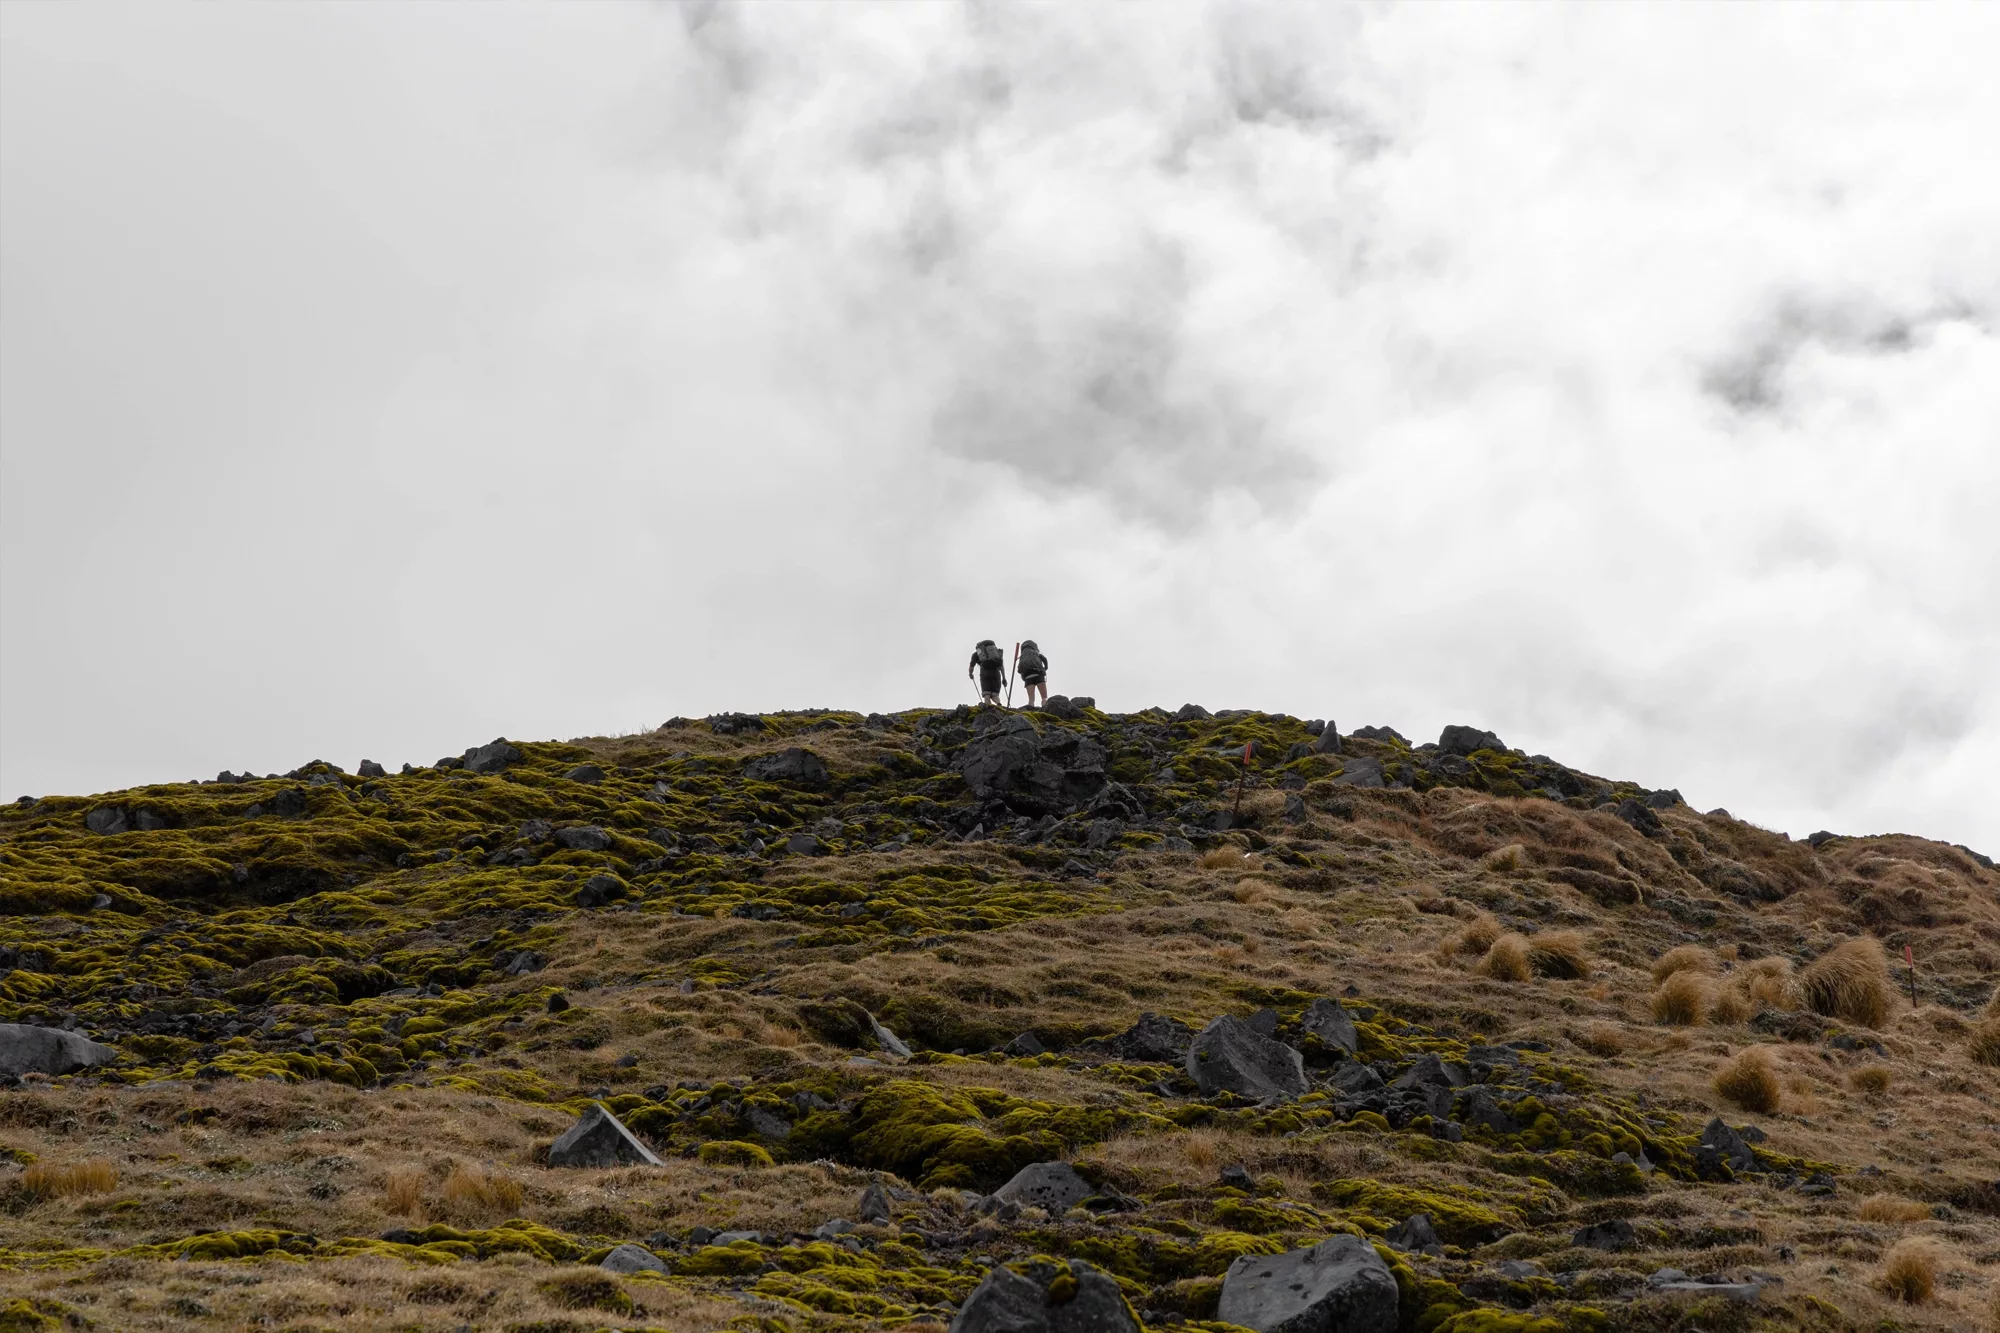
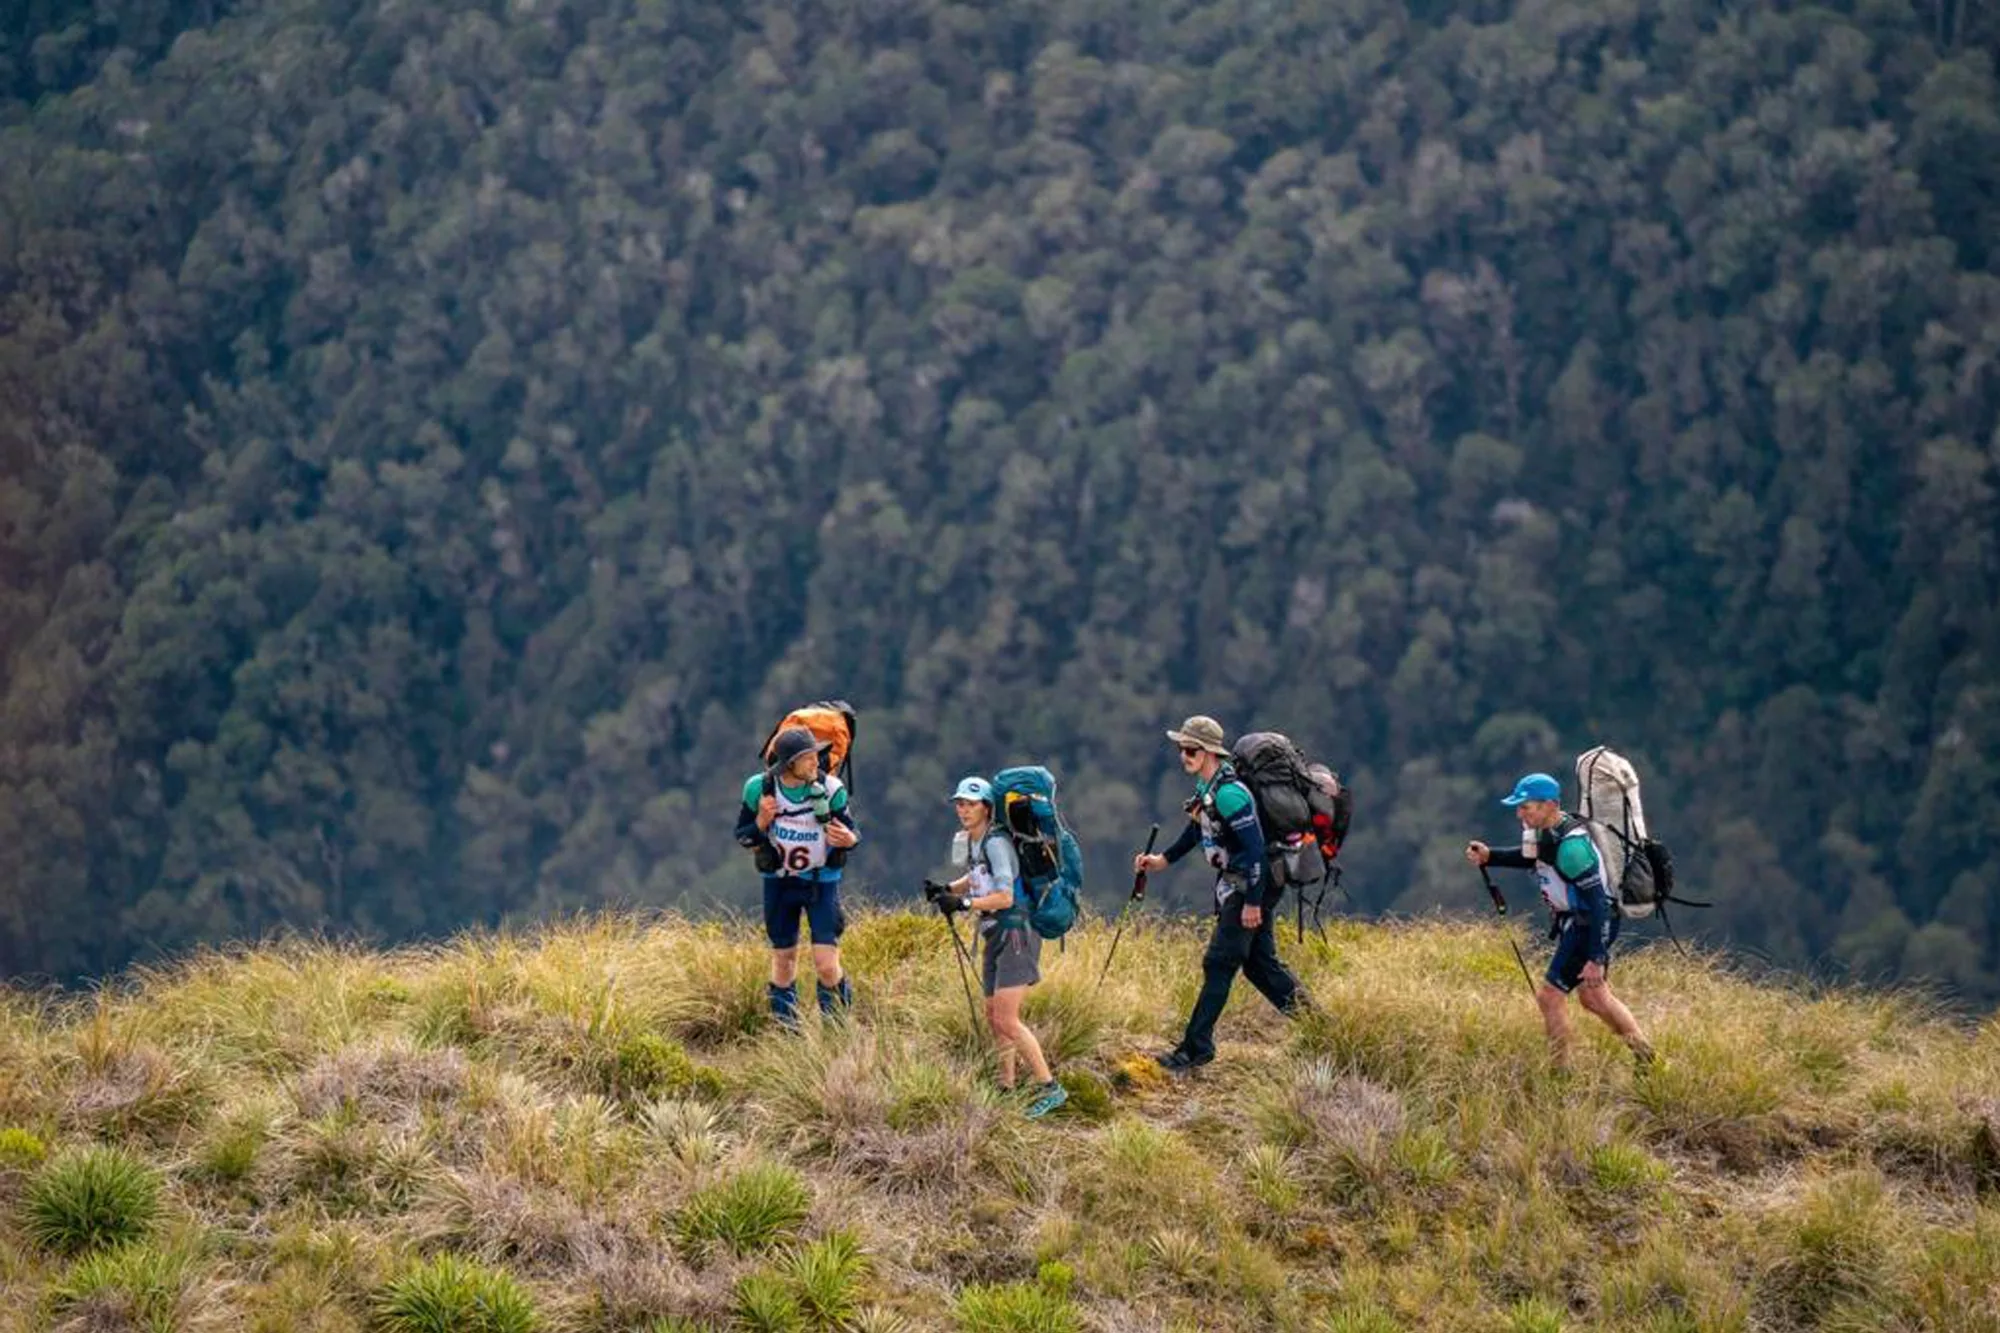
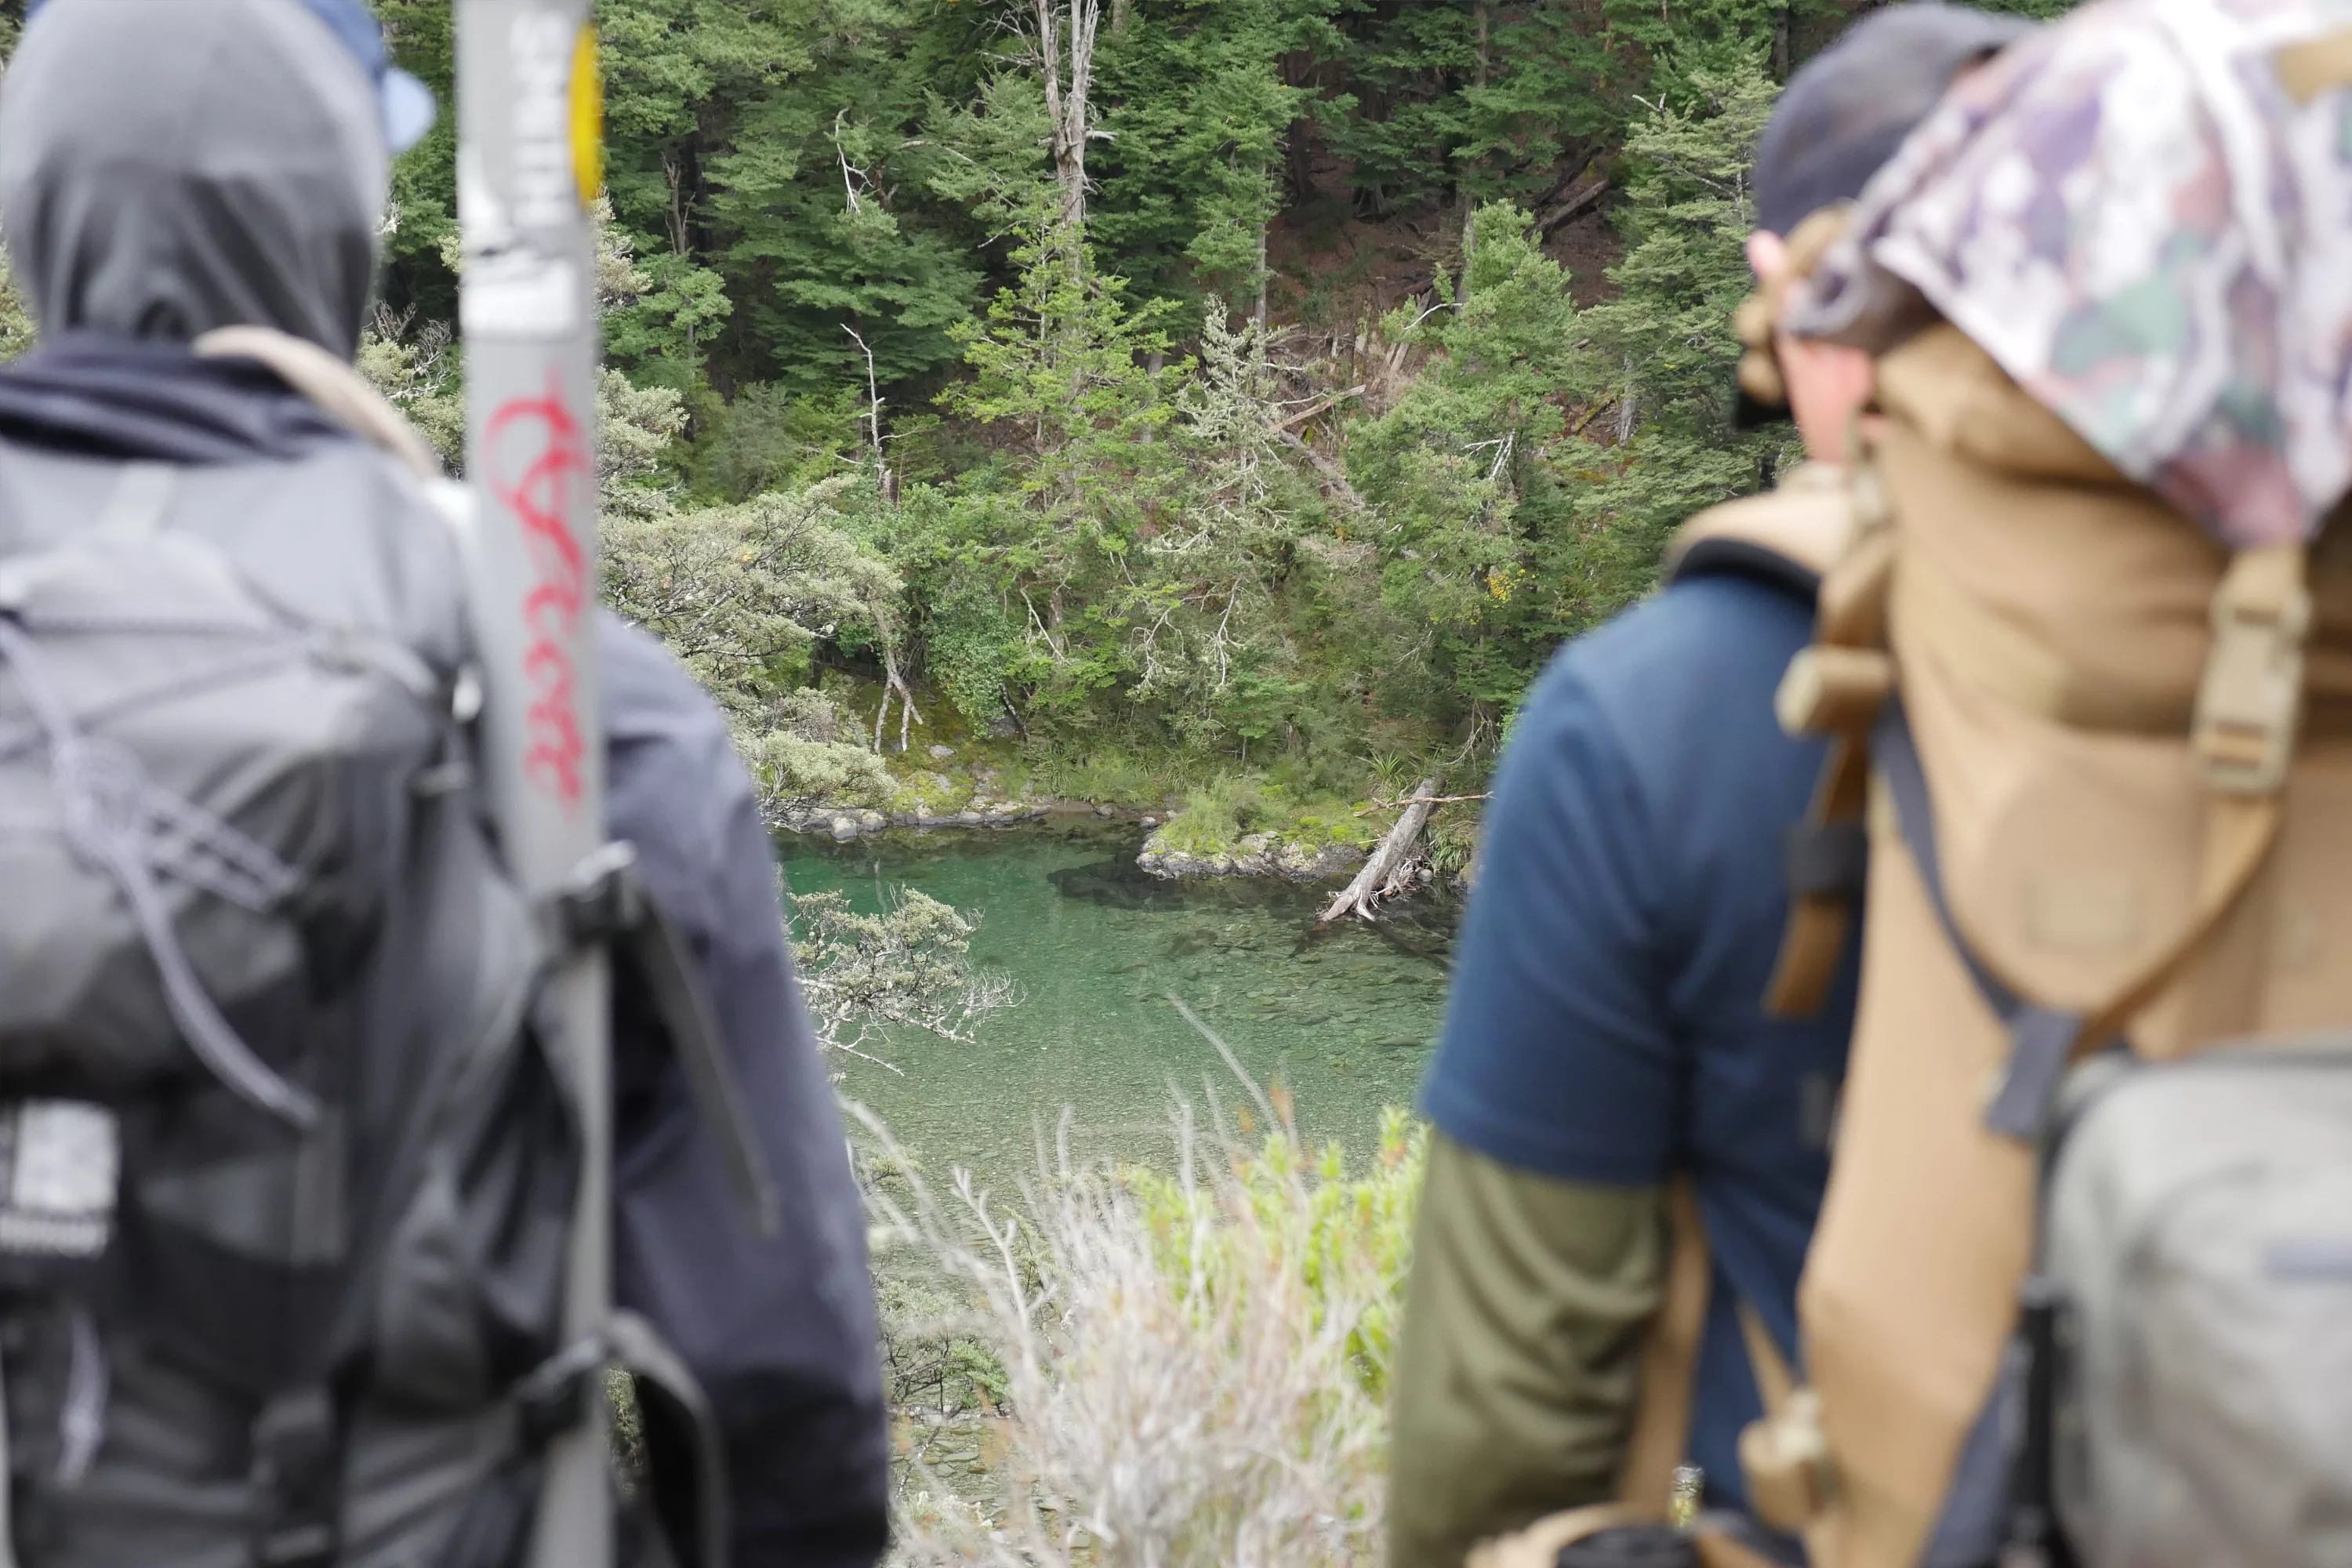
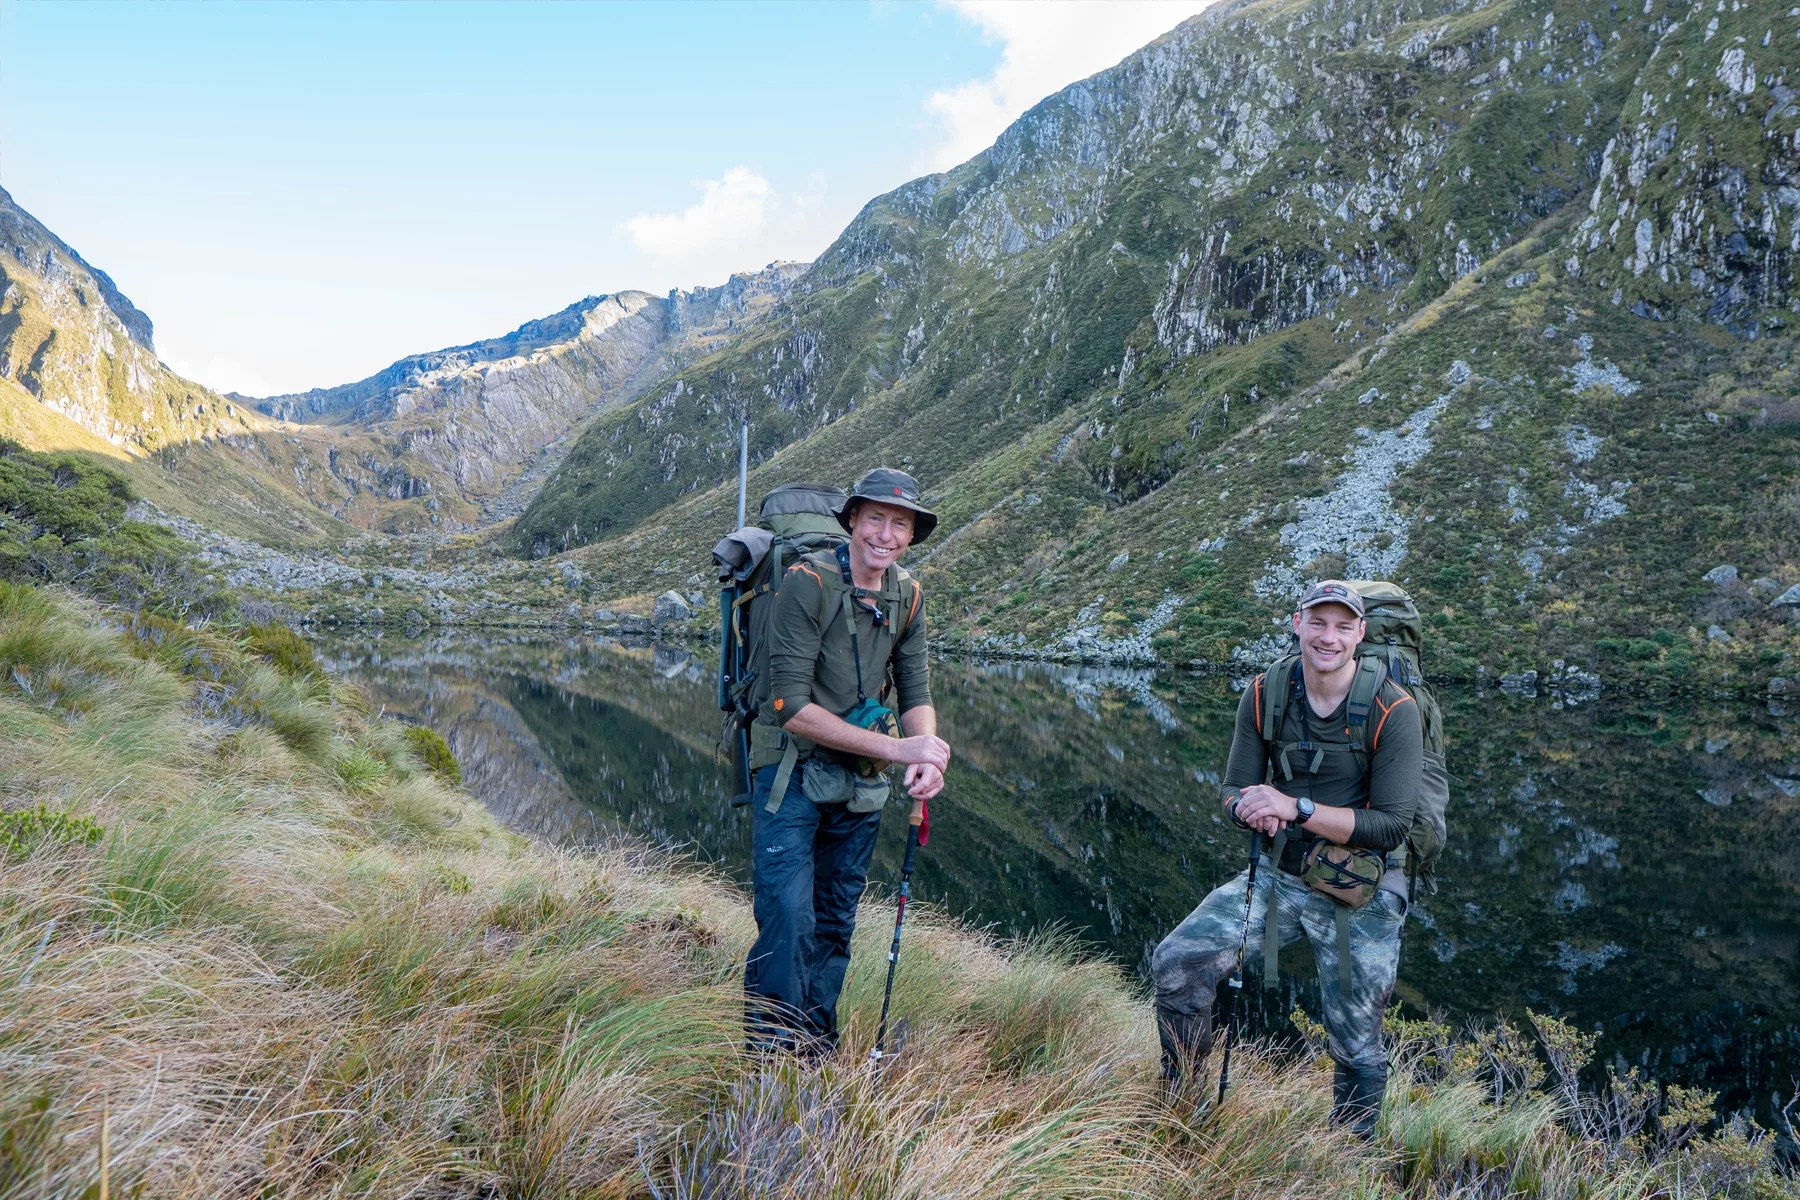
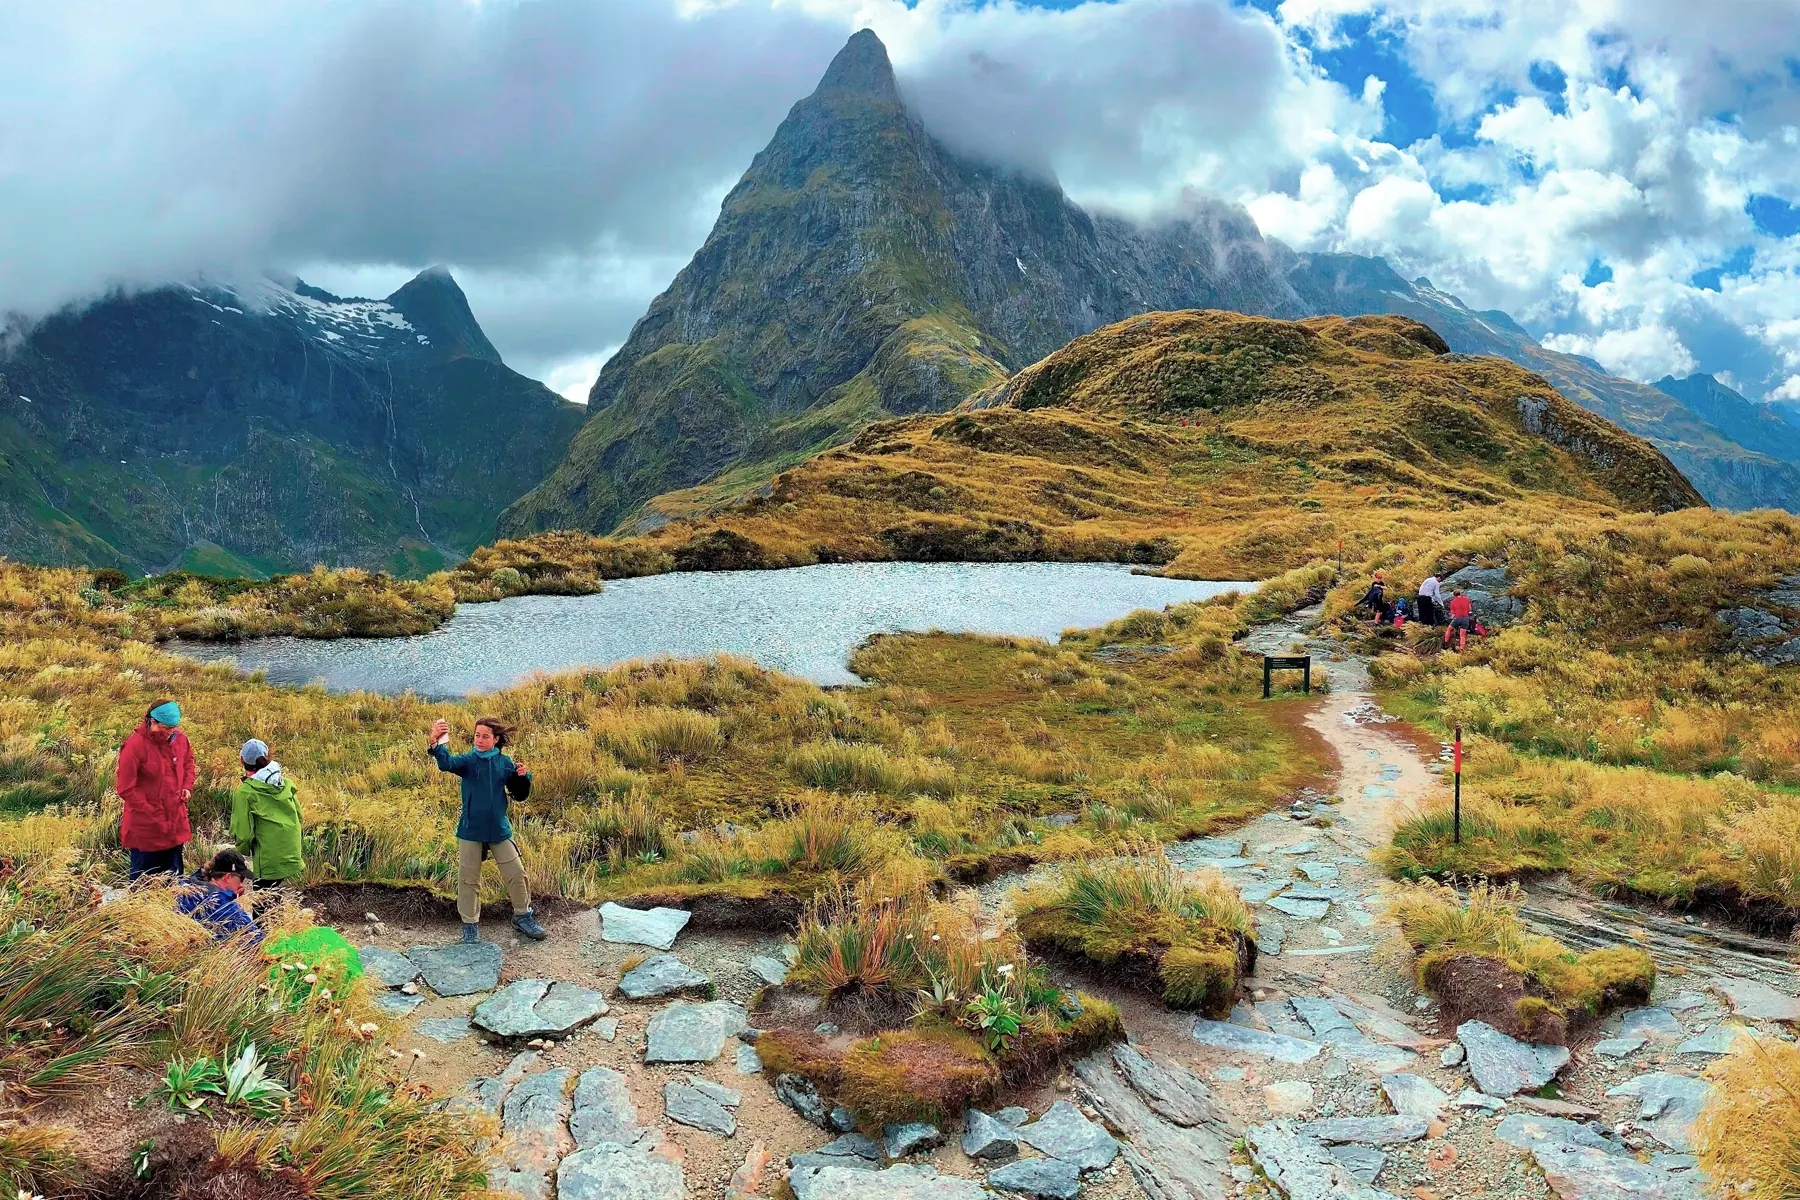
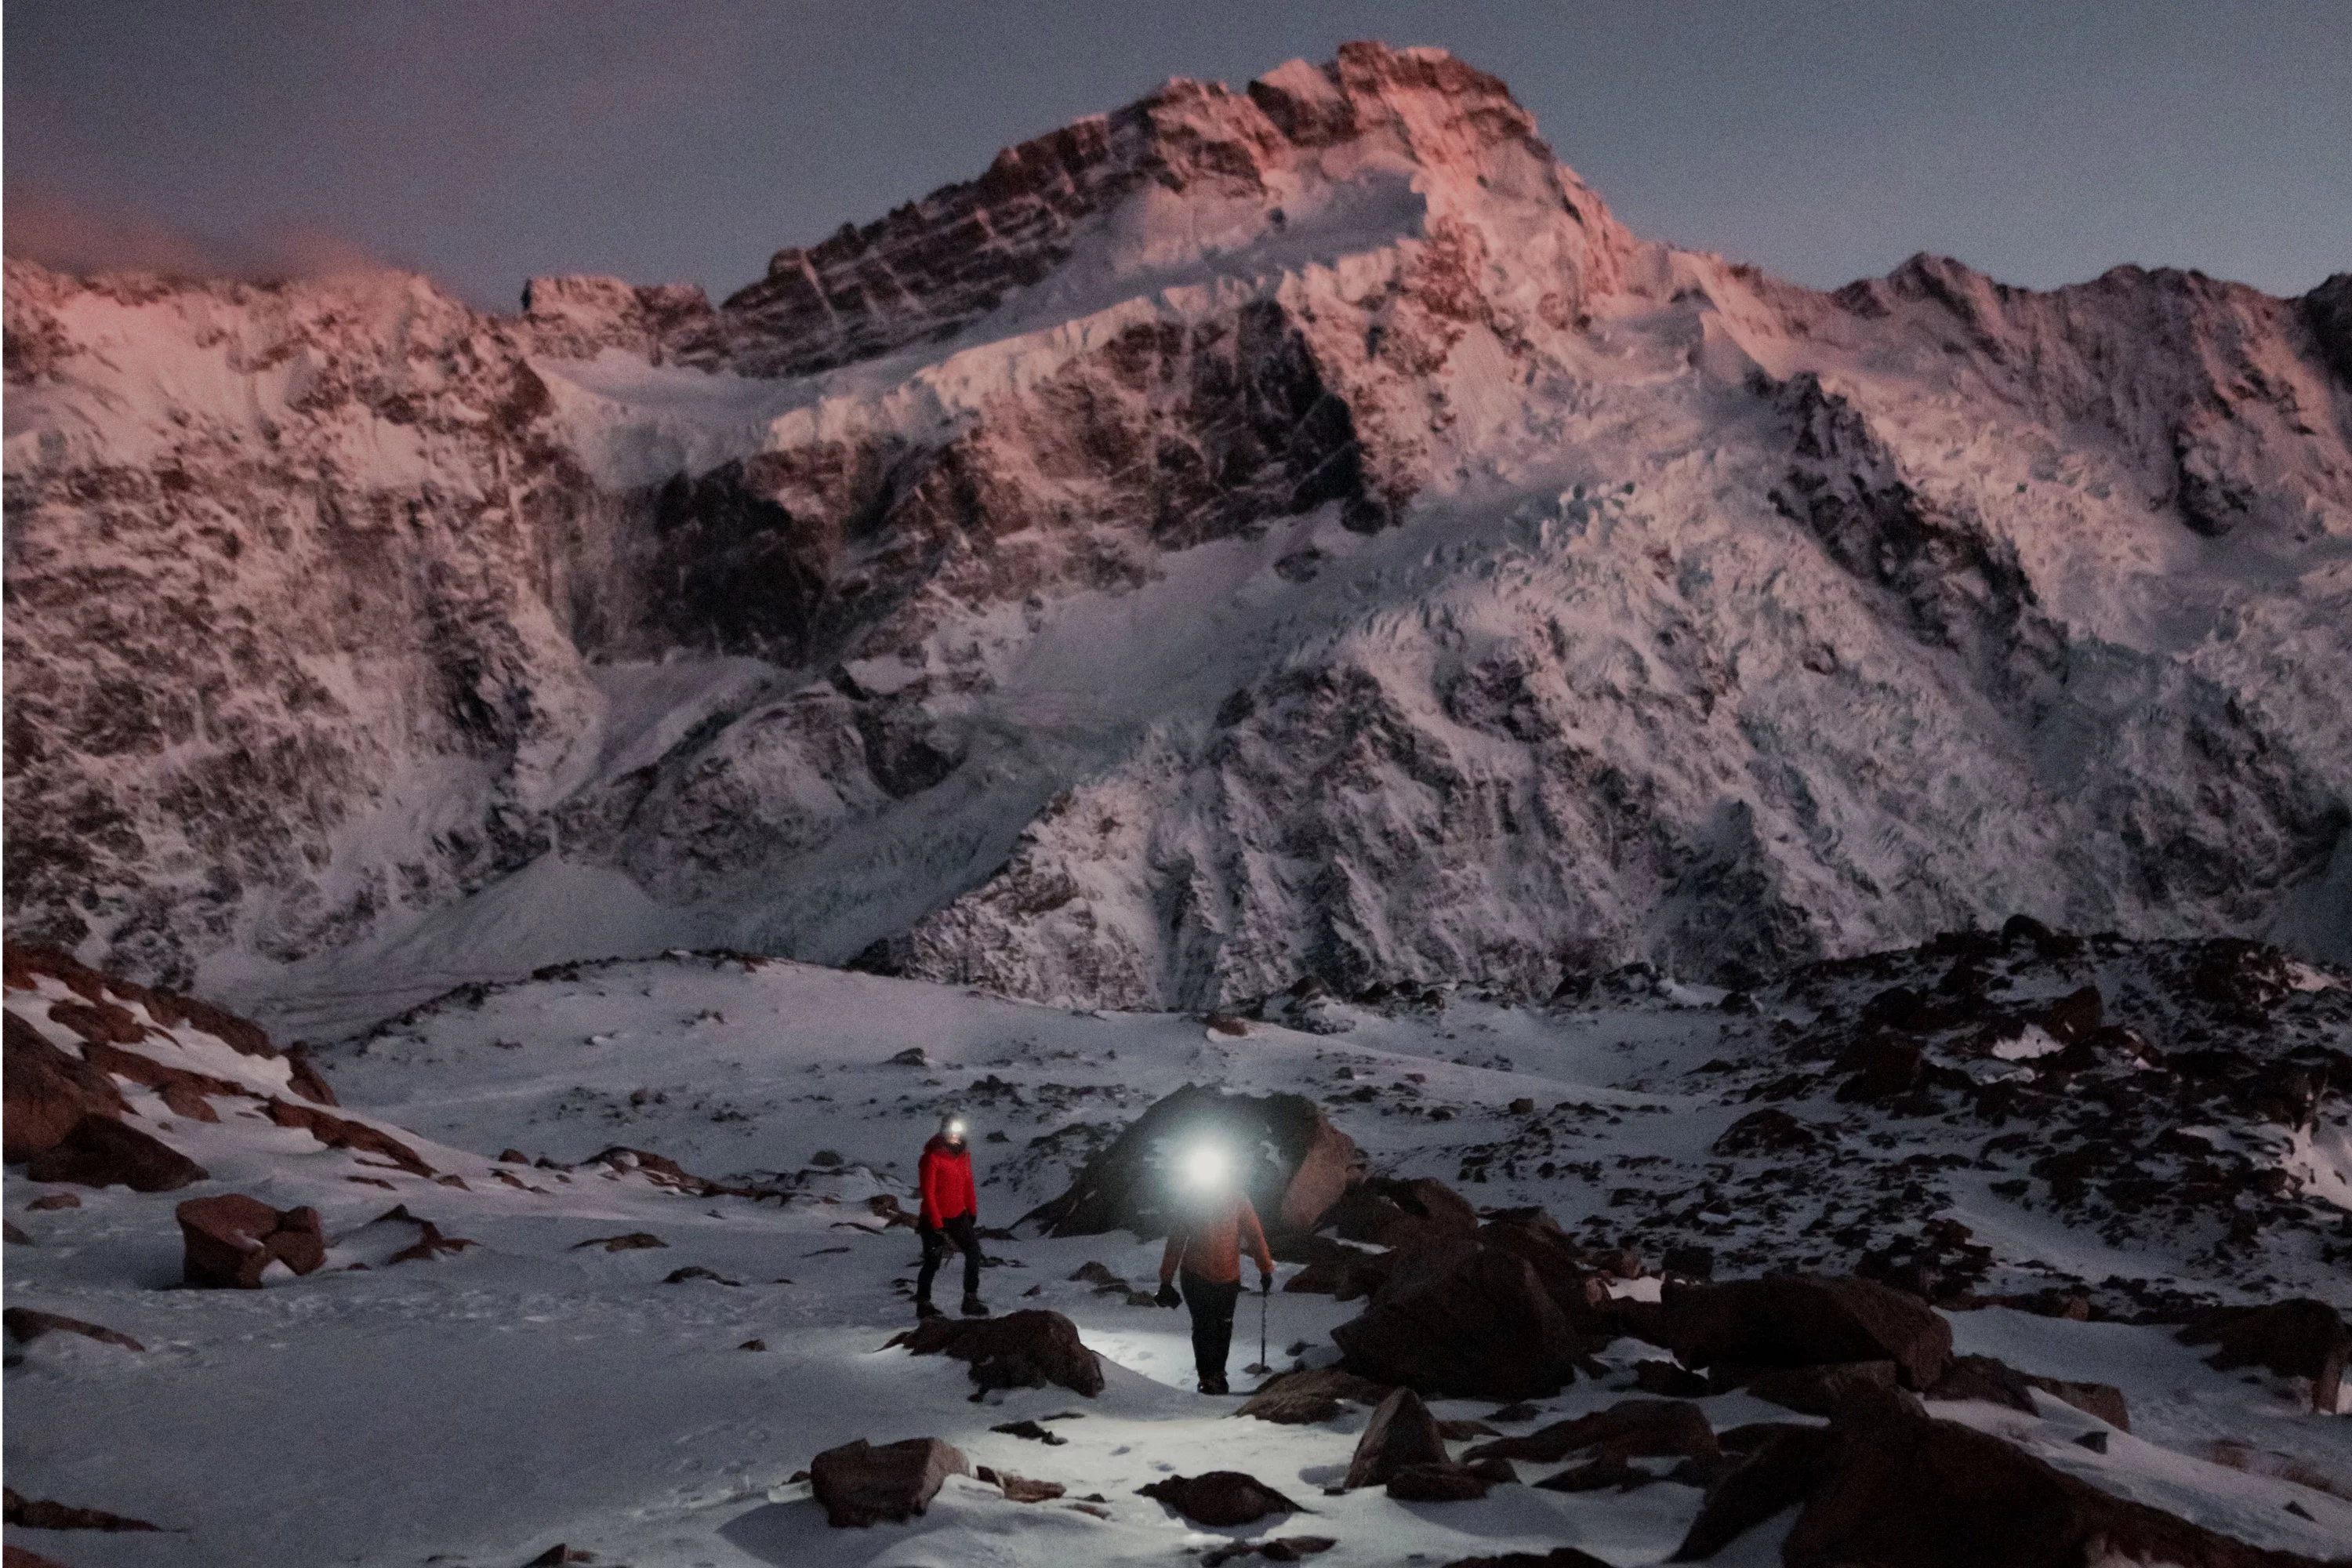
Using Scale
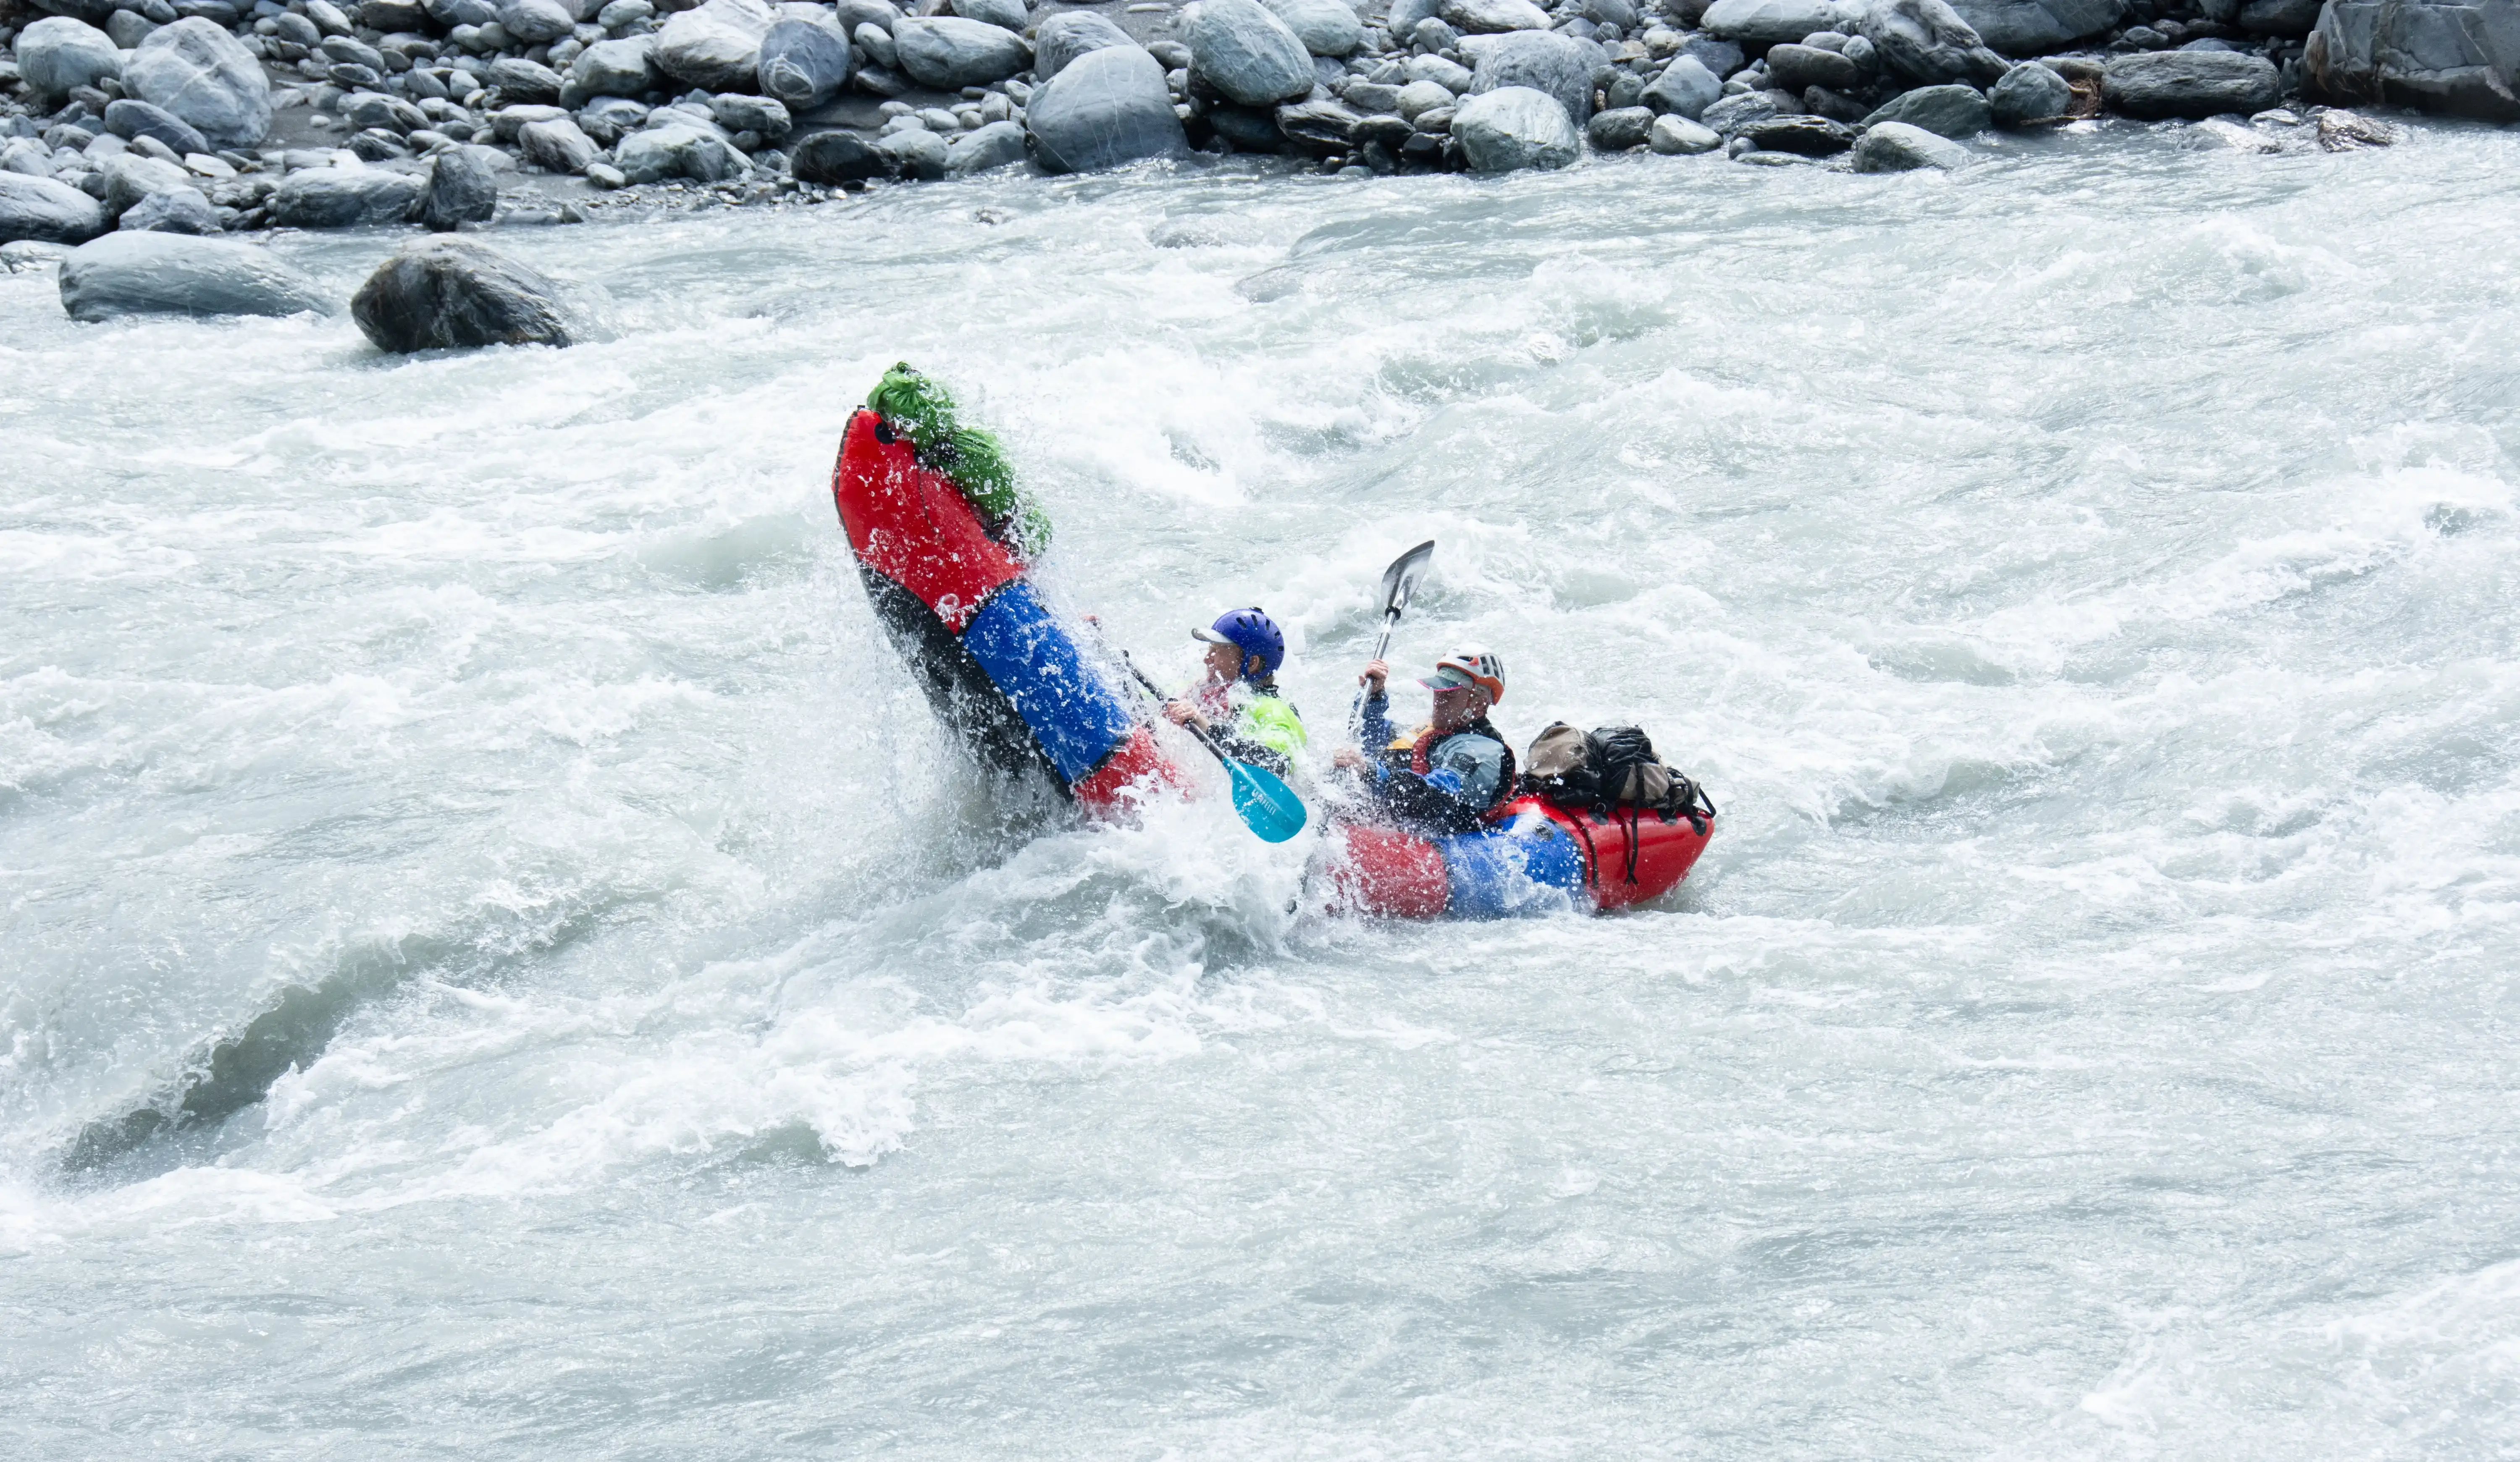
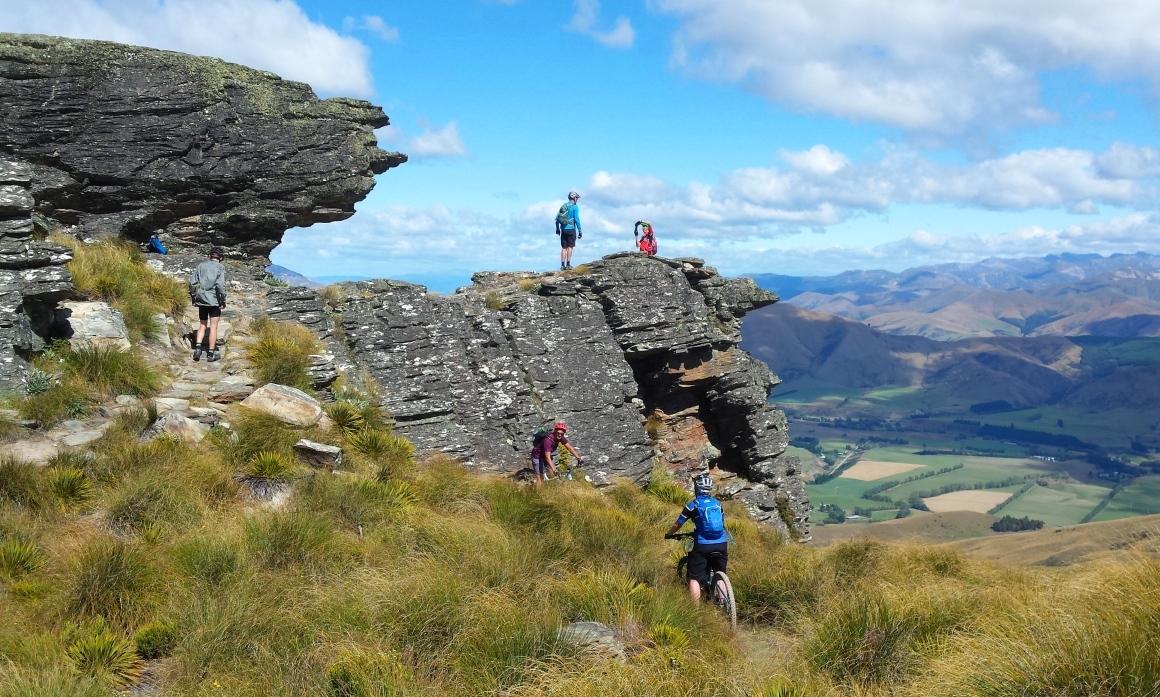
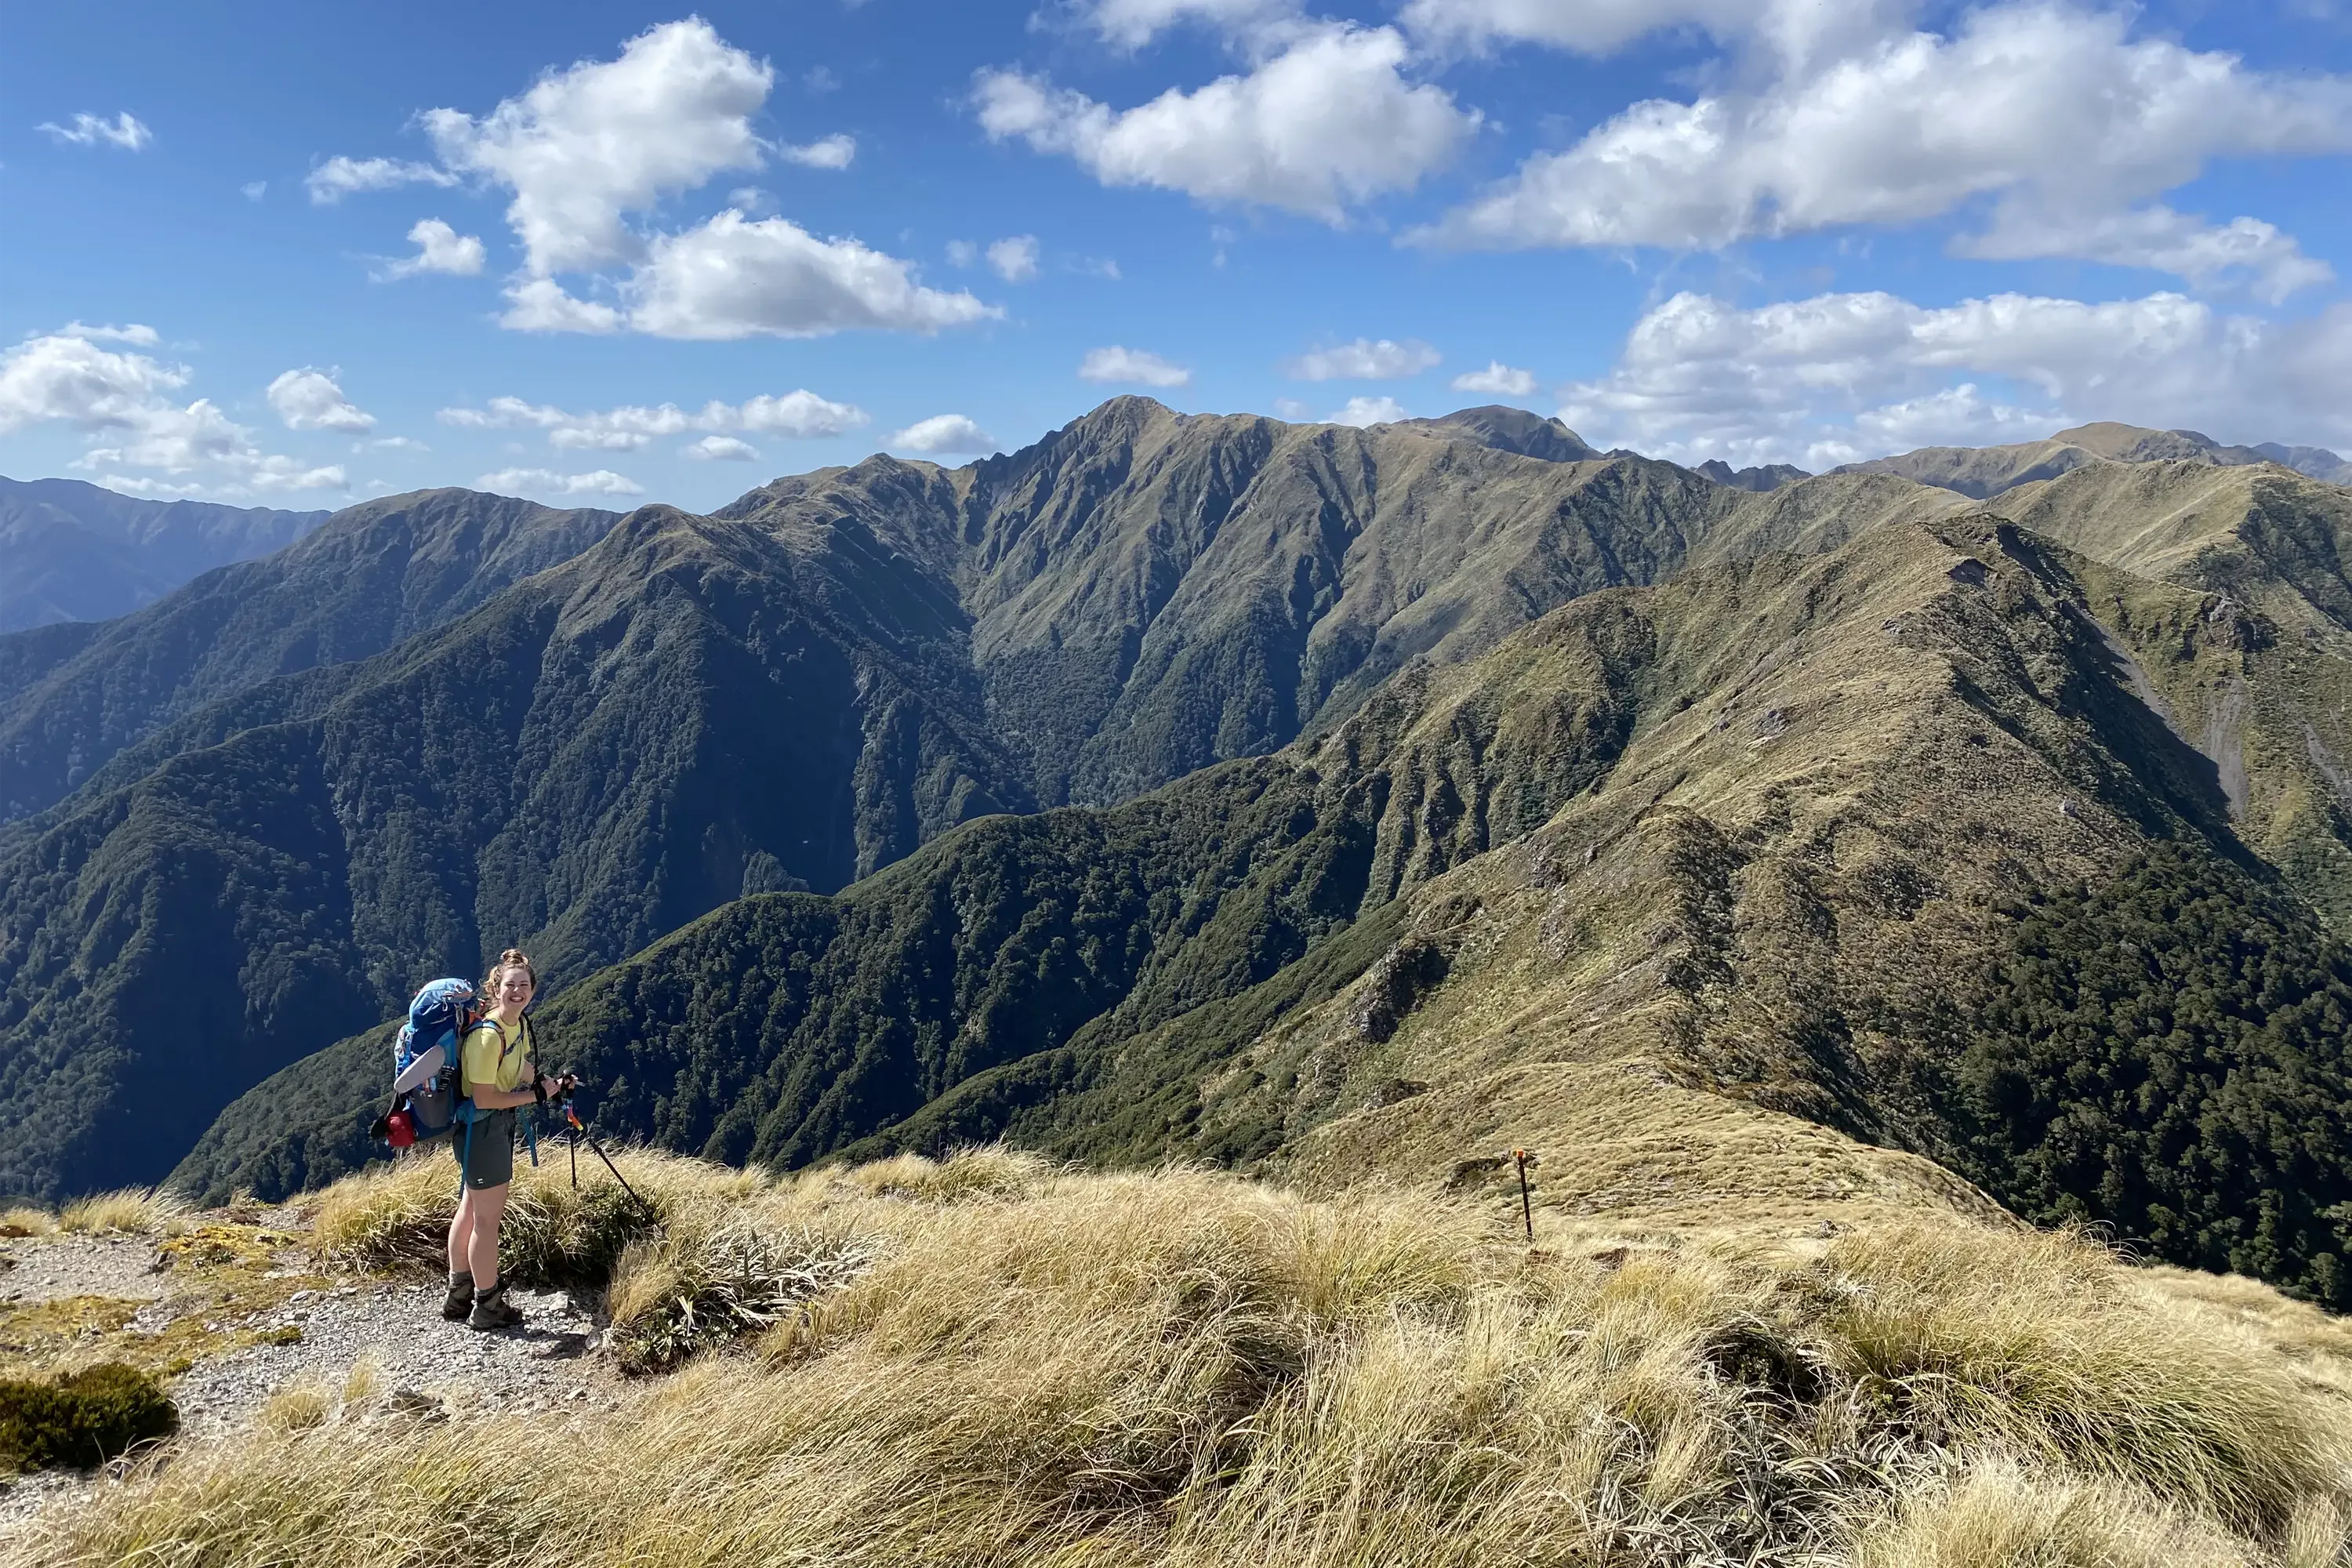
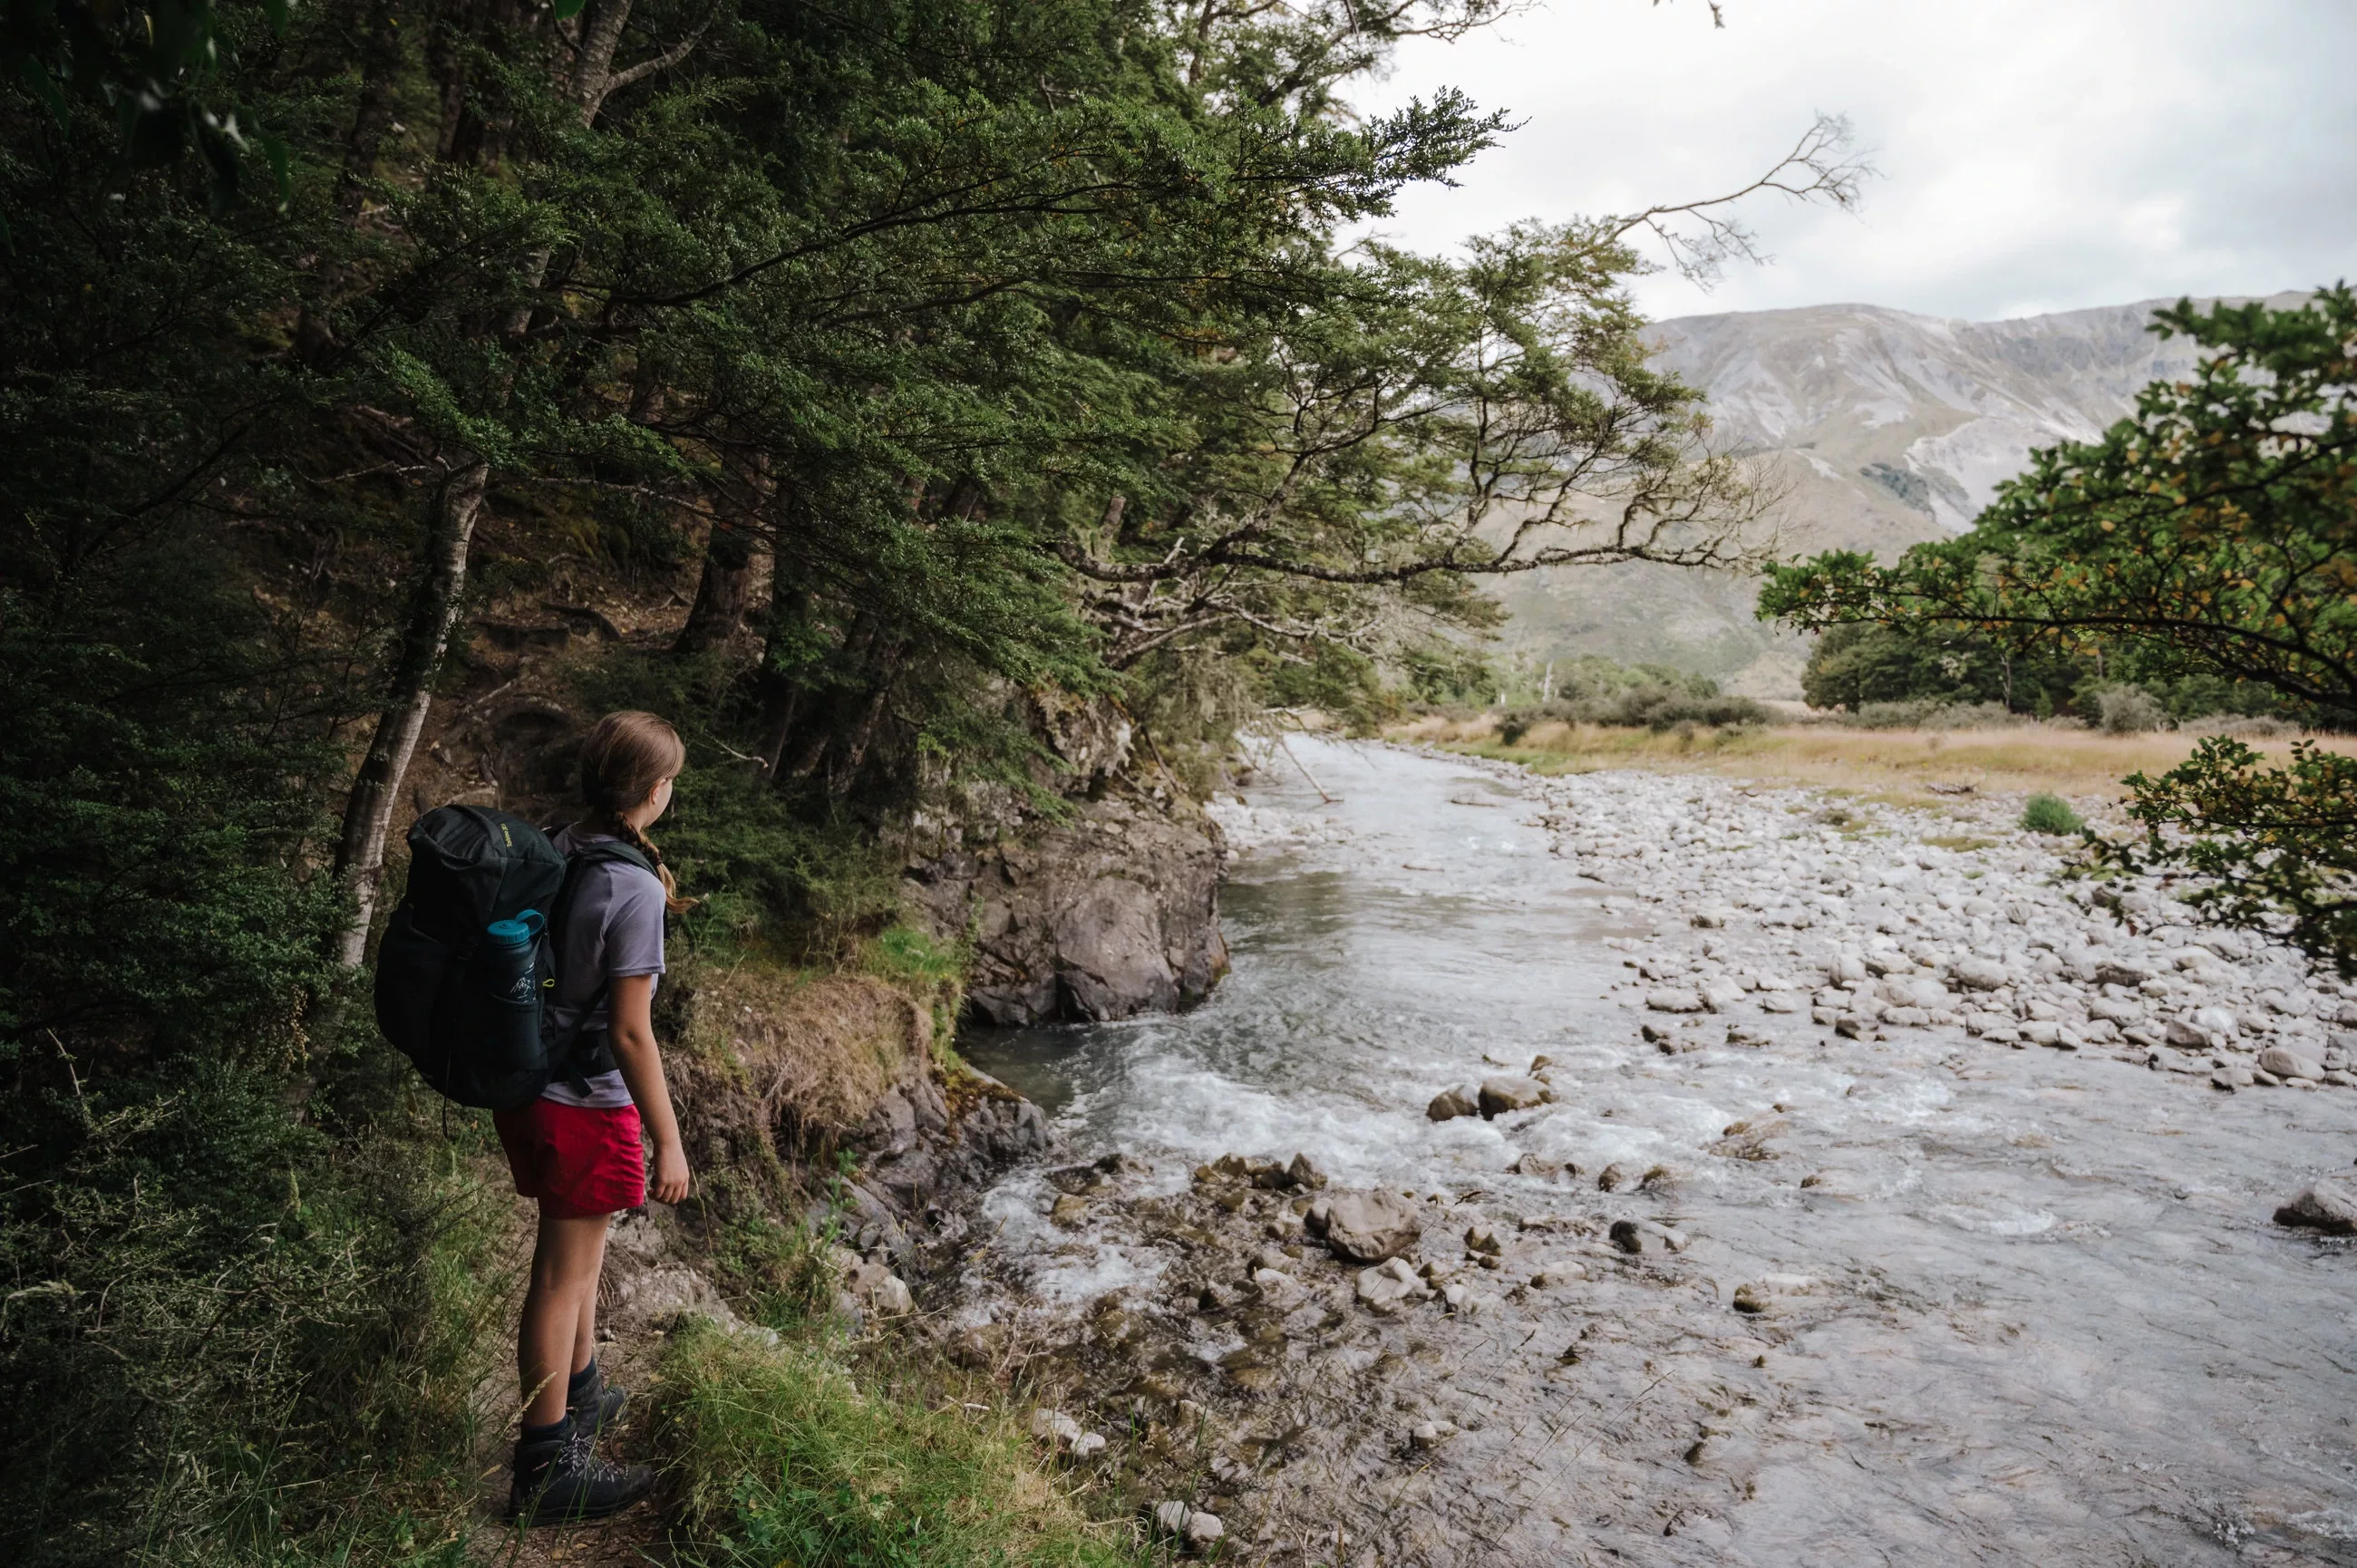
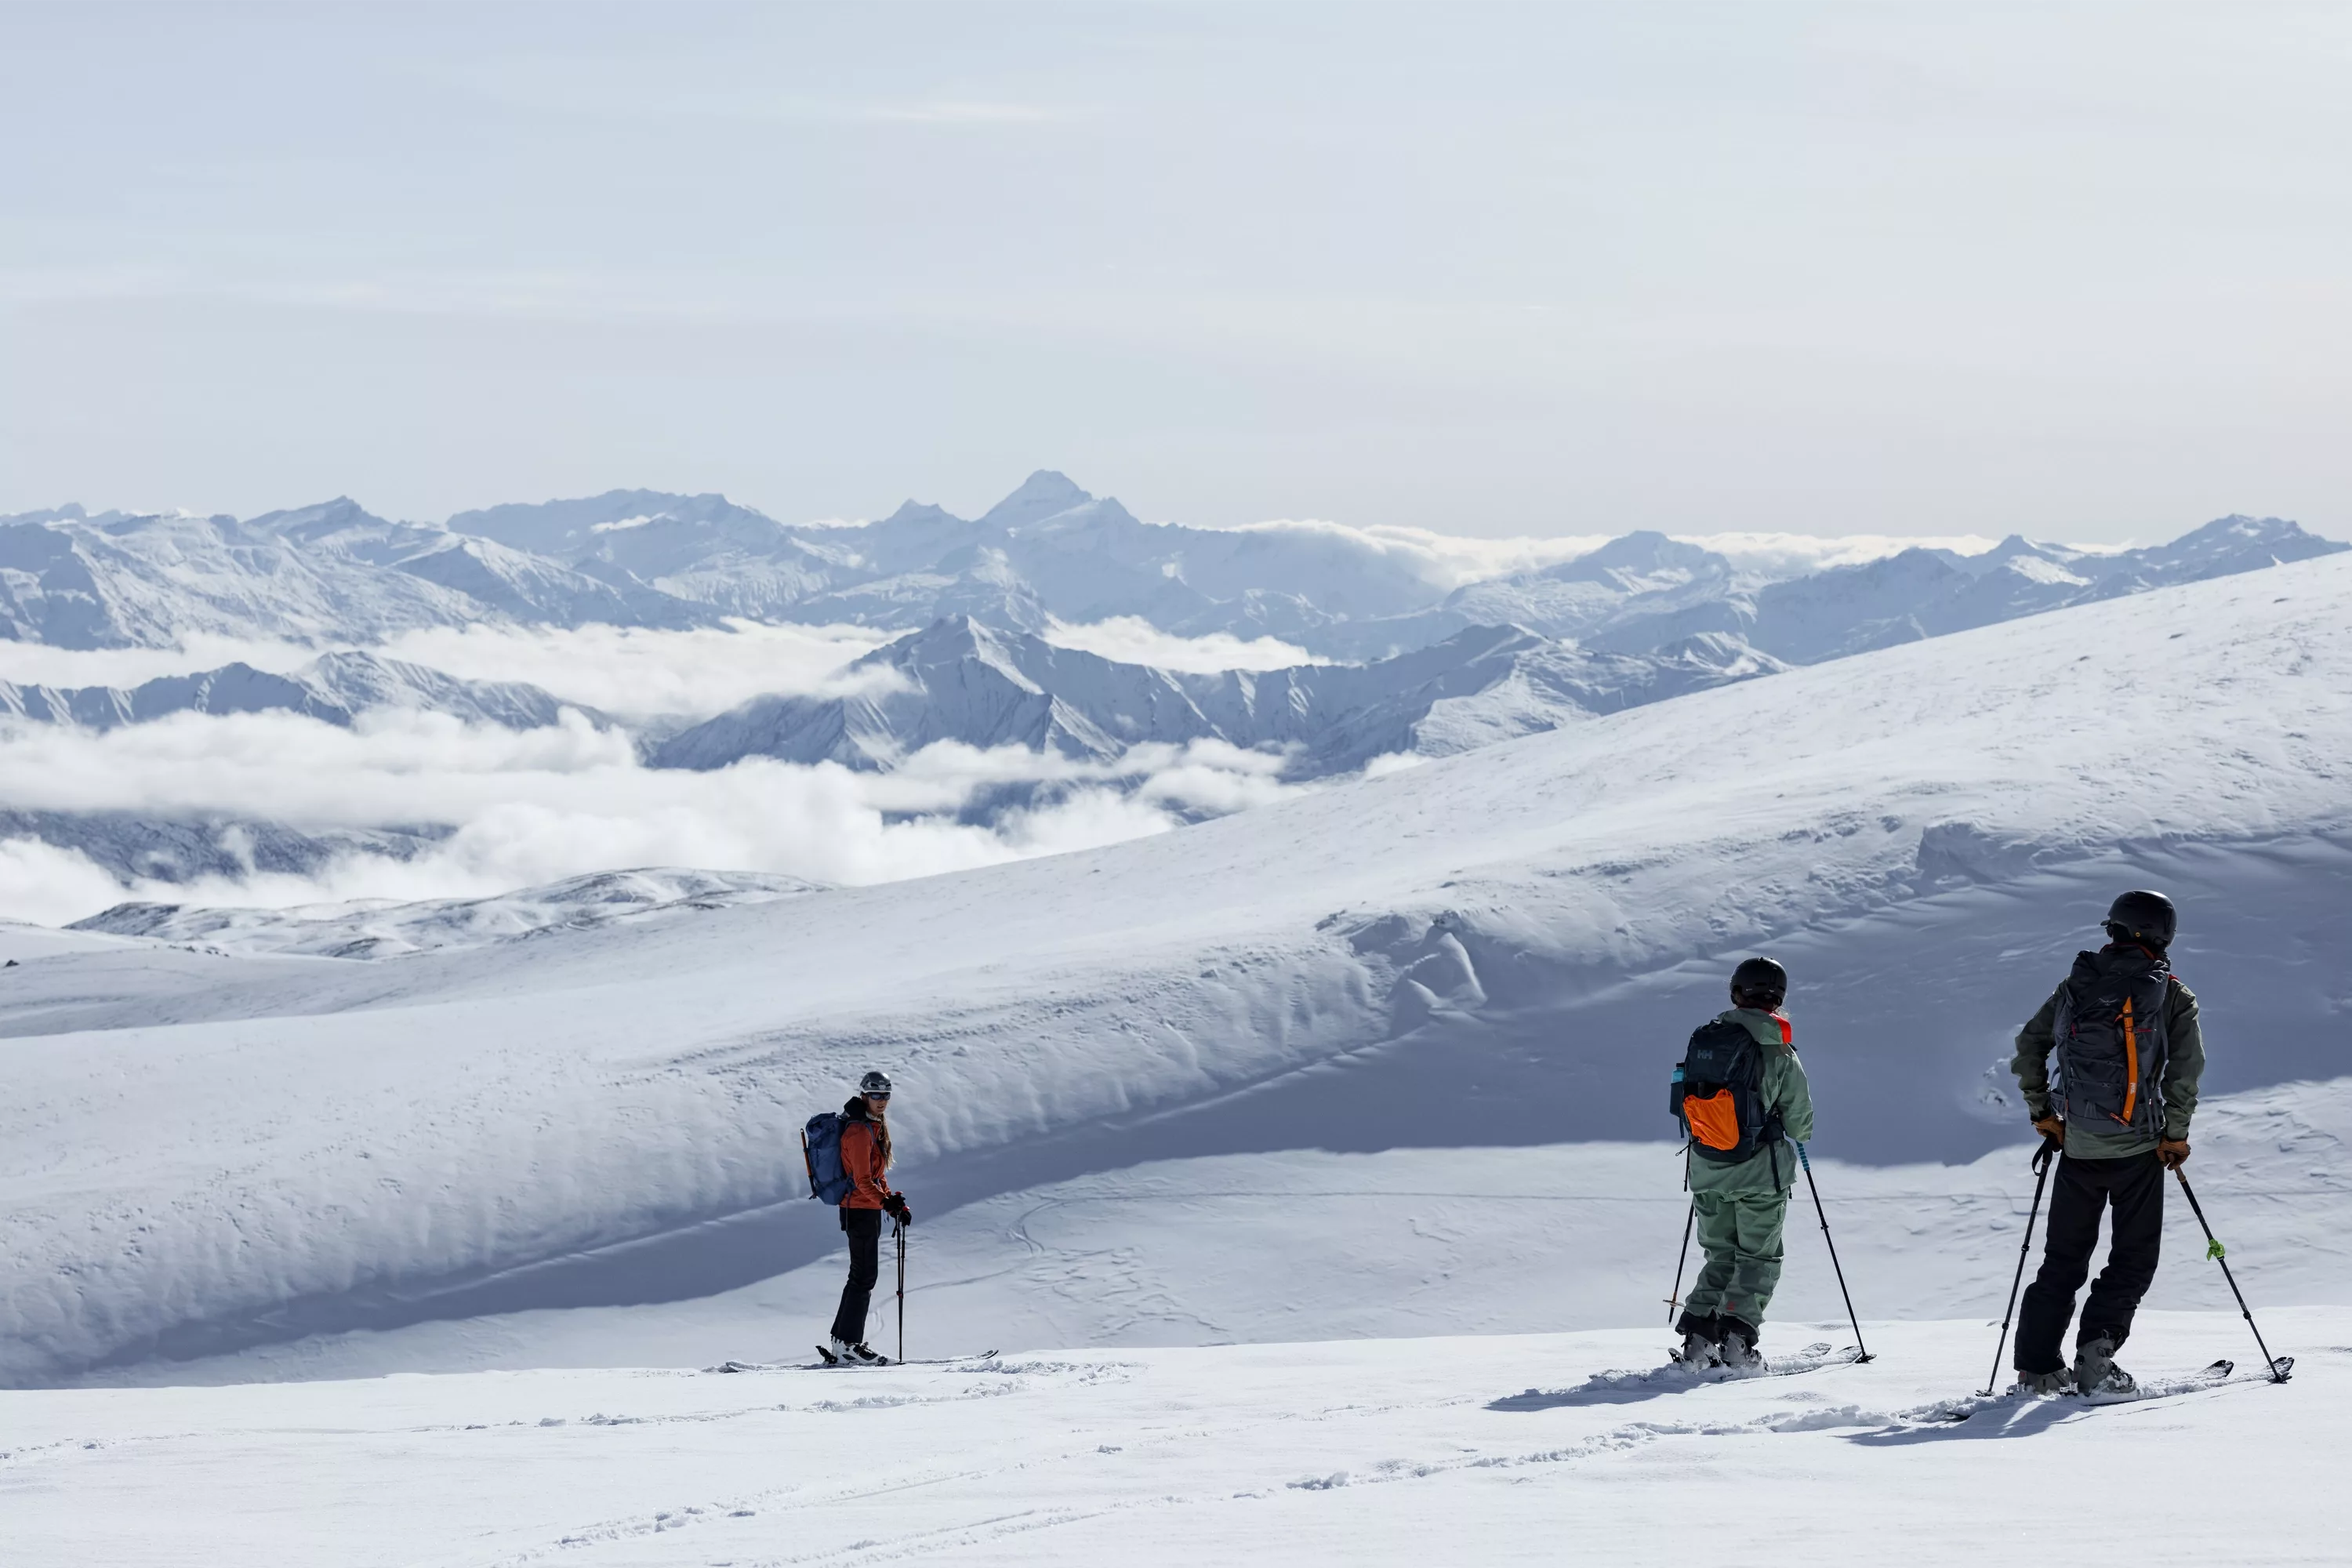
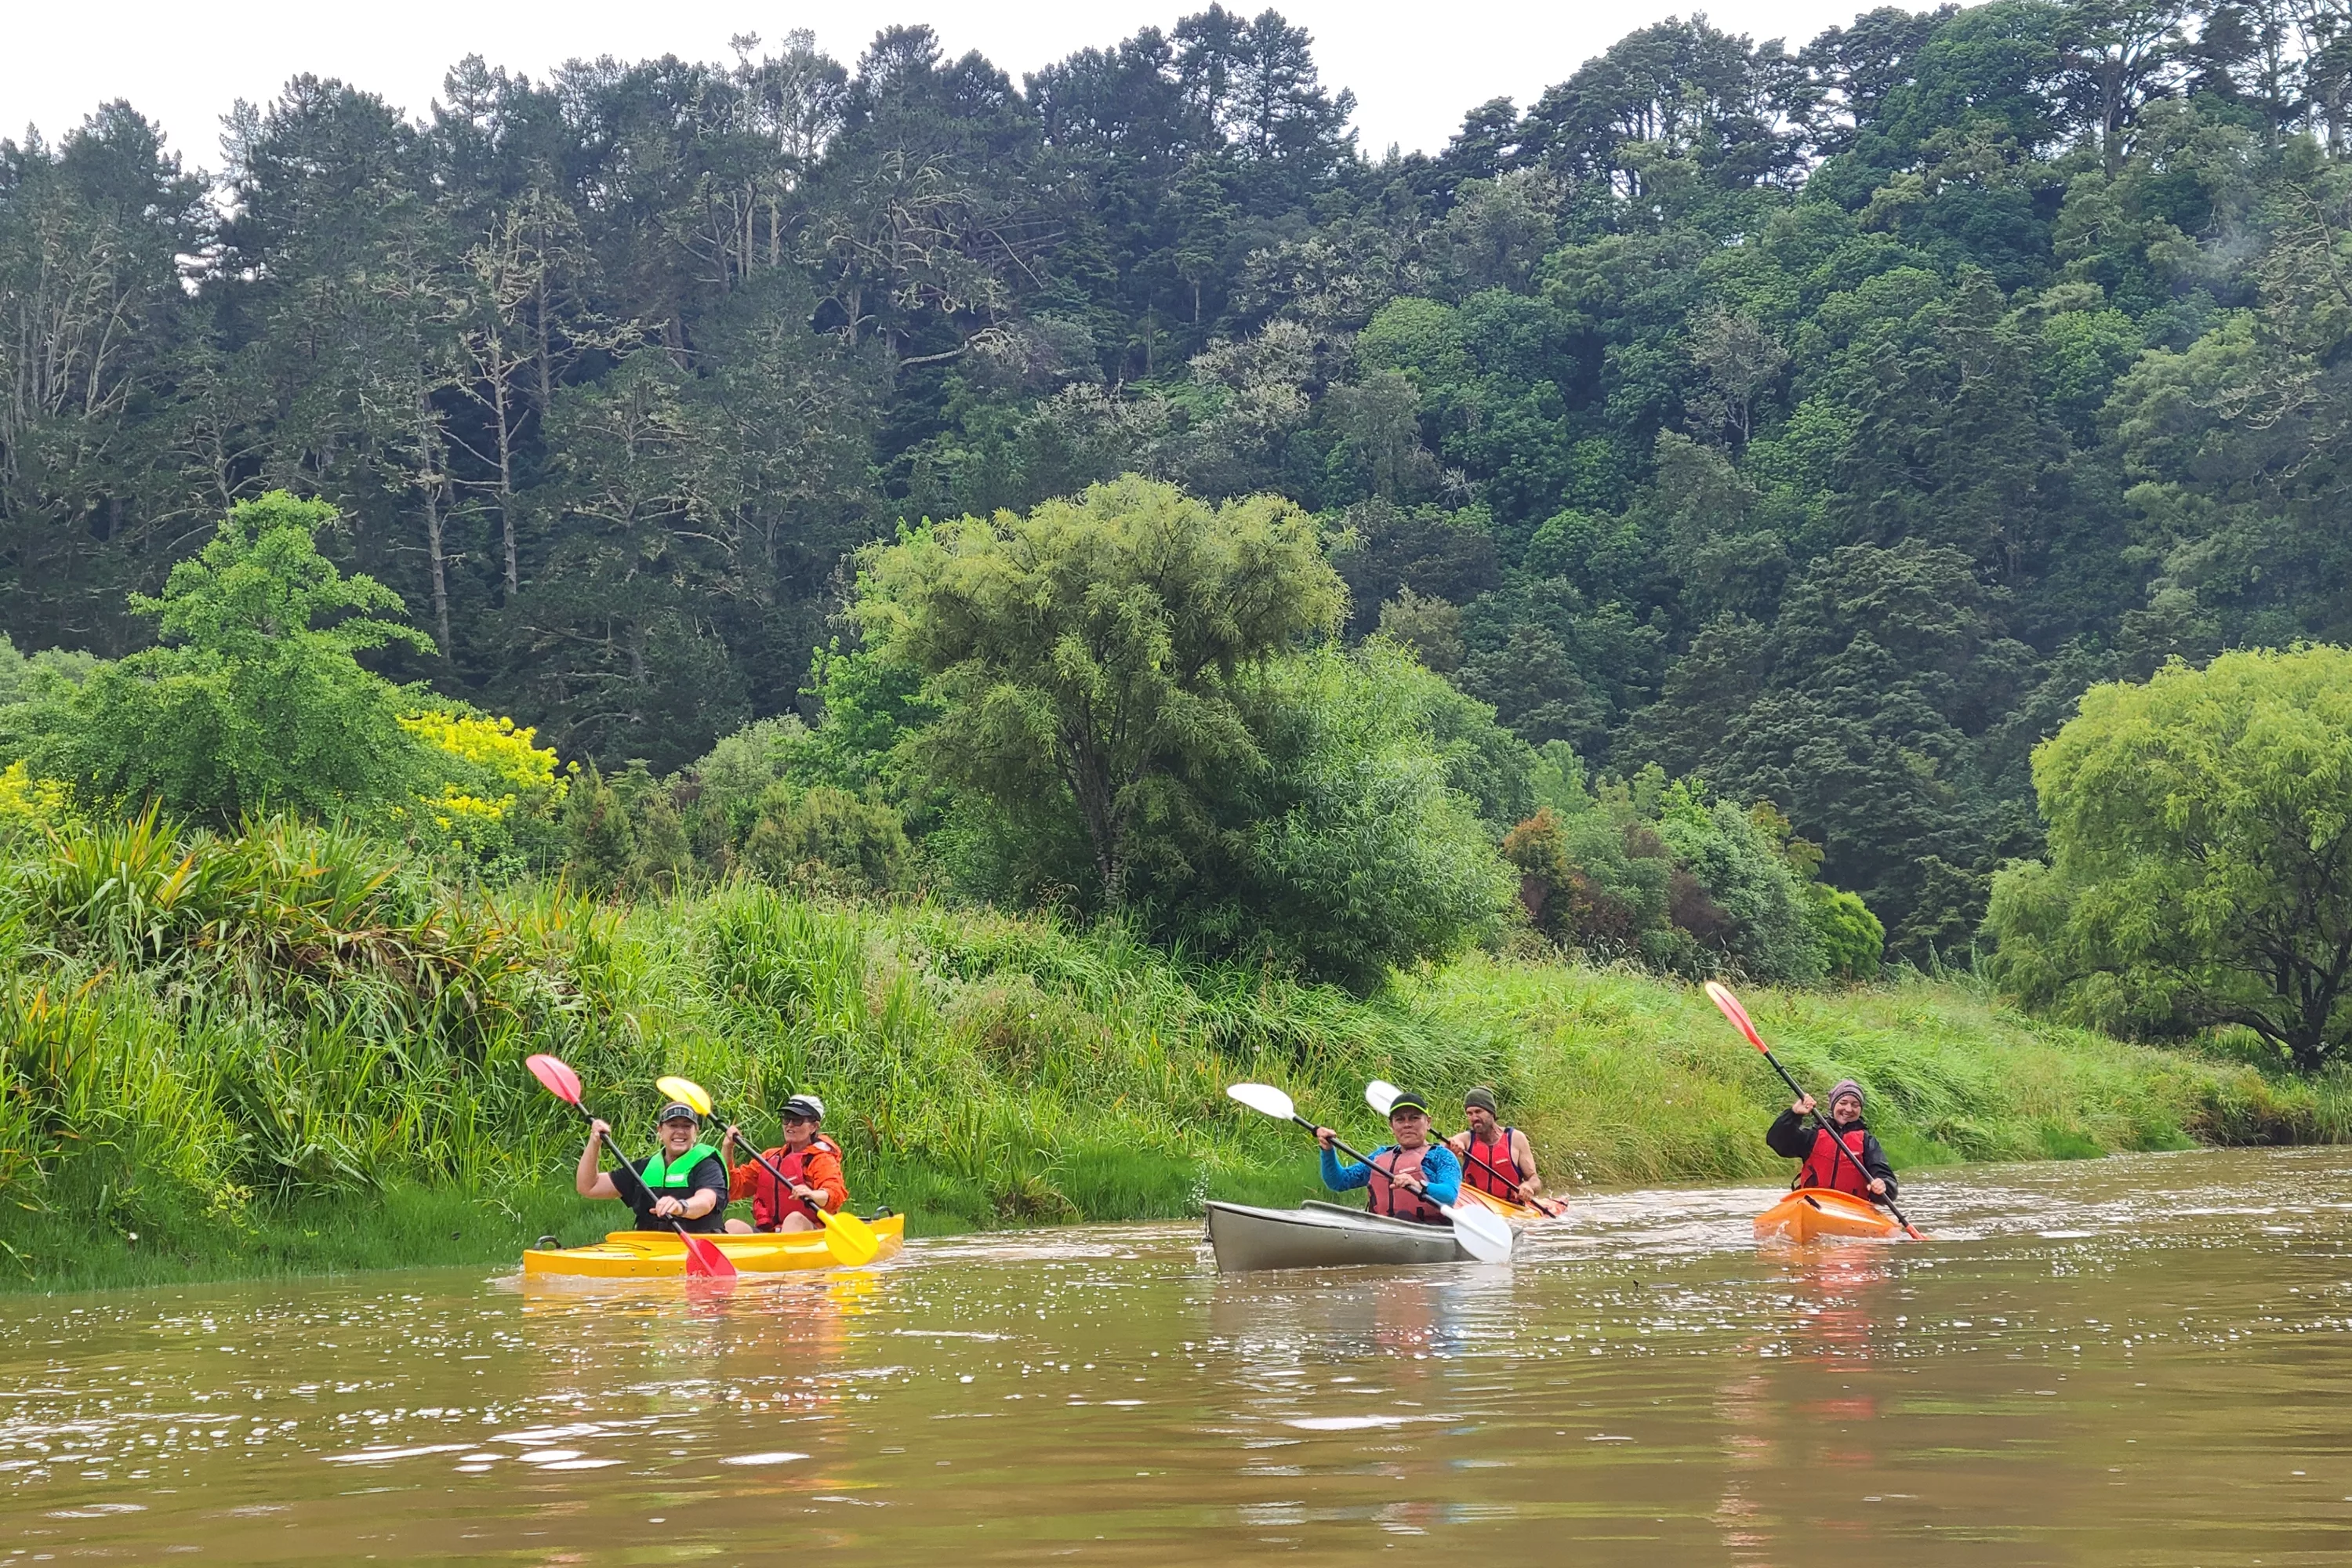
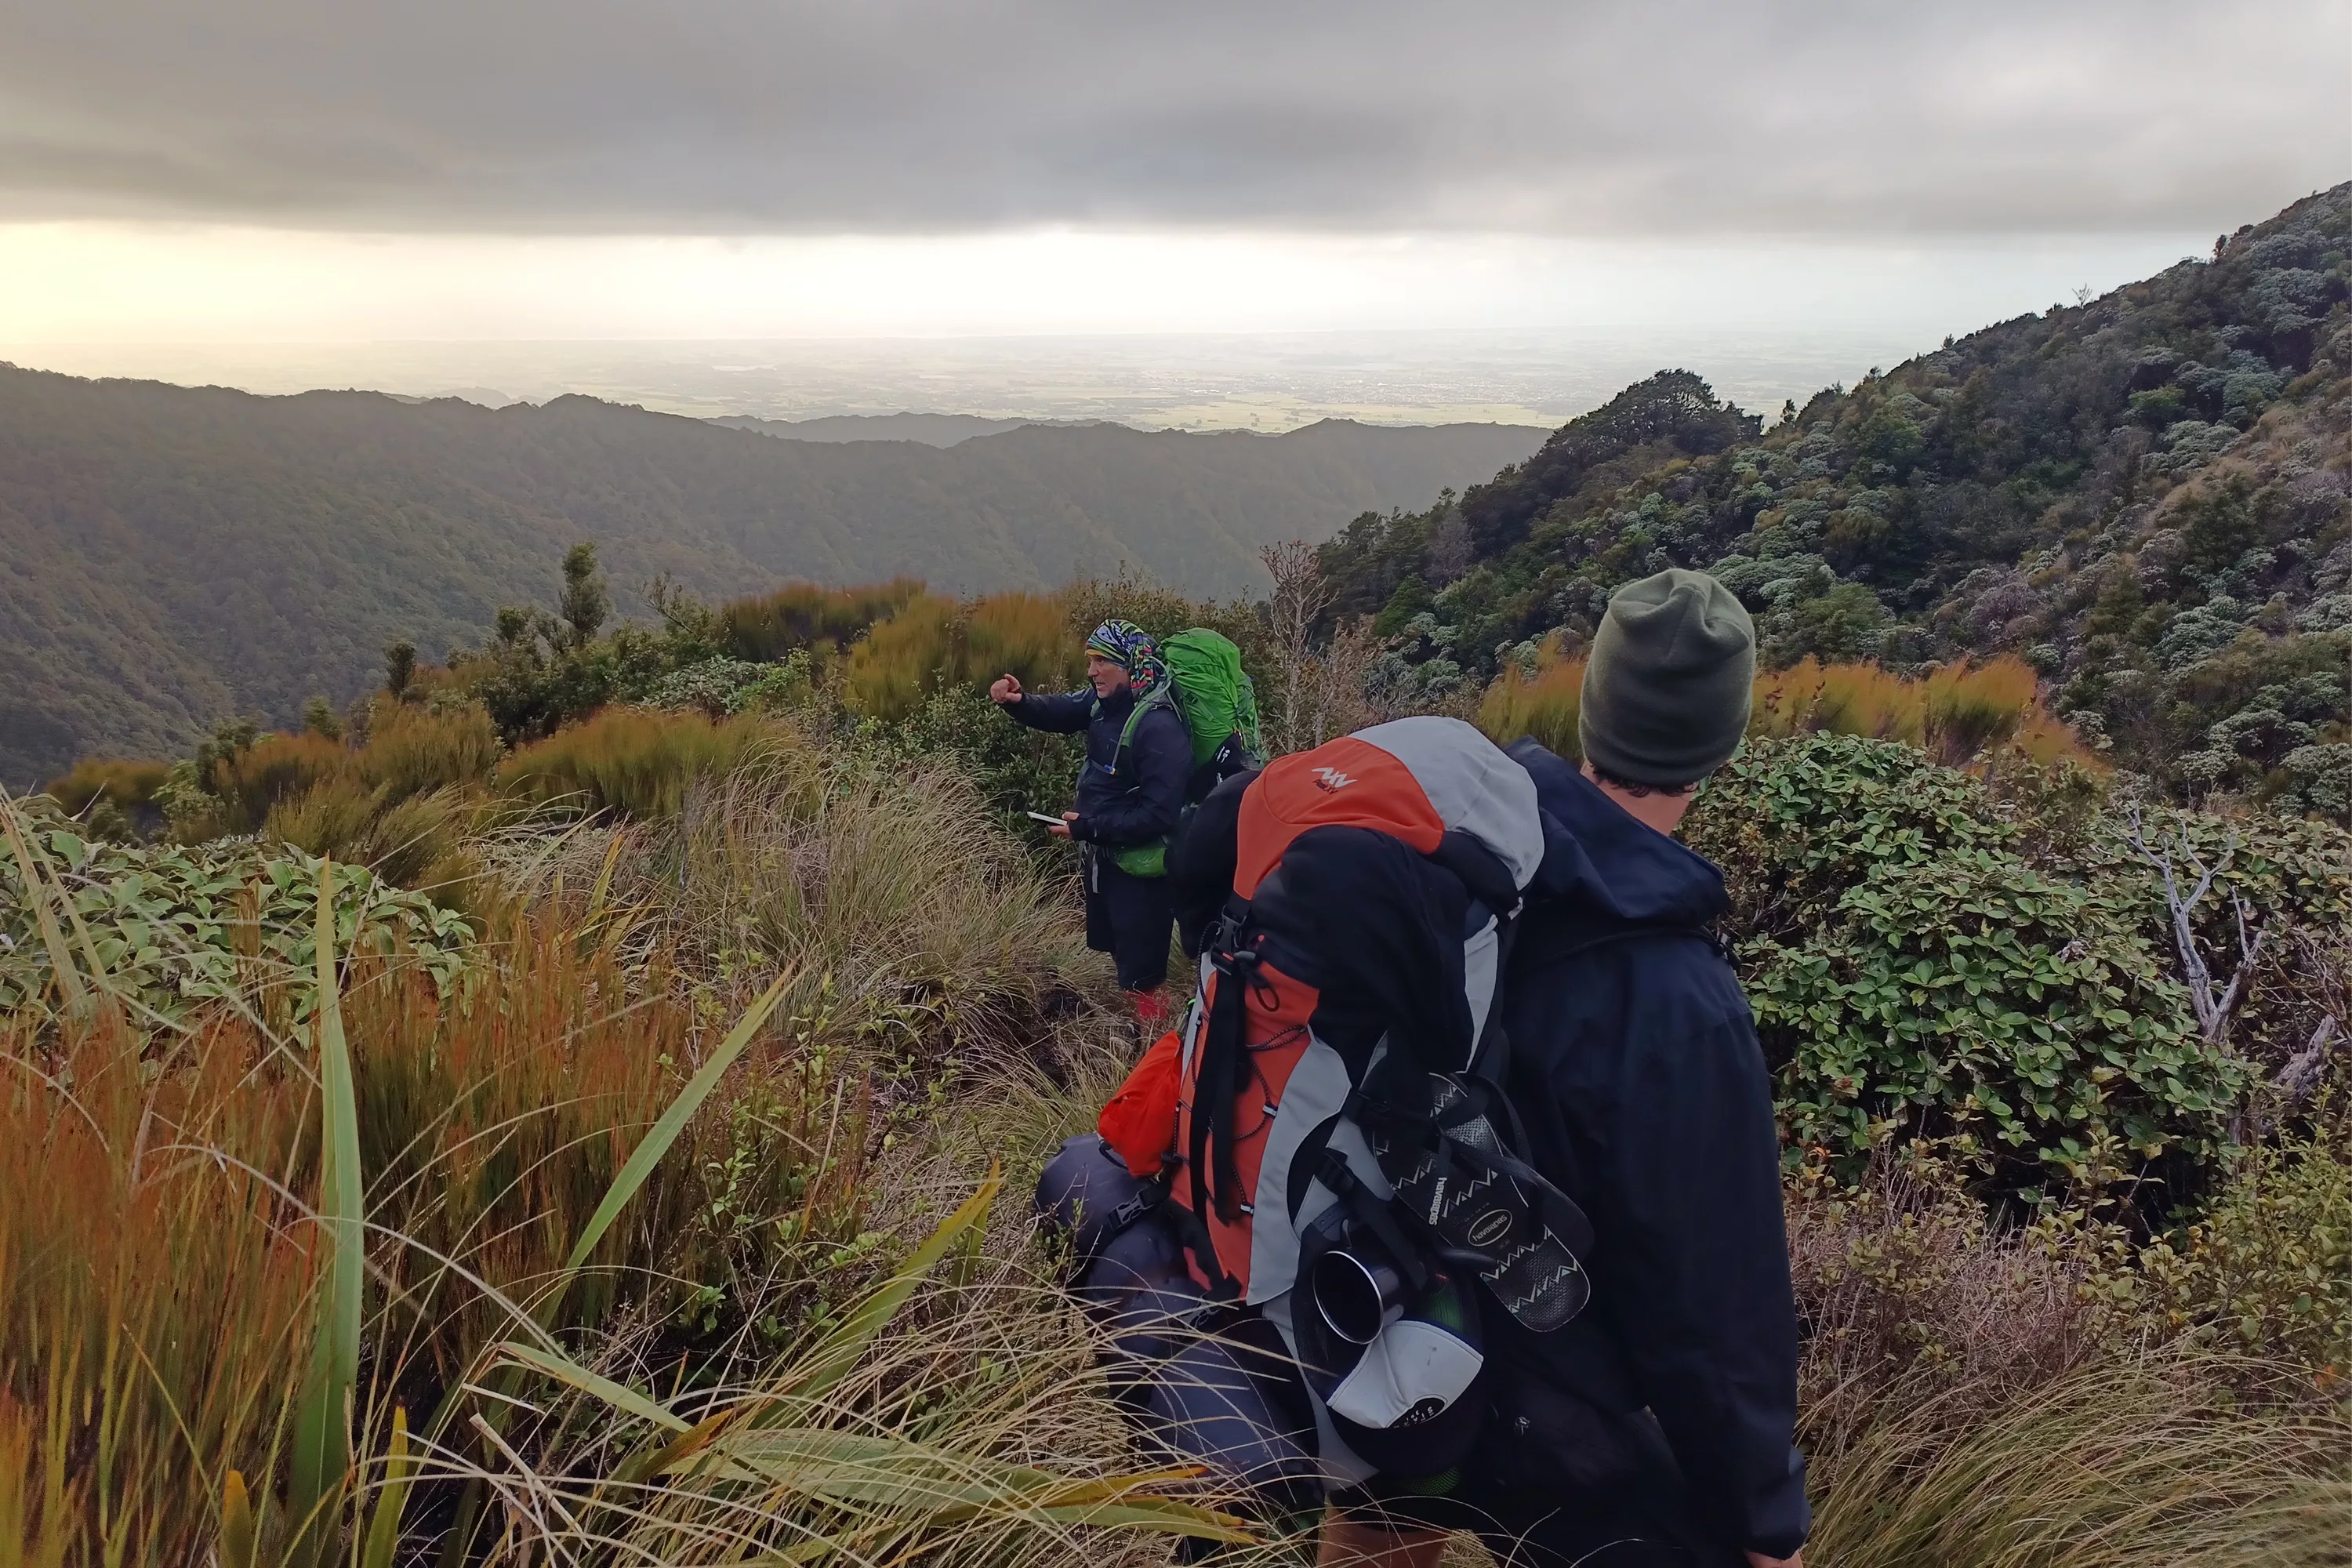
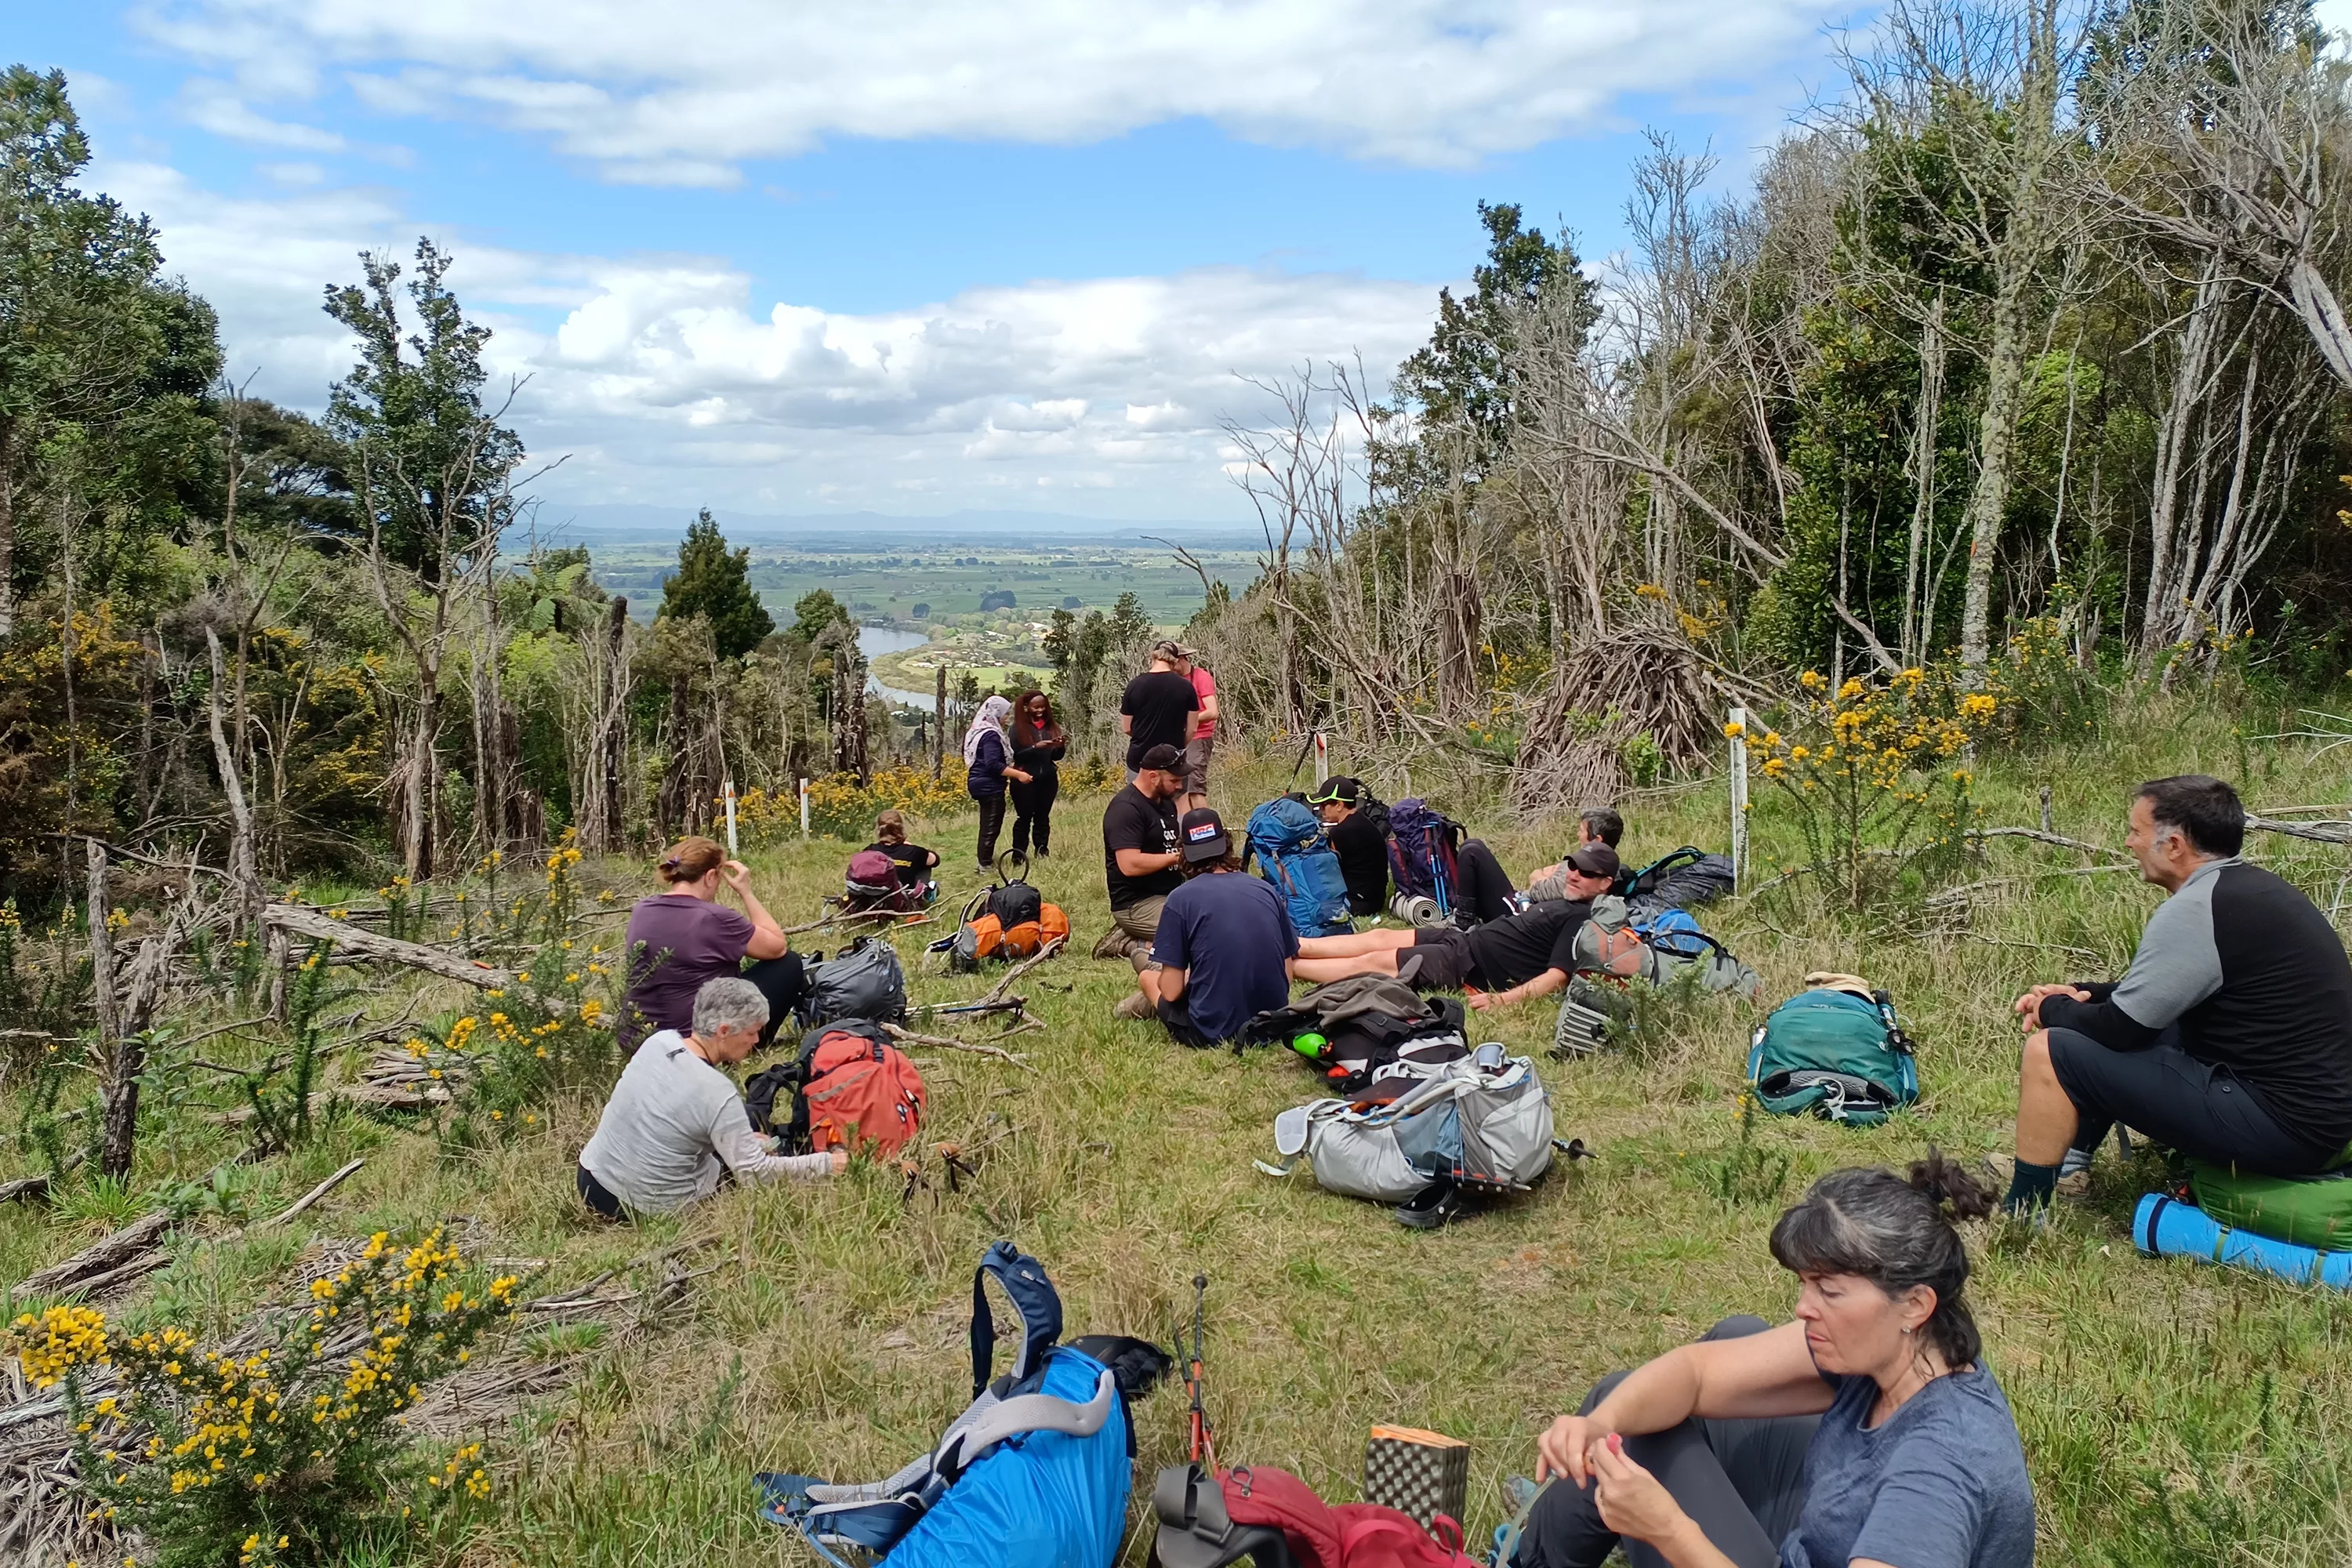
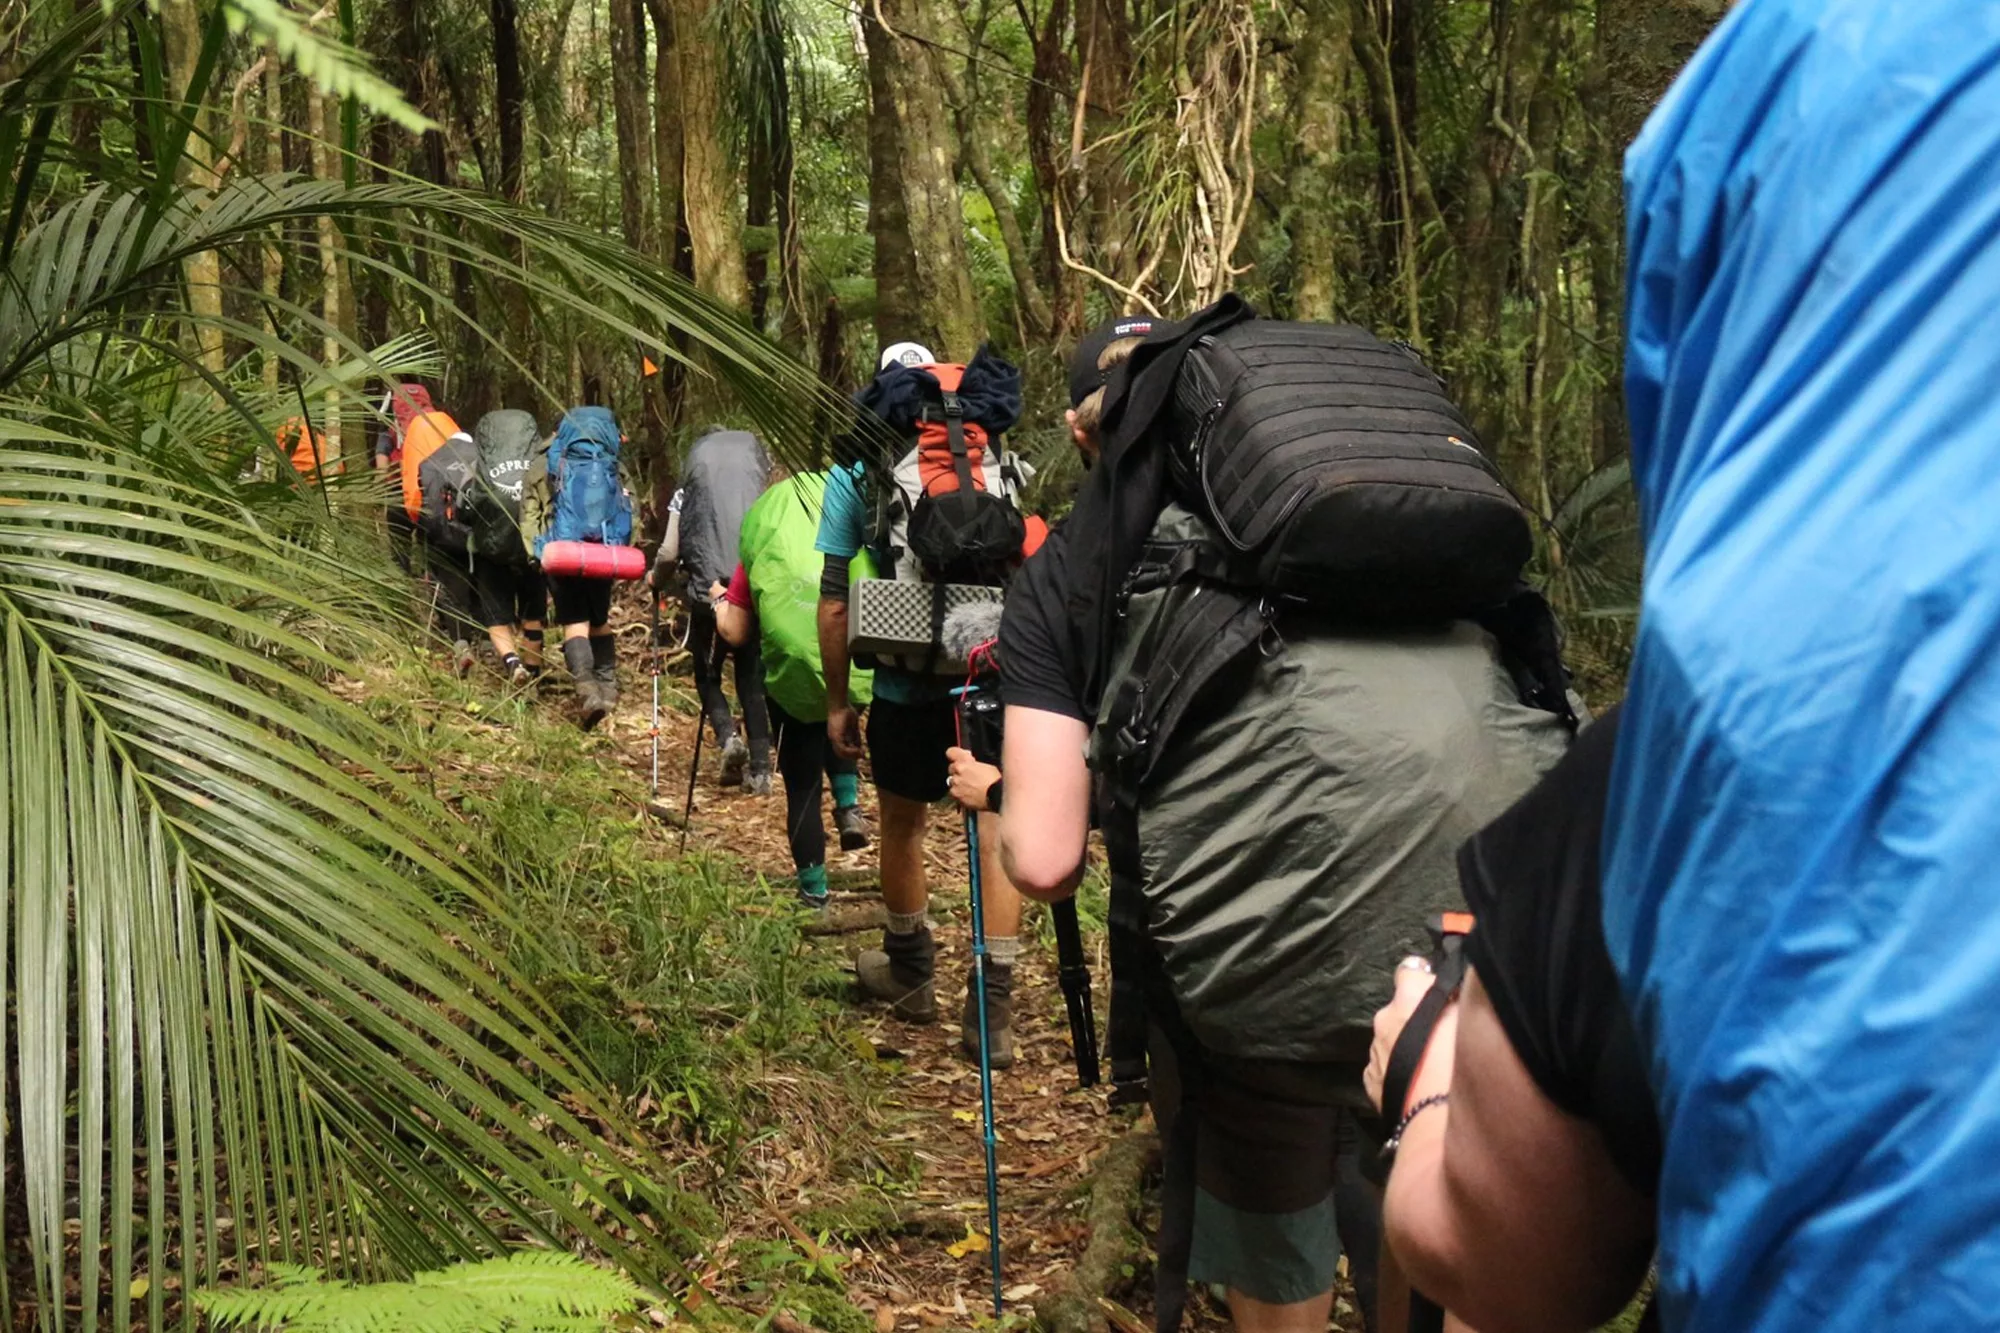
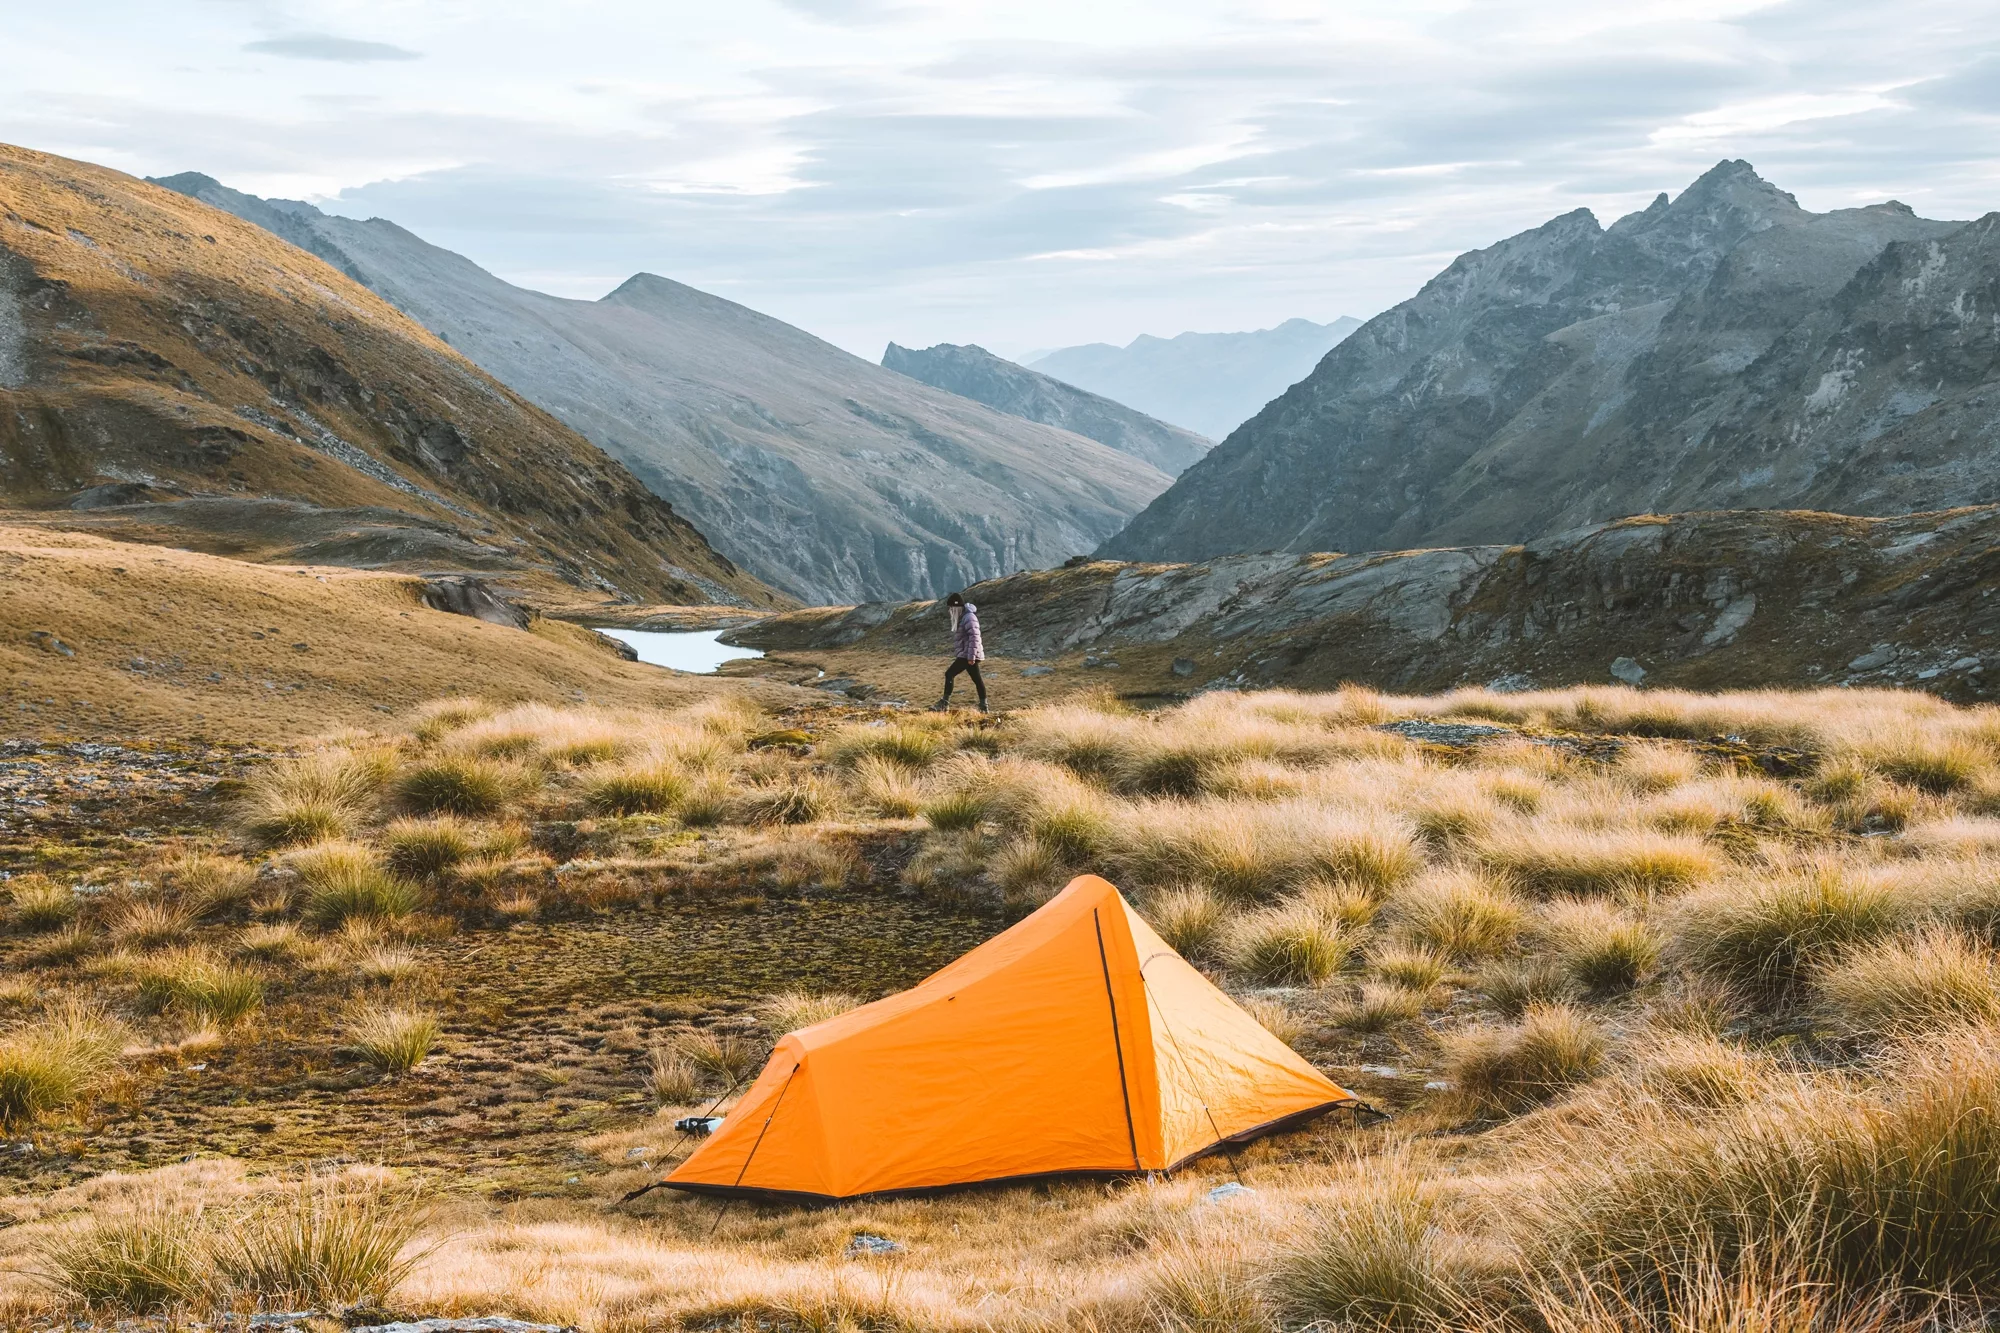
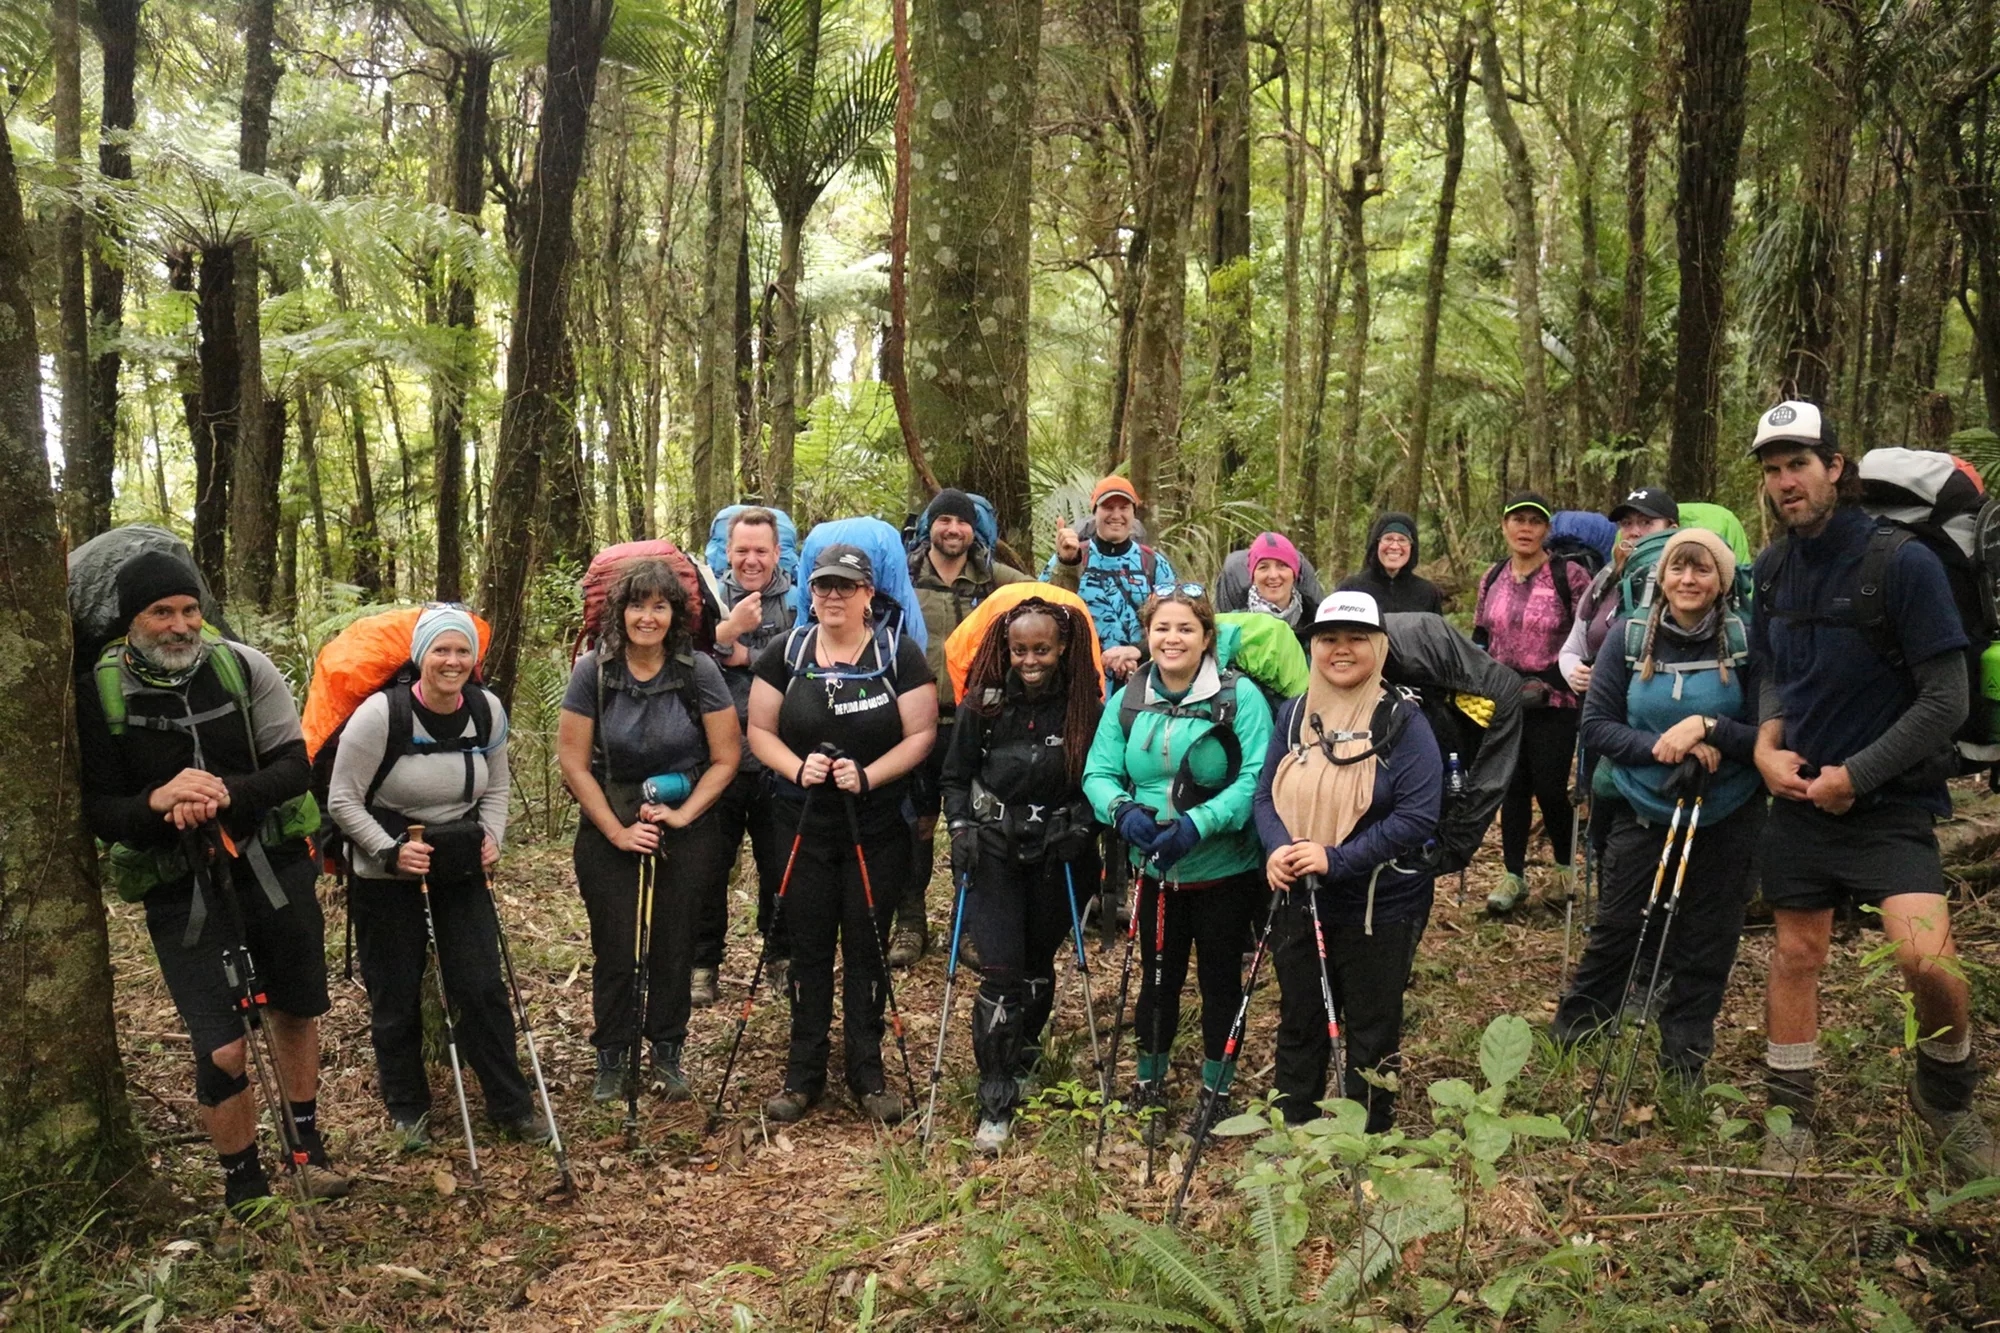
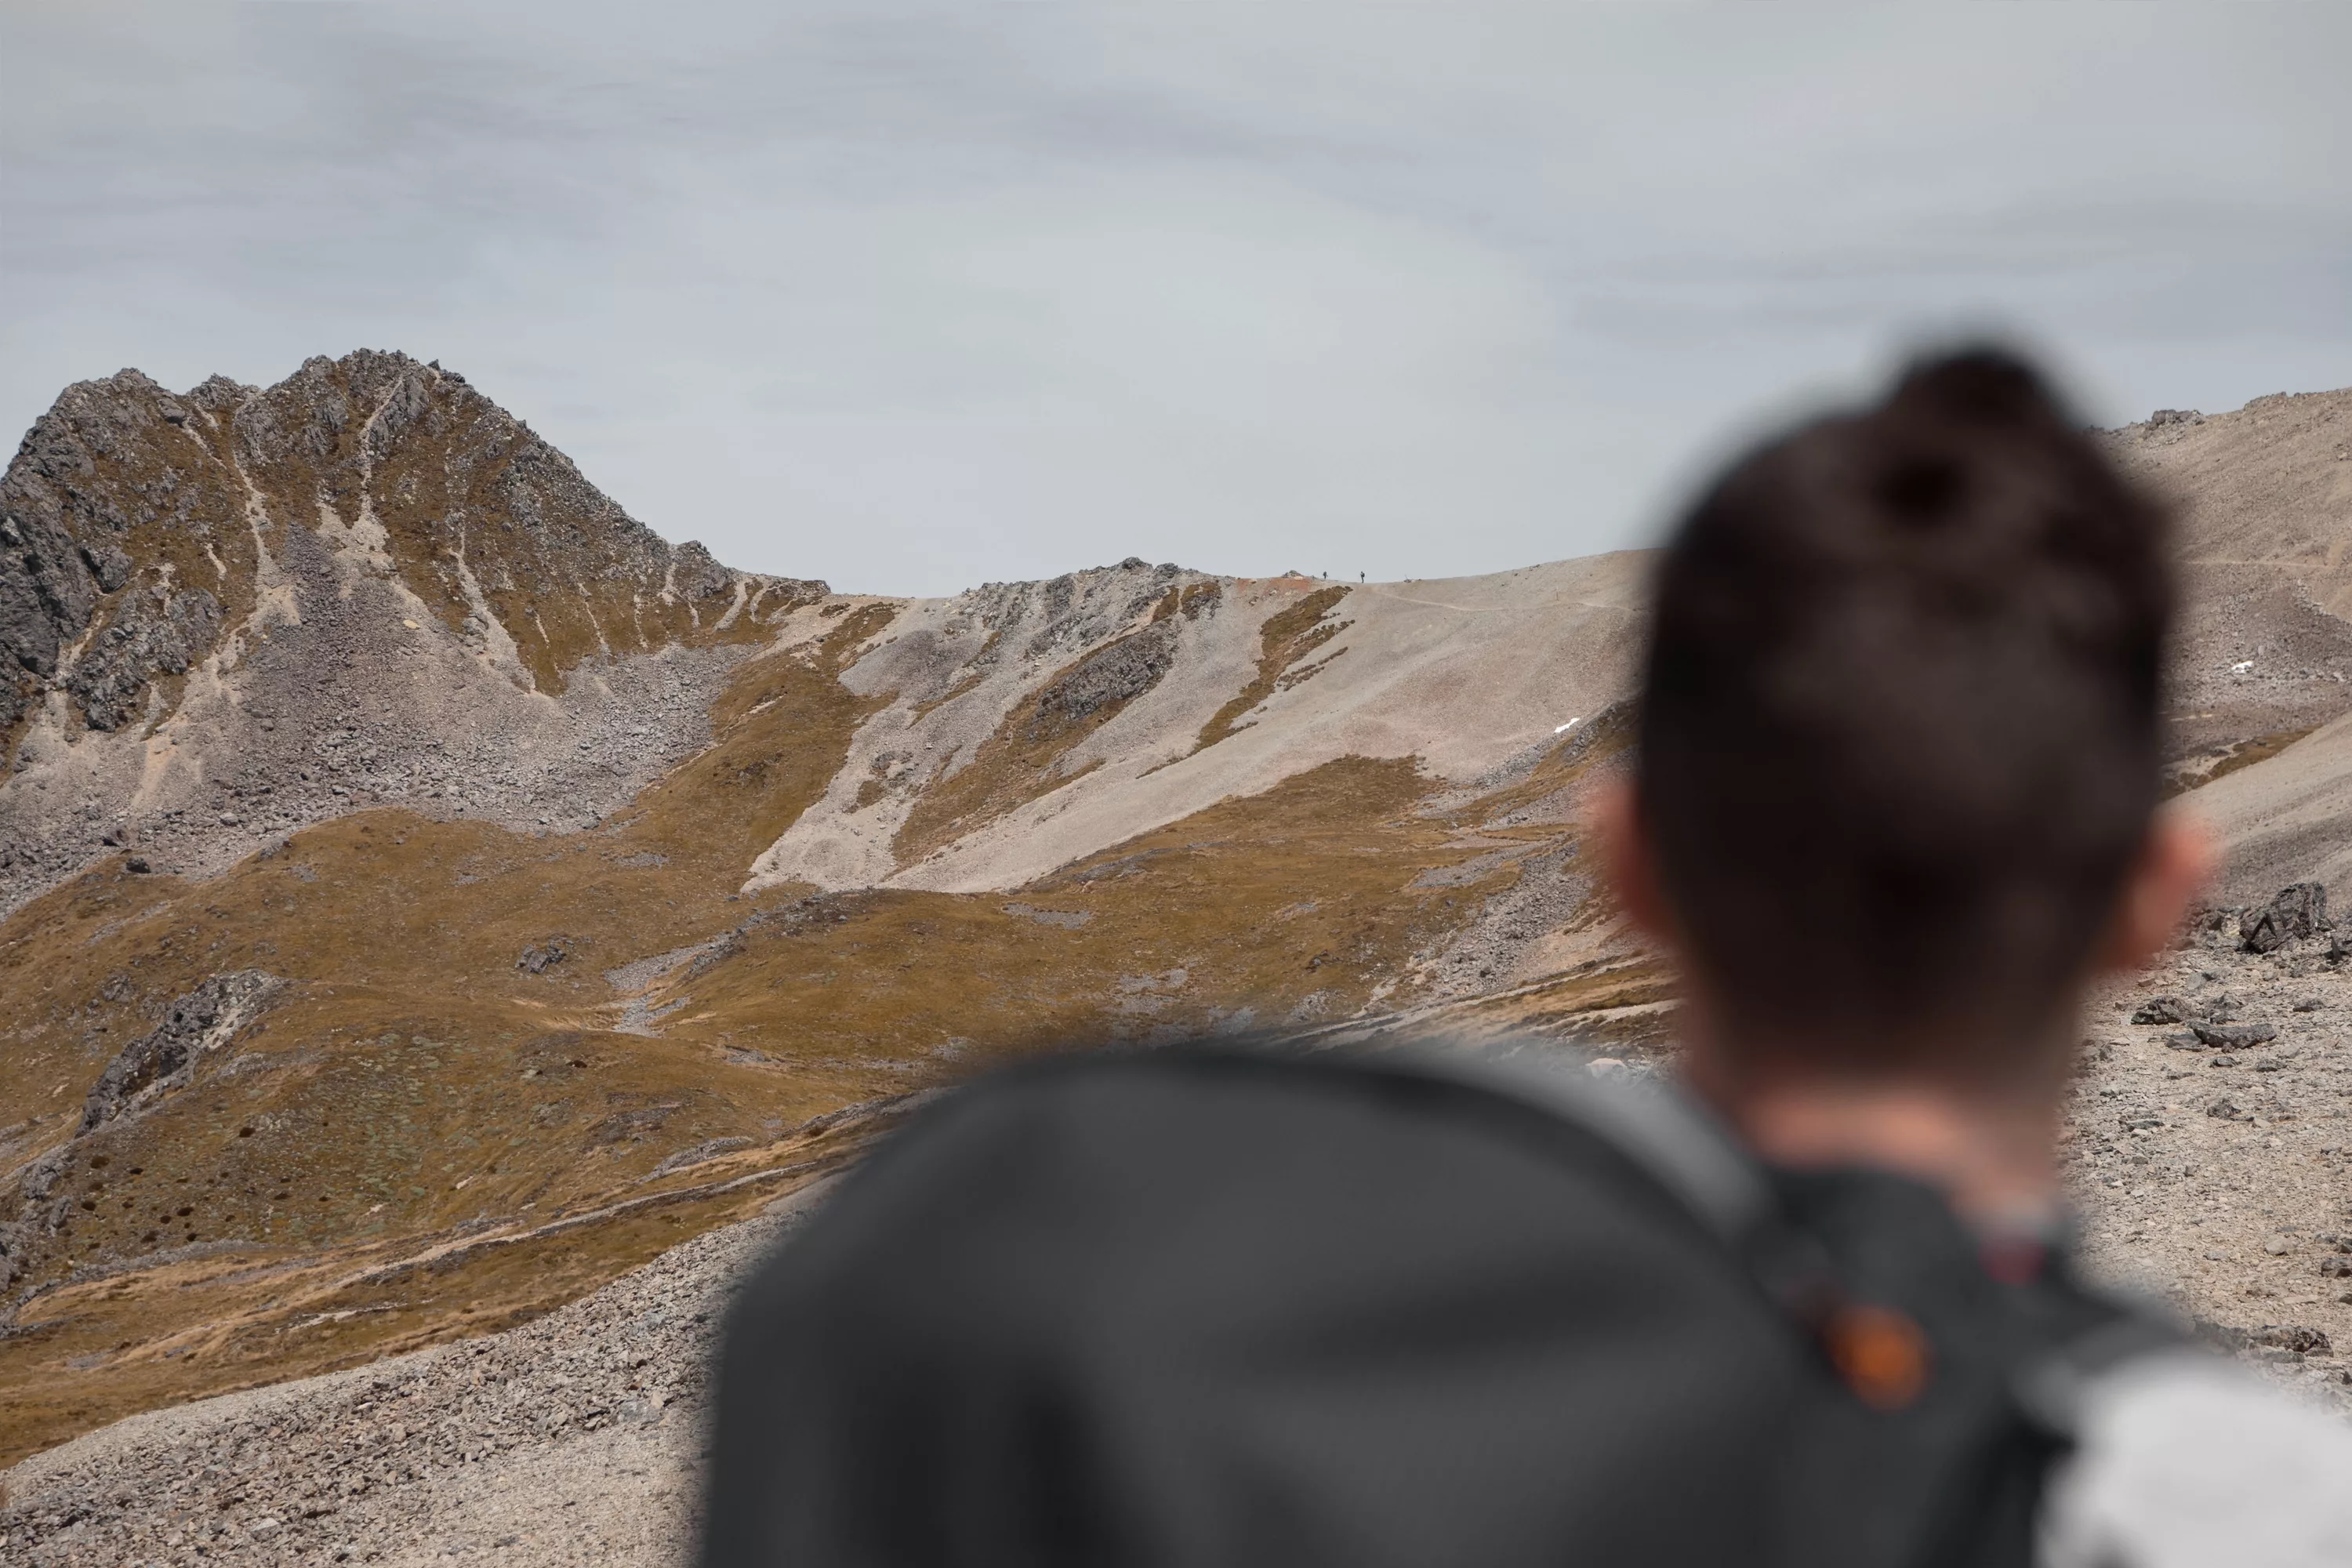
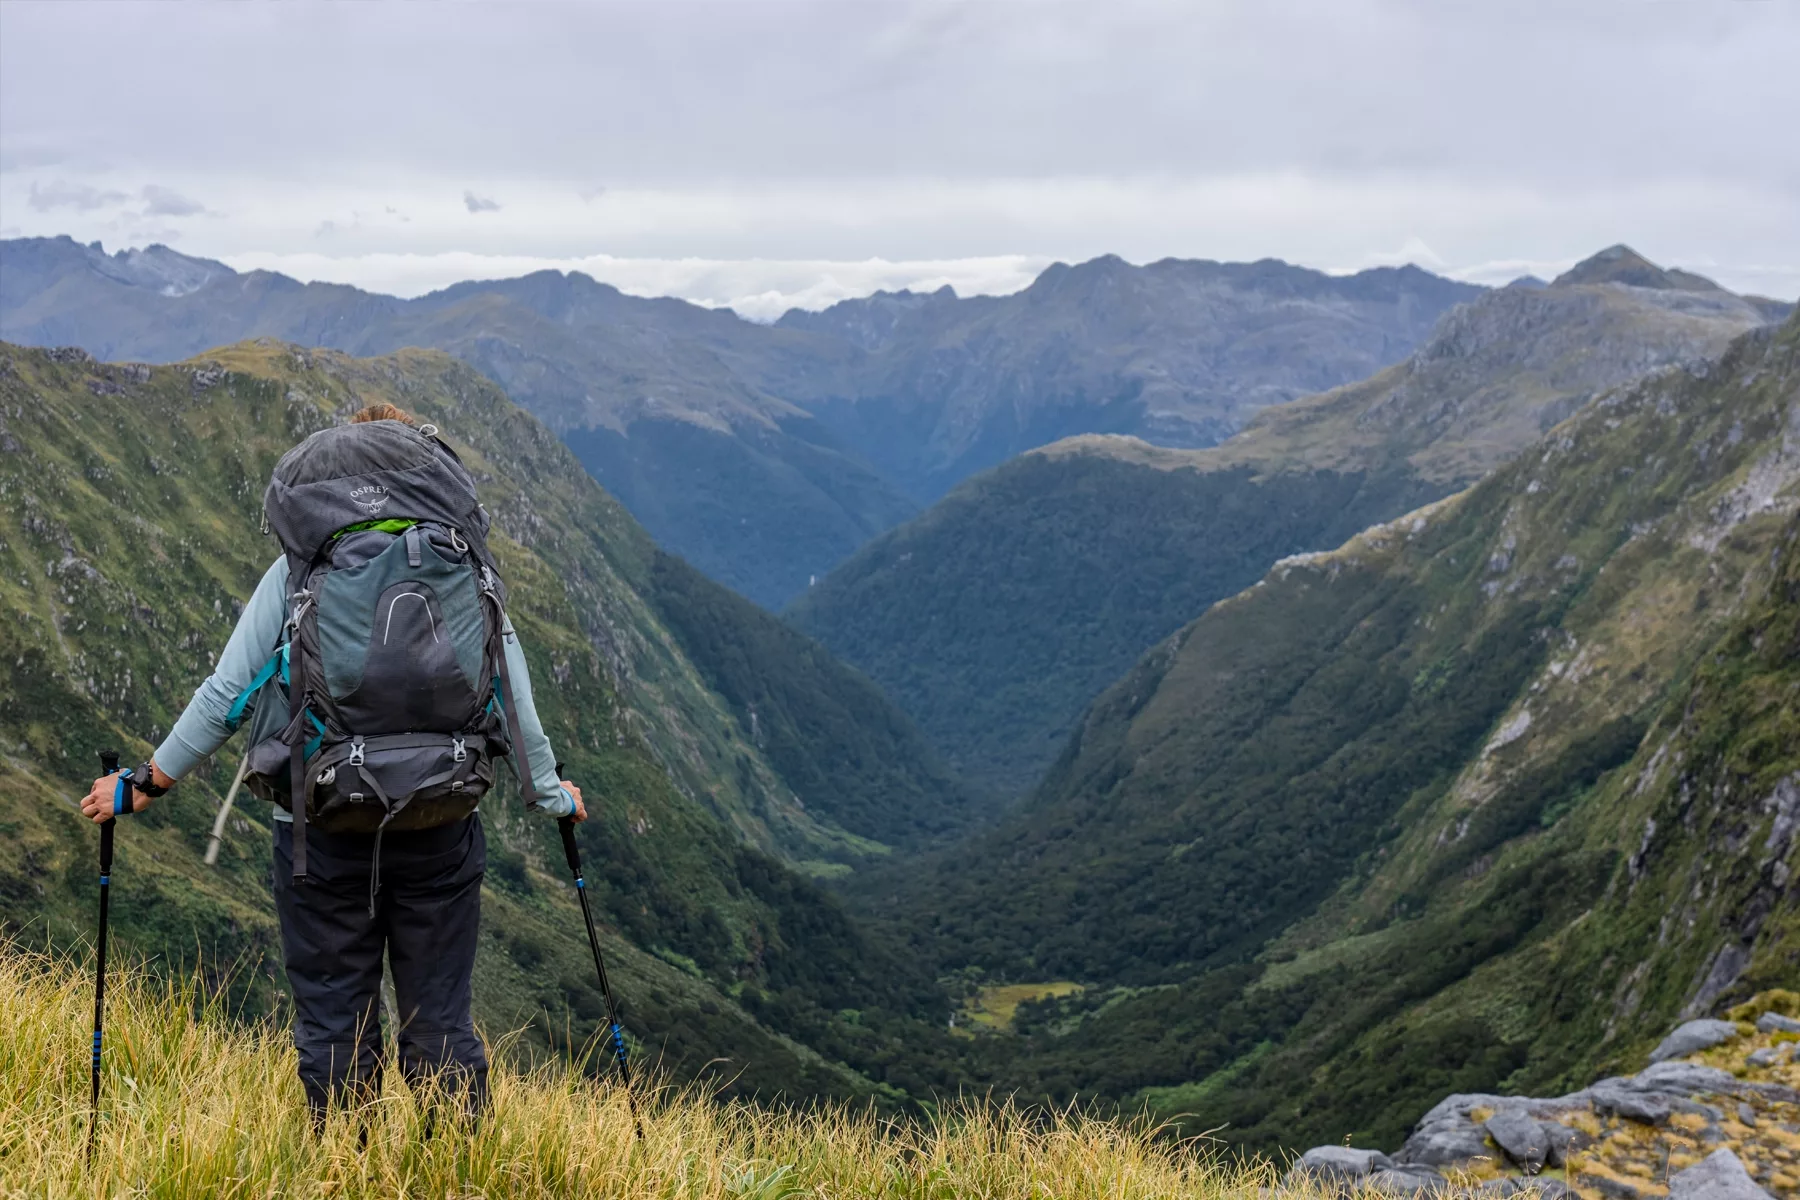
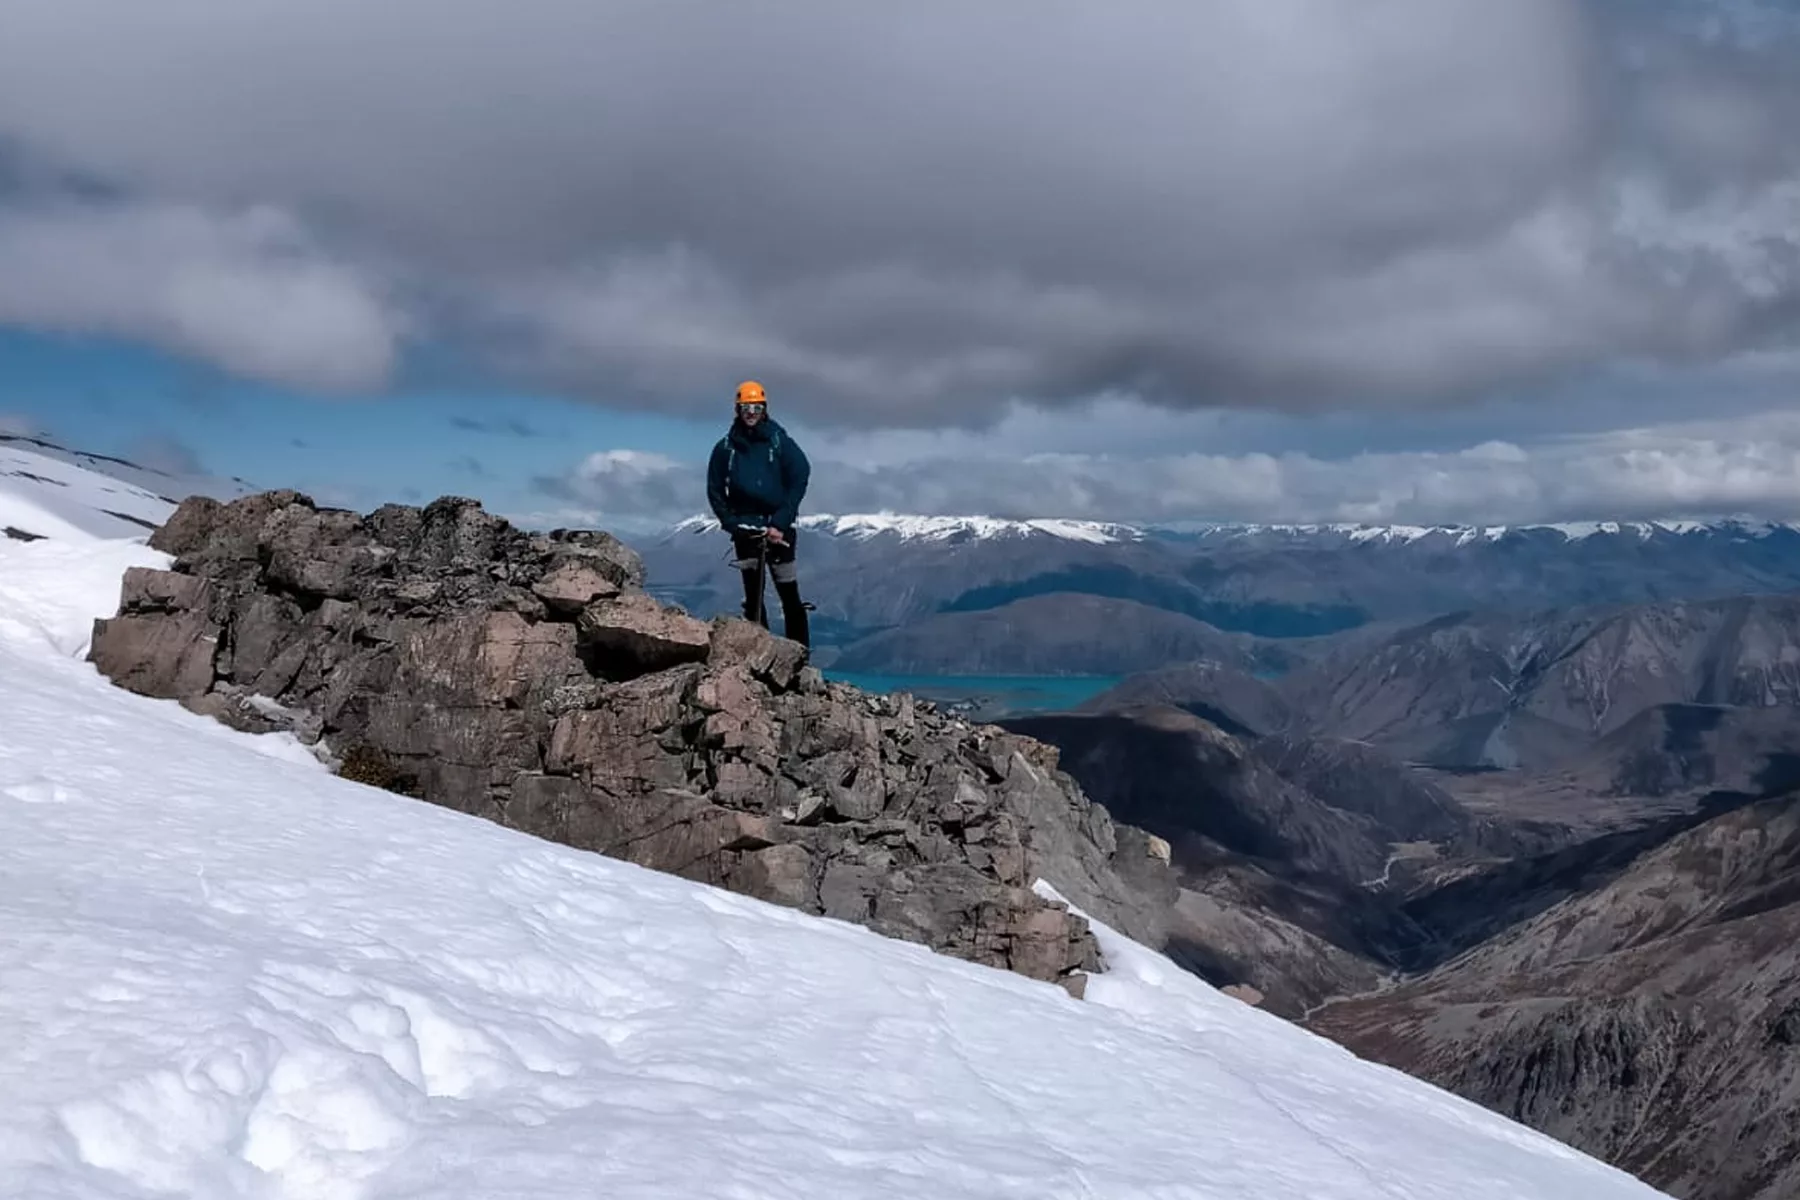
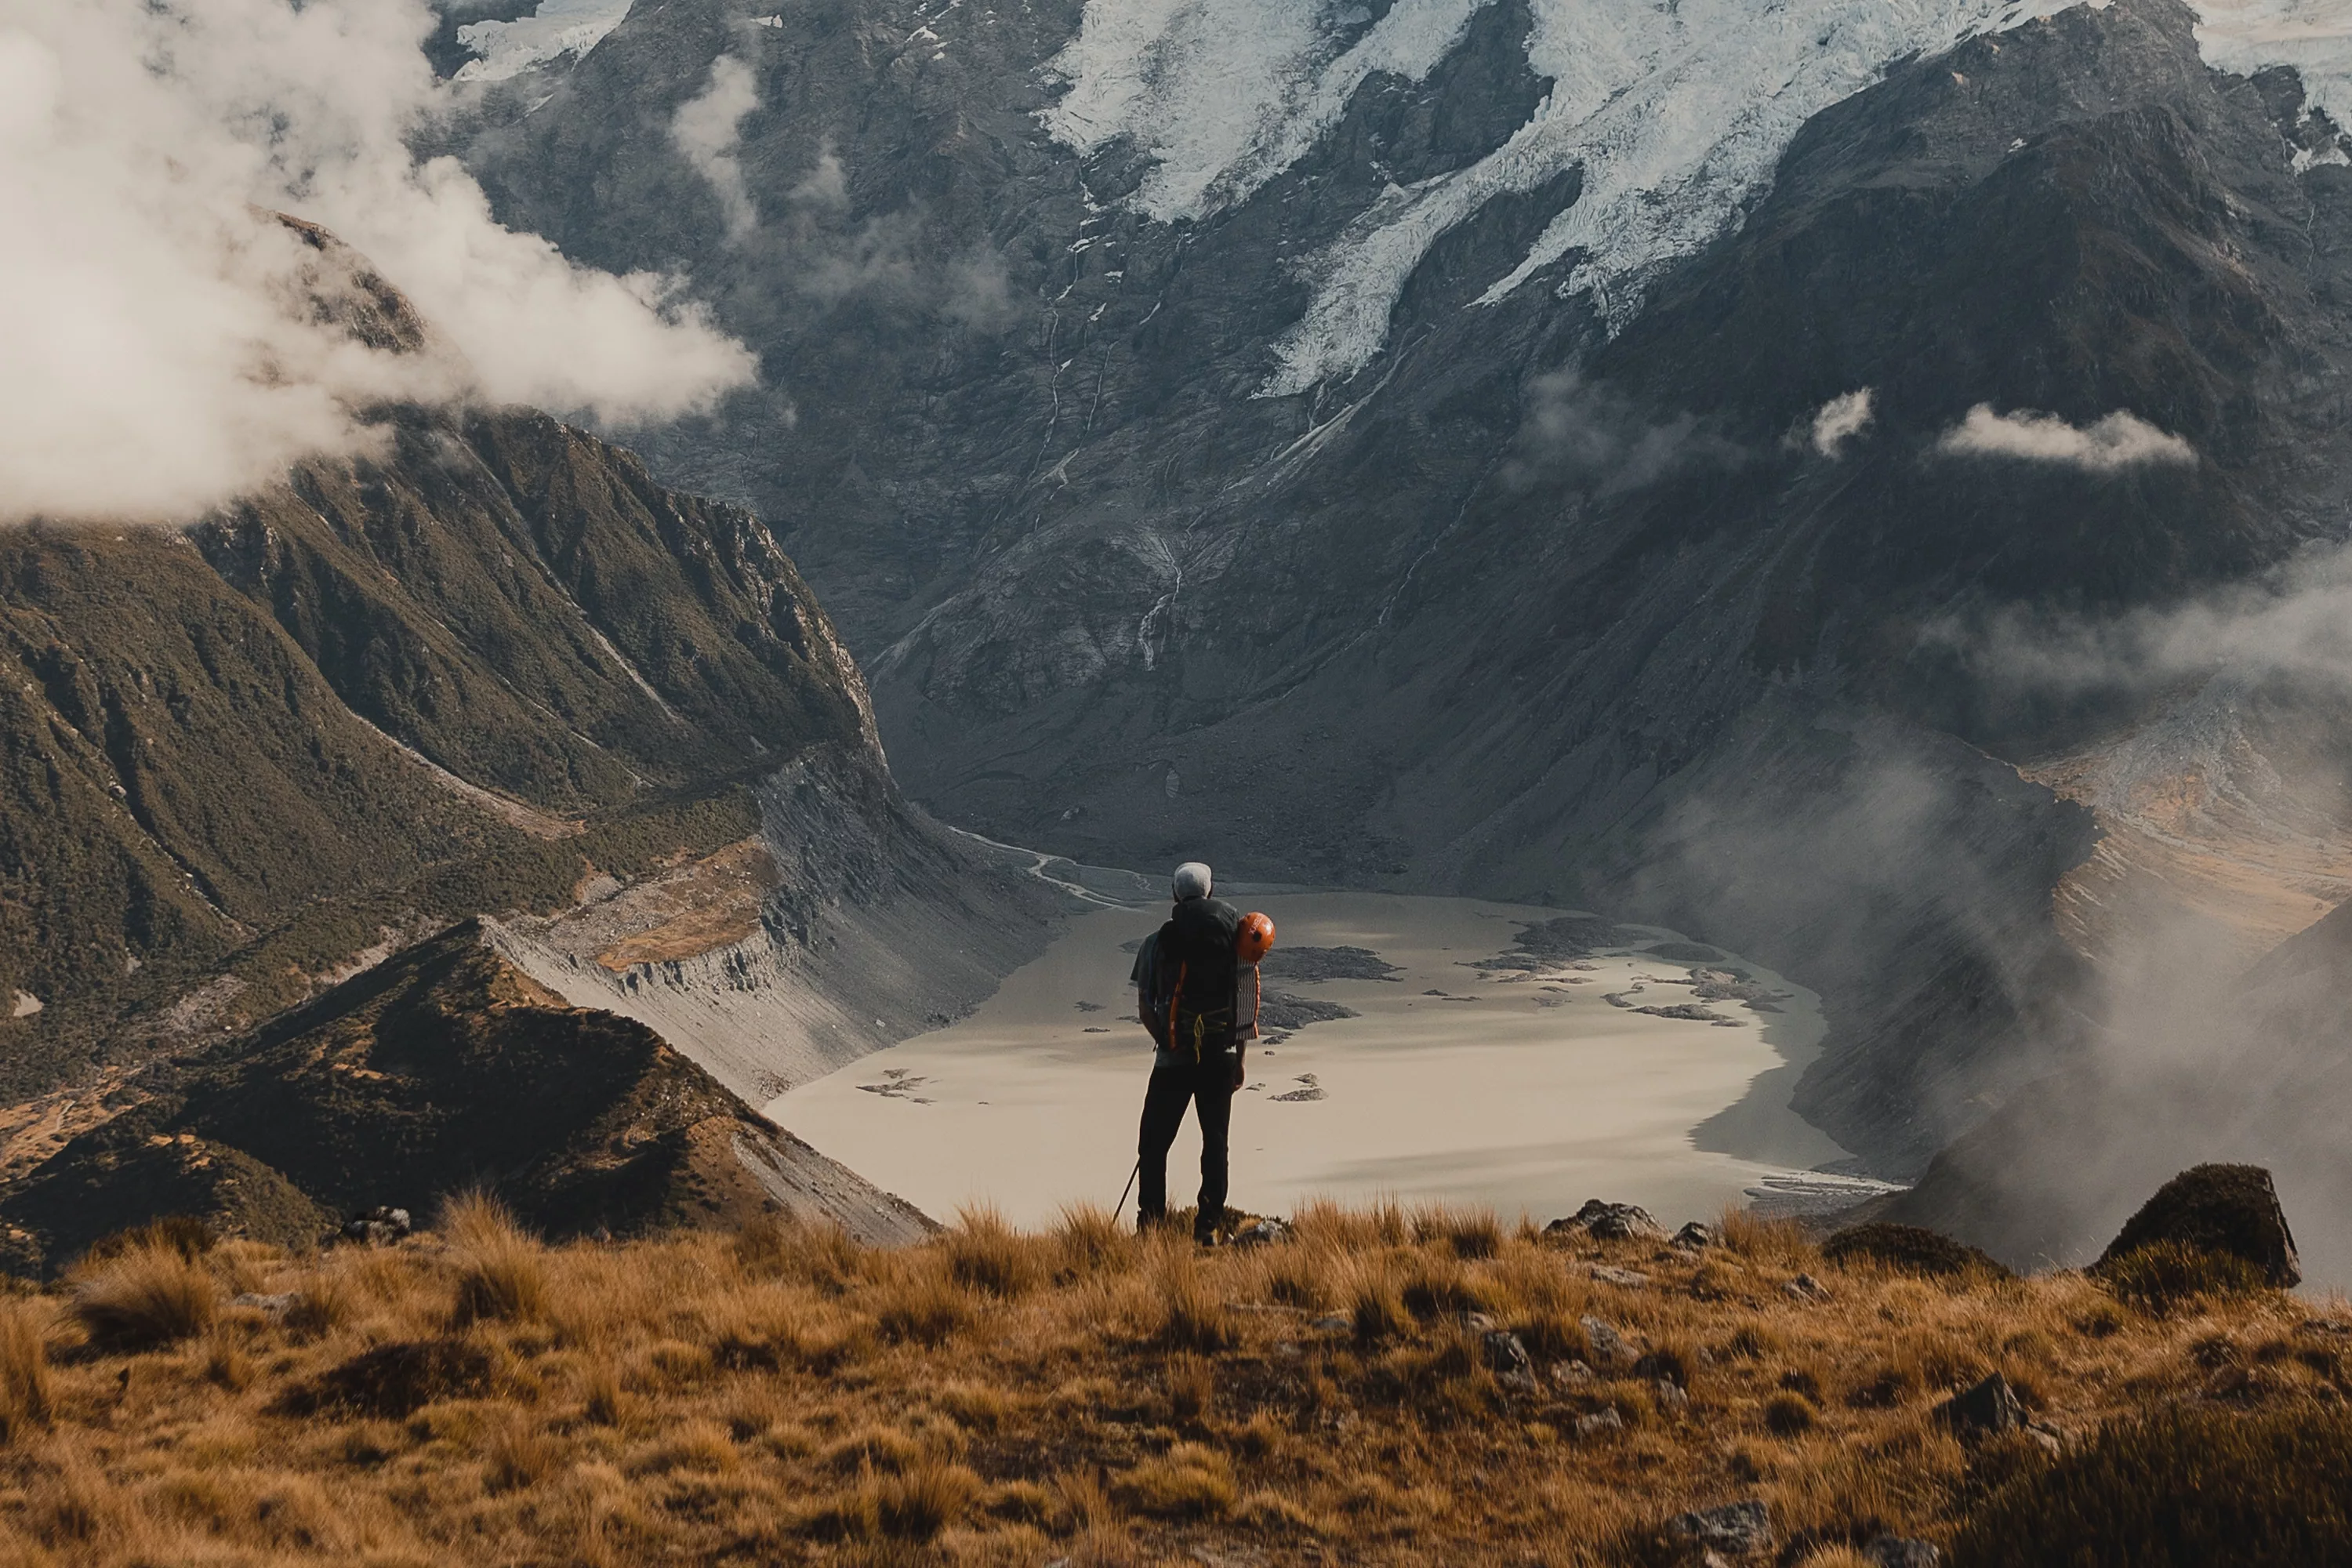
One of the easiest ways to show the epic size of the landscapes that we find ourselves in, is to make use of the other hikers you’re with! Making people look small in the images will add a sense of grandeur to your photos, and really make the landscapes stand hero in your images. Adding in a person adds in a sense of steepness and perspective as well as giving the viewer a sense of putting themselves into the landscape. This draws the viewer in and makes an image more engaging and inspiring.
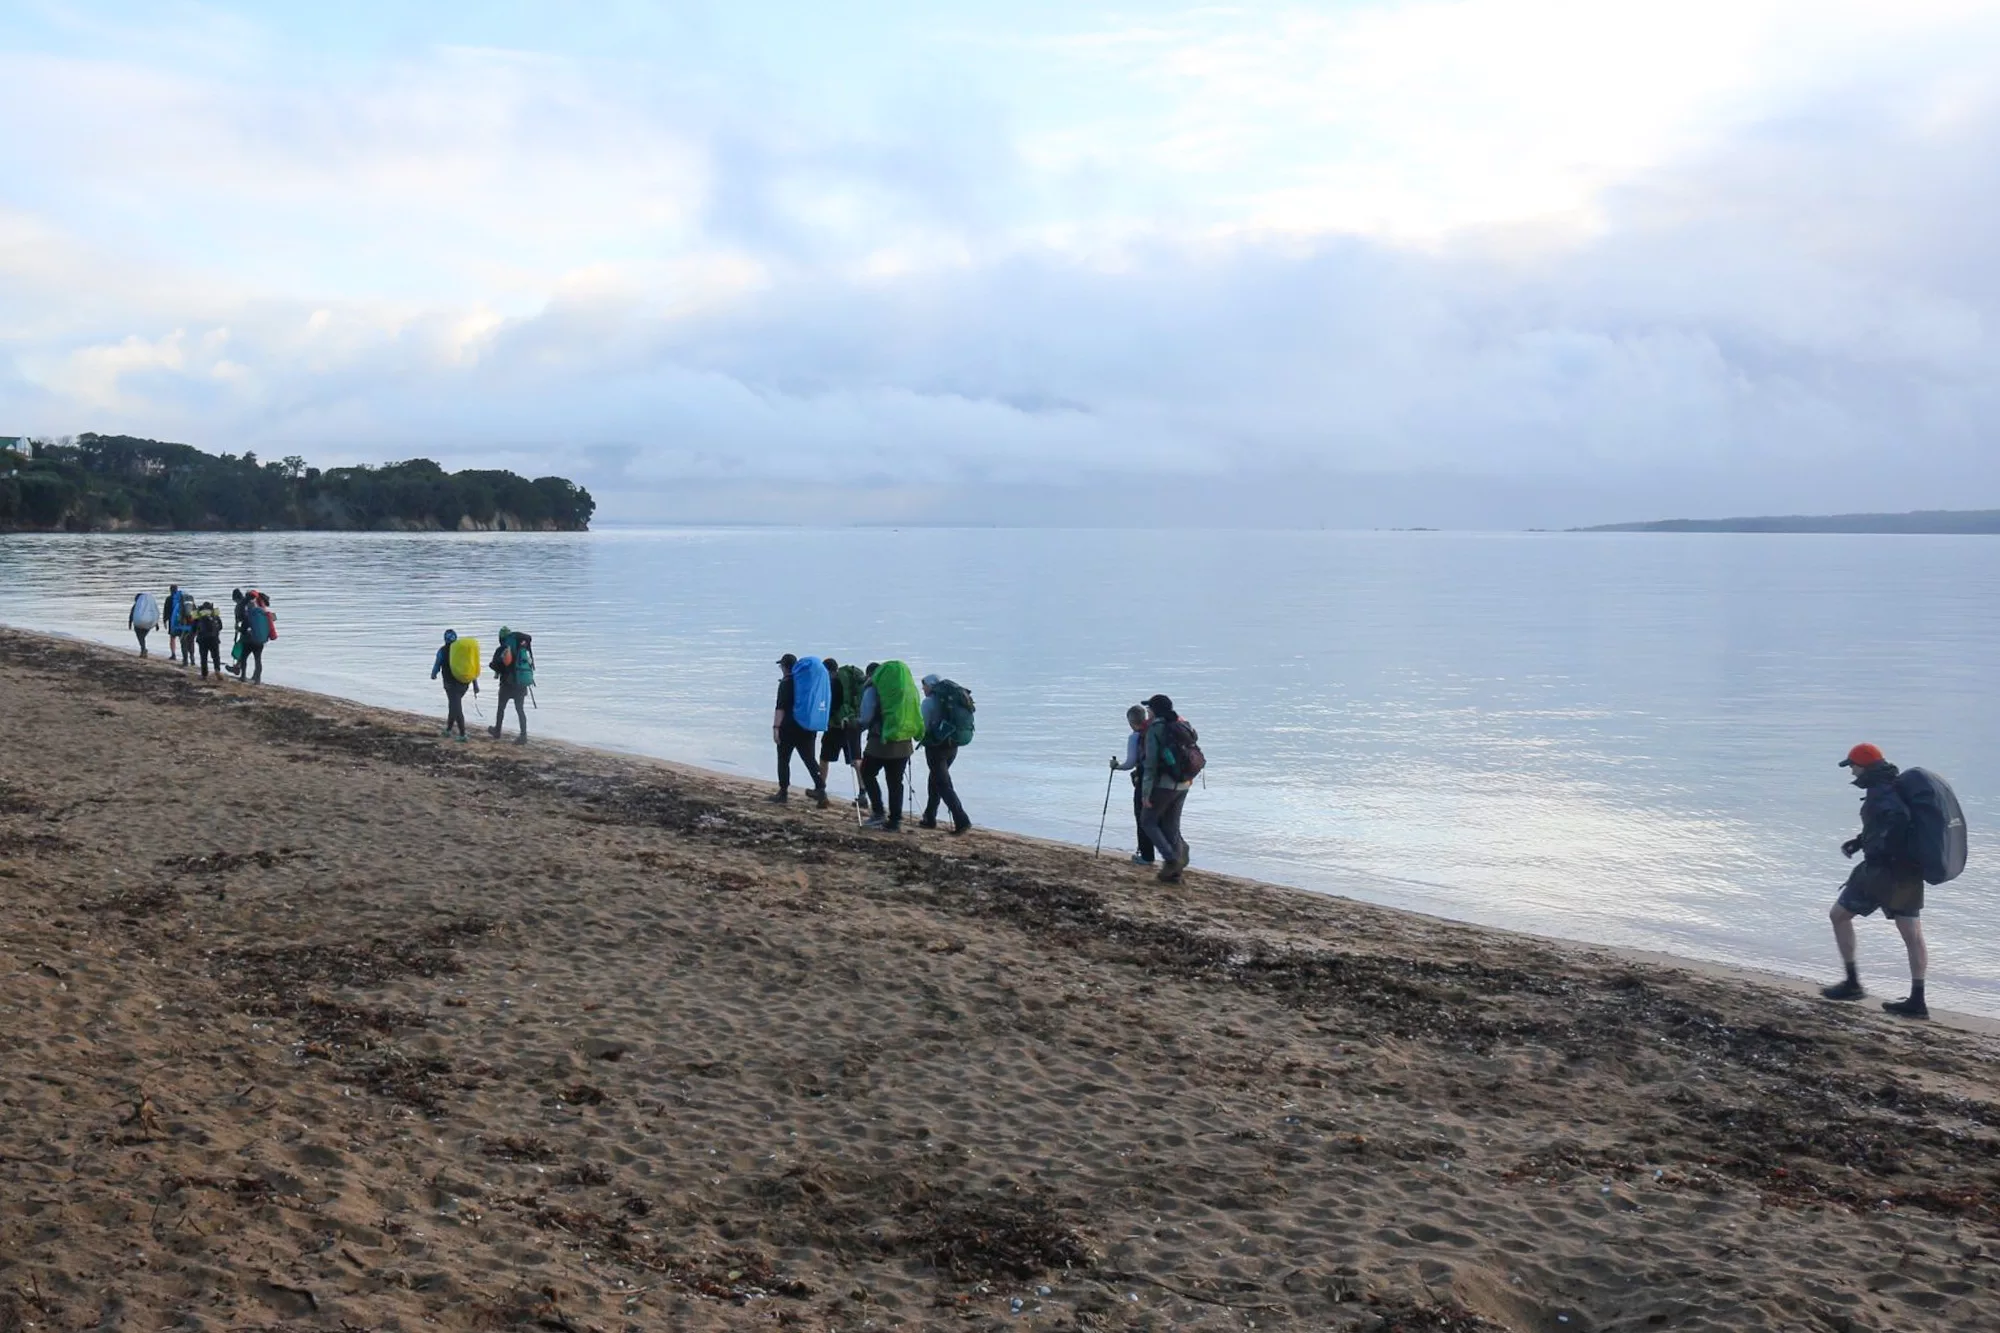
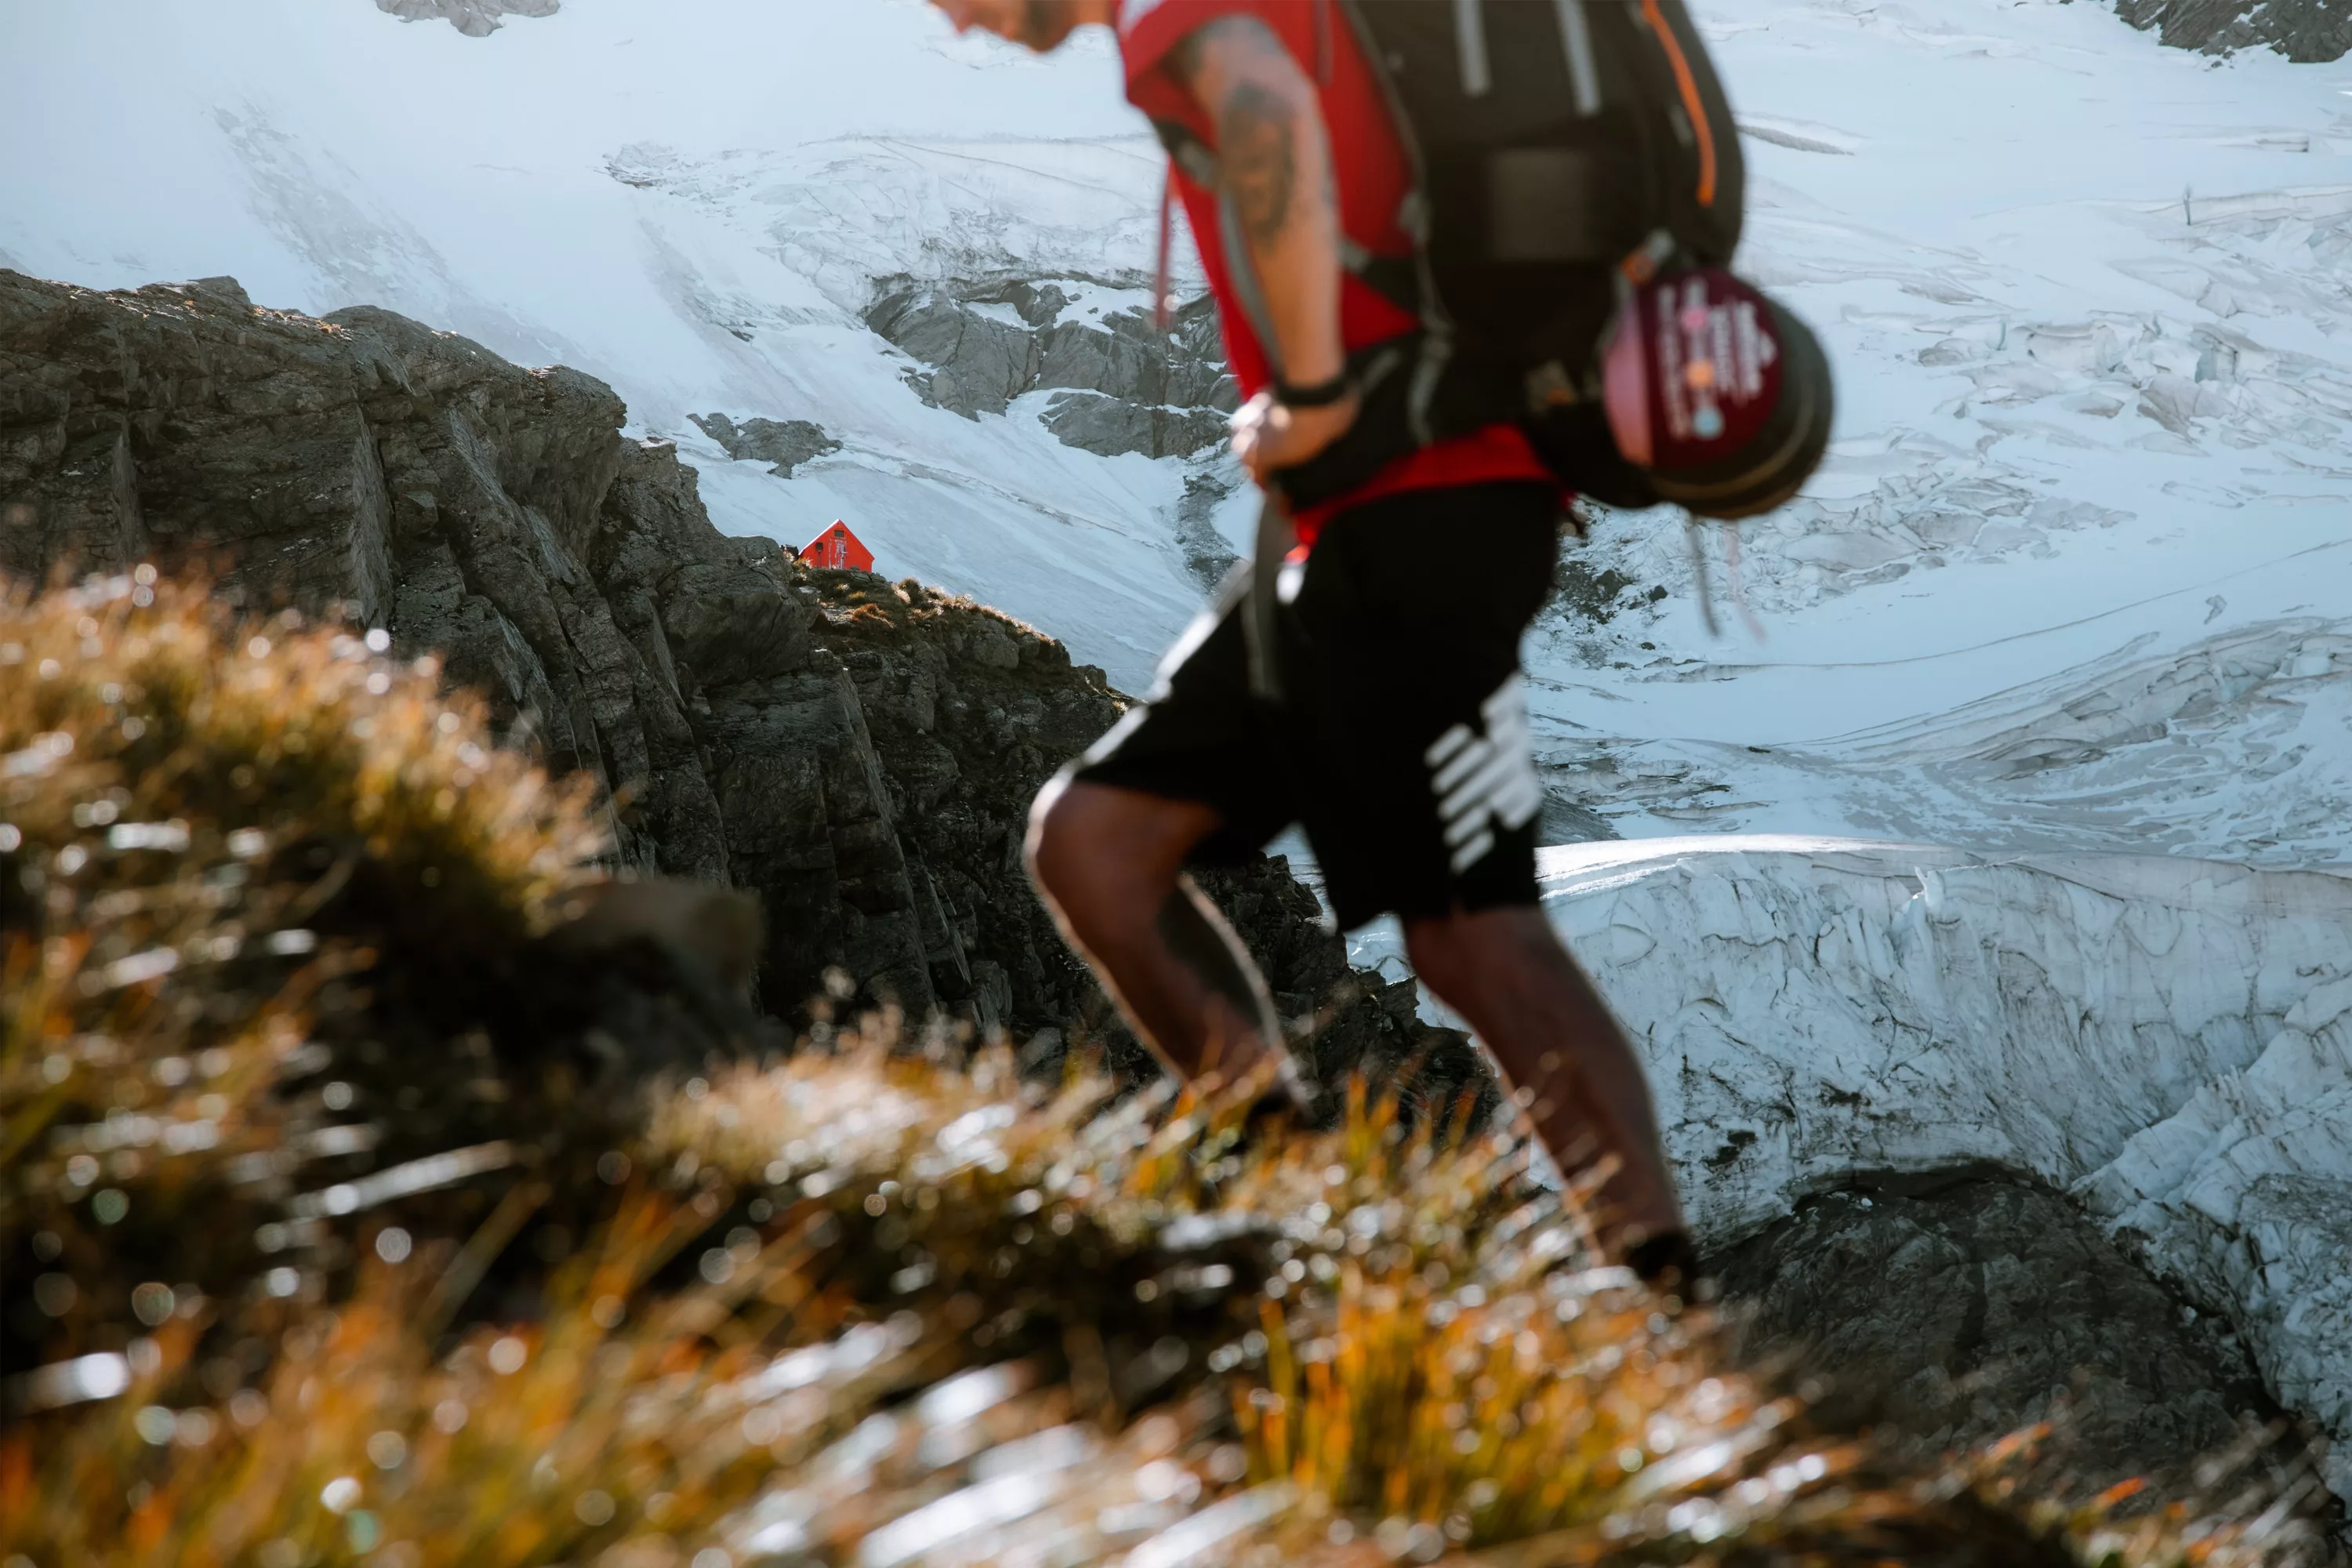
Colour & Contrast
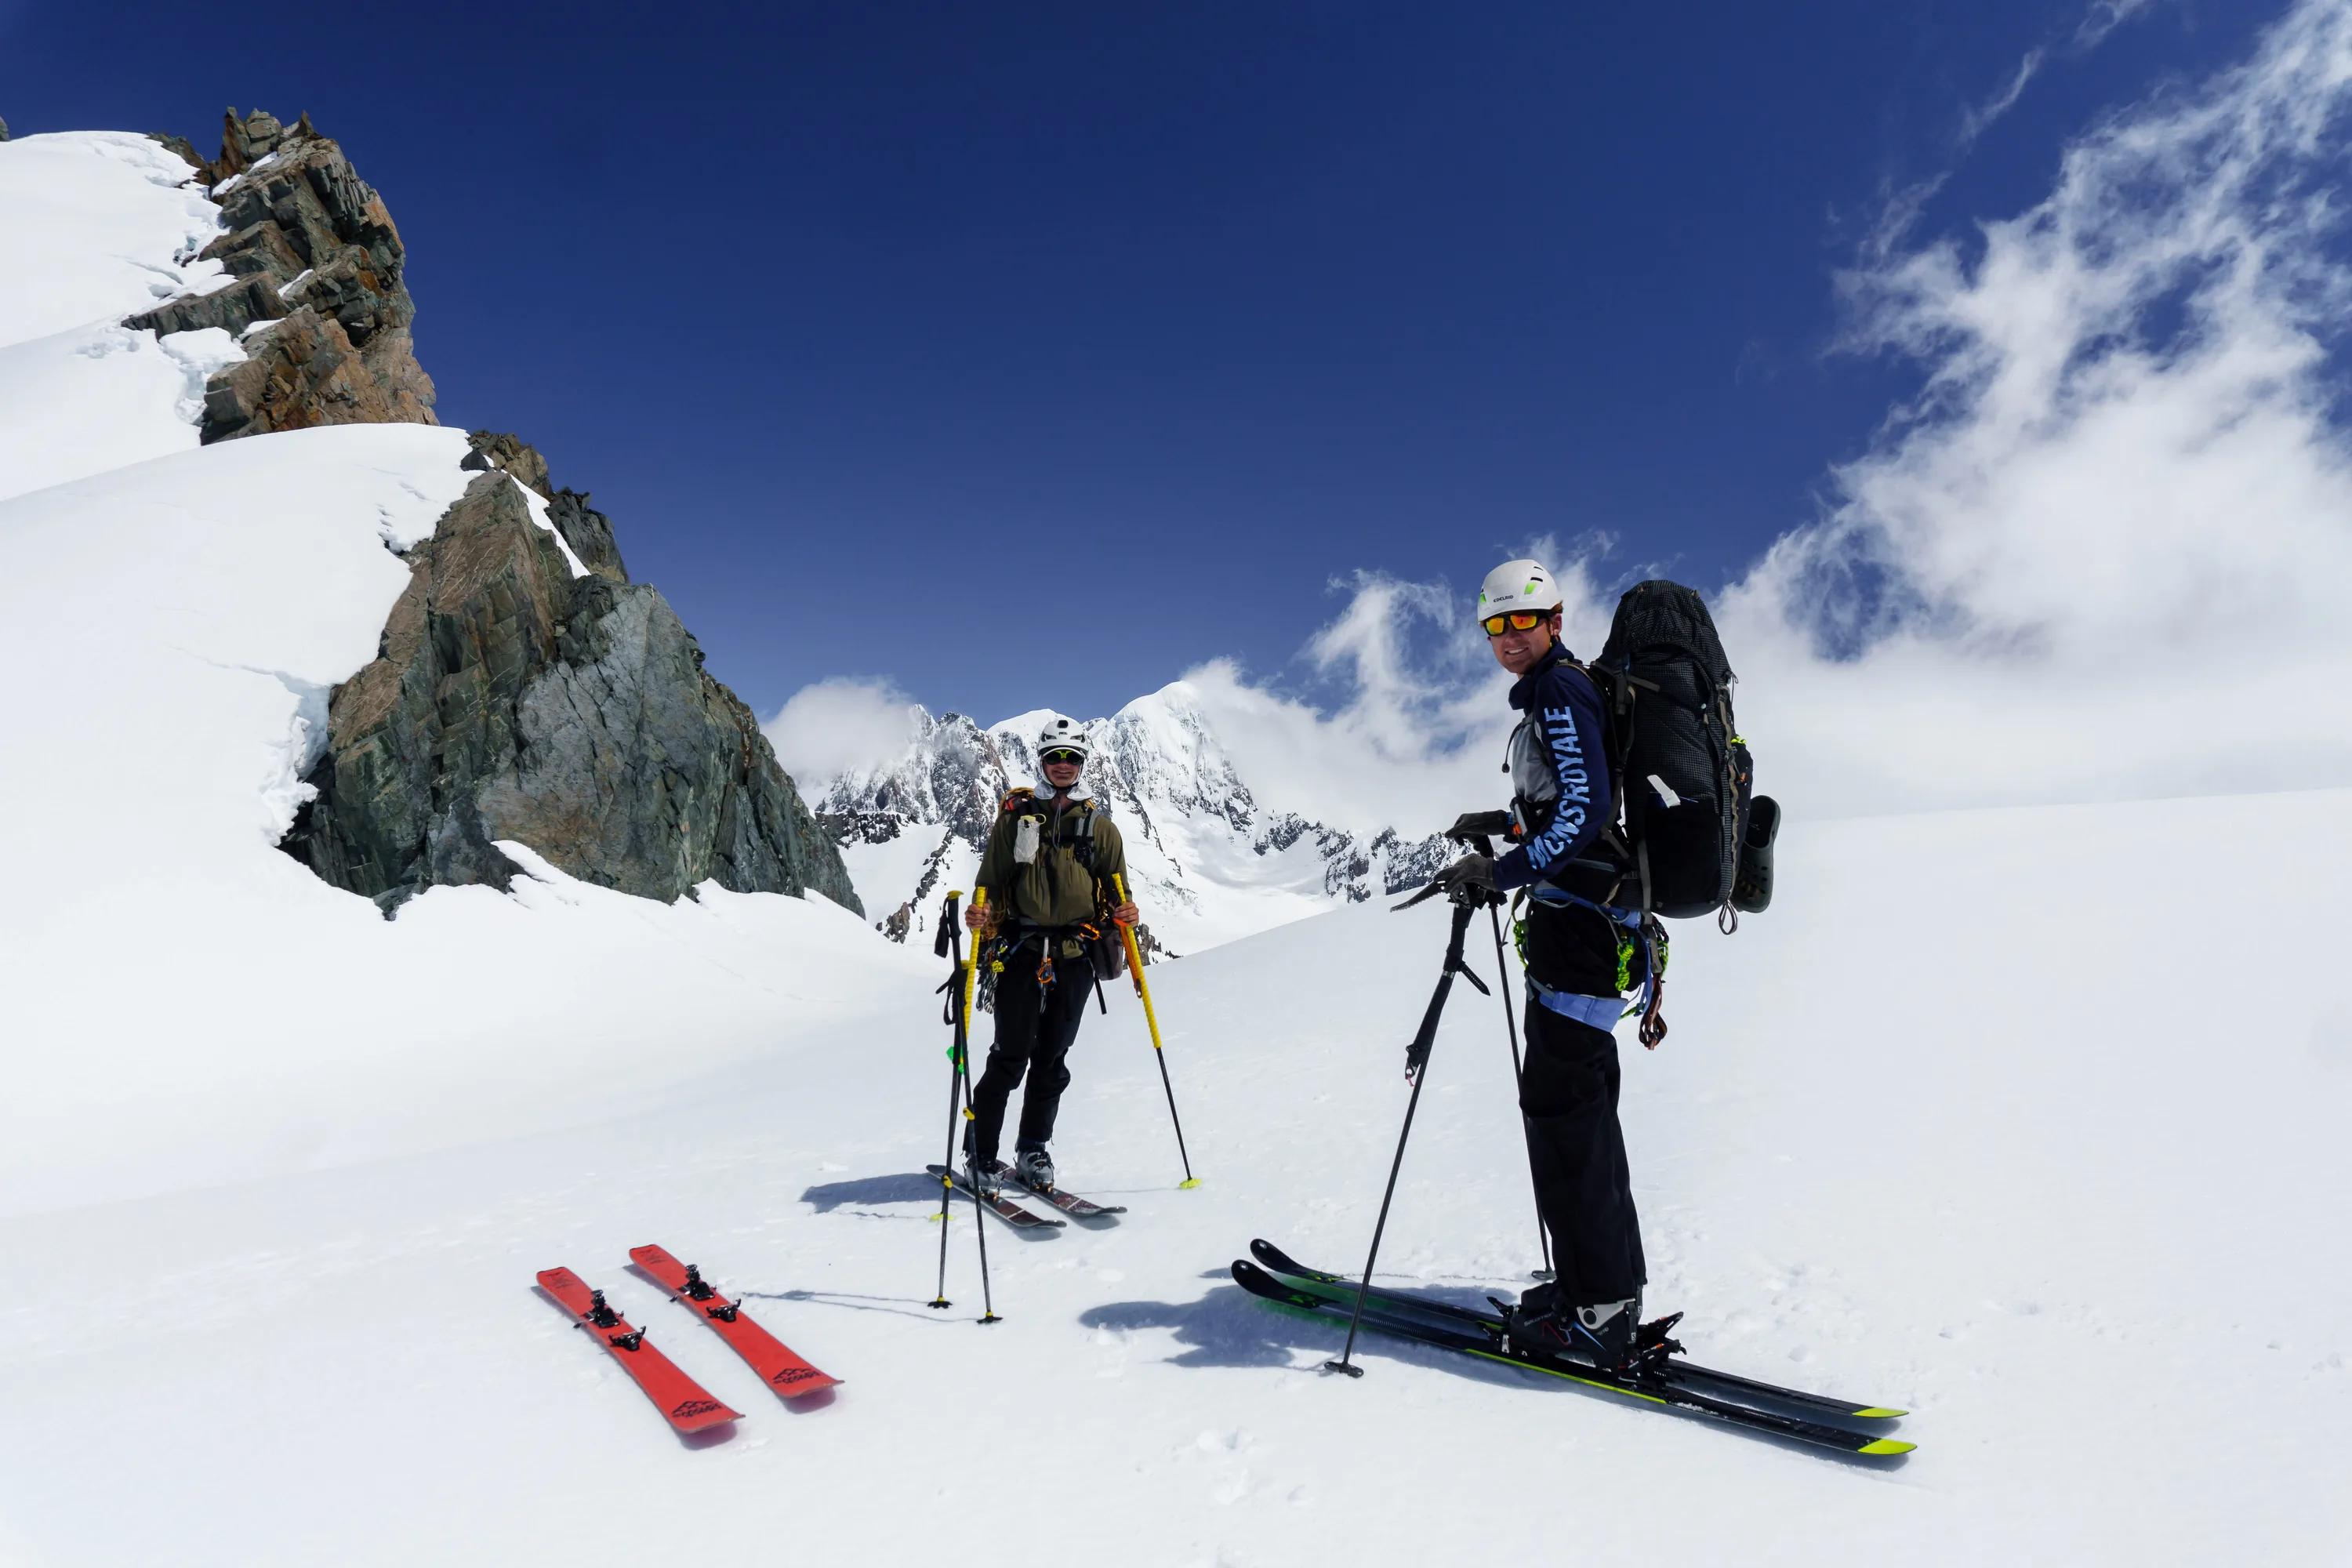
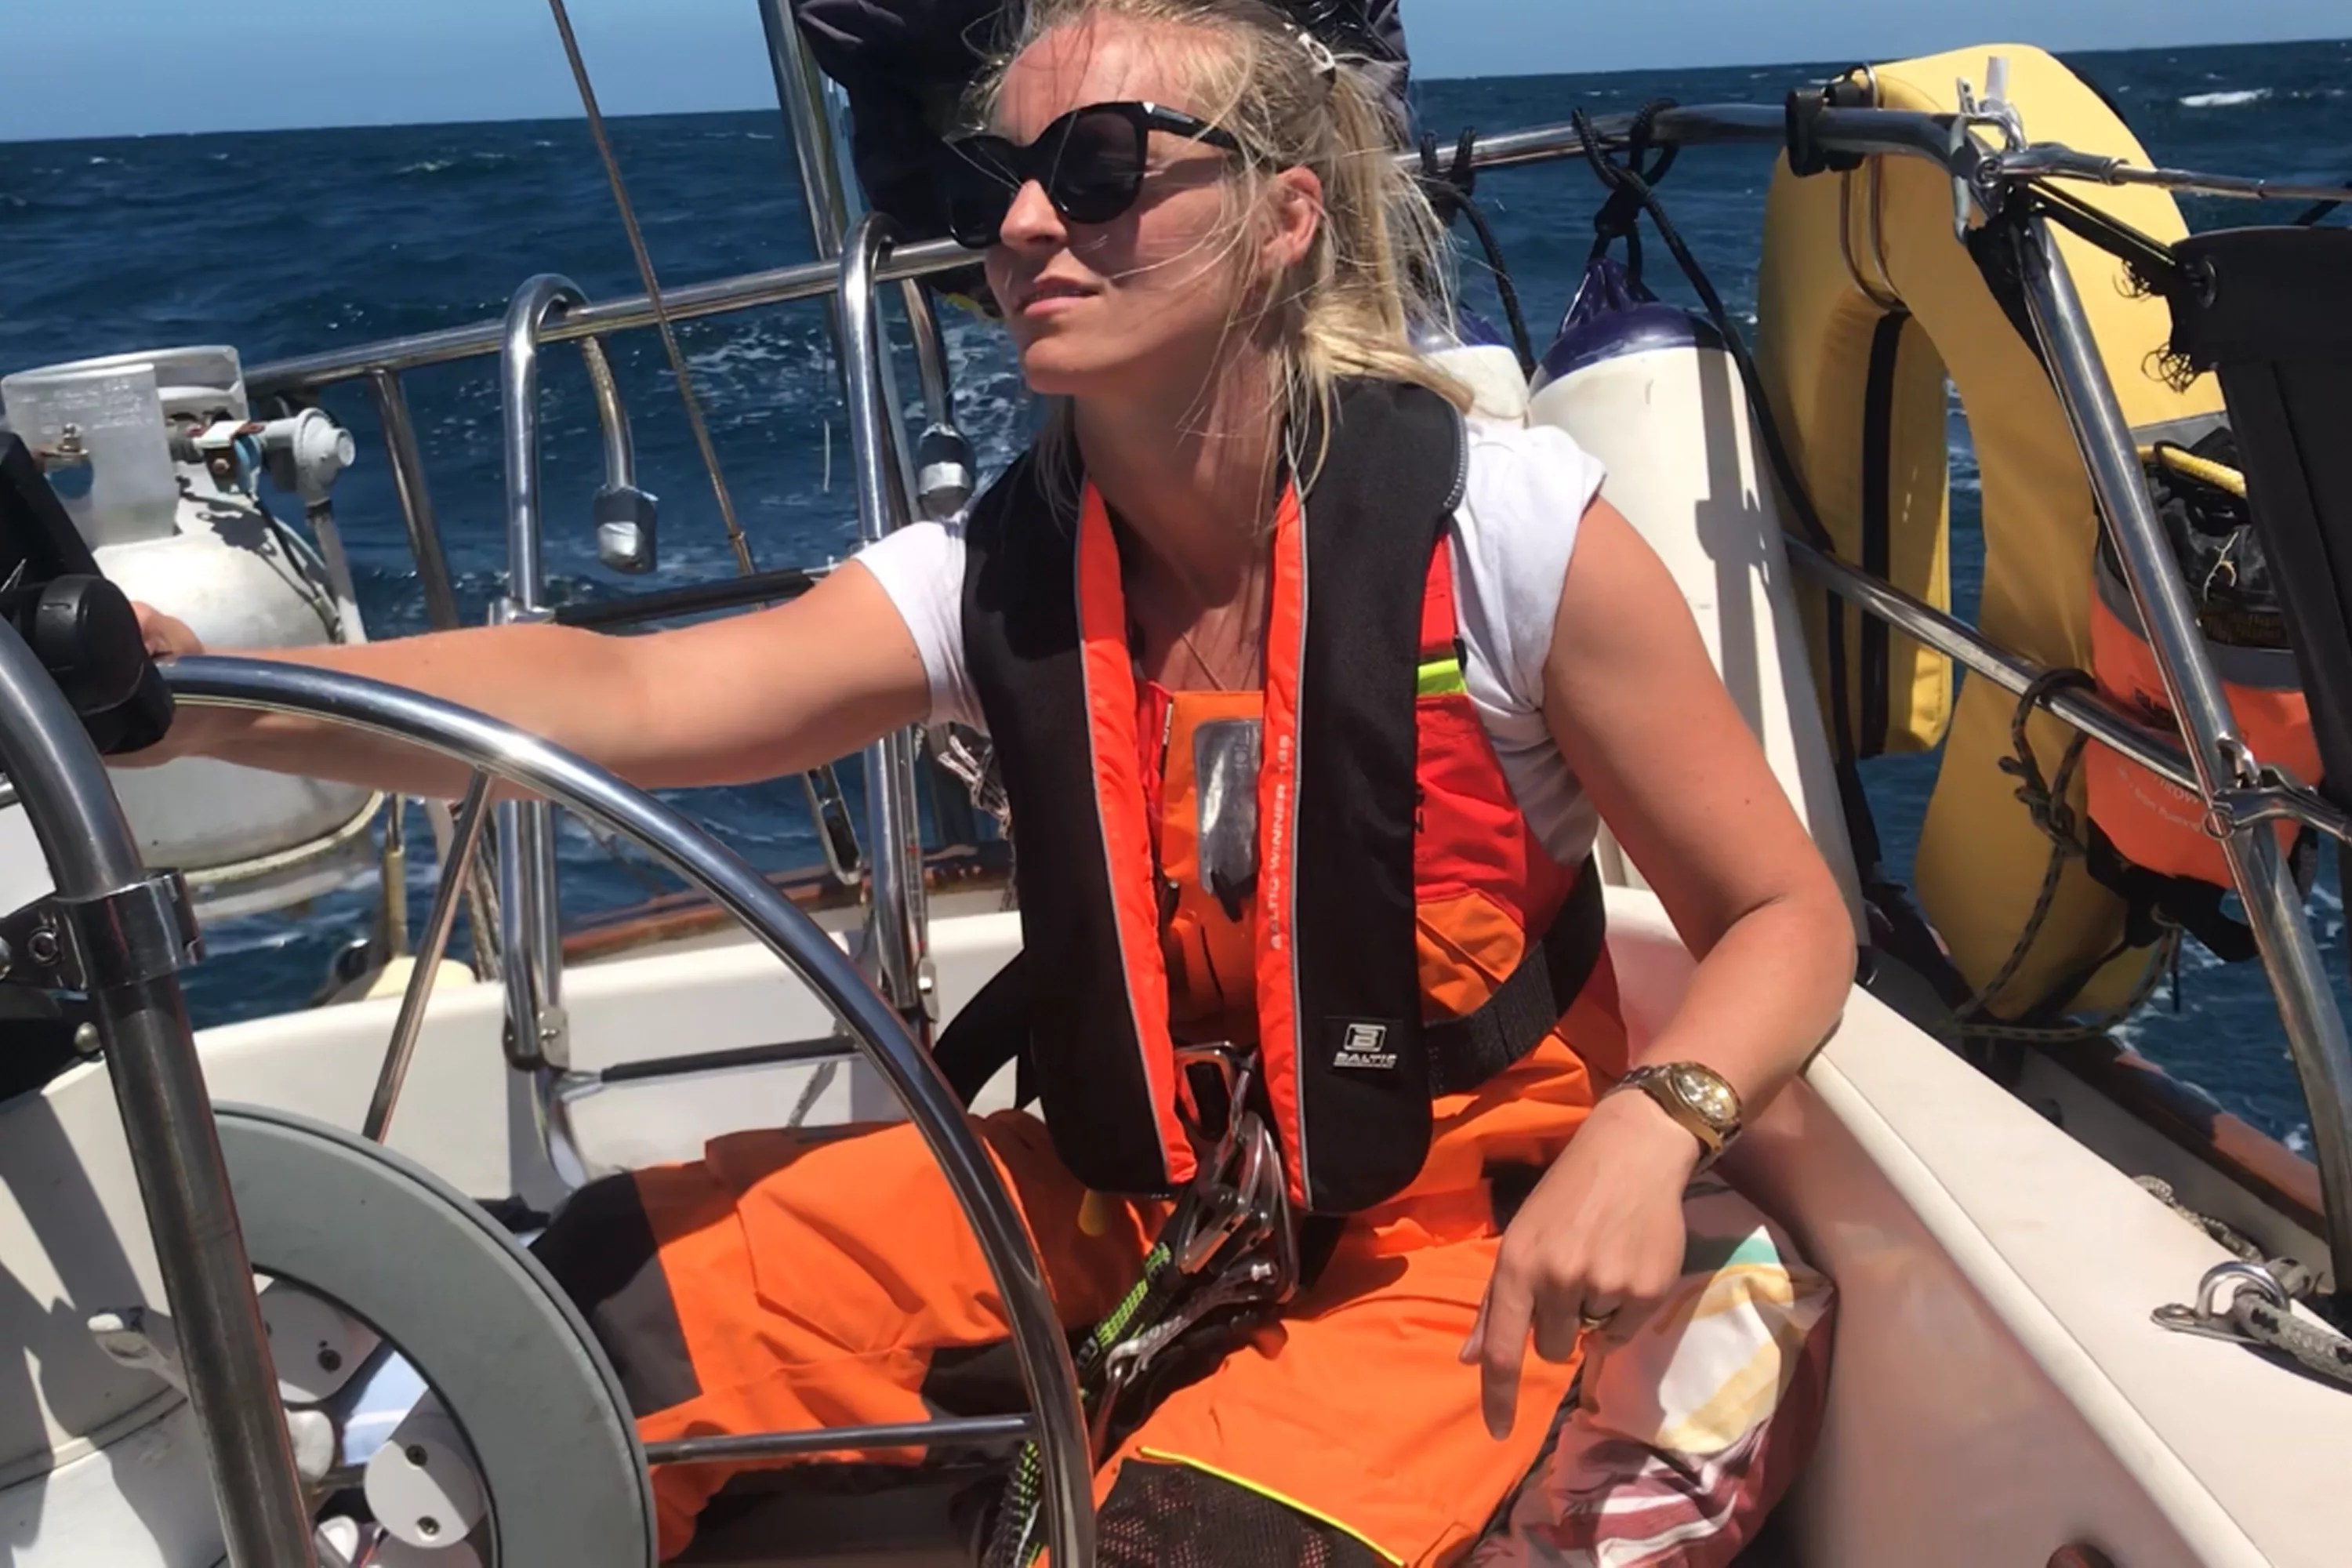
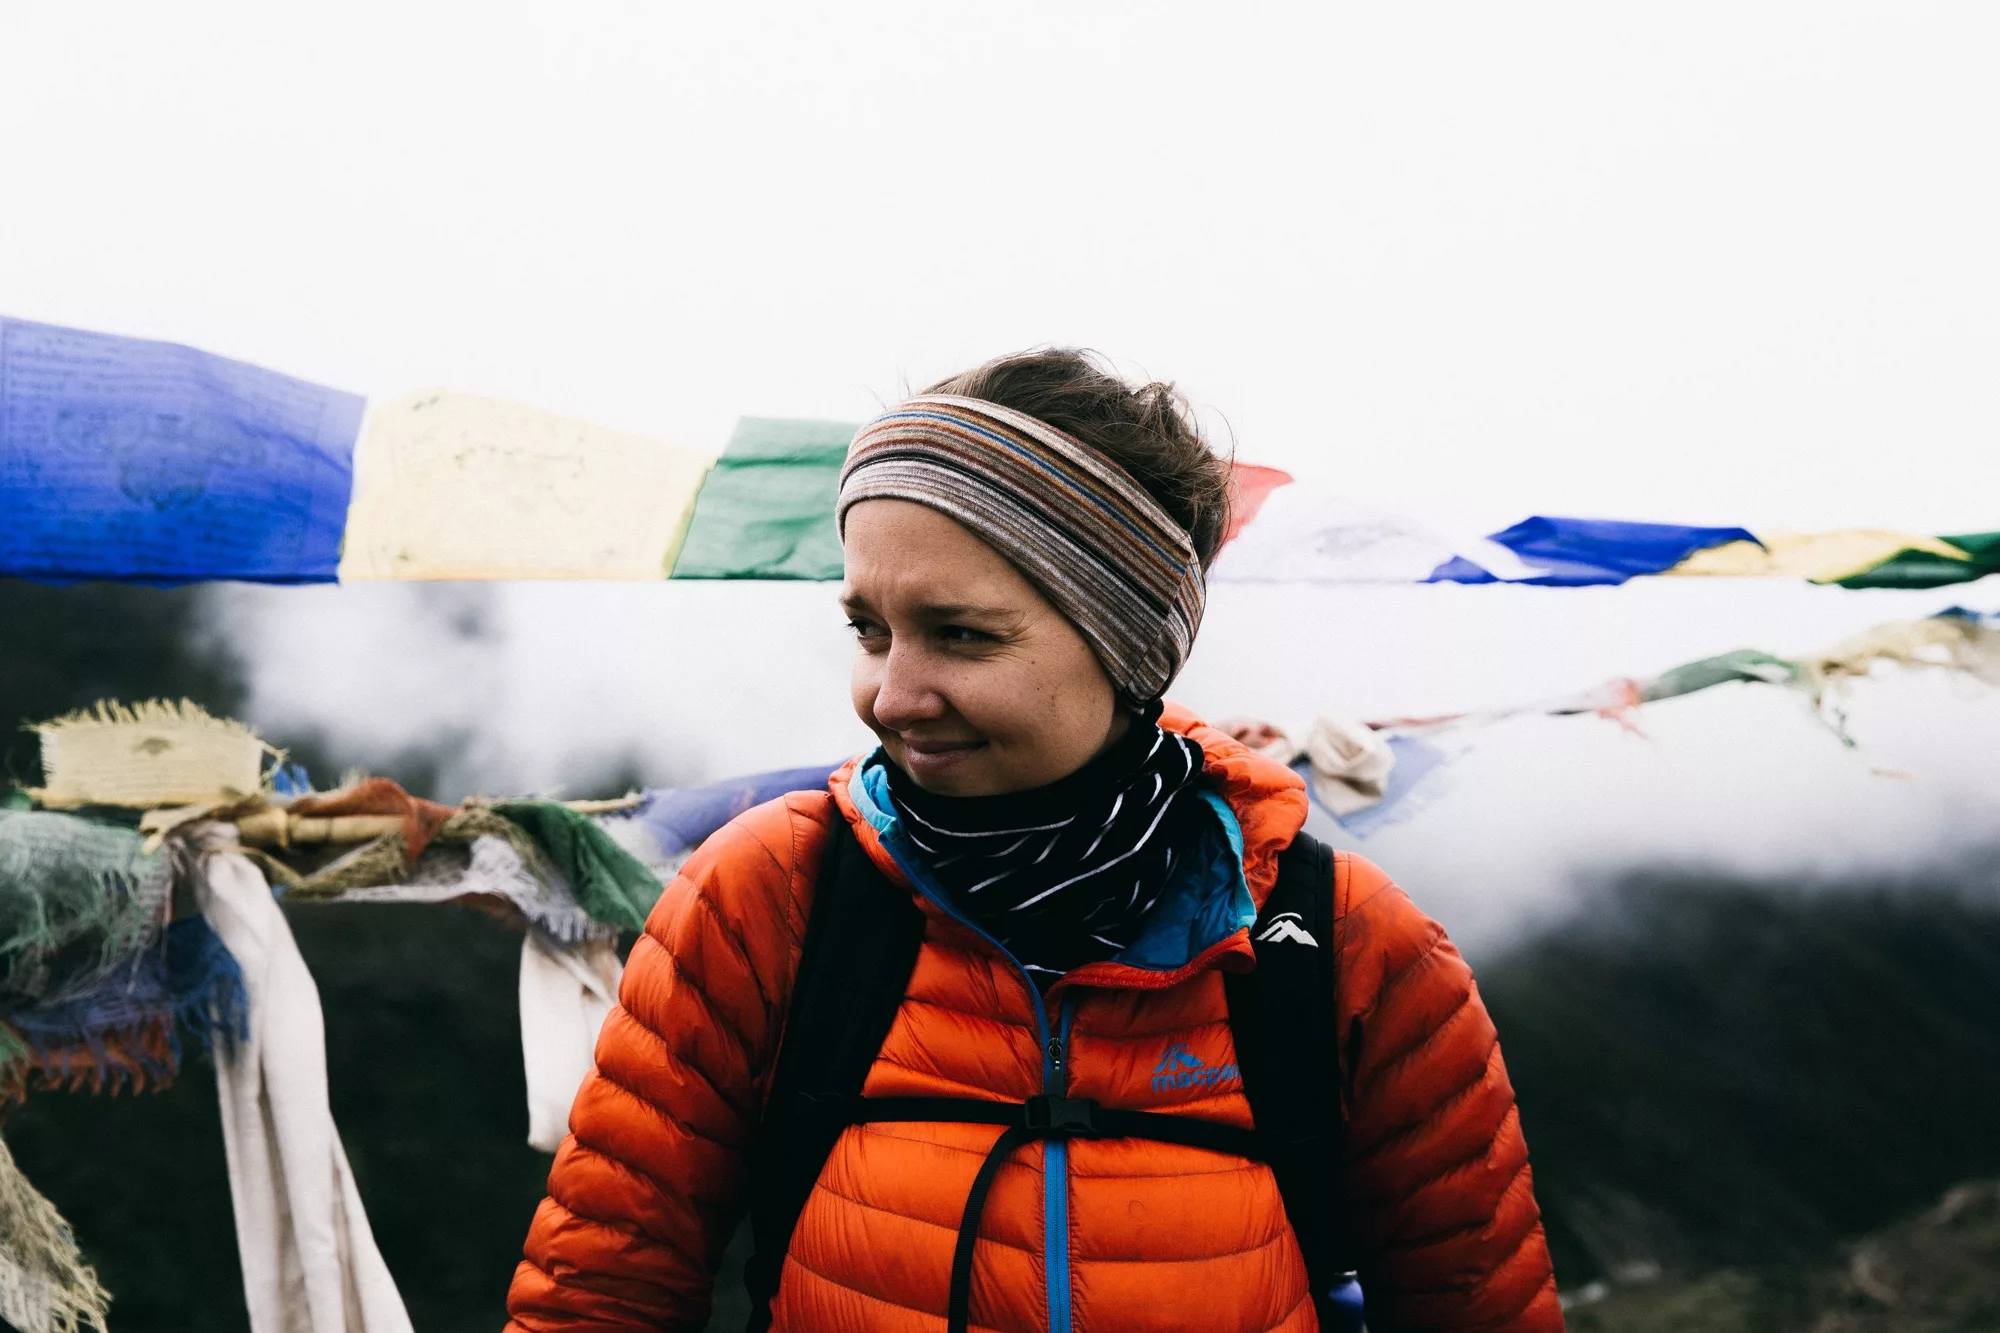
With adding a person into your image, you’ll need to find a way to make it pop. Getting your person to stand in an area of negative space. If your person stands in an area of the image that is ‘busy’ or particularly brightly coloured, it is easy for them to get lost in the noise of the image and not make a difference to the image at all. In addition to this, if they are wearing bright colours (reds, yellows, oranges etc.) they will pop from the image in a more obvious way. It adds contrast and intrigue. Monotone colours are harder to make stand out within an image but it is definitely possible, black on snow makes for a fantastic contrast. If you look at the colour wheel and pick colours that are opposite, you will achieve a natural contrast that is aesthetically pleasing and makes for a great image!
Compositional Tips
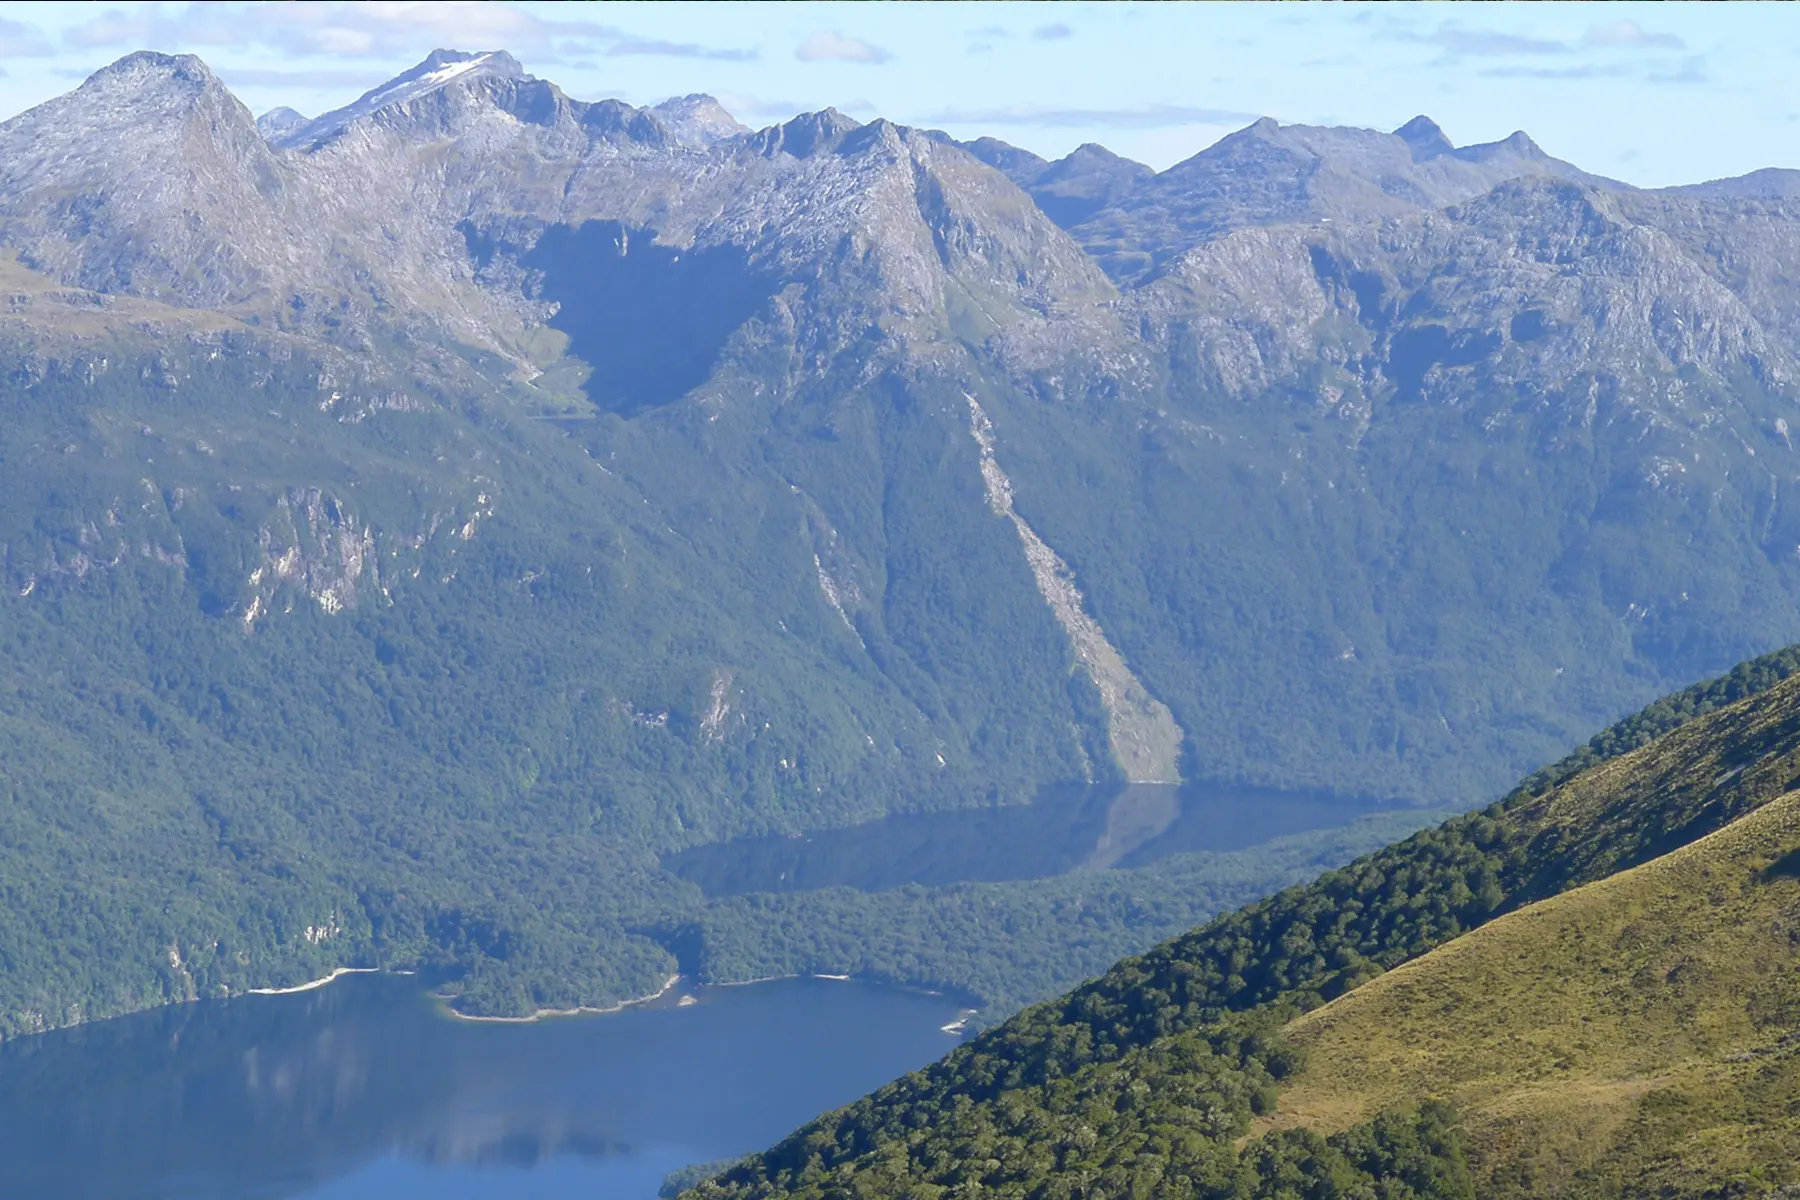
The Rule of Thirds - Most cameras and phones have the option to turn on grid lines to compose your photo with ease. With the rule of thirds, you want to line up your subject on the intersection of the gridlines to give your photo balance. Lining up your horizon line with the upper third will ensure you don’t have too much ‘dead space’ in the sky, and you can accentuate the epic landscape.
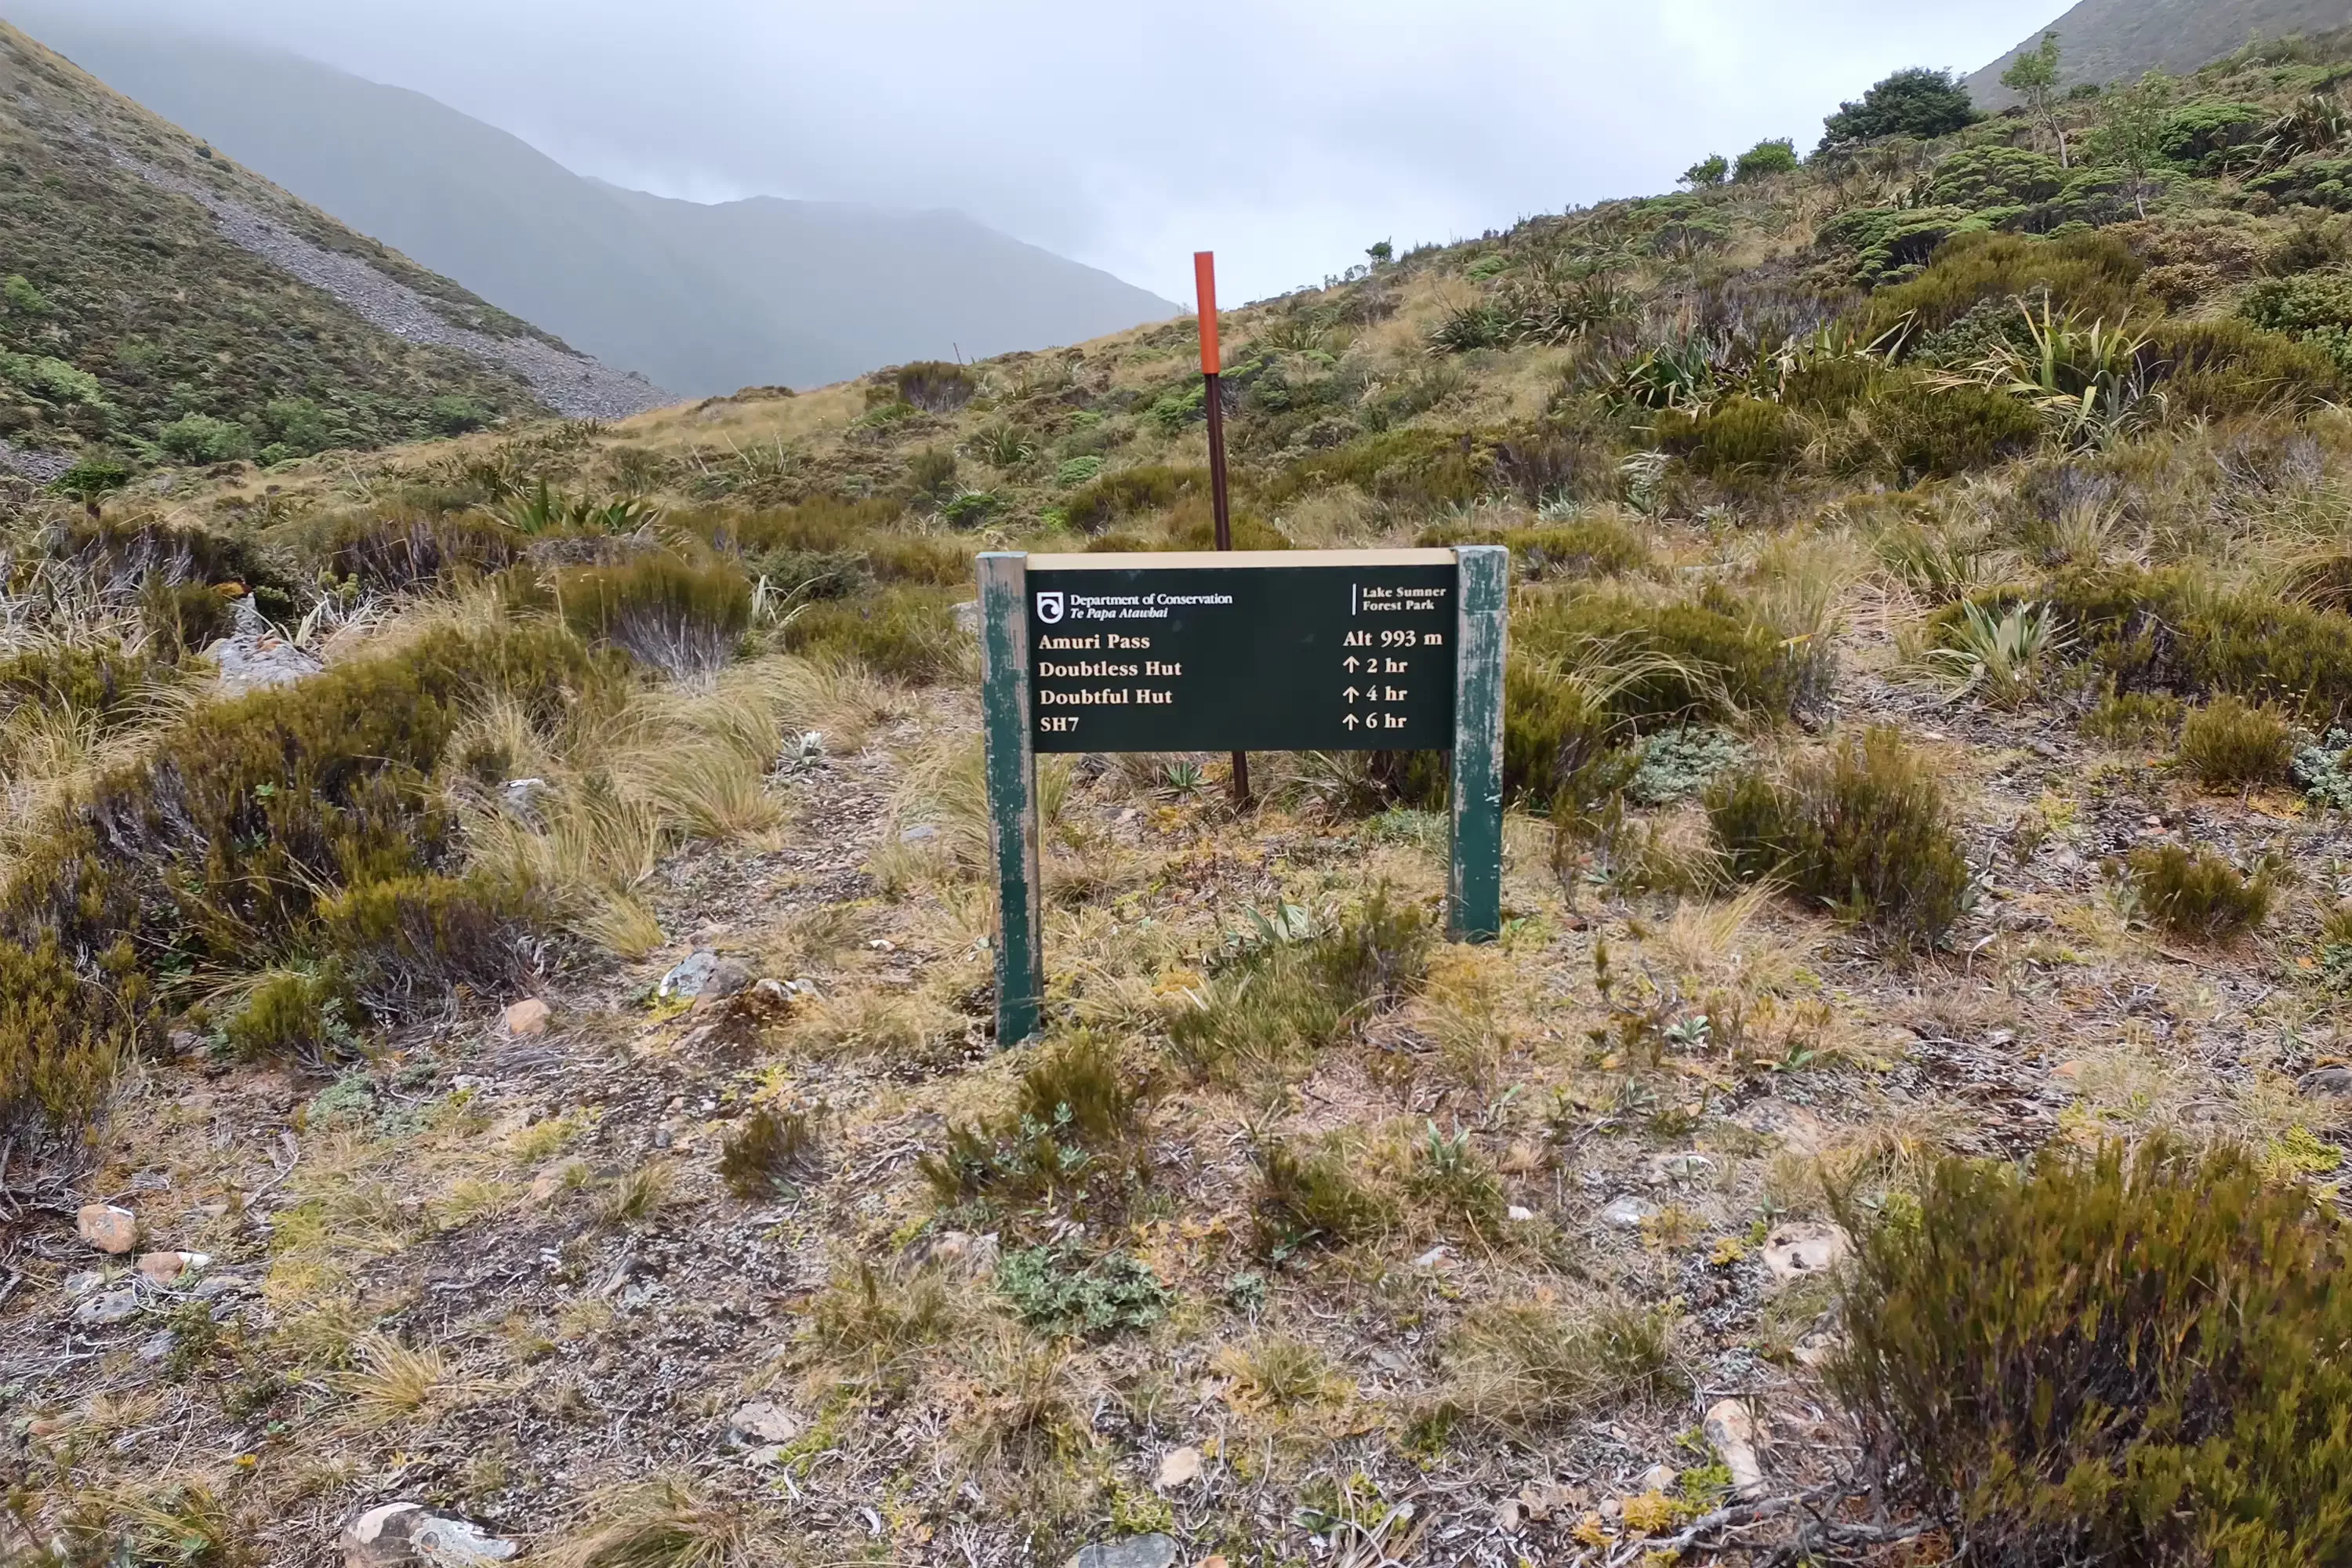
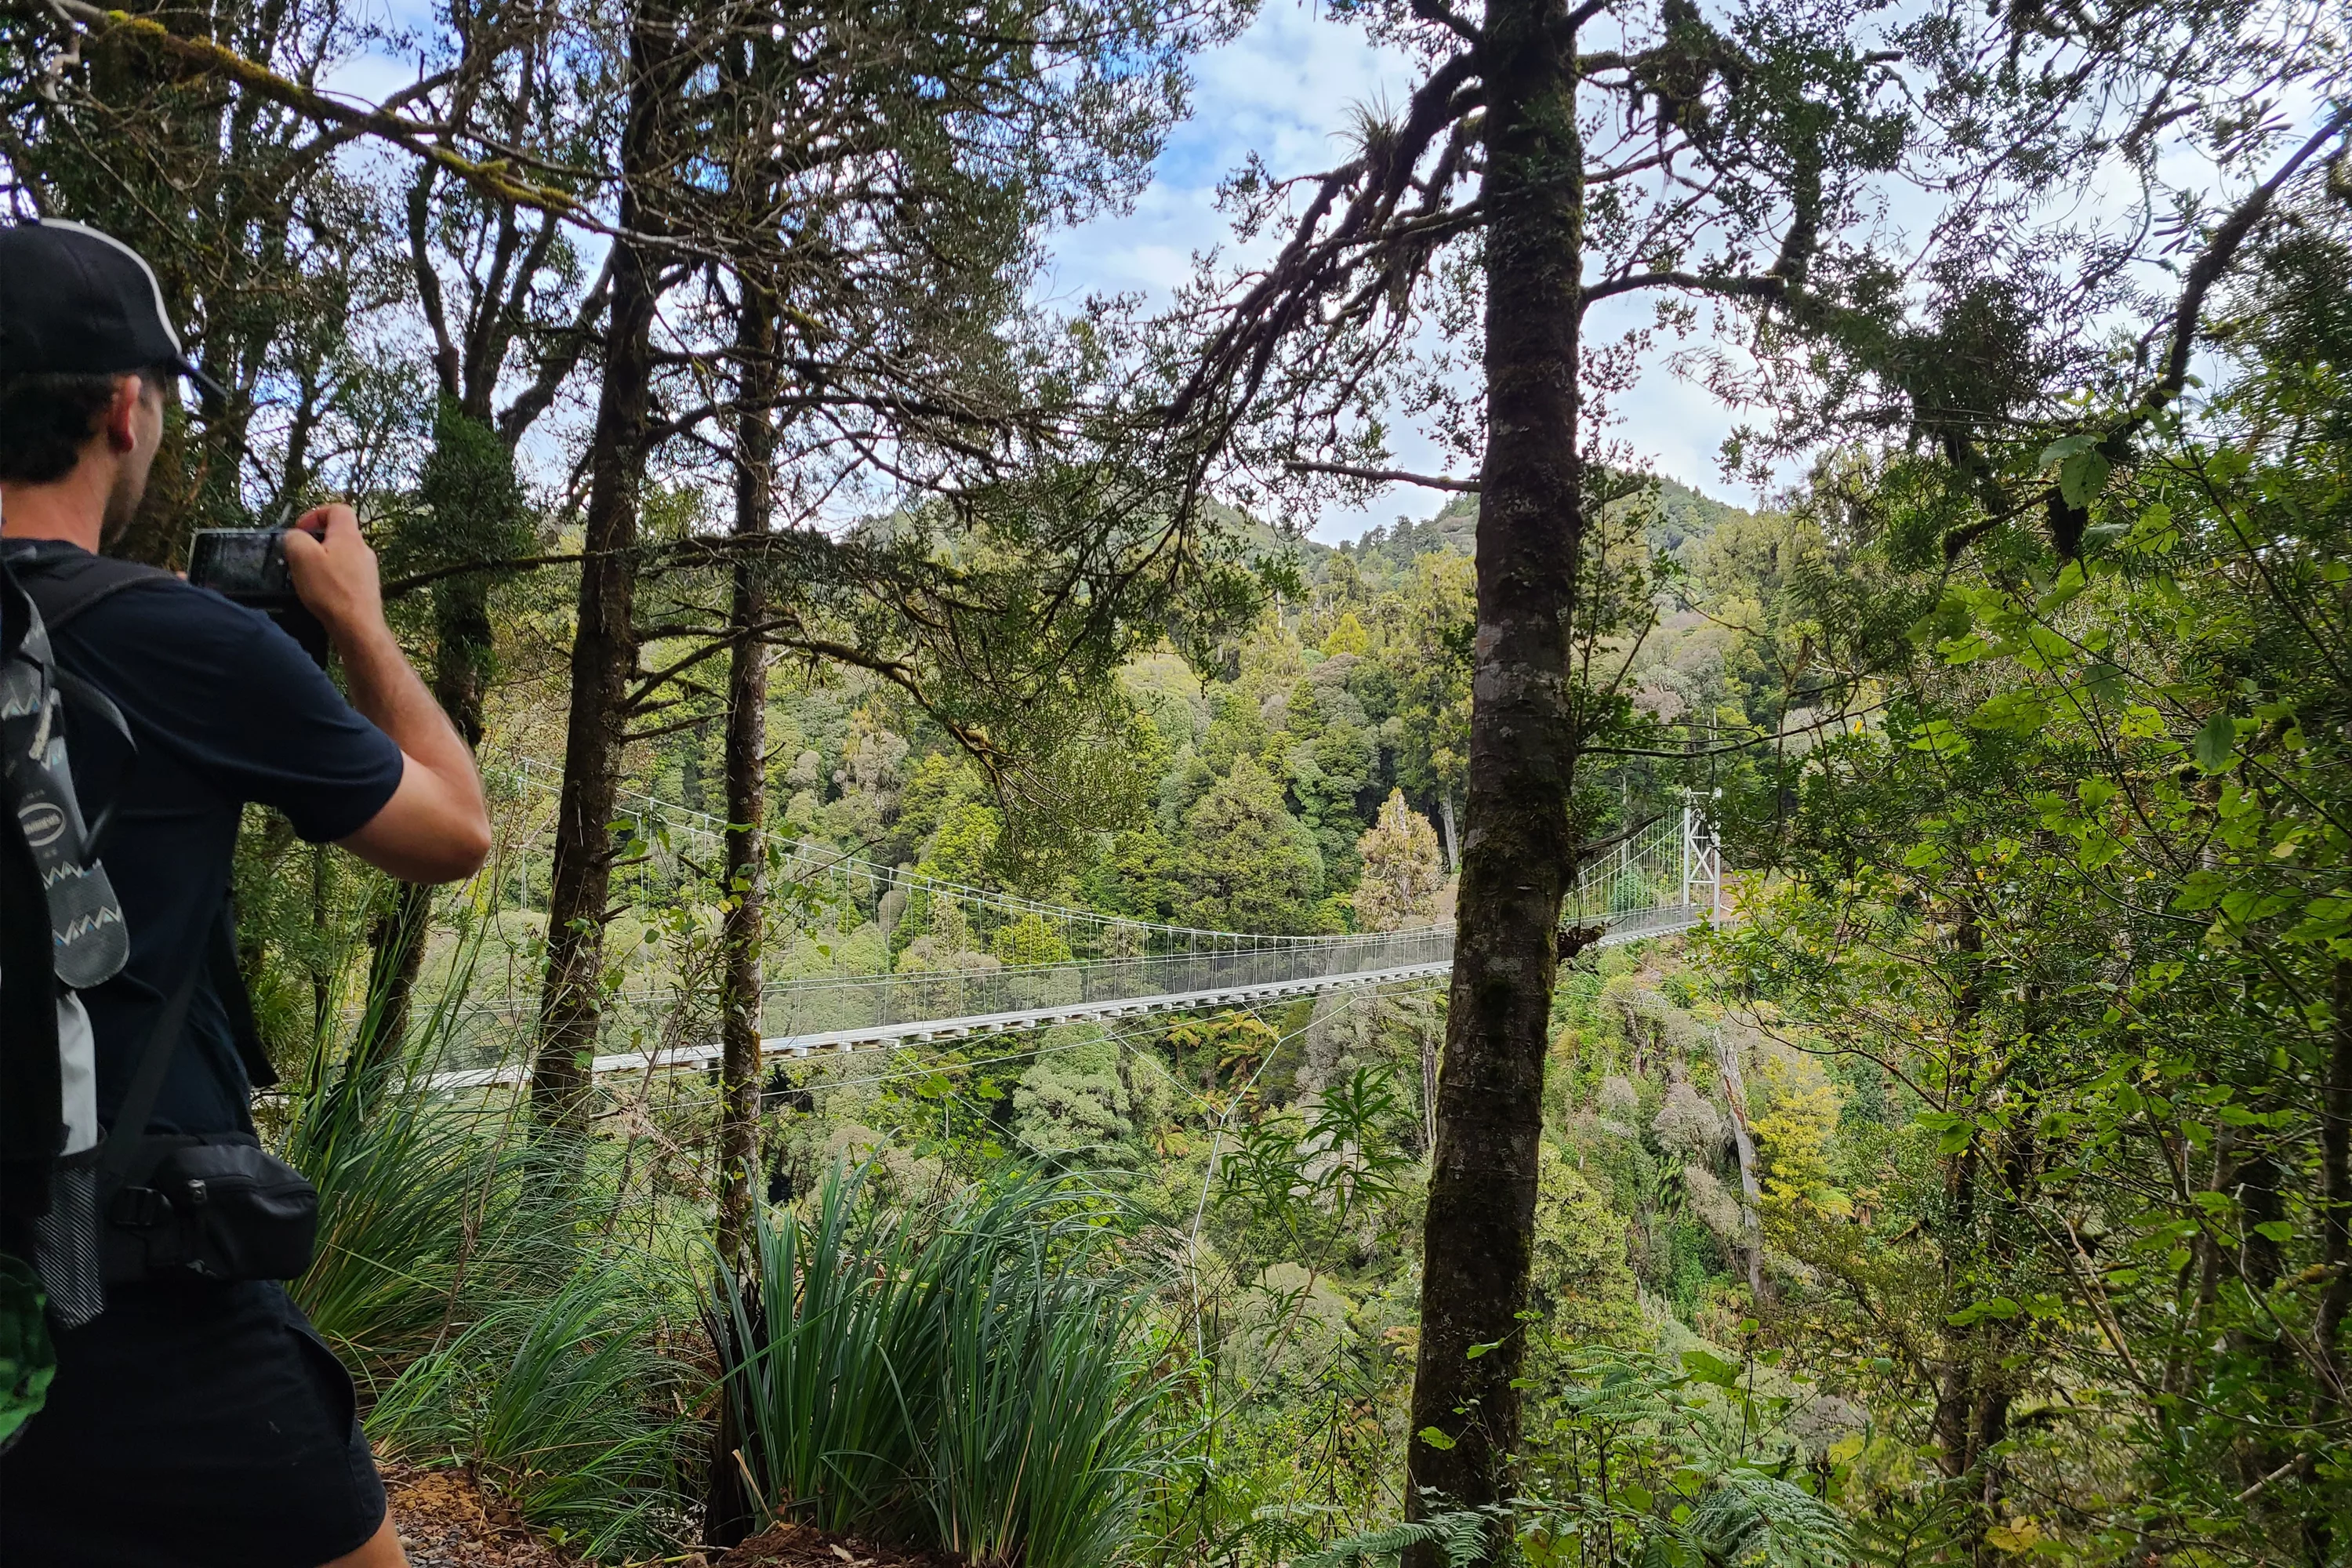
Leading Lines - Utilising features you find in your landscape to draw the eye through the photo and towards the main subject. Look for tracks, rivers, roads, and other interesting features that draw the attention in to your main standout feature in your image.
However, rules are made to be broken, and by all means, a photo can be outstanding even if it doesn’t follow traditional compositional rules. The biggest thing to remember, is to have fun, enjoy being outside in our beautiful backyard, and enjoy capturing beautiful memories of your adventures you can look back on for years to come!
To keep up to date with our latest blog sign up to our newsletter.